


OSRS Nightmare: Step-by-Step Boss Guide
The Nightmare of Ashihama entered Old School RuneScape in early 2020, quickly establishing itself as one of the game's most challenging high-level bosses. This formidable boss attracts players seeking its valuable drops, including the Inquisitor's armor set, Nightmare Staff, and Harmonized Orb.
In this guide, we’ll break down everything you need to defeat the Nightmare, from minimum requirements to advanced strategies. Whether you're tackling this boss solo or in a team, we cover optimal gear setups, inventory arrangements, and detailed explanations of each attack phase.
Also Read: Is Old School Runescape Cross-Platform? All You Need to Know
Boss Location
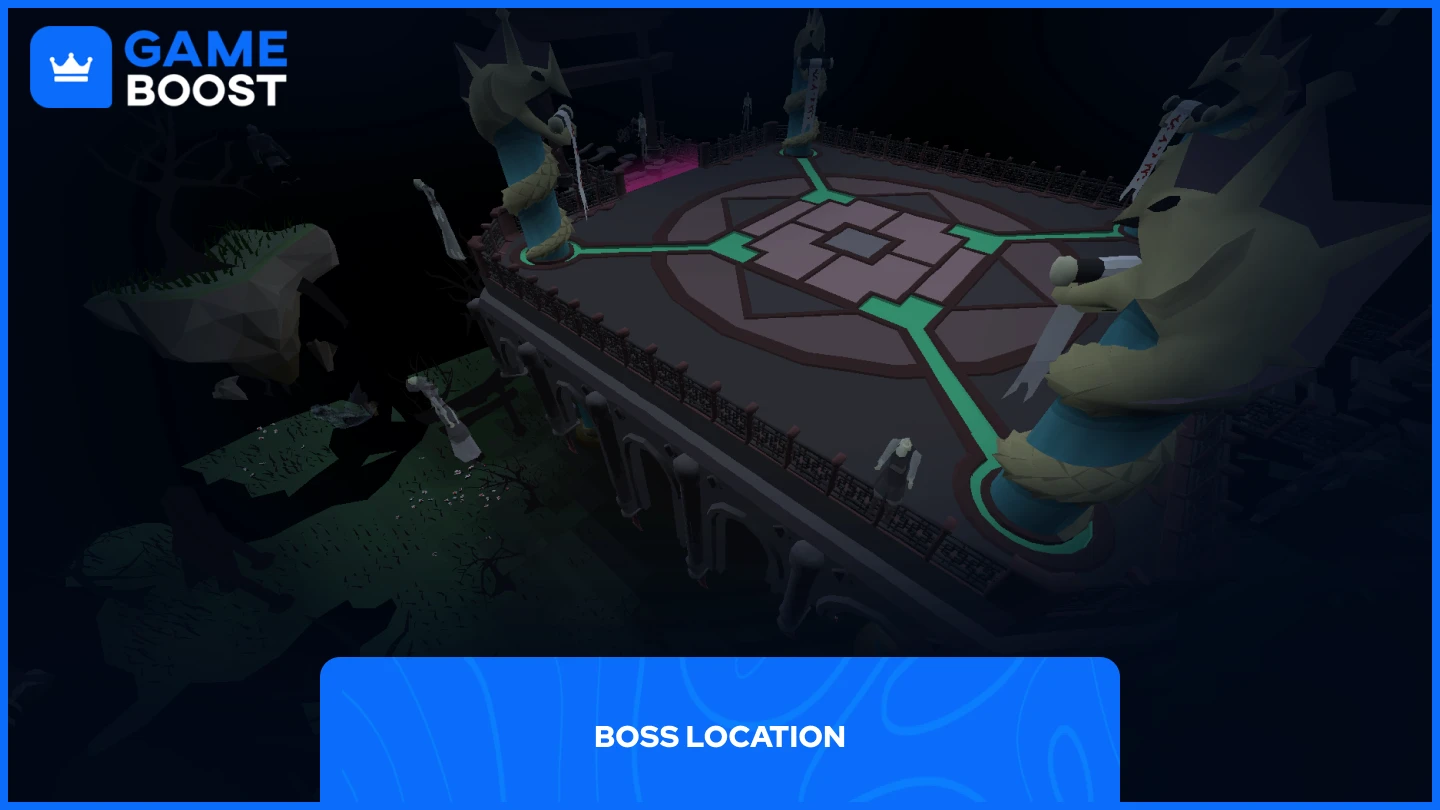
The Nightmare of Ashihama is located deep underneath Slepe, east of Darkmeyer and southeast of Port Phasmatys. This sleepy town in Morytania serves as the entrance point to one of OSRS's most challenging boss encounters.
Several transportation methods can get you to Slepe efficiently:
Take the boat from Andras, found north of the Ectofuntus
Use fairy ring code ALQ, then run southeast
Teleport to the spider cave, then head southeast
Once in Slepe, enter the Sisterhood Sanctuary and descend to the lower level. Here you'll find the entrance to the Nightmare's domain, where she slumbers until disturbed by adventurers seeking her valuable drops. Access to Morytania is the only requirement for fighting The Nightmare, with no quests or skill levels needed.
Also Read: OSRS Herblore Training Guide 1-99 (2025)
Recommendations

Gear up with your strongest melee equipment focused on crush damage. The Nightmare's weakness makes weapons like the bludgeon, scythe of vitur (on crush), inquisitor's mace, or even a zamorakian hasta effective choices.
Bring a minimal magic switch that maximizes damage output, as accuracy isn't critical for magic attacks during this fight. Your inventory should contain a mix of brews, food, and either divine potions or sanfew serums to counter the Nightmare's parasite attack.
Recommended Stats
For smaller teams (below 5 players):
Skill | Level |
|---|---|
Attack | 90+ |
Hitpoints | 90+ |
Defence | 90+ |
Strength | 90+ |
Magic | 90+ |
 Prayer | 70+ |
For larger teams (5+ players):
Skill | Level |
|---|---|
Attack | 85+ |
Hitpoints | 90+ |
Defence | 85+ |
Strength | 85+ |
Magic | 85+ |
Prayer | 70+ |
Remember that larger teams mean smaller individual rewards and lower chances of receiving unique drops in your name.
Also Read: OSRS Firemaking Training Guide 1-99 (2025)
Facing the Nightmare
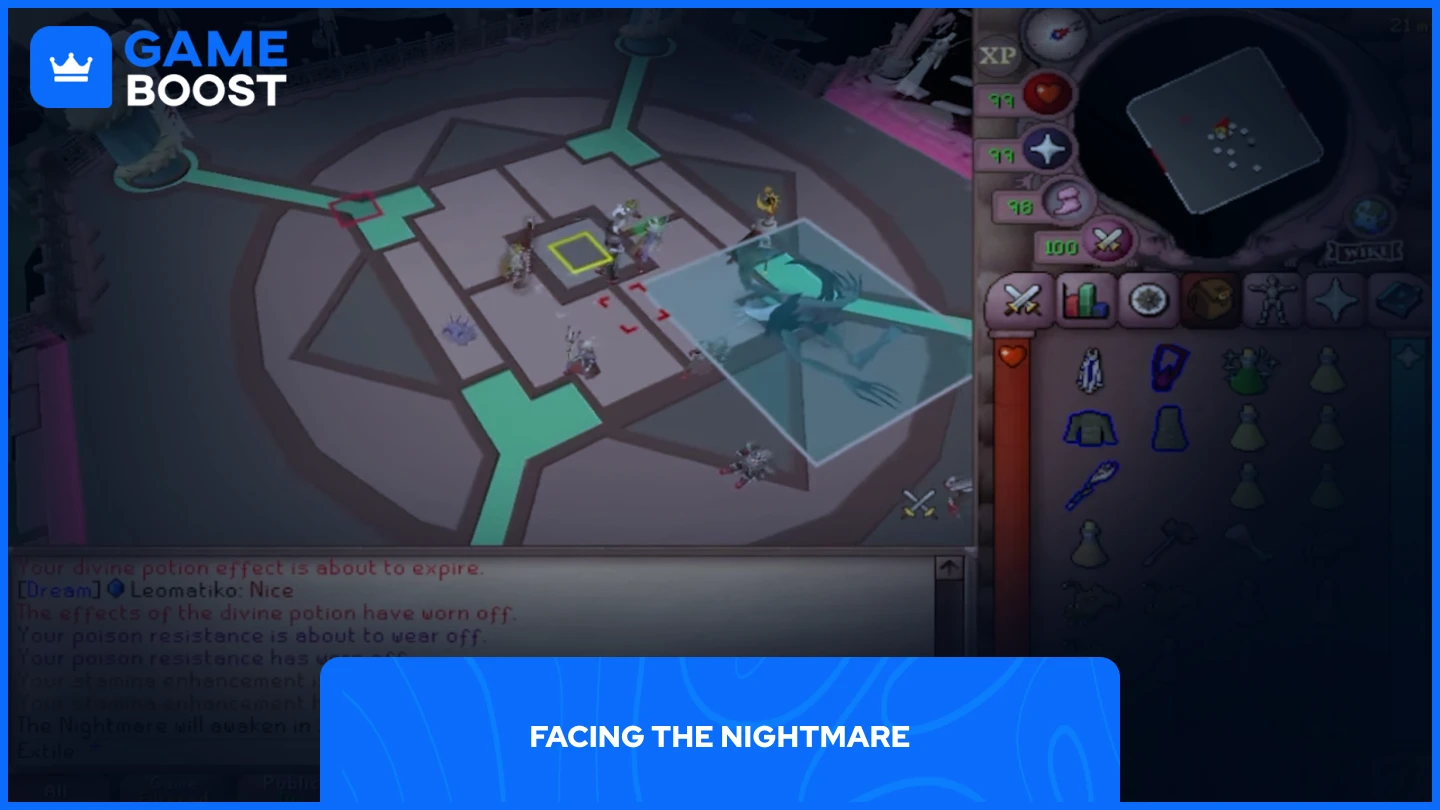
The Nightmare fight follows a structured pattern with predictable phases. When you arrive, check the boss's position. If she's floating with an icon beneath her, someone else is already fighting (the icon indicates their current phase). You can spectate their battle or wait. If she's on the ground, you can enter. For first-time encounters, she'll wake automatically. Subsequent visits require you to attack her to begin.
During the fight, she targets the player with the highest defense stats and attacks with magic, ranged, or melee. Pray accordingly to minimize damage, though you'll take some damage regardless of prayer. Non-tanks should stay away and focus on DPS, while tanks should use melee prayer. Once her shield depletes, direct damage stops, and four totems appear around the arena. Use magic against totems as it deals double damage. Destroying all totems sends energy back to Nightmare.
After the totems, one sleepwalker spawns per player along the walls. They slowly move toward the Nightmare, and each sleepwalker that reaches her deals significant team damage. Kill them quickly before they reach the center. The Nightmare also has several special attacks: a flower attack that creates arena divisions (position yourself correctly), parasites that damage players while healing her, and mushrooms that cause drowsiness when standing within one tile, slowing your movement and attacks.
Boss Drops
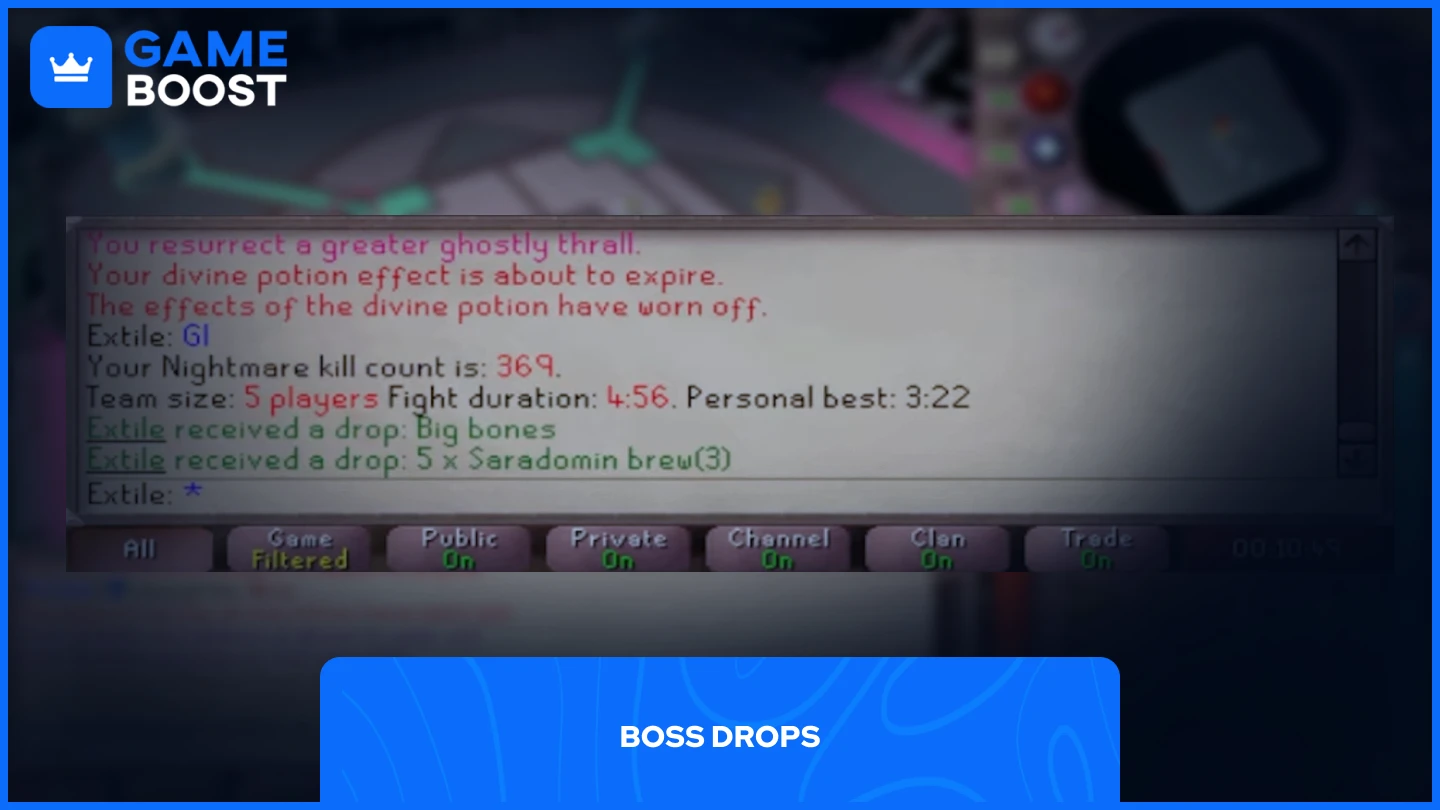
The Nightmare offers both consistent and rare drops. Players dealing the most damage (MVP) receive slightly better odds but no guarantees. Party size affects drop rates significantly.
Item | Quantity | Drop Chance (Small Team) | Drop Chance (Large Team) |
|---|---|---|---|
 Big Bones (MVP) | 1 | 100% | 100% |
 Bones | 1 | 100% | 100% |
 Nightmare staff | 1 | 1/300 | 1/172 |
Inquisitor's great helm | 1 | 1/420 | 1/240 |
 Inquisitor's hauberk | 1 | 1/420 | 1/240 |
Inquisitor's plateskirt | 1 | 1/420 | 1/240 |
 Inquisitor's mace | 1 | 1/750 | 1/429 |
 Eldritch orb | 1 | 1/960 | 1/549 |
 Harmonised orb | 1 | 1/960 | 1/549 |
 Volatile orb | 1 | 1/960 | 1/549 |
 Coins | 2,291–43,958 | 1/50 | 1/50 |
These represent the most valuable drops, but the Nightmare also drops various resources, consumables, runes, ammunition, and tertiary items not listed here.
Final Words
The Nightmare of Ashihama presents a challenging but rewarding boss fight in OSRS. With proper gear, stats, and knowledge of her attack patterns, you can consistently defeat this boss for valuable drops. Start with smaller teams as you learn the mechanics, then optimize your approach as you gain experience. The potential for Inquisitor armor pieces and Nightmare Staff attachments makes this boss worth mastering, despite its complexity.
OSRS & GameBoost Products
“ Mustafa Atteya has been writing about gaming and esports since 2023, specializing in competitive game content and player improvement guides. At 25, he brings both hands-on gaming experience and professional SEO writing expertise to the GameBoost team.”

