

How to Make Roblox Clothing: A Step-by-Step Guide
Customizing your Roblox avatar with unique clothing is one of the fun and creative ways to stand out in the community. If you are passionate about streetwear, fantasy themes, or minimalist styles, learning to create Roblox shirts or pants is a great way to express your ideas and share them with millions of players out there.
This guide will walk you through everything you need to know to start designing your own Roblox clothing from scratch, even if you’ve never used a design tool before.
Understanding Roblox Clothing Types
Before diving into the design process, it’s important to understand the two main types of clothing available on Roblox: Classic Clothing and Layered Clothing. Each type has its own style, purpose, and method of creation.
1. Classic Clothing (2D Clothing)
Classic clothing is the original format of Roblox apparel. These items are made using 2D image files, specifically PNGs, that are mapped onto a blocky avatar body. This includes classic shirts, pants, and t-shirts. The design is created on a flat Roblox clothes template that wraps around the torso, arms, and legs of the avatar.
Because of its simplicity and low file size, classic clothing is fast to upload and still widely used, especially by beginner designers and community creators who want to make custom items without needing 3D modeling skills. These templates are divided into small rectangular sections, each corresponding to different parts of the avatar’s body. With the right tools and a little creativity, even basic templates can be transformed into stylish outfits.
2. Layered Clothing (3D Clothing)
Layered clothing is a newer system that Roblox introduced that allows for more dynamic and realistic outfits. Unlike classic clothing, layered clothing is made in 3D and fits all avatar types, including R6, R15, and custom avatars. These items behave like actual clothes—they can layer over other items, respond to movement more naturally, and allow for more complex fashion elements like jackets, hoodies, skirts, and puffed sleeves.
However, creating layered clothing requires 3D modeling knowledge and software like Blender. It also involves exporting and uploading mesh files through Roblox Studio, which makes it more advanced and less beginner-friendly.
Also Read: How to Get Headless in Roblox: Availability, Price, and More!
Designing Roblox Clothing from Scratch
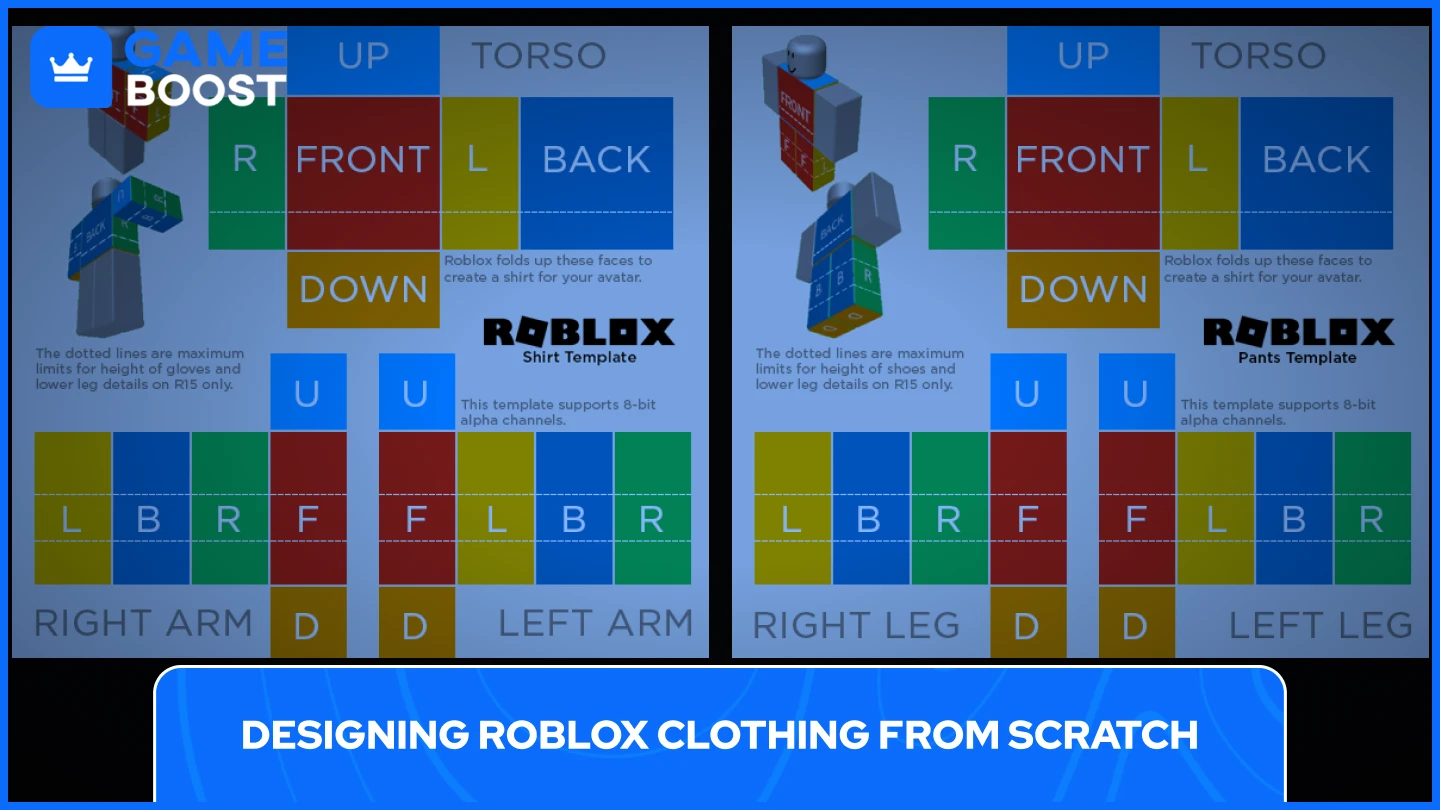
To begin making clothes on Roblox, download the official Roblox clothing templates for shirts or pants. These templates provide a blueprint for your design, outlining the specific areas of the avatar's body.
Next, choose a free online image editor like Photopea, GIMP, Paint.NET, or Pixlr. These tools offer functionalities similar to Photoshop and are suitable for editing the templates.
Open the template in your chosen editor and start designing. You can add colors, patterns, and graphics to personalize your clothing item. Ensure that your design aligns properly across different parts of the avatar. Once you're satisfied with your design, export the file as a PNG to maintain transparency and quality.
If you're looking for a more streamlined approach or want to design on a mobile device, Customuse is a user-friendly platform that offers customizable templates. Visit Customuse and create a free account. Browse through various clothing templates, select one, and use the platform's tools to modify colors, add patterns, and insert graphics. After customizing, export your design as a PNG file. Follow the uploading steps outlined below to add your design to Roblox.
Uploading Your Clothing to Roblox & Earning Robux
Log in to your Roblox account and navigate to the "Create" page. Under "Creations," select "Avatar Items," then choose "Classic Shirts" or "Classic Pants" based on your design.
Click on "Upload Asset," select your PNG file, and provide a name and description for your item. Uploading clothing items requires a fee of 10 Robux. After uploading, locate your item in the "Creations" tab, click on the gear icon, and select "Configure." Toggle the "On Sale" option, set your desired price, and save the changes to make your item available for purchase.
By selling your custom clothing, you can earn Robux, which can be used for various in-game purchases or saved for future uploads. Promote your designs through social media, Roblox groups, or by collaborating with other creators to increase visibility.
Final Tips
Test your designs using Roblox Studio to preview how your clothing looks on different avatars. Stay updated with Roblox's latest information by visiting the Developer Forum. Experiment with different styles and designs to find what resonates with the community.
Embarking on your Roblox clothing design journey can be both enjoyable and profitable. With the right tools and a bit of creativity, you can make your mark in the Roblox fashion world.
“ GameBoost - The All-In-One Gaming Services Platform with a mission to truly change the life of every day gamers. Whether you're looking for Currencies, Items, High-Quality Accounts or Boosting, we've got you covered! ”