


How to Fix Valorant Error Code VAL 7?
Valorant is known for its intense gameplay and competitive atmosphere. However, like any online game, it's not immune to technical issues. One of the common errors players encounter is the VAL 7 error code. This code can be frustrating, but with the right troubleshooting steps, you can get back into the game and dominate the battlefield.
The Causes of VAL 7 Error
The VAL 7 error occurs when your game client fails to establish a proper connection with Valorant's services. This can happen due to server maintenance, Vanguard anti-cheat issues, network connectivity problems, or in rare cases, account restrictions.
While server issues are often outside your control, proper troubleshooting steps can address many other causes.
1. Check the Valorant Server Status
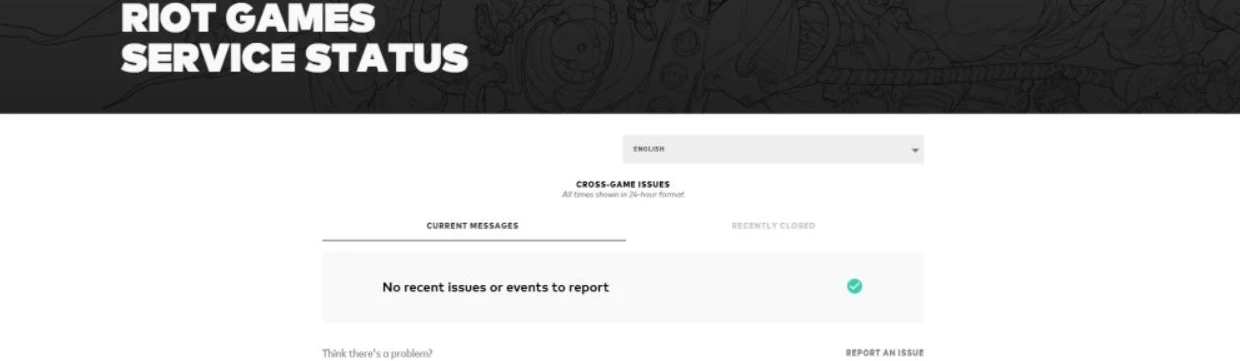
Server status verification should always be your first troubleshooting step. Visit Riot Games' service status page and select your region to check for ongoing issues. The status page provides real-time information about server health, planned maintenance, and known problems affecting the game.
For a more comprehensive view, you can also check community-driven platforms like Down Detector, which often provide additional context through user reports and outage maps.
Also Read: How to Fix Valorant Error Code VAL 5?
2. Update and Reinstall Vanguard
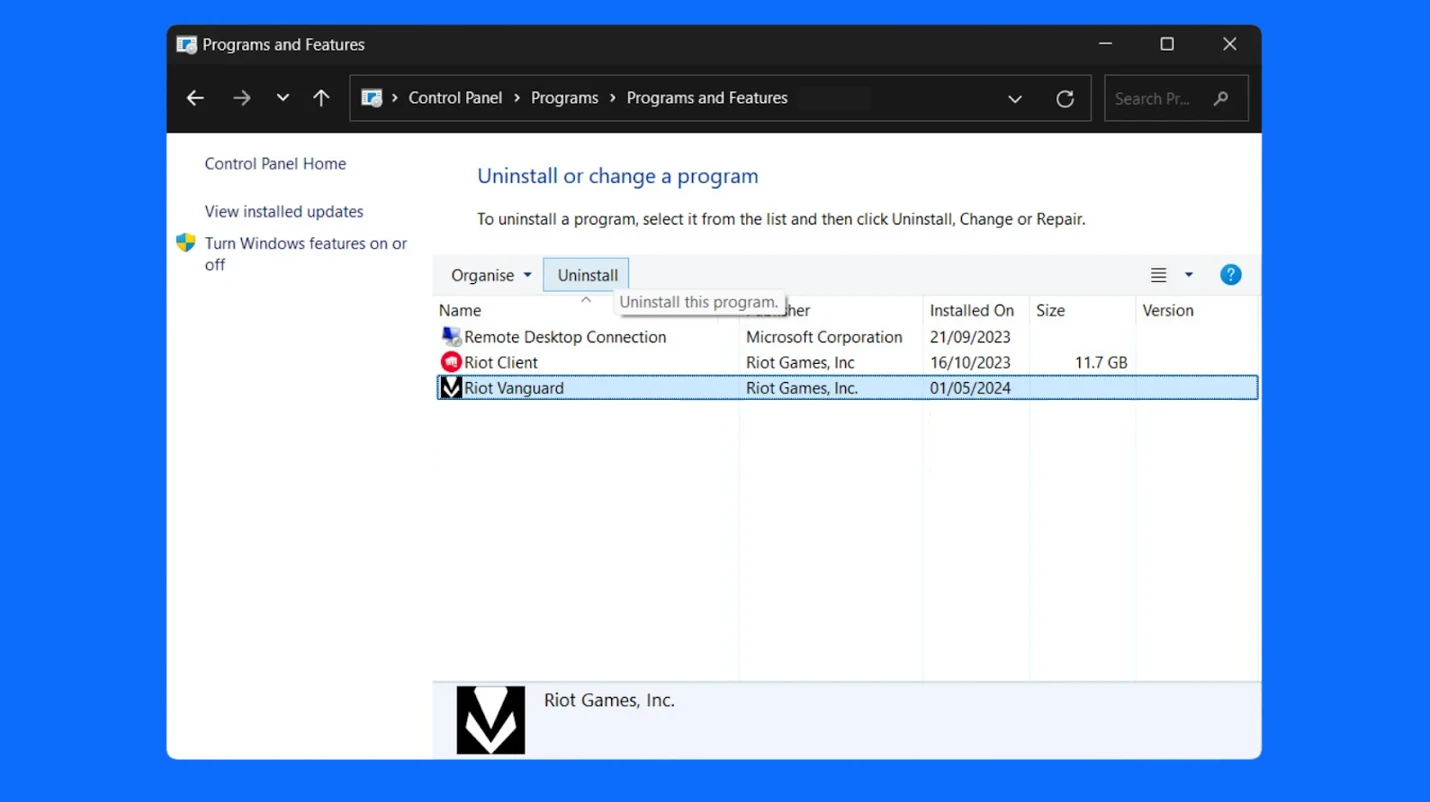
Vanguard, Valorant's anti-cheat system, must function correctly for the game to connect to its servers. If Vanguard encounters issues, you'll need to perform a clean reinstallation. Start by closing all Valorant and Riot processes through Task Manager. Uninstall Vanguard through the system tray icon or Windows' Programs and Features.
Use Command Prompt to remove any remaining services with the commands "sc delete vgc" and "sc delete vgk". Upon relaunching Valorant, Vanguard will automatically reinstall with fresh files, potentially resolving the VAL 7 error.
4. Check and Restart Your Internet Connection
Network issues can manifest as VAL 7 errors even when your internet seems functional for other applications. Start by running a speed test to verify your connection meets Valorant's requirements.
Reset your network equipment by powering off your modem and router for at least 30 seconds before restarting them. If you're using a VPN, try disabling it temporarily as it may interfere with the game's connection. Testing your connection on a different network, such as a mobile hotspot, can help identify if the problem is specific to your primary internet connection.
5. Modify the VGS Service Startup Type
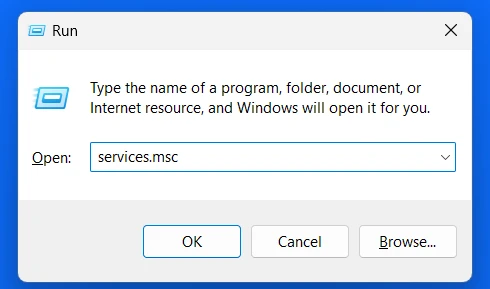
The VGS (Vanguard Service) must run properly for Valorant to maintain its connection. Access Windows Services by pressing Windows + R and typing "services.msc". Locate the VGS service in the list and set its Startup Type to "Automatic" through its Properties.
If the service isn't running, click "Start" to initiate it manually. This ensures Vanguard has the necessary system-level access to function correctly when you launch Valorant.
Also Read: Valorant Unable to Invite Issue (Solved)
6. Reach Out to Riot Games Support

When all local troubleshooting steps fail, contact Riot Support through their ticket system. Provide detailed information about the steps you've already taken and any error messages you've encountered.
Support can verify your account status, investigate specific connection issues, and provide tailored solutions. They can also determine if your error is related to an IP restriction or account limitation that requires their direct intervention to resolve.
Valorant & GameBoost Products
You're finished reading, but we have more informative content that you could learn from. In addition, we offer game-changing services that can elevate your gaming experience to the next level. What would you like to do next?
Valorant Accounts For Sale
Buy Valorant Points
Valorant Boosting Service
View all GameBoost Accounts
View all GameBoost Boosting Services
View all GameBoost Currencies
View all GameBoost Game Keys
View all GameBoost Gift Cards
View all GameBoost Items
View all GameBoost Top Ups
Counter-Strike 2 Skins
“ Kristina joined GameBoost in 2024 as an SEO specialist and quickly became the go-to writer for third-person shooter and competitive games. She covers titles like Fortnite, Valorant, League of Legends, GTA 5, and Roblox, focusing on how-to guides, practical tips, and updates.”

