


How to Get Infernal Cape in OSRS: Step-by-Step Guide
Old School RuneScape's Infernal Cape represents one of the best achievements for melee combat players. This upgraded version of the Fire Cape serves as the best-in-slot melee cape in the game, offering superior stats and prestige that few players ever attain.
Obtaining this cape demands significant preparation, high-level stats, expensive gear, and countless hours of practice. In this article, we'll explore how you can get the Infernal Cape through a step-by-step guide highlighting the exact requirements and precise steps needed to achieve it.
Also Read: OSRS Meat and Greet Quest Guide (2025)
What is Infernal Cape

The Infernal Cape, introduced on June 1, 2017, is awarded for completing The Inferno, OSRS's most difficult solo PvM challenge. This cape provides +4 to all melee attack bonuses and +8 strength bonus, surpassing the Fire Cape's +1 attack bonuses and +4 strength bonus.
Many players consider obtaining this cape nearly impossible due to its extreme difficulty and learning curve. However, with proper preparation, optimal gear setups, and dedicated practice, most experienced players can eventually achieve this milestone. The key lies in understanding the mechanics, developing muscle memory for positioning, and maintaining composure during the intense final encounter.
How to Get Infernal Cape

Getting the Infernal Cape requires huge effort and time investment, but we'll guide you every step of the way. The process involves mastering complex mechanics, understanding enemy behaviors, and executing precise strategies under intense pressure.
Our complete breakdown covers eight essential steps:
How to Get There
Prior Knowledge
Requirements
Mechanics
Roadmap
Fighting Triple Jads
Zuk Fight Breakdown
Each of these steps will be detailed in its respective section. From initial preparation through the final boss encounter, you'll have the knowledge needed to earn your Infernal Cape.
Also Read: OSRS AFK Timer: Everything to Know
1. How to Get There
You can reach The Inferno by entering the code "b-l-p" on a fairy ring, then running east to pass the hot vents into Mor Ul Rek. You need to own a Fire Cape to access this content, so completion of the Fight Caves is required beforehand.
There's a bank on the eastern part of the city where you can prepare your inventory and gear setup. The entrance to The Inferno sits right in the middle of Mor Ul Rek, marked by a distinctive entrance that's hard to miss.
To access this challenge, you must sacrifice one Fire Cape to TzHaar-Ket-Keh for entry. This is a one-time fee, after sacrificing your first Fire Cape, you can enter The Inferno unlimited times without needing additional capes.
2. Prior Knowledge
Understanding game ticks and prayer flicking is essential for success. Prayer flicking allows you to block damage from multiple sources while conserving prayer points throughout the waves. This technique becomes critical as you progress through higher waves where prayer management determines survival.
Use F Keys (F1, F2, etc.) to navigate between menus quickly. This saves valuable time that you can invest in solving wave positioning and enemy management. Fast menu navigation becomes crucial during intense moments when every second counts.
For RuneLite players, here are the most recommended plugins:
GPU/117 HD improves visual clarity and performance.
NPC Indicators help track enemy positions and attack styles.
Ground Markers assists with positioning strategies.
Low Detail reduces visual clutter during chaotic waves.
Visual Metronome helps with tick-perfect timing.
Inferno Stats tracks your progress and performance metrics.
Your goal should be advancing as far as possible to learn as much as possible from each attempt. Don't expect immediate success or get discouraged by early failures. Each run teaches valuable lessons about enemy behavior, positioning, and resource management.
Patience remains the most important factor. The Inferno demands countless hours of practice and dozens of attempts before achieving success. Accept that failure is part of the learning process.
3. Requirements
The Inferno requires various requirements from levels and gear to inventory and supplies. Success depends on meeting stat thresholds that allow effective combat and survival throughout 69 waves, plus the final boss.
Skill | Minimum | Recommended | |
|---|---|---|---|
Defense | 75 | 90 | |
Ranged | 75 | 90 | |
Prayer | 74 | 90 | |
Magic | 75 | 94 | |
Hitpoints | 75 | 90 | |
Agility | 70 | 80 | |
4. Monster Mechanics
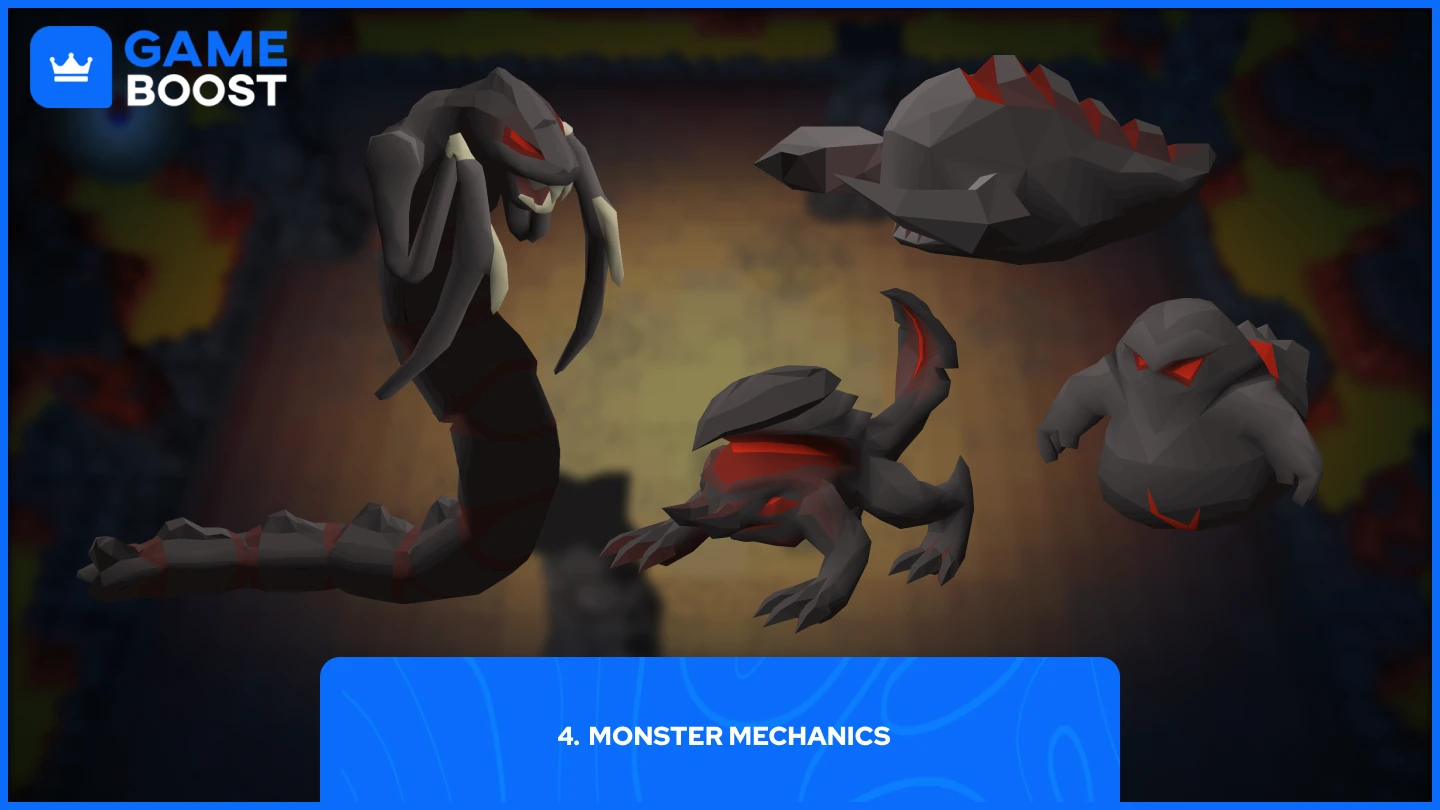
The Inferno contains multiple monsters with unique behaviors and attack patterns. Understanding each enemy type is crucial for developing effective strategies and surviving the waves.
• Jal-Nib: Nibblers spawn in groups at the beginning of each wave except for waves 3, 8, 17, and 34, where 6 will appear instead. Their main goal is to damage pillars, but if no pillars remain, then they'll target you. They have 10 HP and a max hit of 4.
• Jal-MejRah: Bats drain your run energy by 3 every time they attack you. They have 25 HP and a max hit of 19.
• Jal-Ak: Also known as blobs, they're one of the most difficult mobs in this challenge. Takes 3 ticks to detect prayer, then 3 ticks later uses the opposite style. Killing it spawns 3 small blobs. Red blob uses melee, green blob uses ranged, and blue blob uses magic.
• Jal-ImKot: If stuck behind something, will dig near you after 20 seconds. Can be frozen or corner-safespotted. Has 75 HP and a max hit of 49.
• Jal-Xil: Activate prayer when they stand straight. Can attack with melee if close and has 0 magic defense. It has 125 HP and 46 max hit.
• Jal-Zek: Can revive monsters that have died in the same wave at half HP. Let it revive if you need time to heal.
• JalTok-Jad: A stronger version of Jad. Single Jad spawns 5 healers. Jad in triple phase spawns 3. Triples attack every 9 ticks.
• TzKal-Zuk: Has 1200 HP and 251 max hit.
Also Read: OSRS Yama Boss Guide
5. Roadmap
This challenge is one of the longest in OSRS. A good run takes anywhere between 2 to 3 hours to complete. The learning process requires systematic progression through each monster type and mechanic.
The roadmap follows this progression:
Use your supplies to advance as far as possible and experience all monster types. Each attempt teaches valuable lessons about enemy behavior and wave composition.
Get used to the bats’ safe spot and avoid using prayer when killing them. This conserves prayer points for more dangerous encounters later in the waves.
Learn how blobs attack and master nullifying all damage through correct prayer usage. Understanding the 3-tick detection system prevents unnecessary damage.
Learn melee safespot locations and perform corner safespots when they dig. Practice prayer flicking techniques to minimize damage during encounters.
Master timing for flicking the ranger and mage using visual or audio cues. Precise timing prevents massive damage from these high-hitting enemies.
Learn positioning strategies when mage and ranger stack vertically. This common scenario requires specific movement patterns to maintain safety.
Develop triple Jads strategies and execution. This late-wave challenge demands perfect prayer switching and positioning under extreme pressure.
Handle Zuk's attacks after the first shield rotation. Understanding his mechanics prevents instant death during the final encounter.
Master dealing with Zuk's Jad phase while managing shield positioning. This tests everything learned throughout previous waves.
Control healers during the final phase without losing focus on primary mechanics. Proper healer management ensures Zuk doesn't regain health.
Perfect positioning throughout all encounters. Movement determines success more than any other factor.
Optimize gear and supply setup before each wave begins. Proper preparation prevents panic switching during combat.
6. Fighting Triple Jads
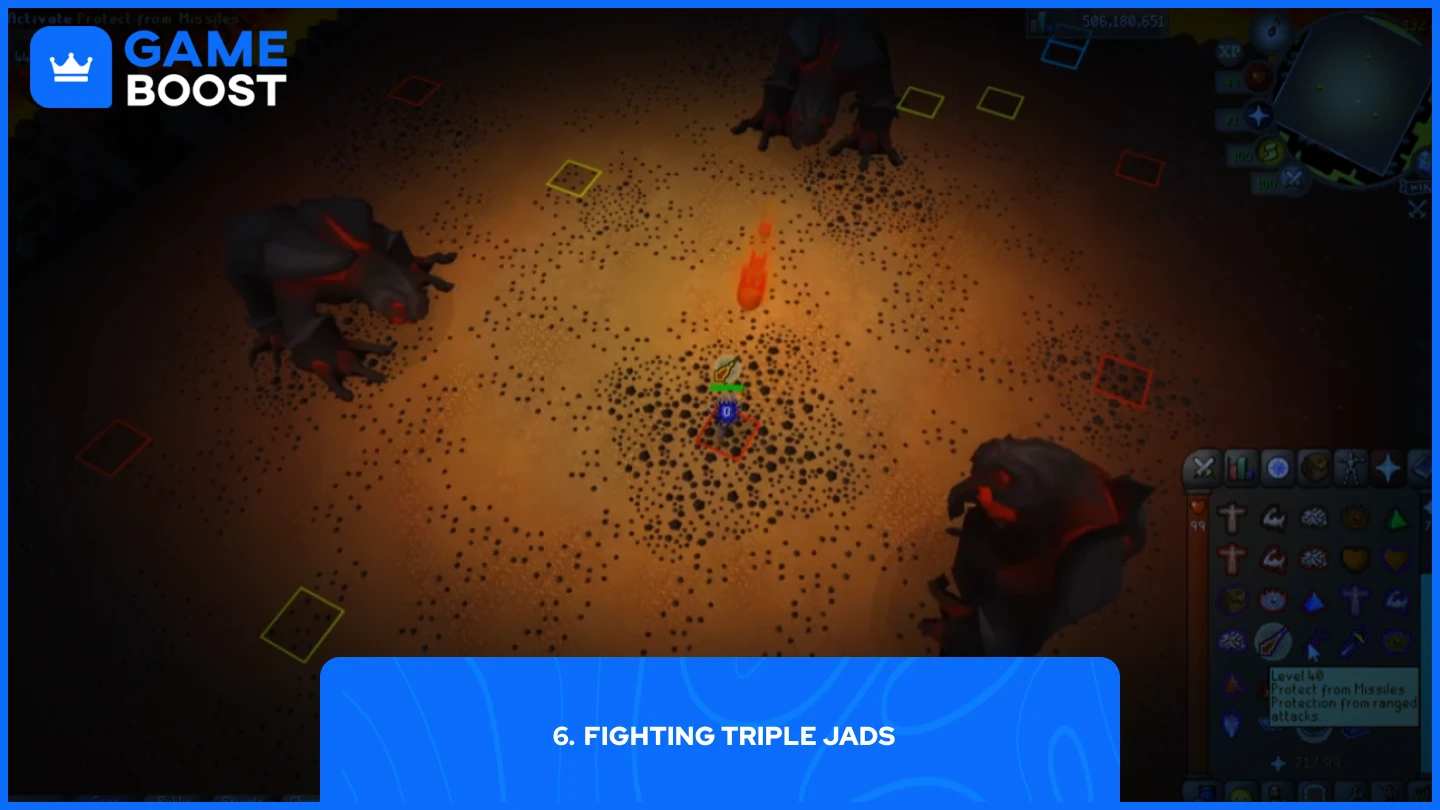
Triple Jads appear in the final wave of The Inferno (wave 69) and require clean, precise prayer flicking. This encounter represents the ultimate test of your prayer switching skills under maximum pressure.
The strategy revolves entirely around identifying each Jad's attack quickly and switching your protection prayer without hesitation. Each Jad attacks independently, creating overlapping attack patterns that demand split-second reactions and perfect timing.
When you first reach wave 69, do nothing but practice until you get used to the mechanic. Don't attempt to deal damage initially. Focus exclusively on surviving and reading attack animations. This practice phase builds the muscle memory essential for success.
Switch prayers when the attack animation begins, not when the projectile lands. The timing differs from regular Jad encounters due to multiple simultaneous attacks. Watch for the rear leg movement that signals each attack type.
Once you've killed the first Jad, the encounter becomes significantly easier. Two Jads provide more manageable attack patterns and longer reaction windows. Focus on the southern Jad first, as it typically offers the best positioning advantages.
7. Zuk Fight Breakdown
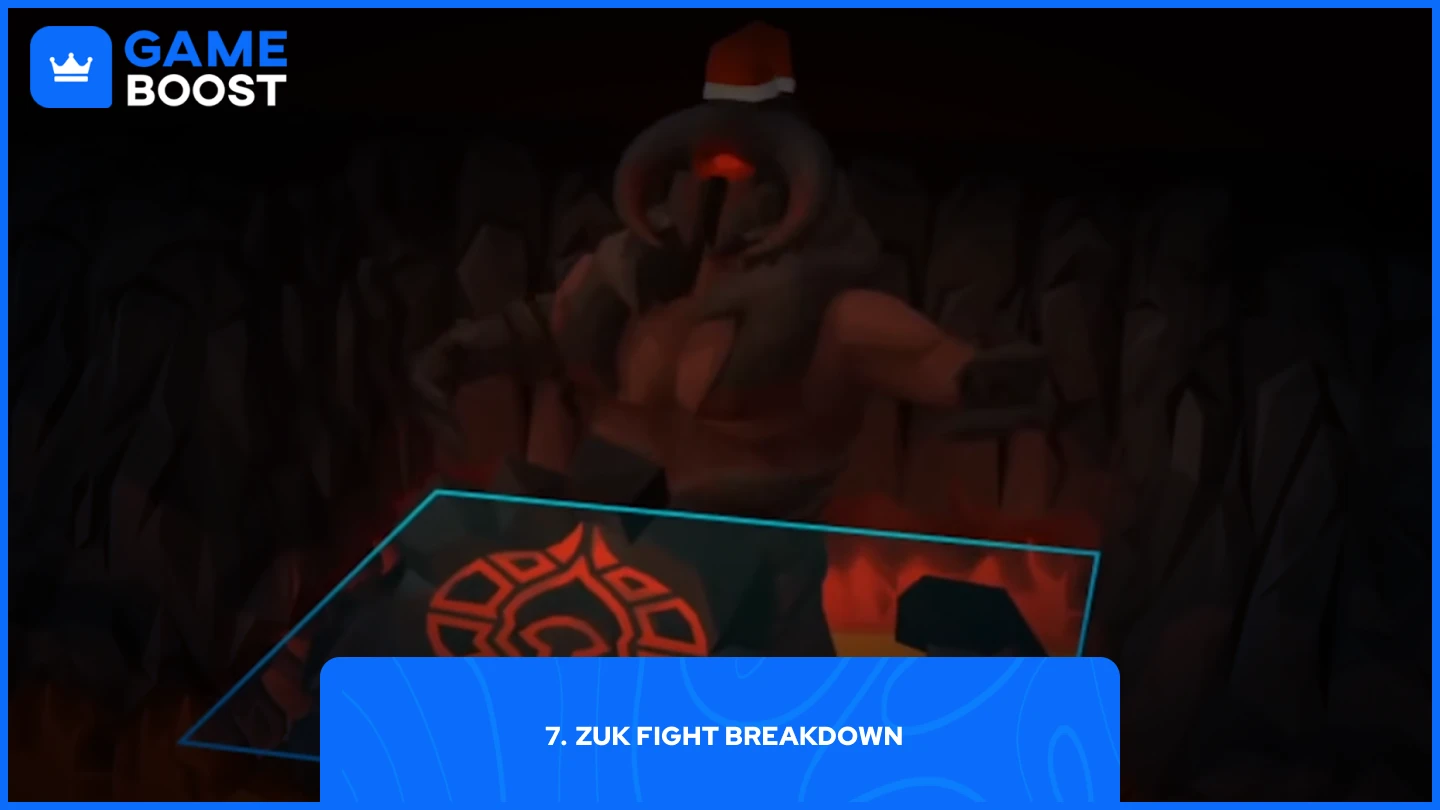
Once Zuk breaks out of his prison, the shield starts moving either left or right. He begins attacking when the shield reaches either corner of the arena. Your goal is to stay behind the shield to avoid being hit by Zuk's projectiles.
After the first rotation (when the shield returns to the first corner it reached at the beginning), a set of mage and ranger spawns and a timer of 3 minutes and 30 seconds starts. New sets keep appearing when the timer refreshes. Tag the closest monster while praying against it and move to the other corner to attack the other one, as they'll start attacking the shield.
Focus on killing the ranger first when possible. Once that's done, attack Zuk until he drops below 600 HP and the set timer pauses. Kill the remaining mage and continue damaging Zuk.
At 480 HP, the set timer resumes with 1 minute and 40 seconds added to it, and a Jad spawns. Change your camera angle to focus on the Jad. At half health, Jad healers spawn. Ignore them for the rest of the fight.
At 240 HP, Zuk healers spawn. This is the most nerve-wracking part of the entire Inferno run. Once you grab their attention, they start shooting fireballs at the arena, which damage you if you stand where they shoot. Once you've killed them all, repeat all steps until Zuk's health reaches zero.
Successfully completing this final phase rewards you with the Infernal Cape and marks the end of OSRS's most challenging solo content.
Final Words
The Infernal Cape requires dedication, practice, and patience. Master each mechanic progressively rather than rushing toward completion. Most players need dozens of attempts before success. Focus on preparation, gear optimization, and maintaining composure during intense moments. This guide provides the roadmap, but execution comes through repetition and experience.
OSRS & GameBoost Products
“ Kristina joined GameBoost in 2024 as an SEO specialist and quickly became the go-to writer for third-person shooter and competitive games. She covers titles like Fortnite, Valorant, League of Legends, GTA 5, and Roblox, focusing on how-to guides, practical tips, and updates.”

