


Hydra OSRS Guide - Locations, Drops & Strategy
Hydras are among the most rewarding Slayer monsters in Old School RuneScape, and that's no accident. They sit at the deep end of the Karuulm Slayer Dungeon, gated behind a level 95 Slayer requirement, and they pay out generously for players who meet it. The regular Hydras alone can net over 1.2M GP per hour, and their boss form, the Alchemical Hydra, is closer to 4.5M GP/hr for experienced players. But getting there isn’t easy; that’s why articles like this exist, and for those struggling to acquire the necessary resources, there is the option of buying OSRS gold.
Regardless if you’re chasing after regular Hydras or their boss relative, this guide covers everything you need to know: where to find them, how to kill them, and how to prepare your gear and inventory.
Also read: Bloodveld OSRS Guide – Locations, Drops & Slayer Tips
Summary
Hydras require 95 slayer
All Hydras are located in the Karuulm Slayer Dungeon on Mount Karuulm
Regular Hydras offer steady GP and consistent Slayer XP
Alchemical Hydra drops unique items: Hydra claw and Hydra leather
Alchemical Hydra offers one of the best GP/h in the game
Ranged is the most efficient and commonly used combat style
The Dragon hunter lance is a great option for melee
Are Hydras Worth Doing?
Hydras sit at the very top of the Slayer monsters, meaning that getting to them isn’t easy, so it is only natural that you want to make sure it was all worth it. As mentioned earlier, Hydras give a pretty good monetary payout, but there are easier ways to acquire gold; the other rewards are what decide if it is worth it.
There are a few benefits to targeting regular Hydras. First of all, killing a Hydra is a requirement for the elite Kourend & Kebos Diary, and to get a shot at fighting the Colossal Hydra. Quick and consistent grinding may also net you more slayer XP per hour than even the Alchemical Hydra if you know what you are doing.
Regular Hydras are guaranteed to drop Hydra bones, which can be used to gain XP. They can also drop their eyes, fang, and heart, which can be used to craft the brimstone ring, as well as their tail, which, once combined with a dragonbone necklace and a bonecrusher, makes the bonecrusher necklace. Other notable drops include the Dragon thrownaxe and Dragon Knife.
The greatest motivation for killing the Alchemical Hydra is its unique drops. Sure, the high XP is nice, and the excellent GP/h is beneficial once you know what you are doing, but the drops are where the true benefits lie.
Alchemical Hydras drop most of the same loot as regular Hydras, except that they drop two Hydra bones instead of one, and they have unique drops. The first unique drop is the Hydra claw, which, when combined with a Zamorakian hasta, creates the Dragon hunter lance. The other unique drop is Hydra leather, which is used on the machinery south-west of the pool in the Lithkren Vault to create Ferocious gloves.
Where to Find Hydras
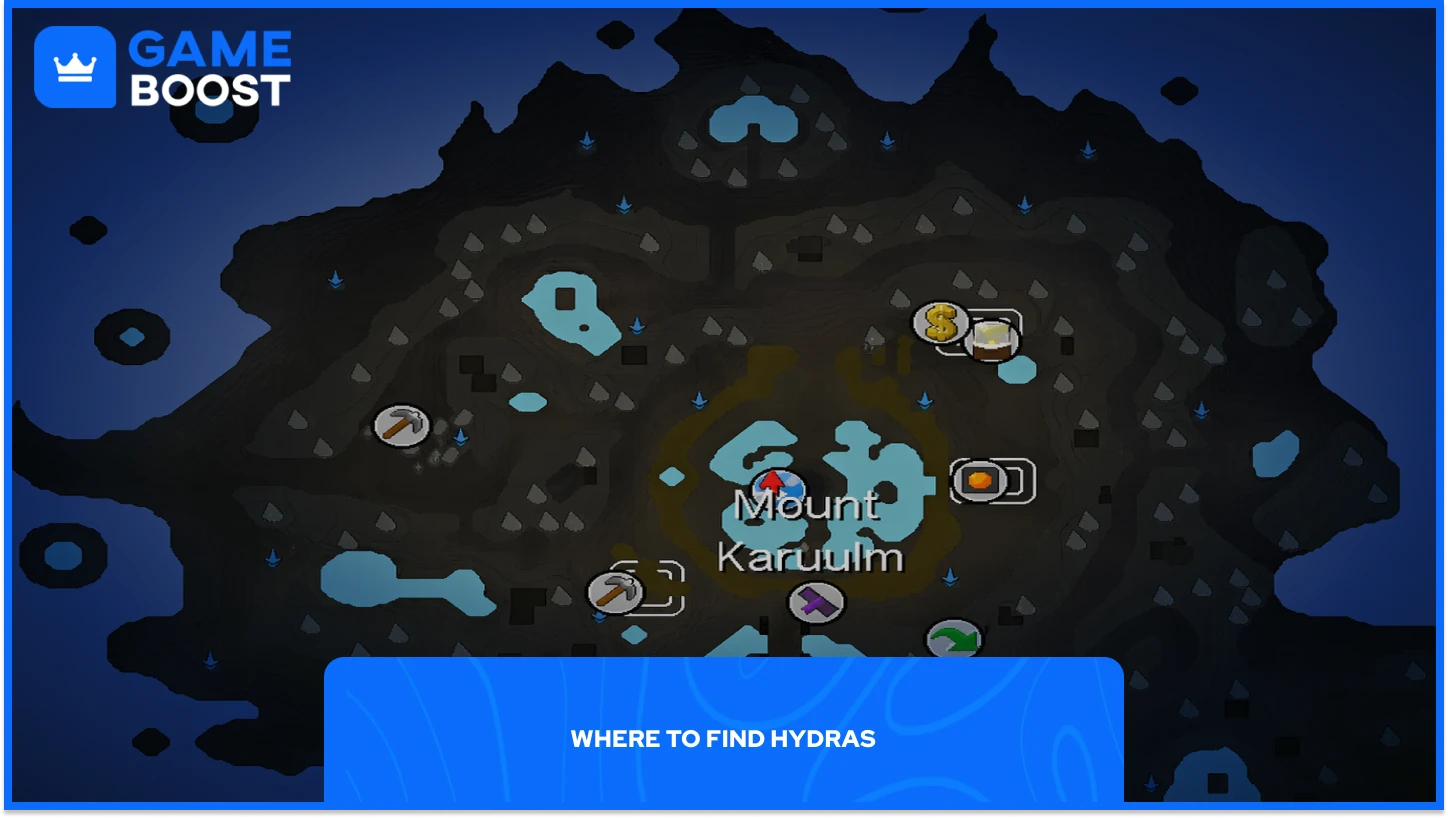
All Hydras, both the regular versions and the boss, are found exclusively in the Karuulm Slayer Dungeon on Mount Karuulm in the Kebos Lowlands. Players can reach the dungeon in three different ways. First, use the Fairy Ring code CIR, then travel northwest until you arrive at the entrance. Second, teleport to the Battlefront and run north to the dungeon. Third, if you have Rada’s blessing 3 or higher, you can teleport directly there by selecting the “Mount Karuulm” option.
Regular Hydras spawn in two sections of the dungeon's lower level, with 17 total spawns available. One section is accessible to anyone with the Slayer requirement, while the other is exclusive to players currently on a Hydra Slayer task.
The Alchemical Hydra's lair is at the northern end of the dungeon, past the Tasakaal area and then east through the Hydras chamber. You'll find Orrvor quo Maten guarding the boss entrance.
Once inside the dungeon, watch your feet. The dungeon floor deals constant damage unless you're wearing boots of stone, boots of brimstone, or granite boots, or have the Elite Kourend & Kebos Diary completed.
There's also a level 88 Agility shortcut via the mysterious pipe behind Kaal-Ket-Jor that leads directly to the Alchemical Hydra's lair, which is useful once you're farming the boss regularly.
Also read: OSRS Smithing Guide: Step-by-Step 1-99 Training
Gear and Inventory Setup

For inventory, regular Hydras are pretty relaxed. A standard combat setup, a few prayer potions, some food, and antipoison will carry you through; just make sure you stock up properly. Bringing a cannon speeds up kills in the regular area, and prayer flicking can stretch your supplies further.
The Alchemical Hydra is a different story; longer trips benefit from stacking more prayer potions or restores, a ranging or super combat potion, and high-healing food like cooked moonlight antelope, which also clears poison. Antidote++ or Sanfew Serum helps if you’re not relying on food for poison removal.
When fighting regular Hydras and the Alchemical Hydra, most players lean toward Ranged. A Twisted bow sits at the top, with the Dragon hunter crossbow close behind, especially when paired with ruby dragon bolts (e) for big damage spikes. Masori gear, a Slayer helmet (i), and strong ranged accessories like a Necklace of anguish round out a high-end setup. If that’s out of reach, Armadyl or even Blessed dragonhide still performs well, and the Blowpipe can be surprisingly strong against the Alchemical Hydra.
Melee is a strong alternative and often cheaper to maintain, though it requires cleaner movement during the fight. A Dragon hunter lance stands out here, with other solid options like Osmumten’s fang or Ghrazi rapier. Strength-focused gear, such as Bandos, helps maintain good damage. This style trades some simplicity for consistency, so it suits players who are comfortable with positioning and mechanics.
Combat Strategy
In this section, we’ll go over how Hydra fights actually play out in OSRS, from the simpler regular Hydras to the much more involved Alchemical Hydra. You’ll get a clear look at their attack patterns, the mechanics that can catch players off guard, and how to deal with things like poison splats, lightning, and the vent system. The idea is to make the whole fight feel less chaotic so you can stay consistent, take fewer hits, and get through Hydra tasks without it turning into a chore.
Fighting Regular Hydras
Regular Hydras aren't complicated once you know what to expect. They open with either Magic or Ranged (random), then swap styles every three attacks. The magic attack looks like dark green trails from the left head, while the ranged attack is a throwing knife from the right. Start on whichever protection prayer covers your weakest defence and swap when you see the style change.
After roughly 30 seconds of combat, the middle head starts spitting poison at three tiles: one on your location, two nearby. Each blob has a 3x3 AoE, and the pools they leave deal up to 4 poison damage every two ticks. Just move off your tile when you see the animation, and you'll be fine.
Worth noting: a June 2025 combat update gave Hydras a 40% elemental weakness to earth spells, so magic is more viable here than it used to be. Ranged still wins on efficiency, though. You can also bring a dwarf multicannon on task, which speeds kills up nicely without replacing prayer management.
Fighting the Alchemical Hydra
The Alchemical Hydra is a four-phase boss fight. Each phase begins when the boss crosses a 25% health threshold (825, 550, and 275 HP), losing one head each time. The phase-specific mechanics are all avoidable, and avoiding them is the difference between a clean kill and dying to chip damage.
At the start of each phase, the boss applies a 75% damage reduction to itself. To remove it, lure the Hydra over the correct chemical vent on the floor. The colours follow the combat triangle: green carapace needs the red vent to weaken it, blue needs green, red needs blue. Wrong vent and its attacks get boosted against you by up to 50%.
As mentioned earlier, the Alchemical Hydra has multiple phases, four to be exact, and we will be covering each of them and how to beat them.
Phase 1: Poison (Green) Alchemial Hydra
Fighting the first phase is similar to fighting the regular Hydras. After three auto-attacks, the Hydra launches a spread of poison blobs onto and around your tile. They splash a 3x3 area for up to 7 damage and leave poison pools on the ground that hit up to 12 per tick. The fix is simple: run north on the Hydra's fourth attack once it is inside the red chemical pool and attack from range.
Phase 2: Lightning (Blue) Alchemial Hydra
During this phase, the Alchemical Hydra summons an electric ball that appears in the centre of the room, then four lightning currents converge from the corners toward your position. Getting caught deals up to 22 damage and binds you.
Your safest option: run west along the northern wall while attacking the Hydra from range. You can also try starting near the middle and looping around one of the last lightning spawns, thus avoiding the damage. Advanced players can also trap the lightning in the north-west corner by moving diagonally south-east when it's two tiles away, then immediately stepping one tile north.
Phase 3: Flame (Red) Alchemical Hydra
Perhaps the trickiest phase. The Hydra walks to the room's centre, briefly stuns you, then breathes a 5x5 fire spread to the side of you before launching a tracking fire directly at you. The tracking fire speeds up the further you are from it, or if you run. Your best move: turn off run and walk in a line so the fire trails behind you predictably. Getting hit takes up to 25 damage, plus a burn of 5 damage for 5 hits. After the tracking fire is launched, the Hydra will not attack for about 7 ticks.
This phase is easier for ranged players, as they will still be able to attack the Hydra through the flames. Thankfully for melee players, the flames can be trapped by standing on a tile adjacent to the green vents.
Phase 4: Enraged (Grey) Alchemical Hydra
During this phase, it is no longer necessary to lure the hydra to chemical pools as its damage reduction ability does not reset. The Hydra's attack speed increases to every four ticks, it deals up to 55 damage per hit, and it now alternates between combat styles every single attack, without an initial warning animation. At the start of this phase, the Hydra will start with the combat style opposite to what it used in the previous phase.
Switch your protection prayer on every single attack. You can safely swap as soon as the Hydra begins its attack animation for the current hit. On the fourth attack and every ninth after, it also throws poison blobs from phase 1 that you can dodge the same way.
If you're on a Slayer task, consider swapping to a bracelet of slaughter during the poison dodge here, as your prayer doesn't need to switch, so your hands are free. It can also be used to extend Slayer tasks. Keep in mind that offensive gloves should be worn as long as possible.
Also read: Fighter Torso OSRS: Everything You Need to Know
FAQs About Hydras
Q: Do I need to be on a Slayer task to kill Hydras?
A: For regular Hydras, no, you just need level 95 Slayer. The Alchemical Hydra, though, is strictly task-only.
Q: Where are Hydras located in OSRS?
A: All Hydras are found inside the Karuulm Slayer Dungeon on Mount Karuulm.
Q: What’s better to fight, Regular Hydra or Alchemical Hydra?
A: Regular Hydras are simpler and good for consistent Slayer XP. Alchemical Hydra offers much higher profit but requires more attention and mechanical knowledge.
Q: What is the best combat style for Hydras?
A: Ranged is the most efficient option, with Twisted bow or Dragon hunter crossbow setups being top-tier.
Q: Are Hydras good money in OSRS?
A: Yes. Regular Hydras provide steady profit, while Alchemical Hydra offer some of the best GP/h in the game.
Final Words
Hydras sit at the top end of Slayer content for a reason. They reward preparation, consistency, and understanding of mechanics more than raw gear alone. Regular Hydras offer relaxed, steady profit once you learn their rhythm, while the Alchemical Hydra pushes you into more structured, phase-based combat with much higher rewards, with one of the better GP/hr activities available without needing a raid setup.
They aren’t meant to feel effortless at first. Once the patterns click, the fight becomes predictable, and the GP and XP start stacking naturally. Whether you stick to regular kills or move into the boss, Hydras remain one of the most reliable long-term Slayer grinds in OSRS.
OSRS & GameBoost Products
“ As a lifelong gamer with interests in multiple genres, Mario has a wide variety of knowledge when it comes to gaming, except, ironically, Super Mario. Using his experience and passion for games, Mario aims to create engaging and useful articles.”
