


Konar OSRS Guide: Everything You Need to Know
If you've been grinding Slayer and wondering whether Konar is worth your time, you're in the right place. Konar quo Maten is one of the more distinctive Slayer masters in OSRS, not just because of where she sits in the hierarchy, but because of how she operates. Most masters hand you a target and send you on your way. Konar tells you exactly where to go kill it, which changes the dynamic of Slayer in ways that can work for or against you.
The odd nature of her slayer tasks can be frustrating, forcing players to occasionally use their slayer reward points to block a task, possibly costing more than what they would earn doing another master’s slayer quest. You can offset this loss by doing a bit of grinding and boosting your available slayer reward points through other slayer quests, or you could purchase OSRS gold to offset the cost. Before spending your time and money, try to read this article and make a decision based on the information we give you. This guide covers everything you need to know about Konar: who she is, how to reach her, what tasks she gives out, and whether she's actually worth it.
Also Read: Bloodveld OSRS Guide – Locations, Drops & Slayer Tips
Summary of the Konar OSRS Guide
Konar quo Maten is a unique Slayer master in OSRS who assigns both monsters and mandatory locations
Players need at least combat level 75 to receive tasks from her
She offers some of the best Slayer point rewards, second only to Krystilia
Konar is the only Slayer master who assigns Hydra and Alchemical Hydra tasks
Completing Konar tasks gives players a chance to earn valuable brimstone keys
Her location-locked tasks can be inconvenient for boss farming and efficient grinding
Konar is best suited for players focused on Slayer points and Hydra content
Who Is Konar?
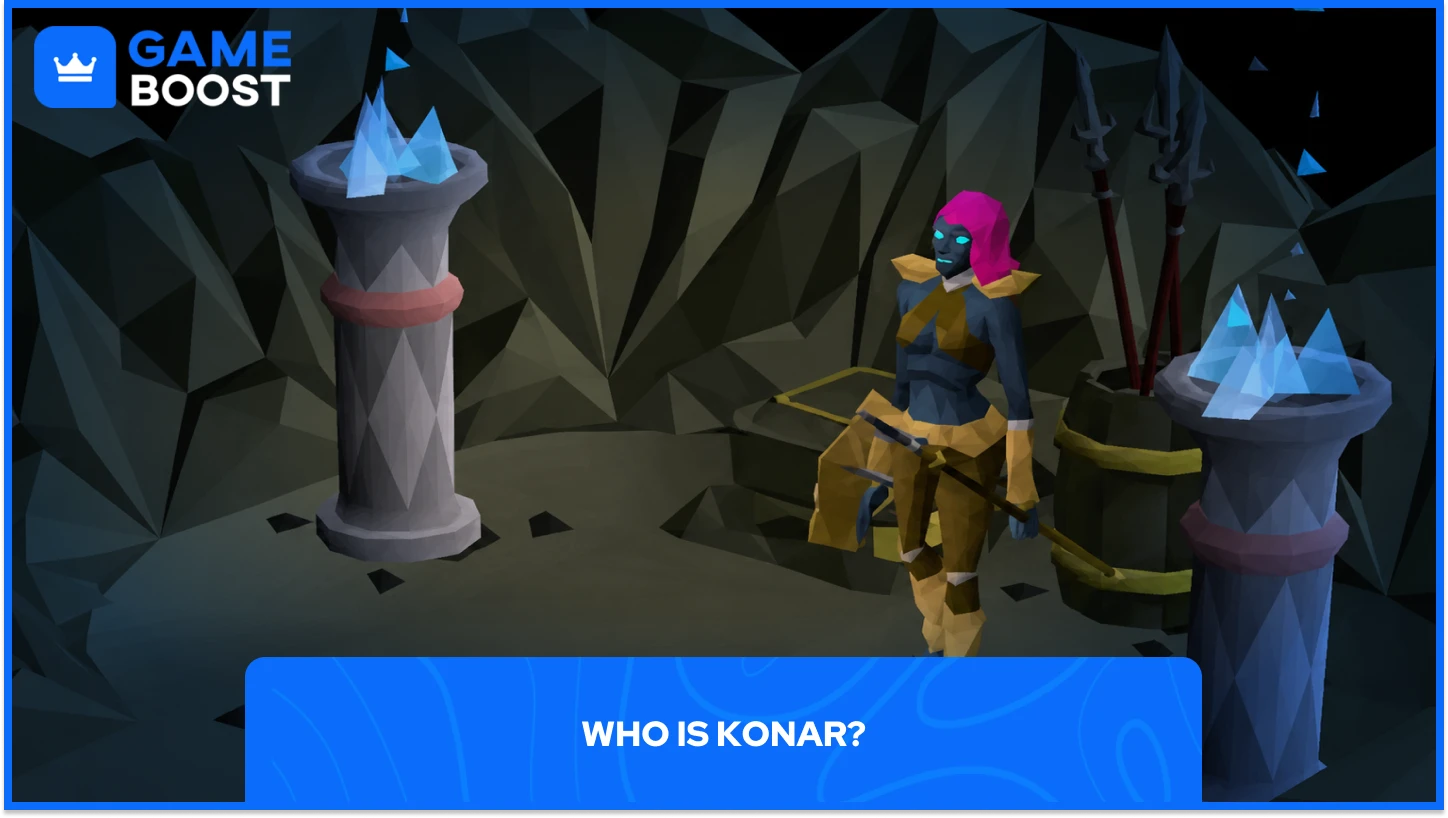
Konar quo Maten, which translates as Konar the Hunter, is a Kahlith Slayer master who has been running tasks from the top of Mount Karuulm. Her in-game examine text reads: "She looks dangerous, and slightly crazy!", which honestly tracks with her taskmaster philosophy.
Her location-locked mechanic is the core of what sets her apart. When she rolls your task, a second roll immediately fires to decide where that task gets completed. If you haven't unlocked an area through quests, that location simply won't appear in the pool, so your progression through the game directly affects which assignments you can receive.
How to Get to Konar
Konar stands at the Kahlith settlement on the summit of Mount Karuulm. There are multiple ways you can get there, the easiest being with the Rada’s Blessing 3 or 4’s teleport. You could also use the CIR Fairy ring and then head north, or you could use Skills Necklace or Farming cape to teleport you to the Farming guild, from there you just head north again to get to Konar.
Battlefront Teleport is another walking option, once again requiring you to head north from the teleport destination. Finally, the NPC Contact spell works once you've spoken to her in person first. The right-click "Assignment" option alone won't unlock her for remote contact, so you need to actually walk up and talk to her at least once.
Konar Requirements
Getting tasks from Konar is straightforward. Combat level 75 is the only hard requirement. No quest needed, no Slayer level gate to reach her. Just be level 75 combat and you're good. She's members-only, as she is located in a members-only area, so you could technically consider that the second requirement.
It is worth noting that even if she is the third-highest Slayer master, she punches above her weight and gives the second highes slayer point reward per task, right behind Krystilia.
Also Read: How Much Does an OSRS Membership cost?
Konar's Tasks and Rewards
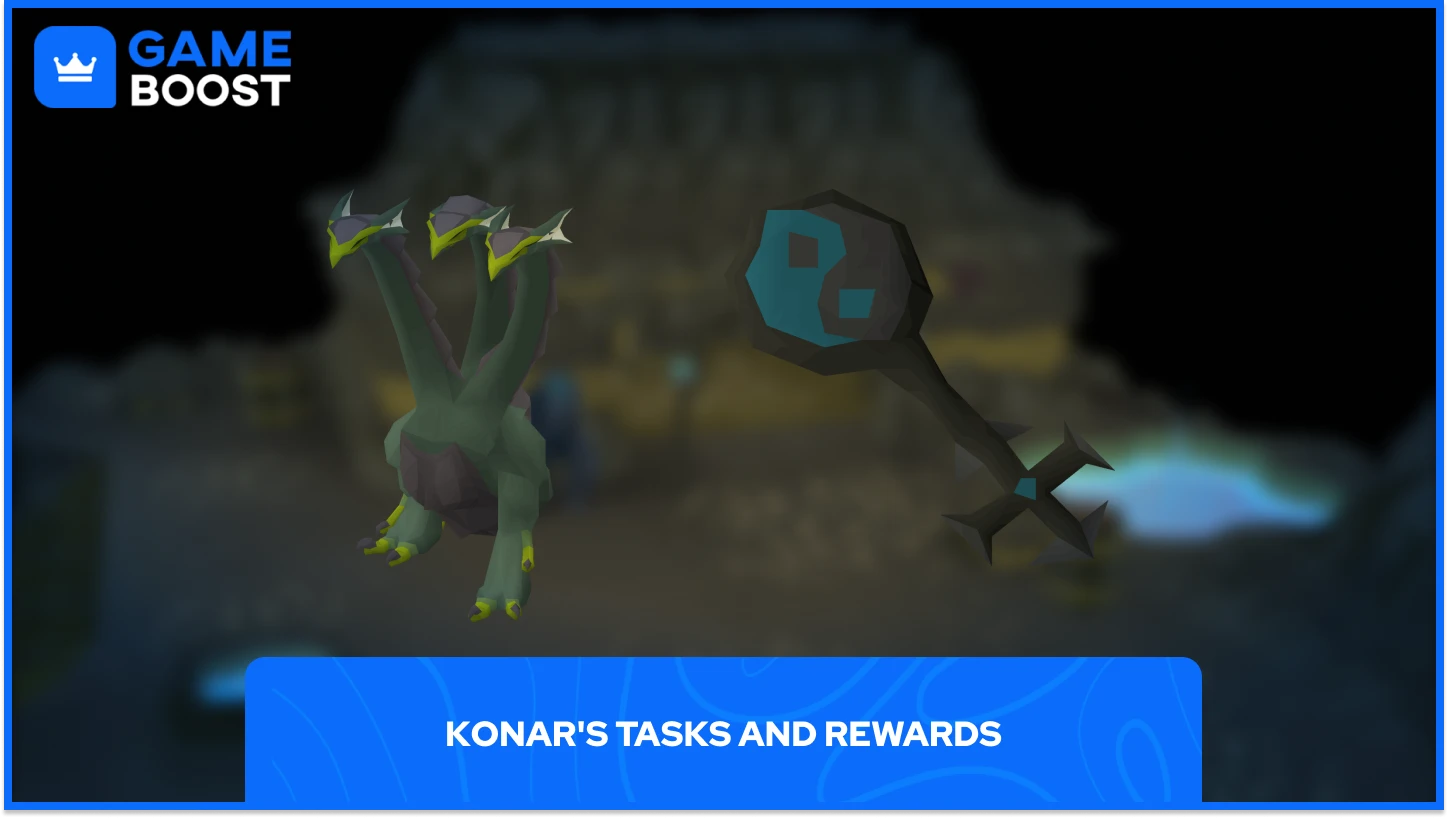
Konar's reward structure has two main components: Slayer points you earn per task, and brimstone keys you pick up from kills along the way. Both are worth understanding before you commit to her as your go-to master.
Slayer Points
Konar gives the second-best point rate per task in the game. The location requirement she slaps on every assignment is the trade-off, and the developers leaned into that by making her points unusually generous.
Blocking tasks costs 80 Slayer reward points, higher than most masters. So plan your blocks carefully.
Task Interval | Points given | |
|---|---|---|
Default | Elite Diary | |
Every task | 18 | 20 |
Every 10th | 90 | 100 |
Every 50th | 270 | 300 |
Every 100th | 450 | 500 |
Every 250th | 630 | 700 |
Every 1,000th | 900 | 1,000 |
Task List
Unlike other Slayer masters, Konar's assignments always come with a designated location. That second roll for location checks whether you've completed the quests needed to access a given area, so your task pool naturally expands as your account progresses.
Konar is also the only Slayer master who can assign hydras as a general task and the Alchemical Hydra as a boss task. If you want either of those on your Slayer log, she's your only option. No other master touches these assignments. She also assigns wyrms and drakes at a higher frequency and in larger quantities than other masters, relevant if you're trying to build up those task counts or just like the Karuulm Slayer Dungeon content.
Boss assignments work a bit differently with Konar than you might expect. If she sends you to kill abyssal demons in the Abyss, the Abyssal Sire counts as a valid kill. But if the same task rolls the Catacombs of Kourend as the location, the Sire is off the table. Location matters for which boss swaps are available. She is also unable to assign special locations.
Regardless, here is the full list of tasks Konar could assign you:
Monster | Image | Possible Locations | Amount | Extended | Alternative(s) |
|---|---|---|---|---|---|
Aberrant spectres | 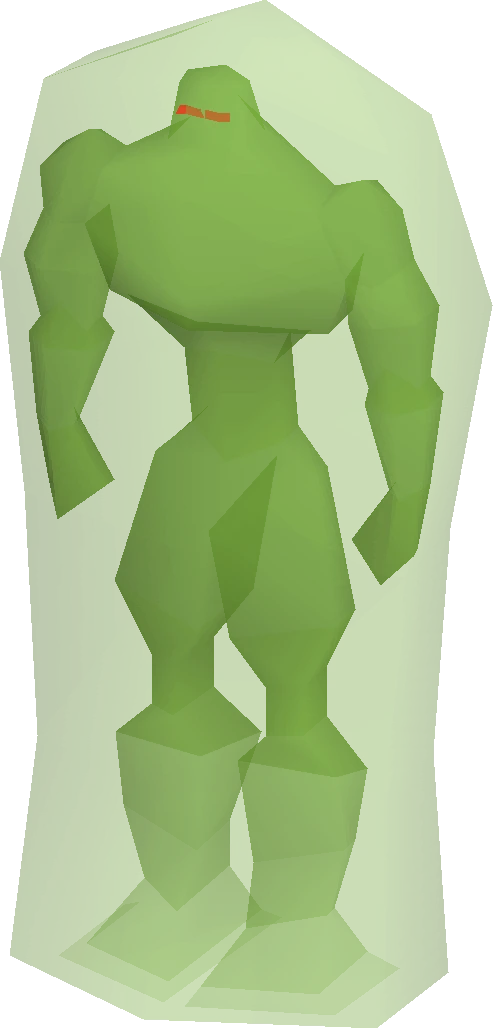 | Catacombs of Kourend Slayer Tower Stronghold Slayer Cave | 120-170 | 200-250 | Catacombs of Kourend: Deviant spectre |
Abyssal demons | 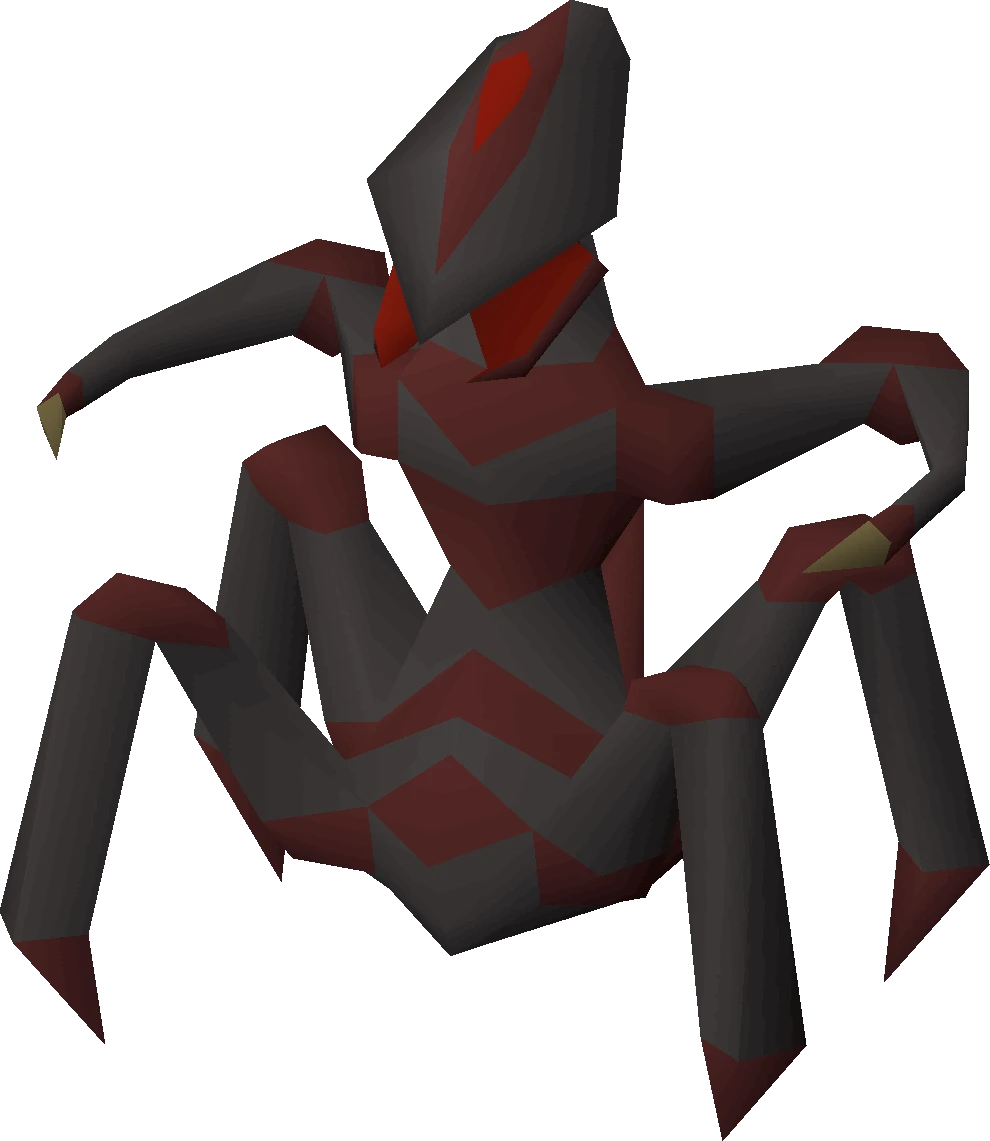 | Catacombs of Kourend Abyss Slayer Tower | 120-170 | 200-250 | Abyss: Abyssal Sire |
Ankou | 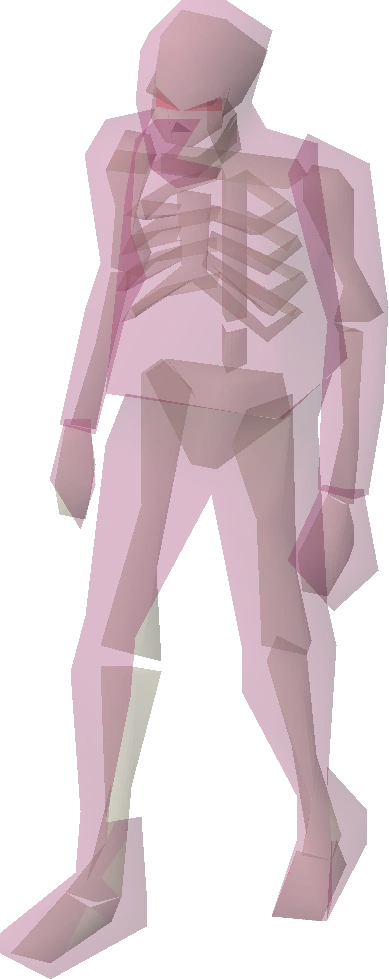 | Stronghold of Security Stronghold Slayer Dungeon Catacombs of Kourend | 50 | 91-150 | None |
Aviansie | 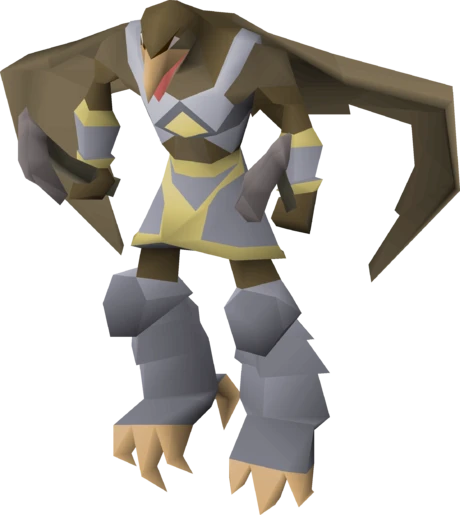 | God Wars Dungeon | 120-170 | 200-250 | Kree'arra, Flight Kilisa, Flockleader Geerin, Wingman Skree |
Basilisks | 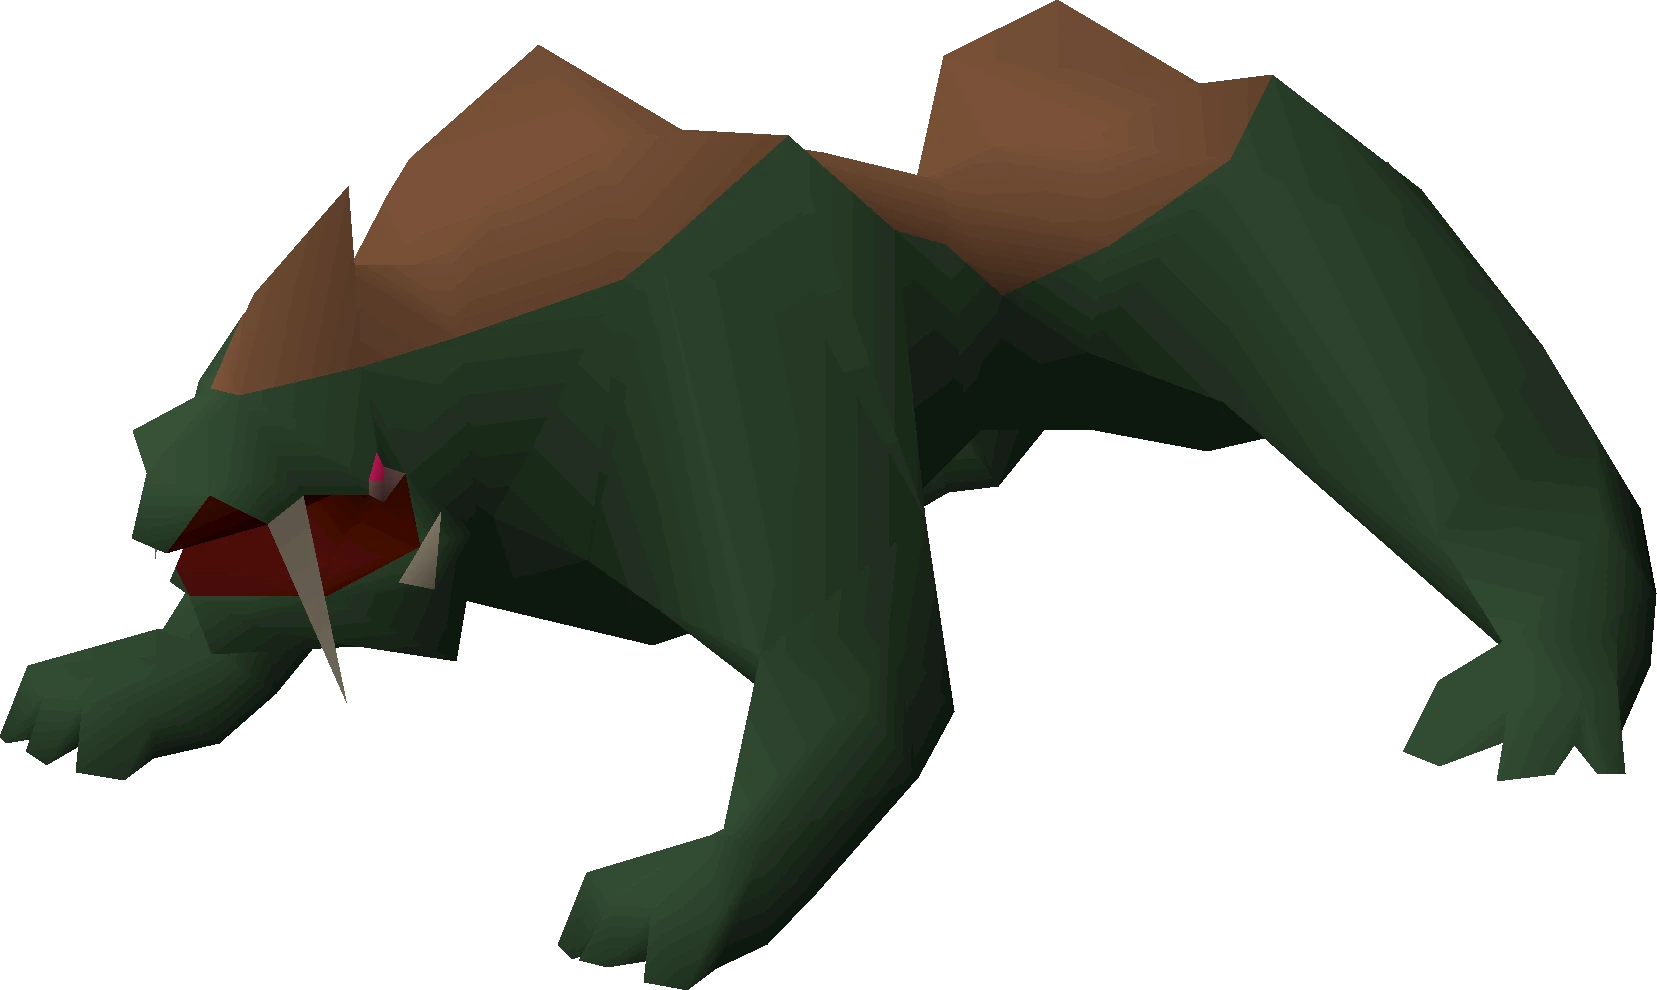 | Fremennik Slayer Dungeon Jormungand's Prison | 110-170 | 200-250 | Jormungand's Prison: Basilisk Knight |
Black demons | 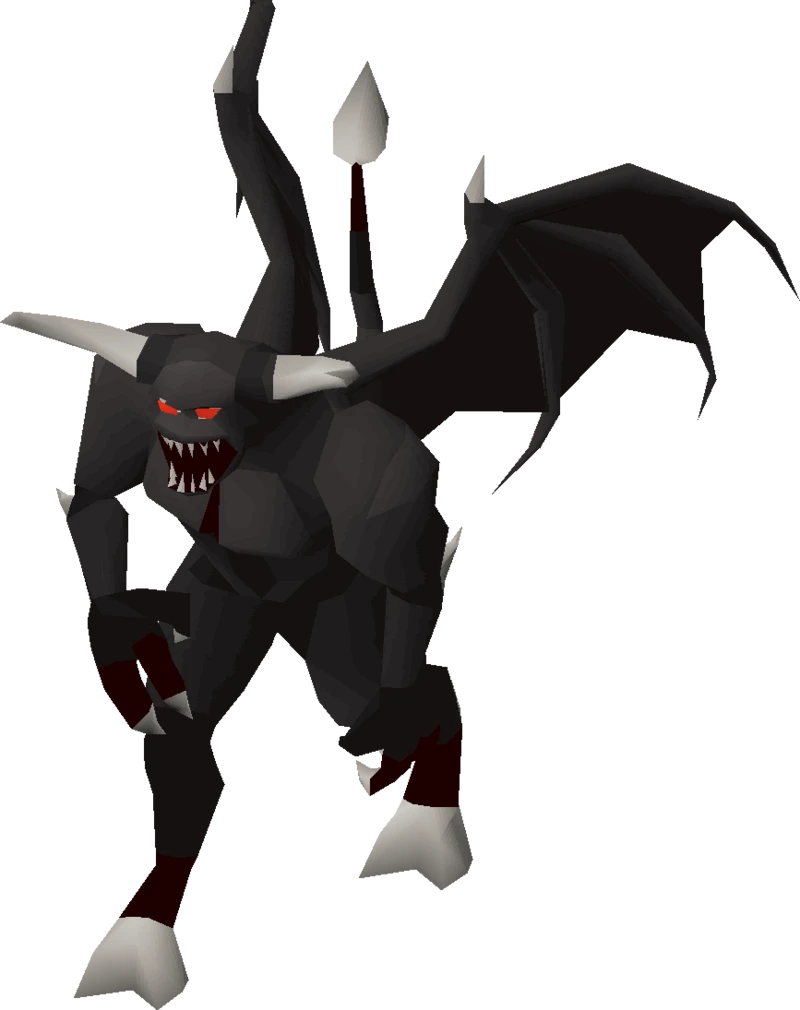 | Catacombs of Kourend Chasm of Fire Taverley Dungeon Brimhaven Dungeon | 120-170 | 200-250 | Catacombs of Kourend: Skotizo |
Black dragons | 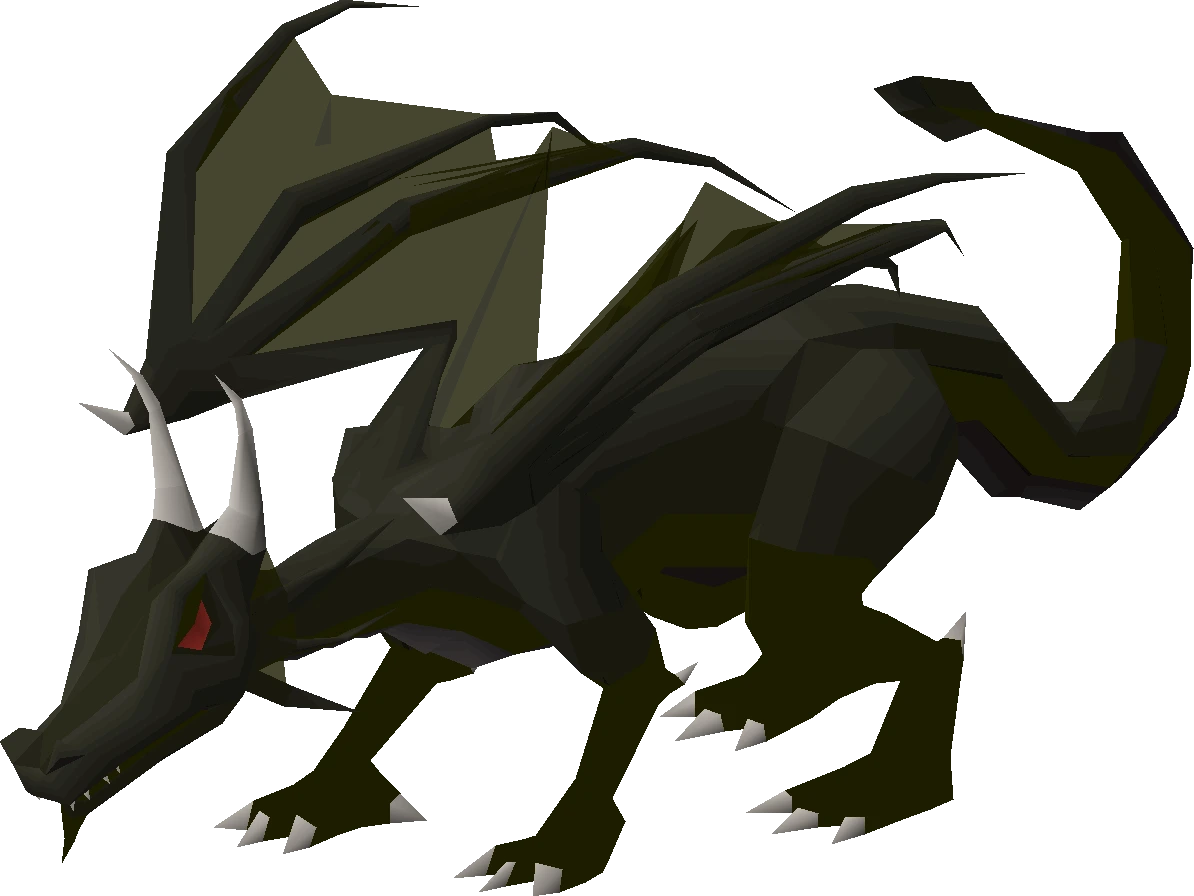 | Catacombs of Kourend Myths' Guild Dungeon Evil Chicken's Lair Taverley Dungeon | 10-15 | 40-60 | Catacombs of Kourend: Brutal black dragon Taverley Dungeon, Evil Chicken's Lair, Myths' Guild Dungeon: Baby black dragon |
Bloodveld |  | Catacombs of Kourend God Wars Dungeon Iorwerth Dungeon Meiyerditch Laboratories Slayer Tower Stronghold Slayer Dungeon | 120-170 | 200-250 | Catacombs of Kourend, Iorwerth Dungeon, Meiyerditch Laboratories: Mutated Bloodveld |
Blue dragons | 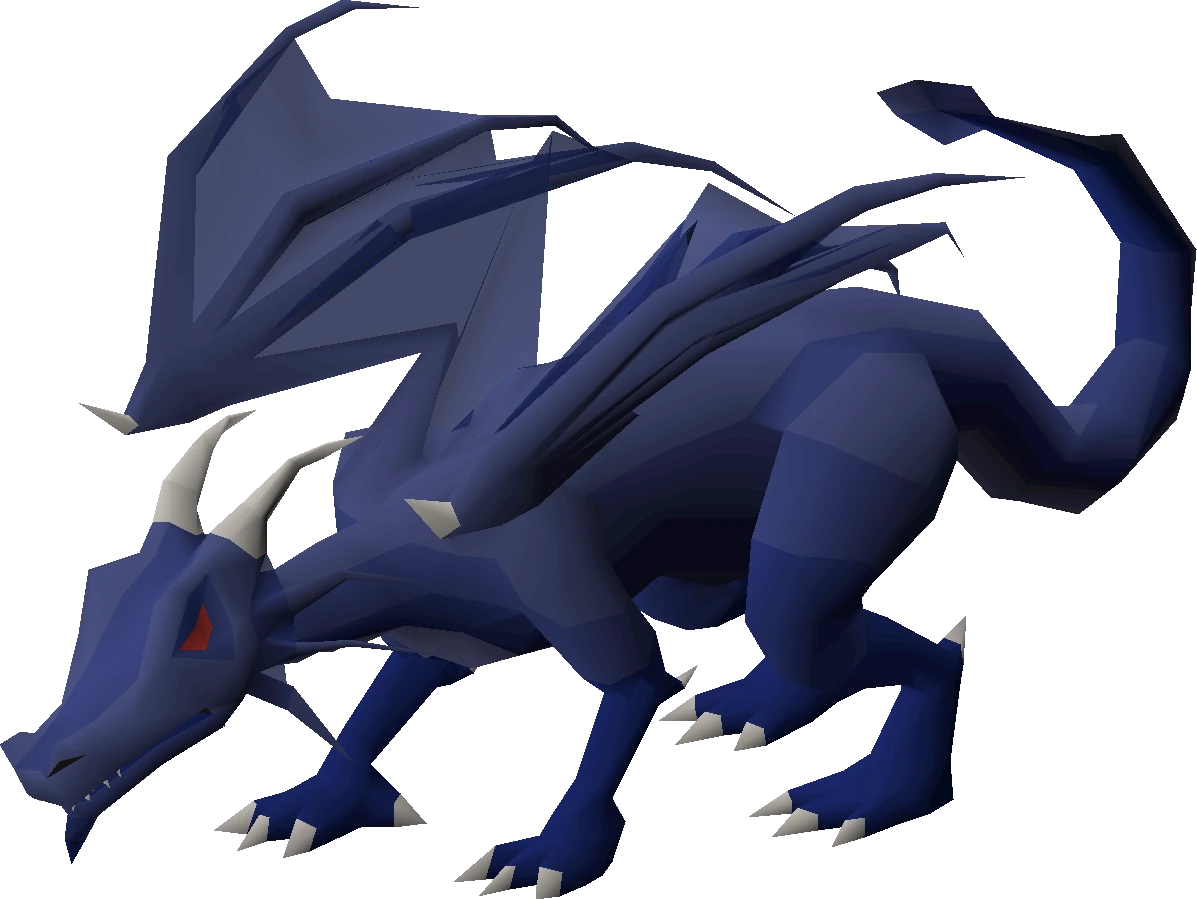 | Catacombs of Kourend Isle of Souls Dungeon Myths' Guild Dungeon Ogre Enclave Ruins of Tapoyauik Taverley Dungeon | 120-170 | N/A | Catacombs of Kourend, Ruins of Tapoyauik: Brutal blue dragon Taverley Dungeon, Myths' Guild Dungeon, Isle of Souls Dungeon, Ruins of Tapoyauik: Baby blue dragon |
Bosses | 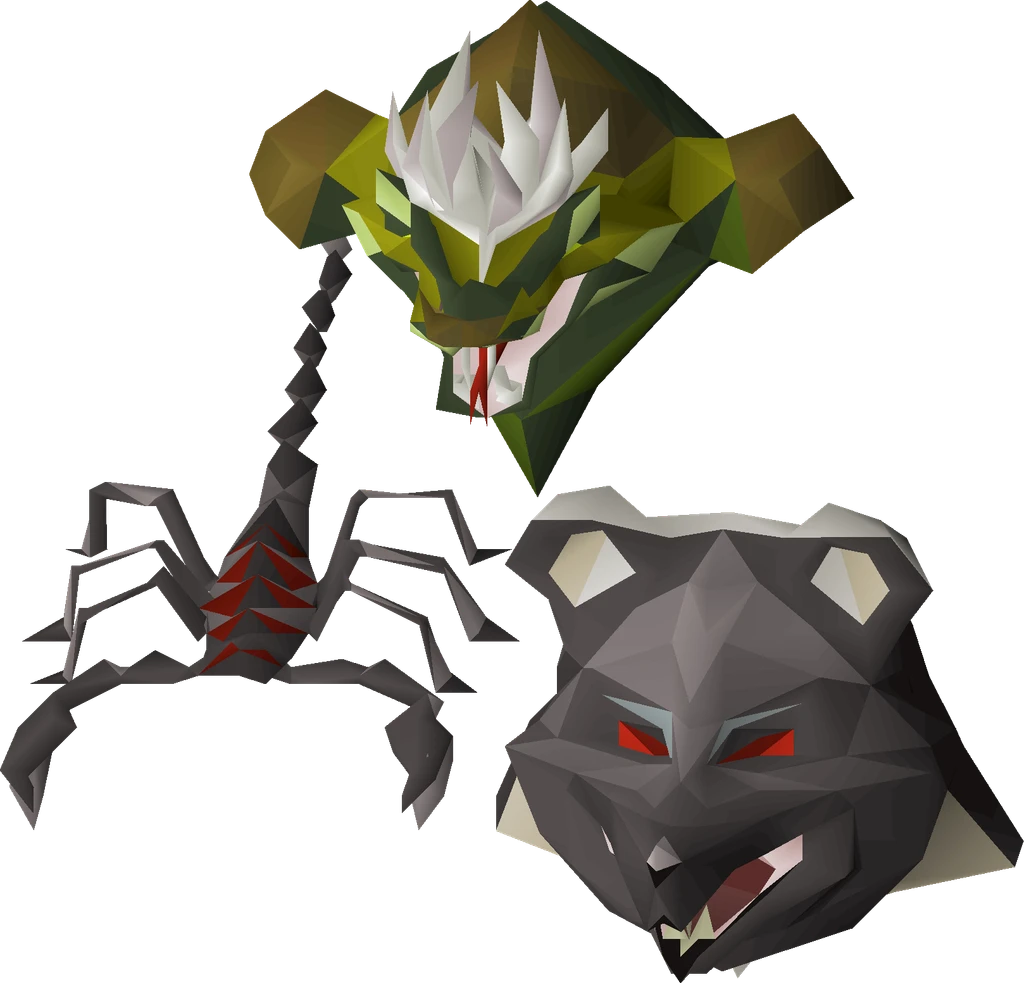 | Varies | 3-35 | N/A | None |
Brine rats |  | Brine Rat Cavern | 120-170 | N/A | None |
Cave kraken | 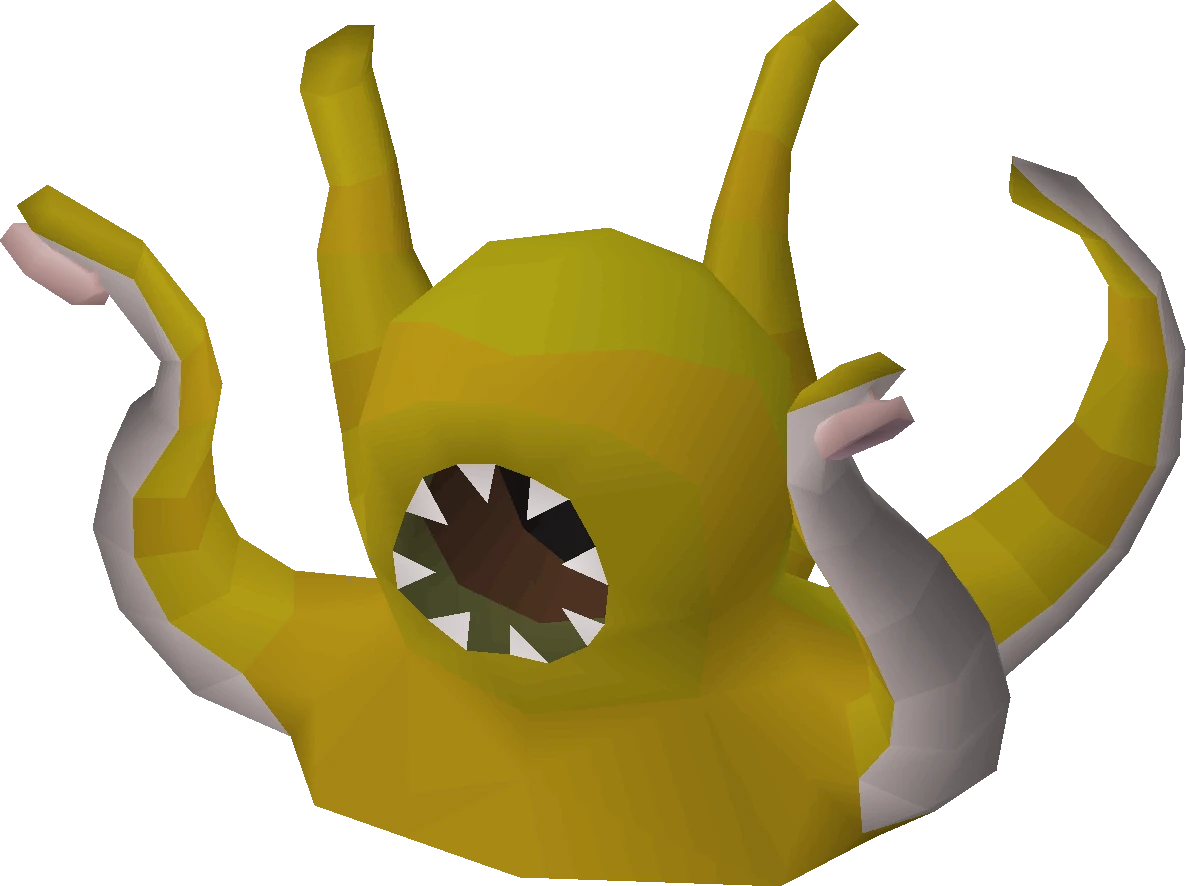 | Kraken Cove | 80-100 | 150-200 | Kraken |
Dagannoth | 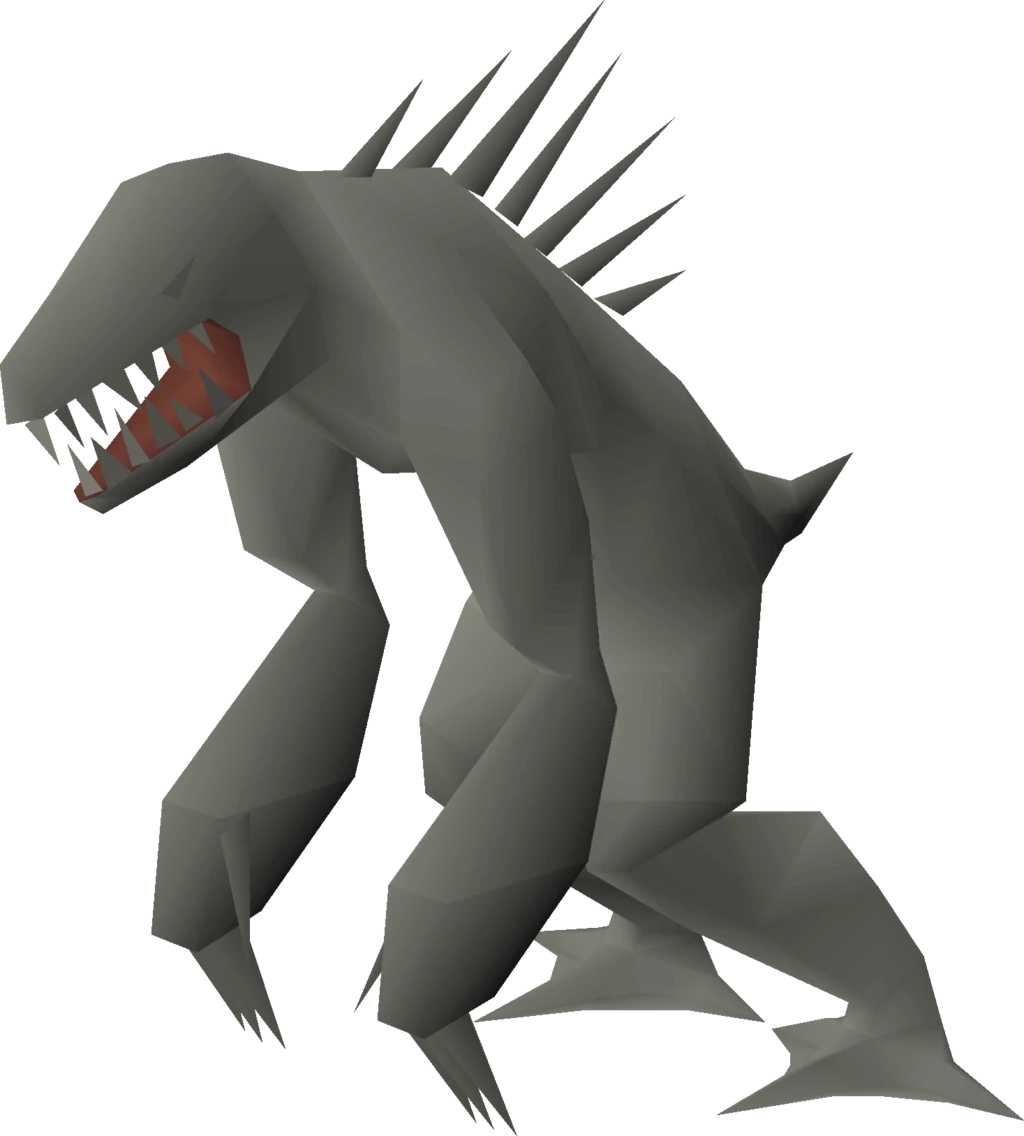 | Catacombs of Kourend Lighthouse Waterbirth Island Jormungand's Prison | 120-170 | N/A | Waterbirth Island: Dagannoth Kings, dagannoth spawn |
Dark beasts | 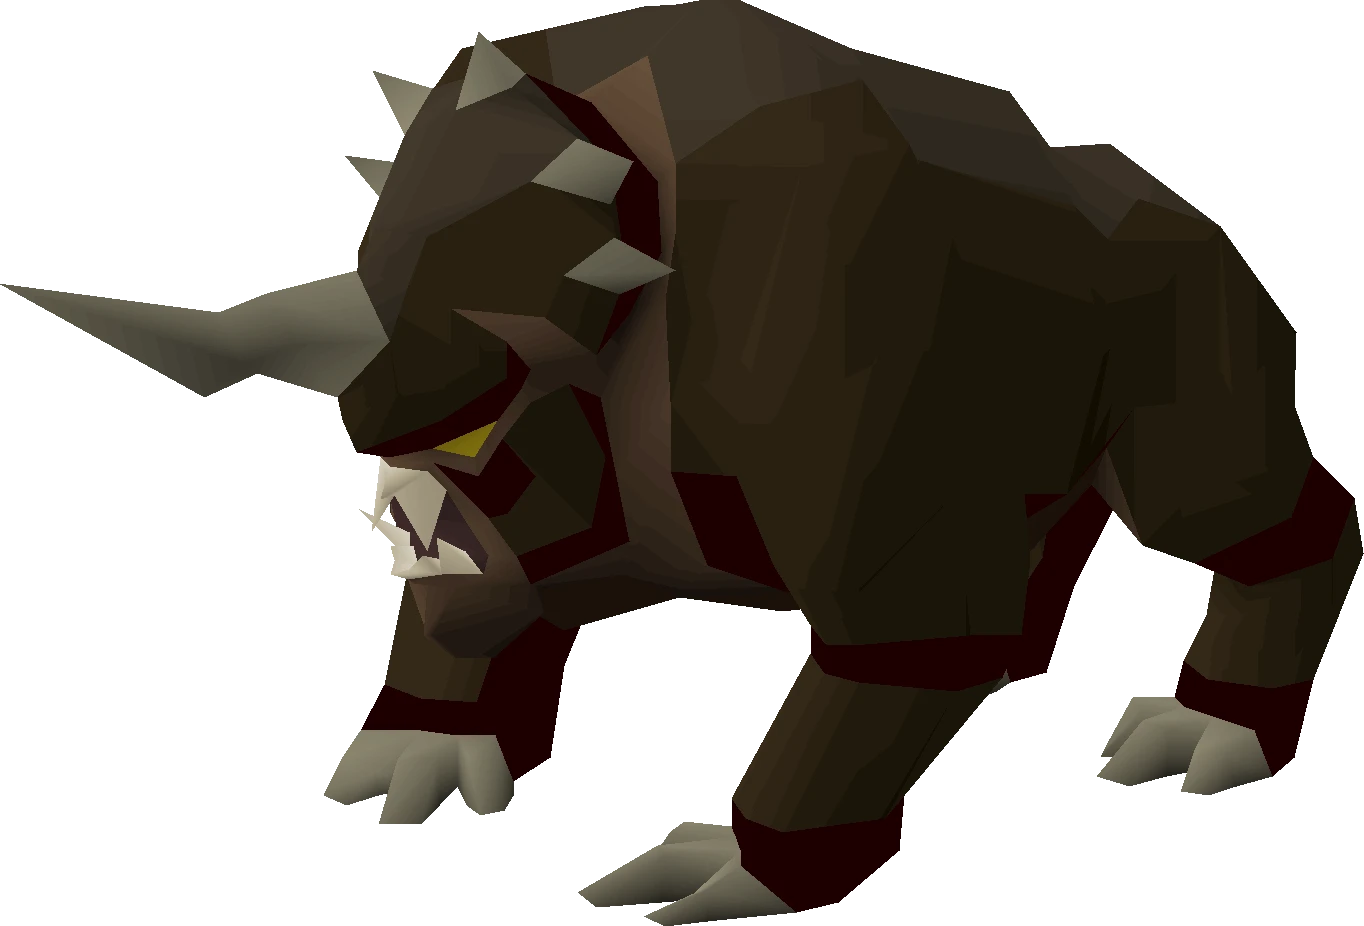 | Mourner Tunnels Iorwerth Dungeon | 10-15 | 110-135 | None |
Drakes | 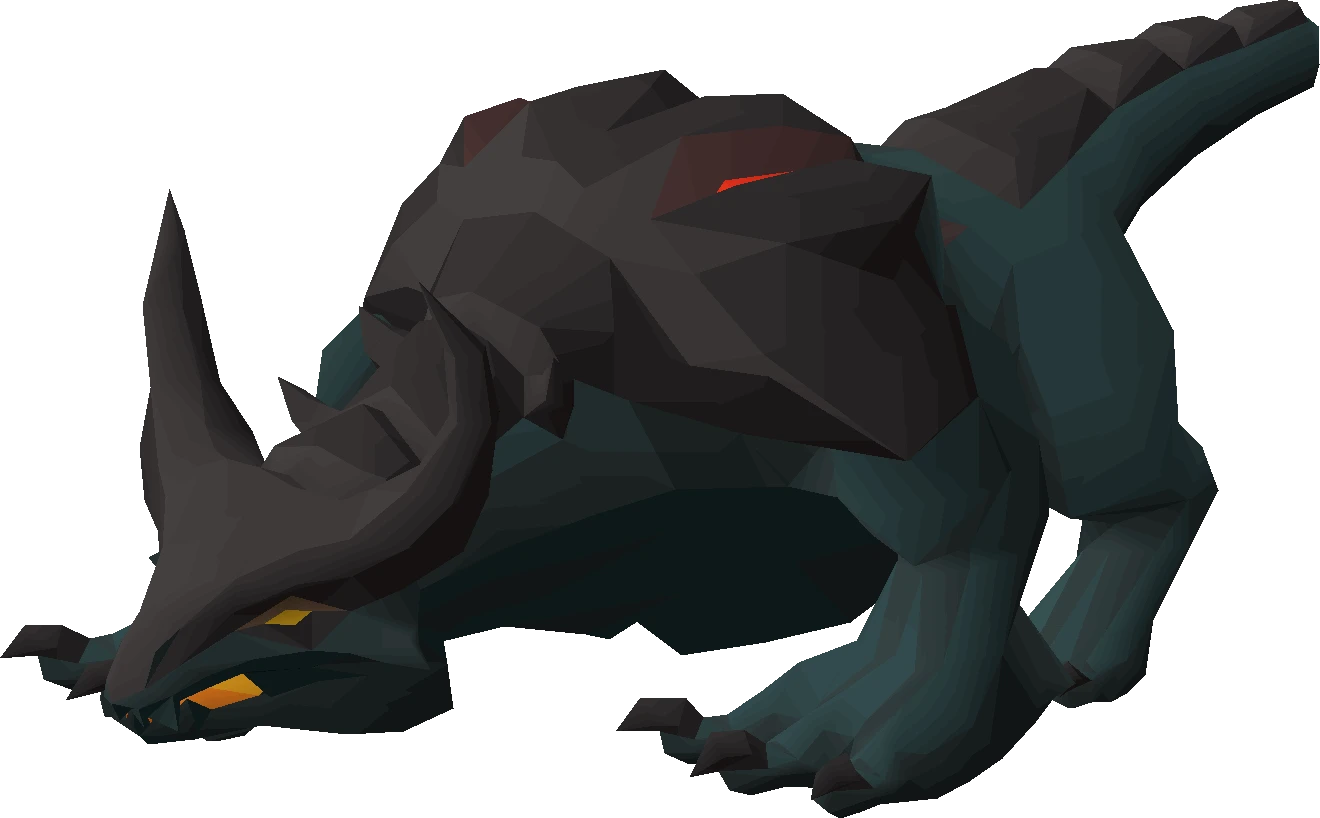 | Karuulm Slayer Dungeon | 75-140 | N/A | None |
Dust devils | 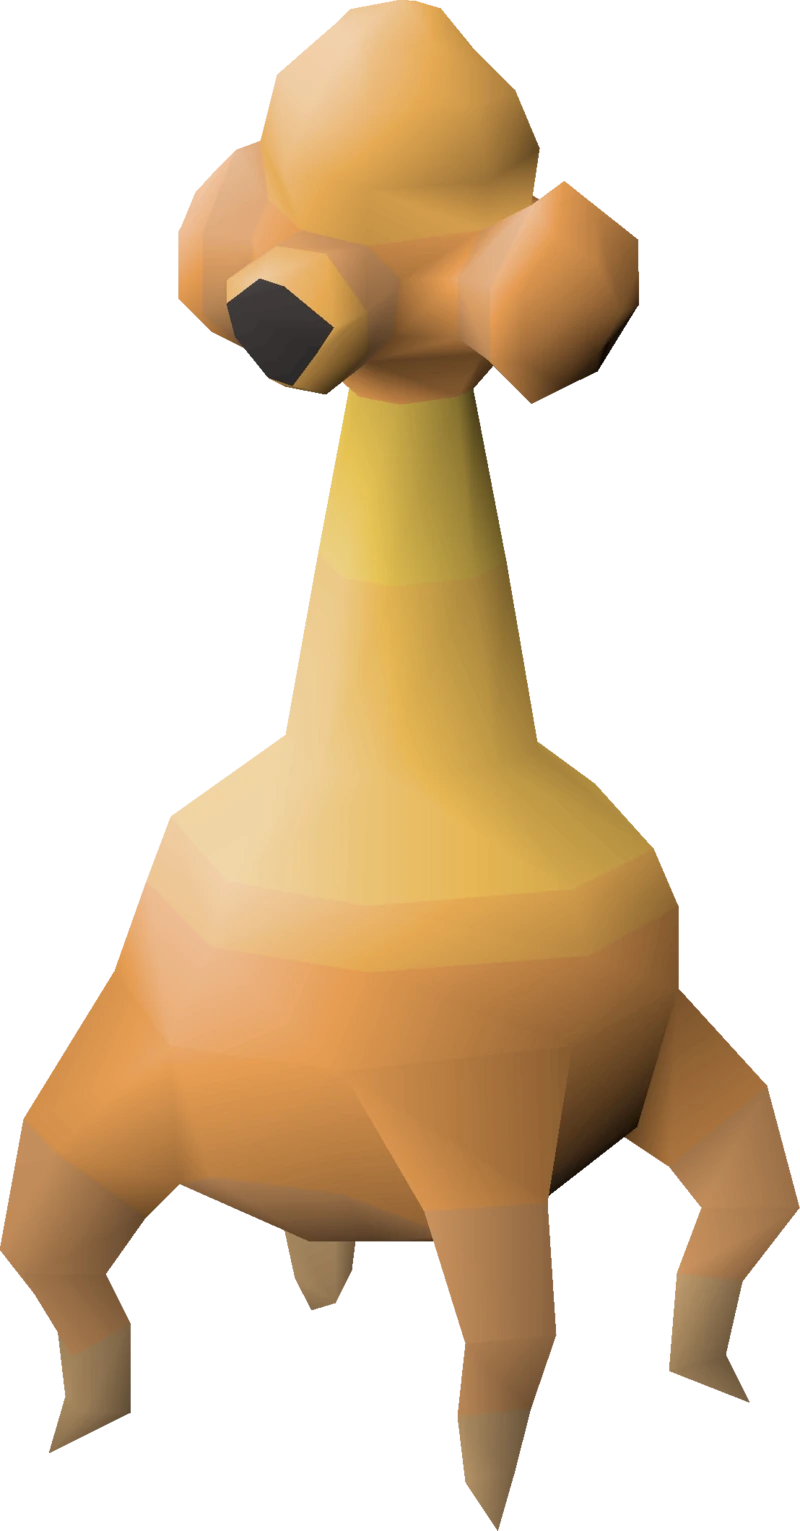 | Catacombs of Kourend Smoke Dungeon | 120-170 | 200-250 | None |
Fire giants |  | Brimhaven Dungeon Catacombs of Kourend Isle of Souls Dungeon Giants' Den Karuulm Slayer Dungeon Stronghold Slayer Dungeon Waterfall Dungeon | 120-170 | N/A | None |
Fossil Island Wyverns | 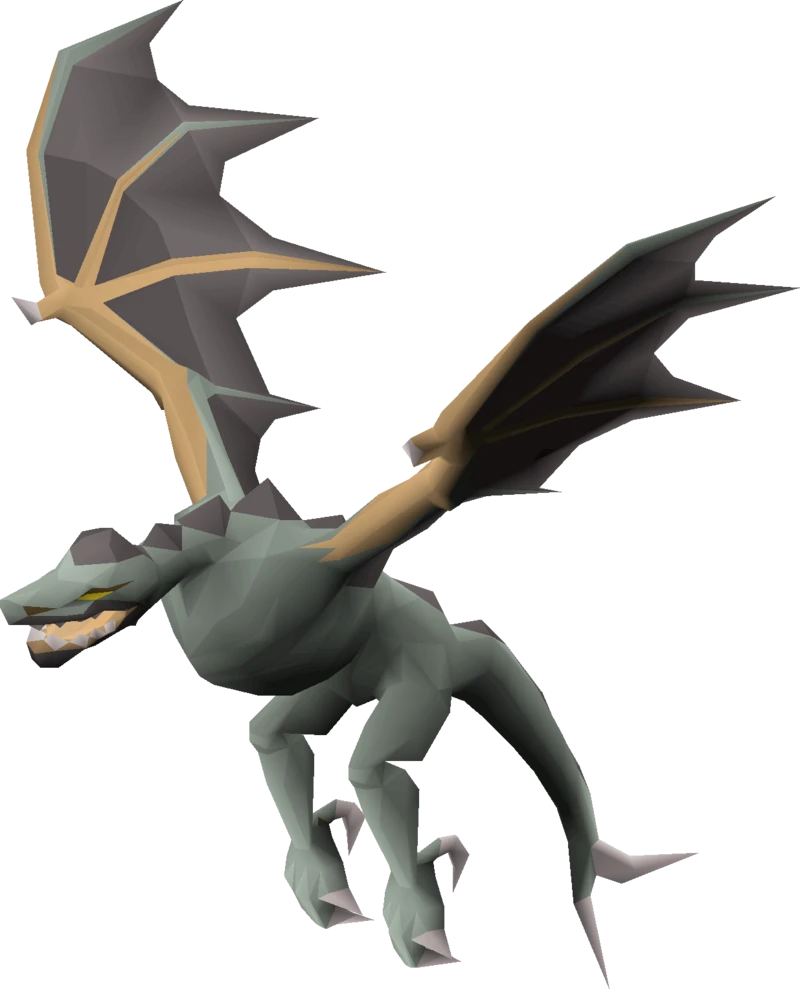 | Wyvern Cave | 15-30 | 55-75 | Spitting, taloned, and long-tailed wyvern Ancient Wyvern |
Gargoyles | 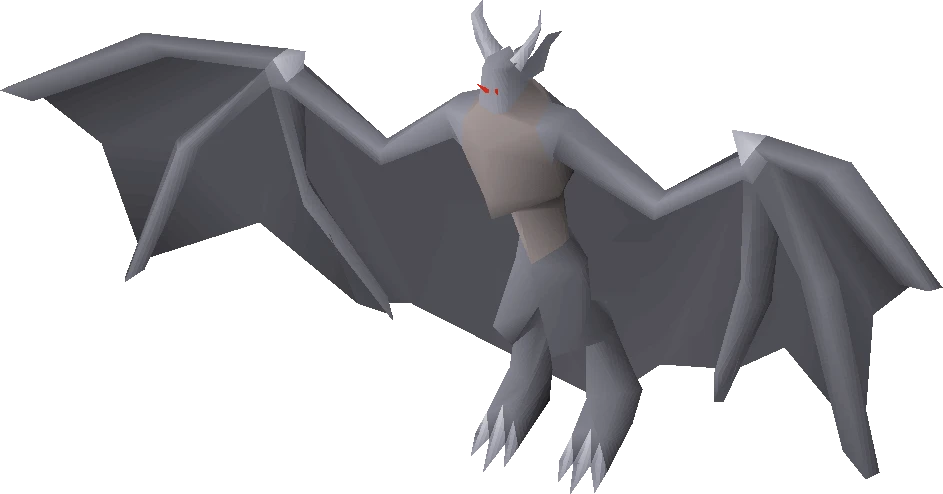 | Slayer Tower | 120-170 | 200-250 | Grotesque Guardians |
Greater demons | 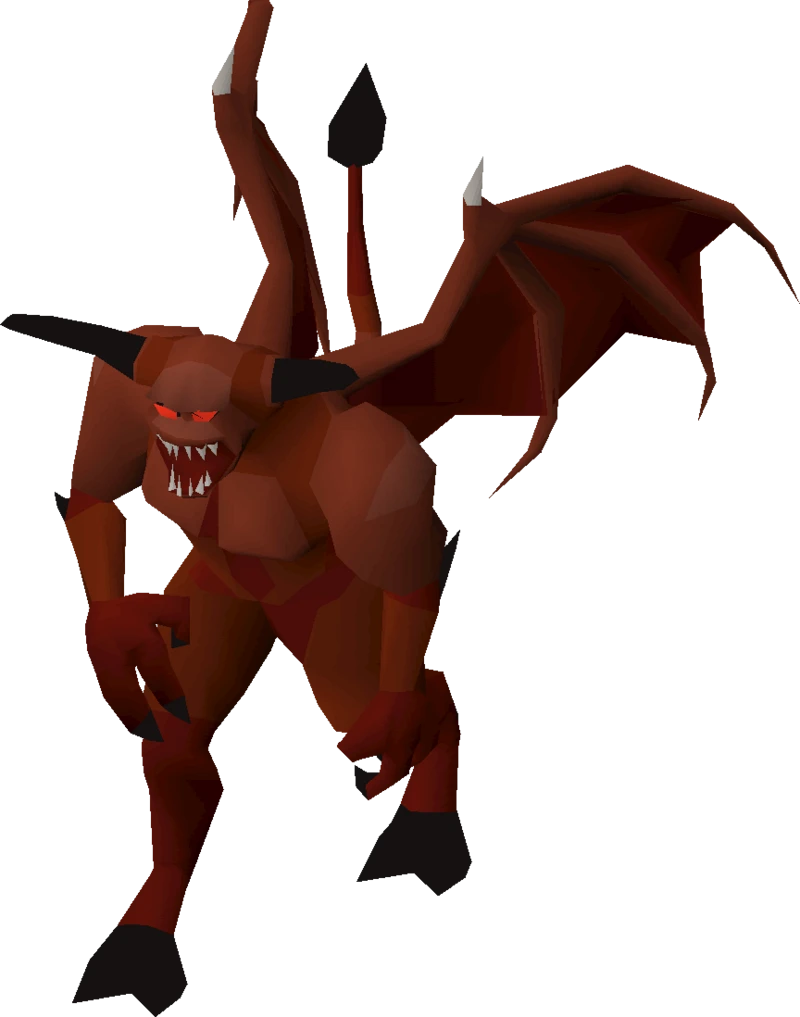 | Catacombs of Kourend Chasm of Fire Isle of Souls Dungeon Karuulm Slayer Dungeon Brimhaven Dungeon | 120-170 | 200-250 | Catacombs of Kourend: Skotizo |
Hellhounds | 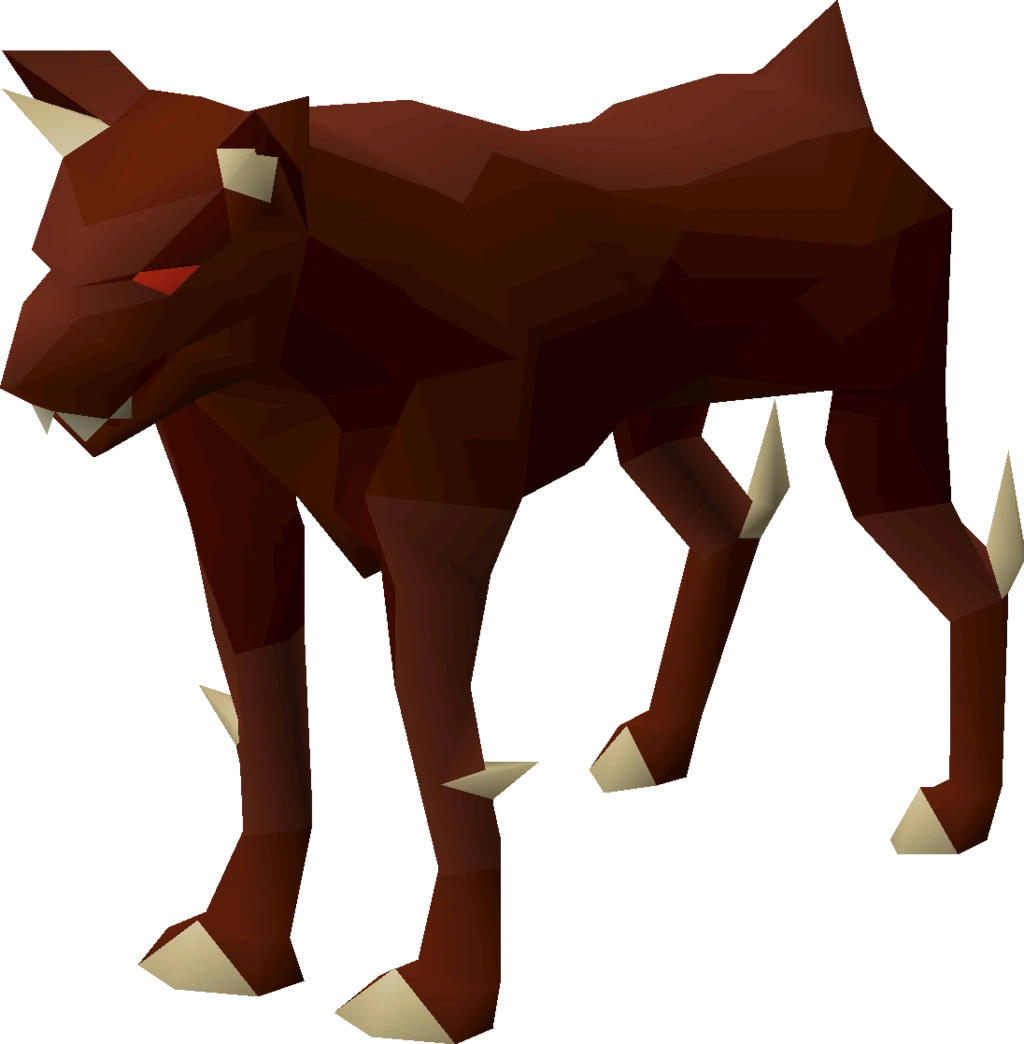 | Karuulm Slayer Dungeon Catacombs of Kourend Stronghold Slayer Dungeon Taverley Dungeon Witchaven Dungeon | 120-170 | N/A | Taverley Dungeon: Cerberus |
Hydras | 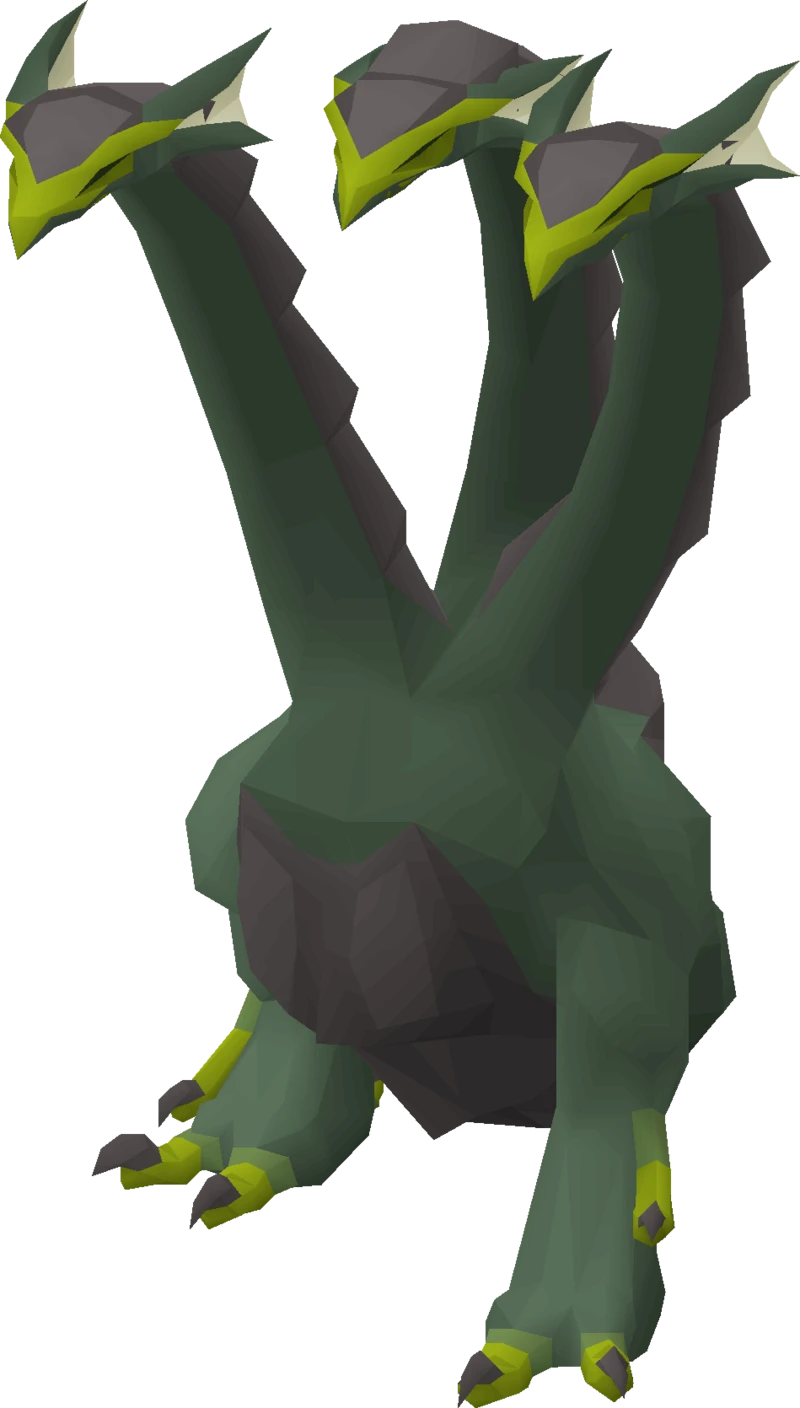 | Karuulm Slayer Dungeon | 125-190 | N/A | Alchemical Hydra |
Jellies |  | Fremennik Slayer Dungeon Catacombs of Kourend Ruins of Tapoyauik | 120-170 | N/A | Catacombs of Kourend: Warped Jelly Ruins of Tapoyauik: Chilled jelly |
Kalphite | 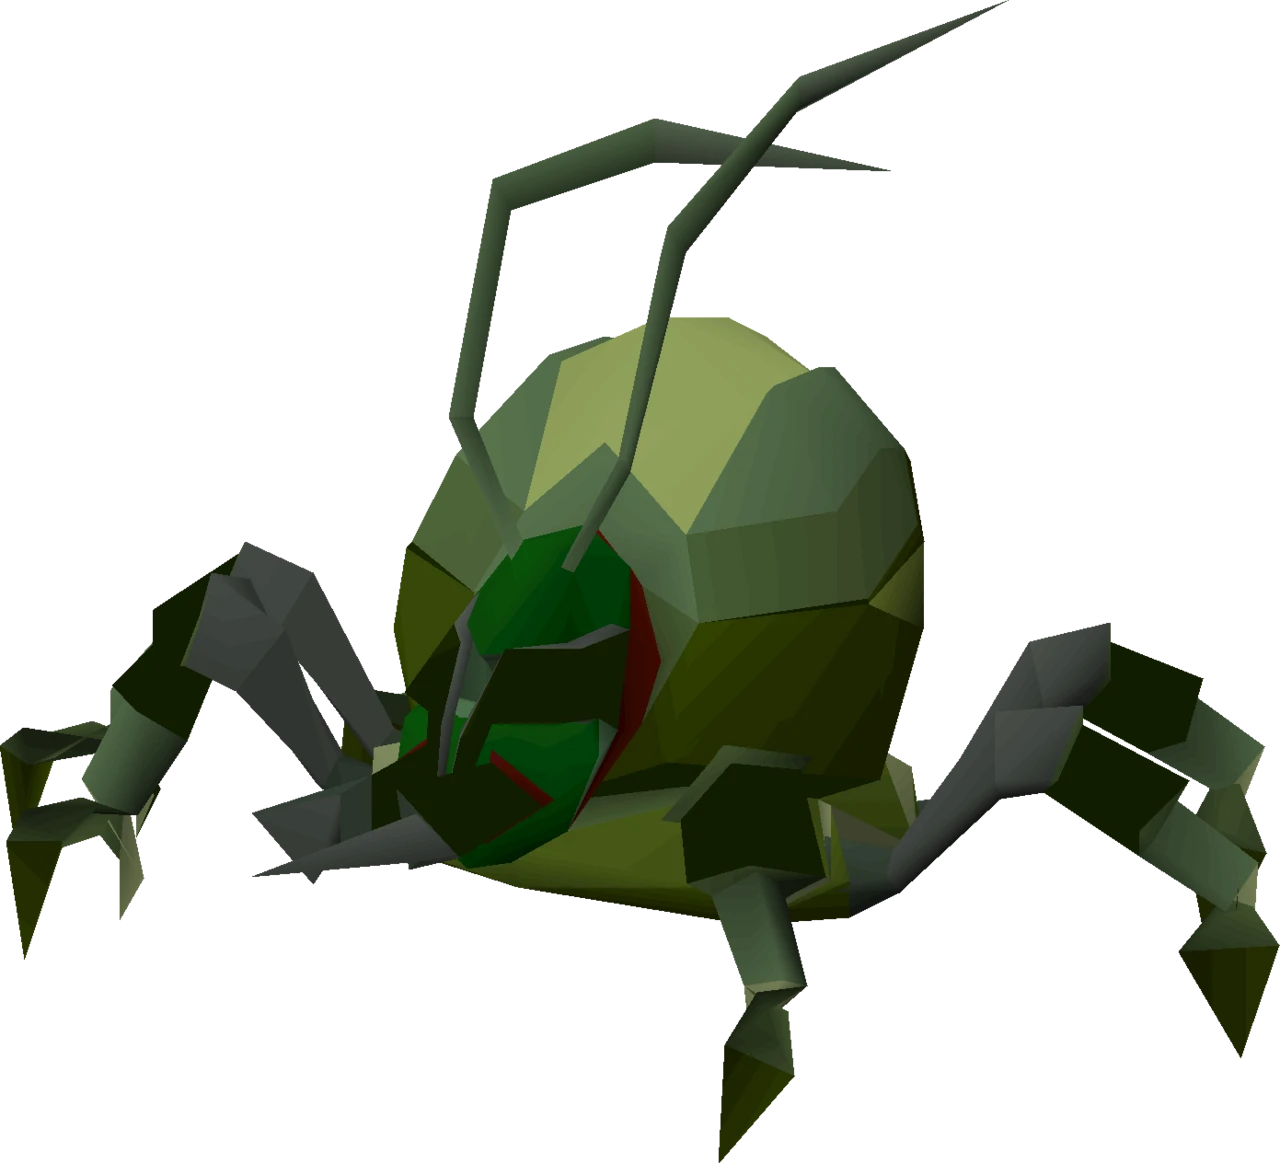 | Kalphite Lair Kalphite Cave | 120-170 | N/A | Kalphite Lair: Kalphite Queen, guardian, soldier, worker Kalphite Cave: Kalphite Guardian, soldier, worker |
Kurask | 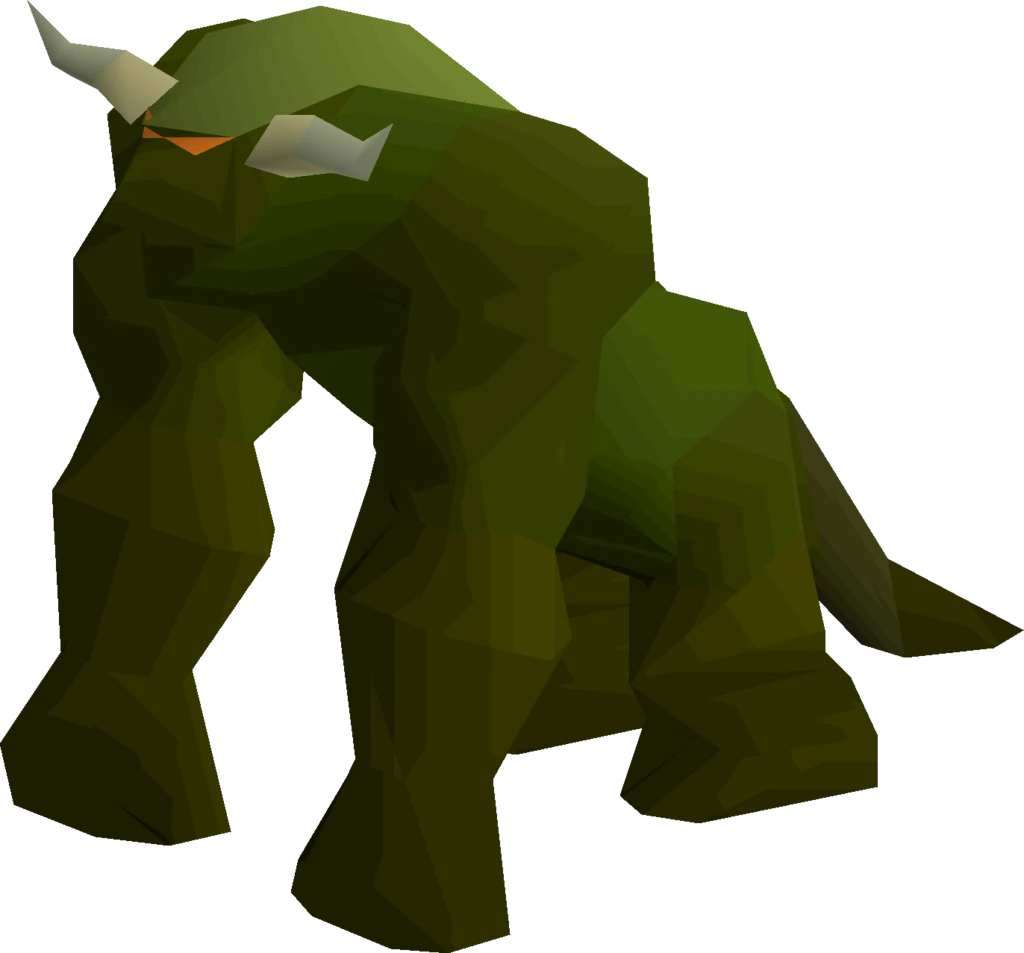 | Fremennik Slayer Dungeon Iorwerth Dungeon | 120-170 | N/A | None |
Lesser Nagua |  | Neypotzli Ruins of Tapoyauik Crypt of Tonali | 55-120 | N/A | Neypotzli: Sulphur Nagua Ruins of Tapoyauik: Amoxliatl, Frost Nagua Crypt of Tonali: Earthen Nagua |
Lizardmen | 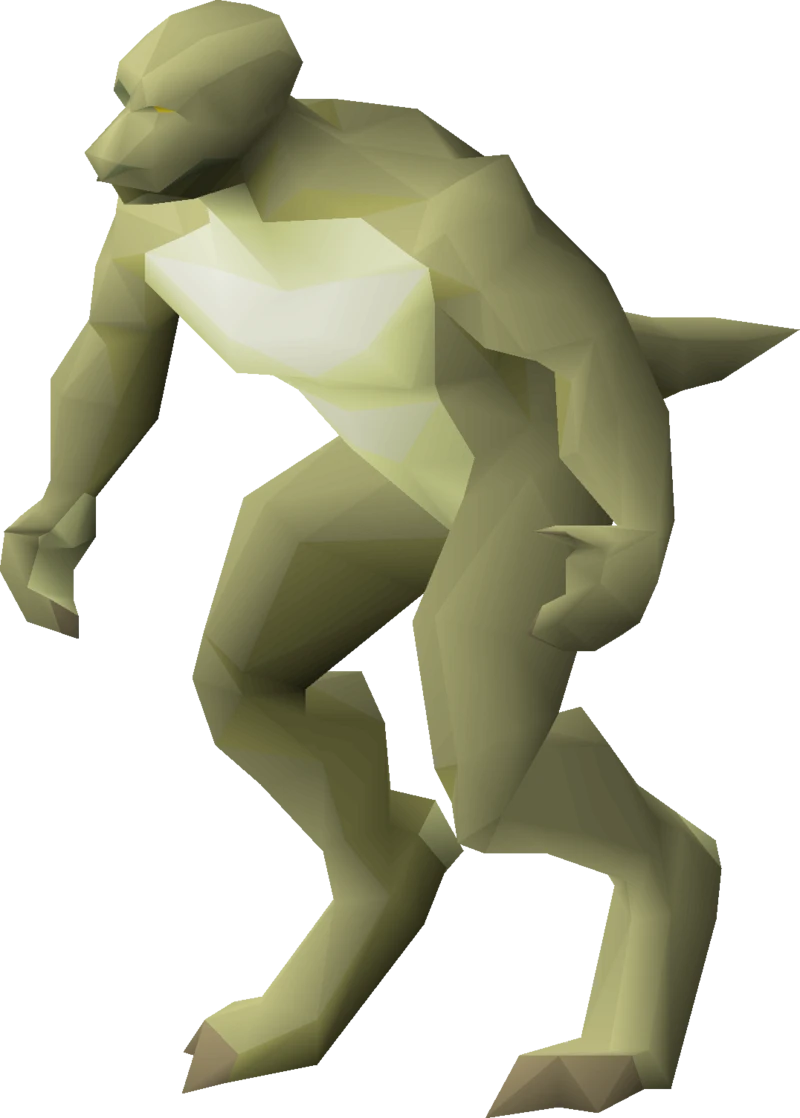 | Battlefront Lizardman Canyon Lizardman Settlement (Lizardman Caves included) Kebos Swamp (area surrounding Xeric's Shrine) Molch (Lizardman Temple included) | 90-110 | N/A | Molch, Lizardman Canyon, and Lizardman Settlement: Lizardman shaman Battlefront, Lizardman Canyon, and Lizardman Settlement: Lizardman brute |
Metal dragons | 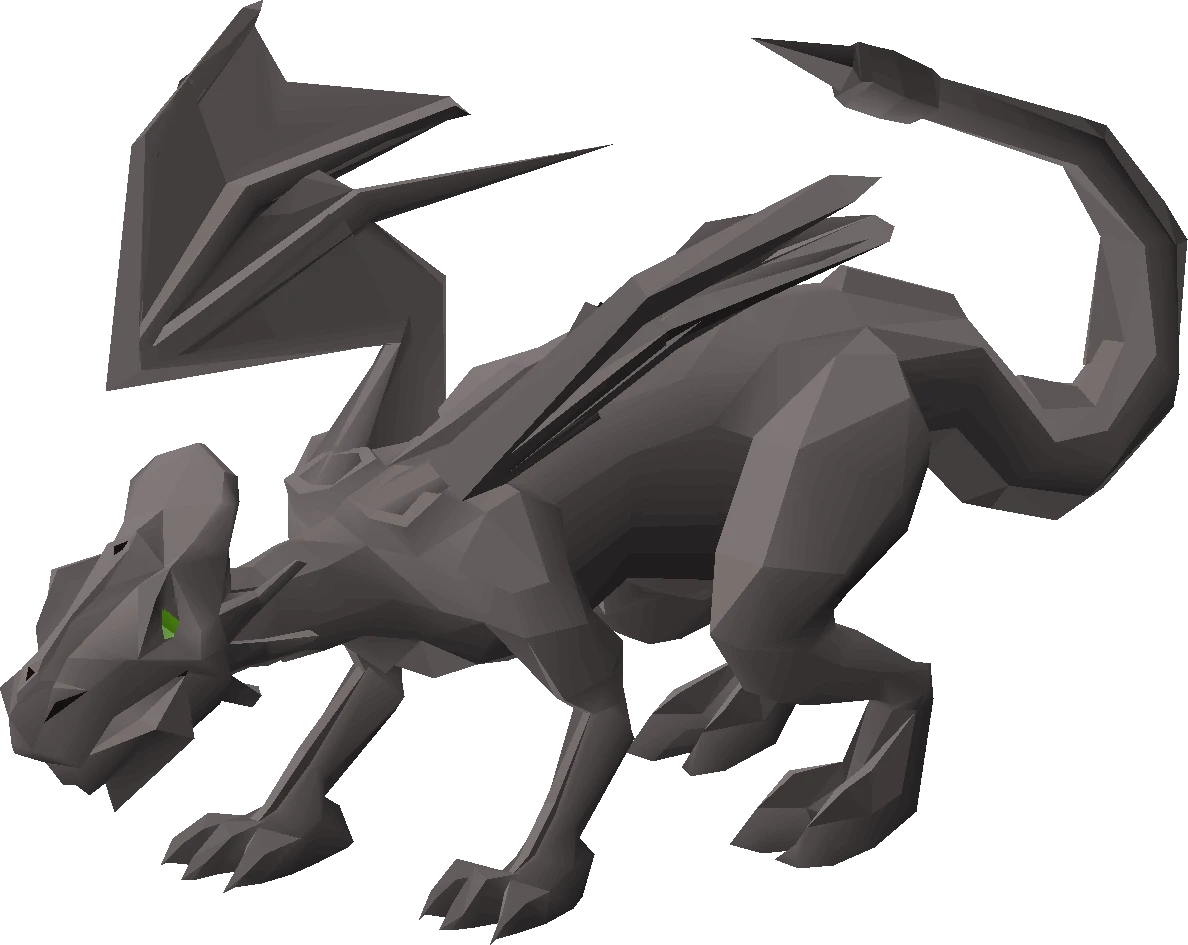 | Ancient Cavern Brimhaven Dungeon Catacombs of Kourend Isle of Souls Dungeon Lithkren Vault | 30-40 | 150-200 | Ancient Cavern: Mithril dragon Brimhaven Dungeon: Bronze dragon, Iron dragon, Steel dragon Catacombs of Kourend: Bronze dragon, Iron dragon, Steel dragon Isle of Souls Dungeon: Iron dragon Lithkren Vault: Adamant dragon, Rune dragon |
Mutated Zygomites |  | Fossil Island Zanaris | 10-25 | N/A | Fossil Island: Ancient Zygomite |
Nechryael |  | Catacombs of Kourend Iorwerth Dungeon Slayer Tower | 110 | 200-250 | Catacombs of Kourend, Iorwerth Dungeon: Greater Nechryael |
Red dragons | 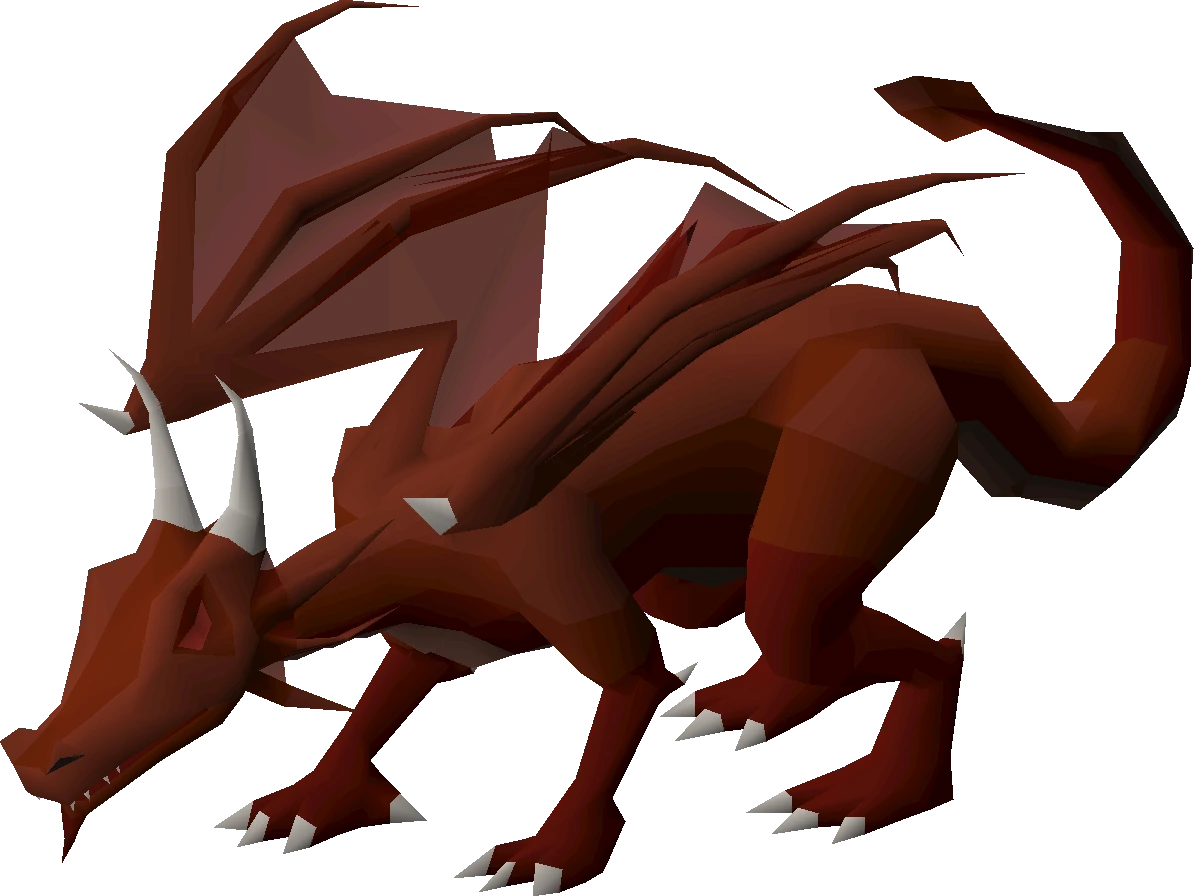 | Brimhaven Dungeon Catacombs of Kourend Forthos Dungeon Myths' Guild Dungeon | 30-50 | N/A | Catacombs of Kourend: Brutal red dragon Brimhaven Dungeon, Forthos Dungeon, Myths' Guild Dungeon: Baby red dragon |
Skeletal Wyverns | 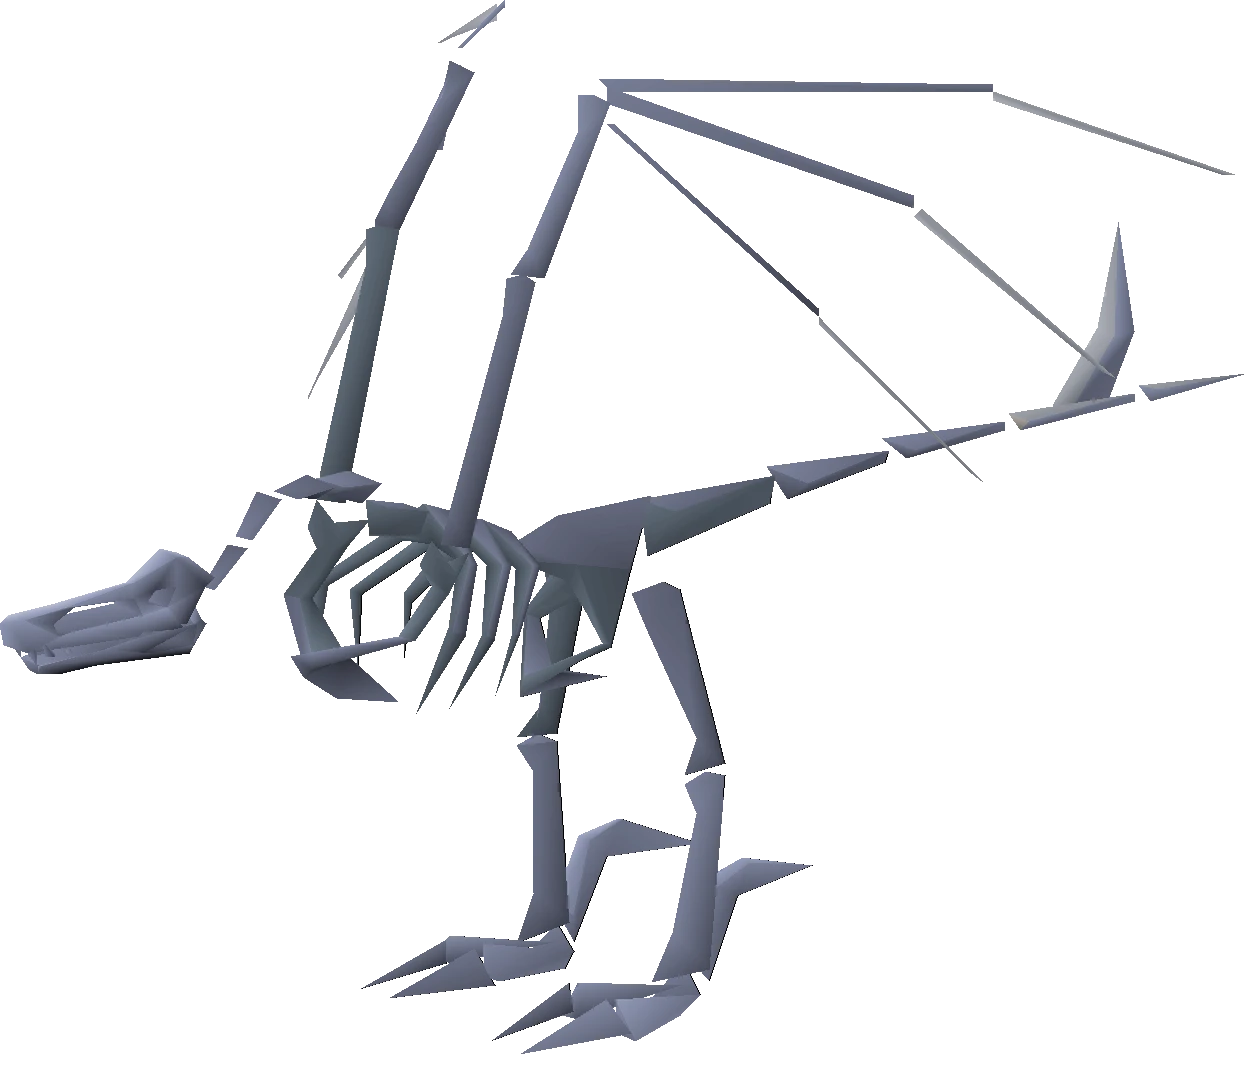 | Asgarnian Ice Dungeon | 5-12 | 50-70 | None |
Smoke devils |  | Smoke Devil Dungeon | 120-170 | N/A | Thermonuclear smoke devil |
Trolls | 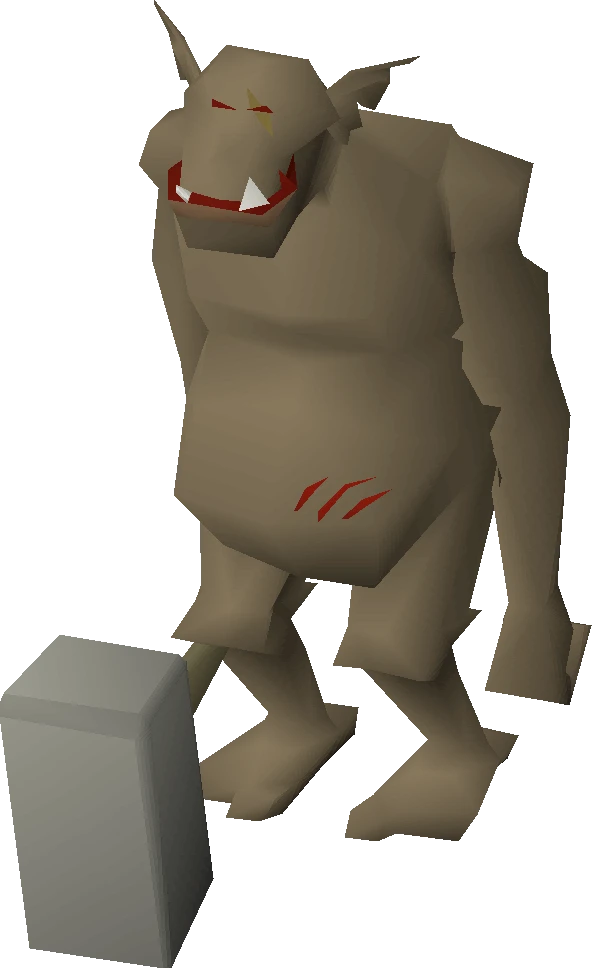 | Troll Stronghold Keldagrim Death Plateau South of Mount Quidamortem Fremennik Isles | 120-170 | N/A | Troll Stronghold: Troll general Death Plateau: Pee Hat, Kraka, Stick, Rock, Thrower troll |
Turoth | 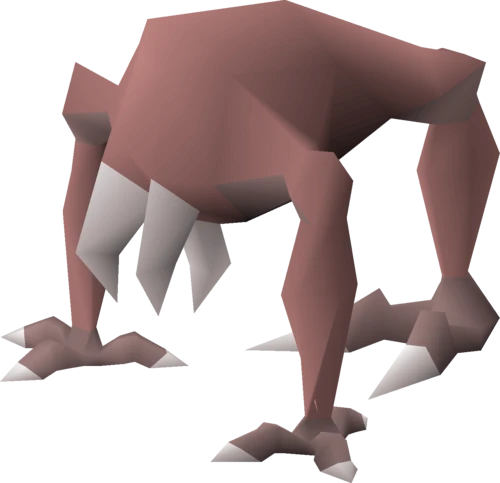 | Fremennik Slayer Dungeon | 120-170 | N/A | None |
Vampyres | 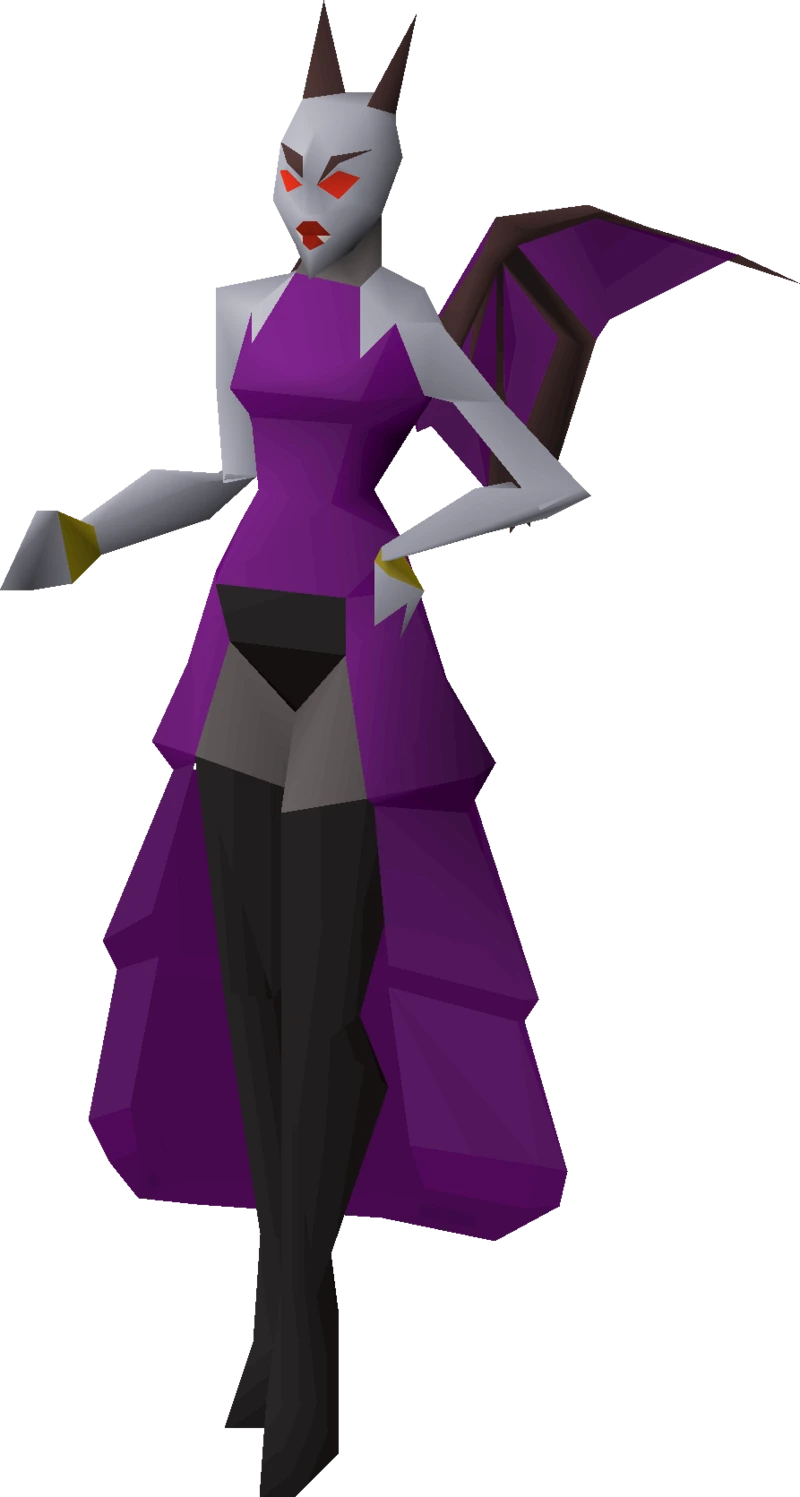 | Darkmeyer Meiyerditch Slepe | 100-160 | 200-250 | Feral Vampyre, Vampyre Juvinate, Vyrewatch, Vyrewatch Sentinel |
Warped creatures | 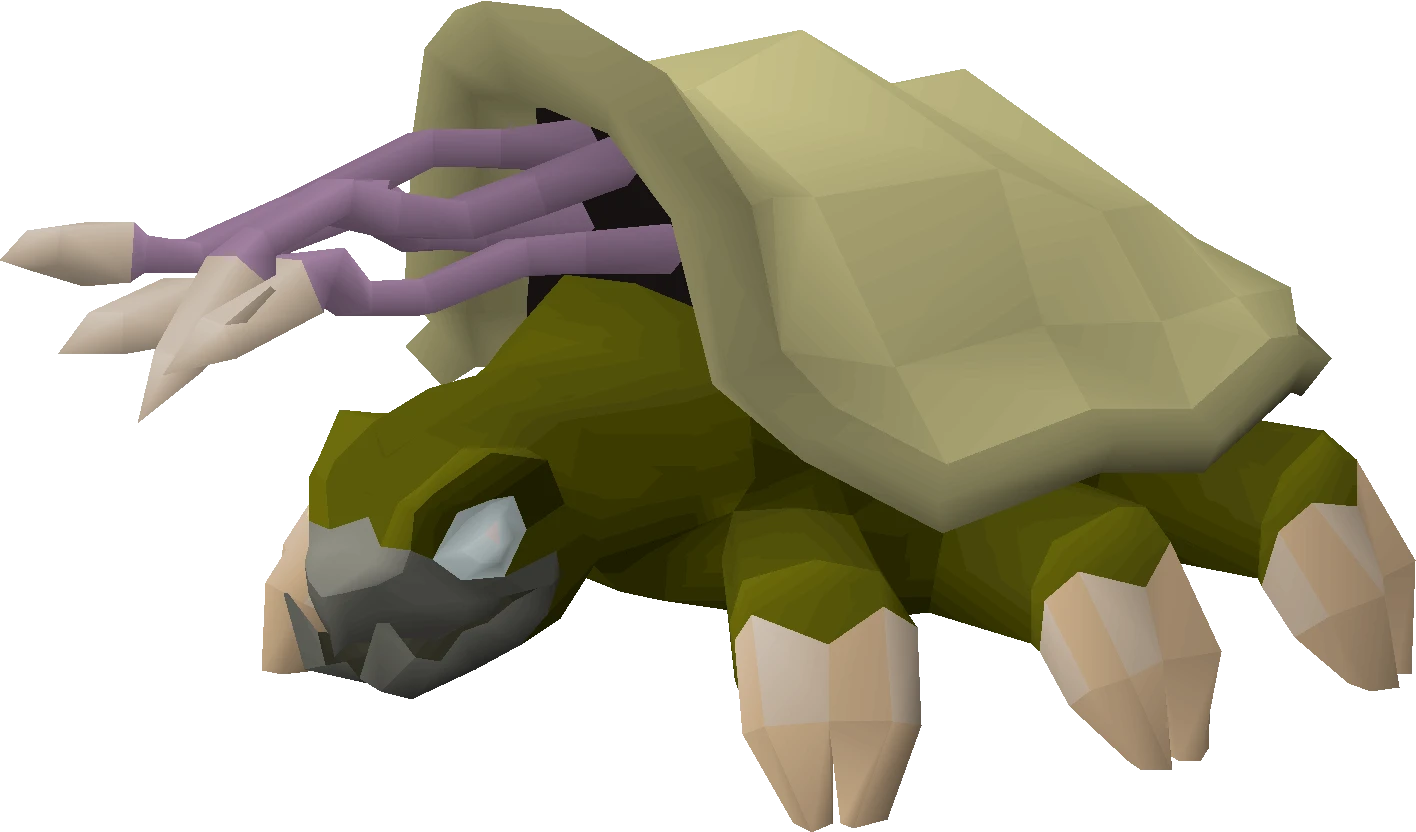 | Poison Waste Dungeon | 110-170 | N/A | Warped Terrorbird, Warped Tortoise |
Waterfiends | Ancient Cavern Iorwerth Dungeon Kraken Cove | 120-170 | N/A | None | |
Wyrms | 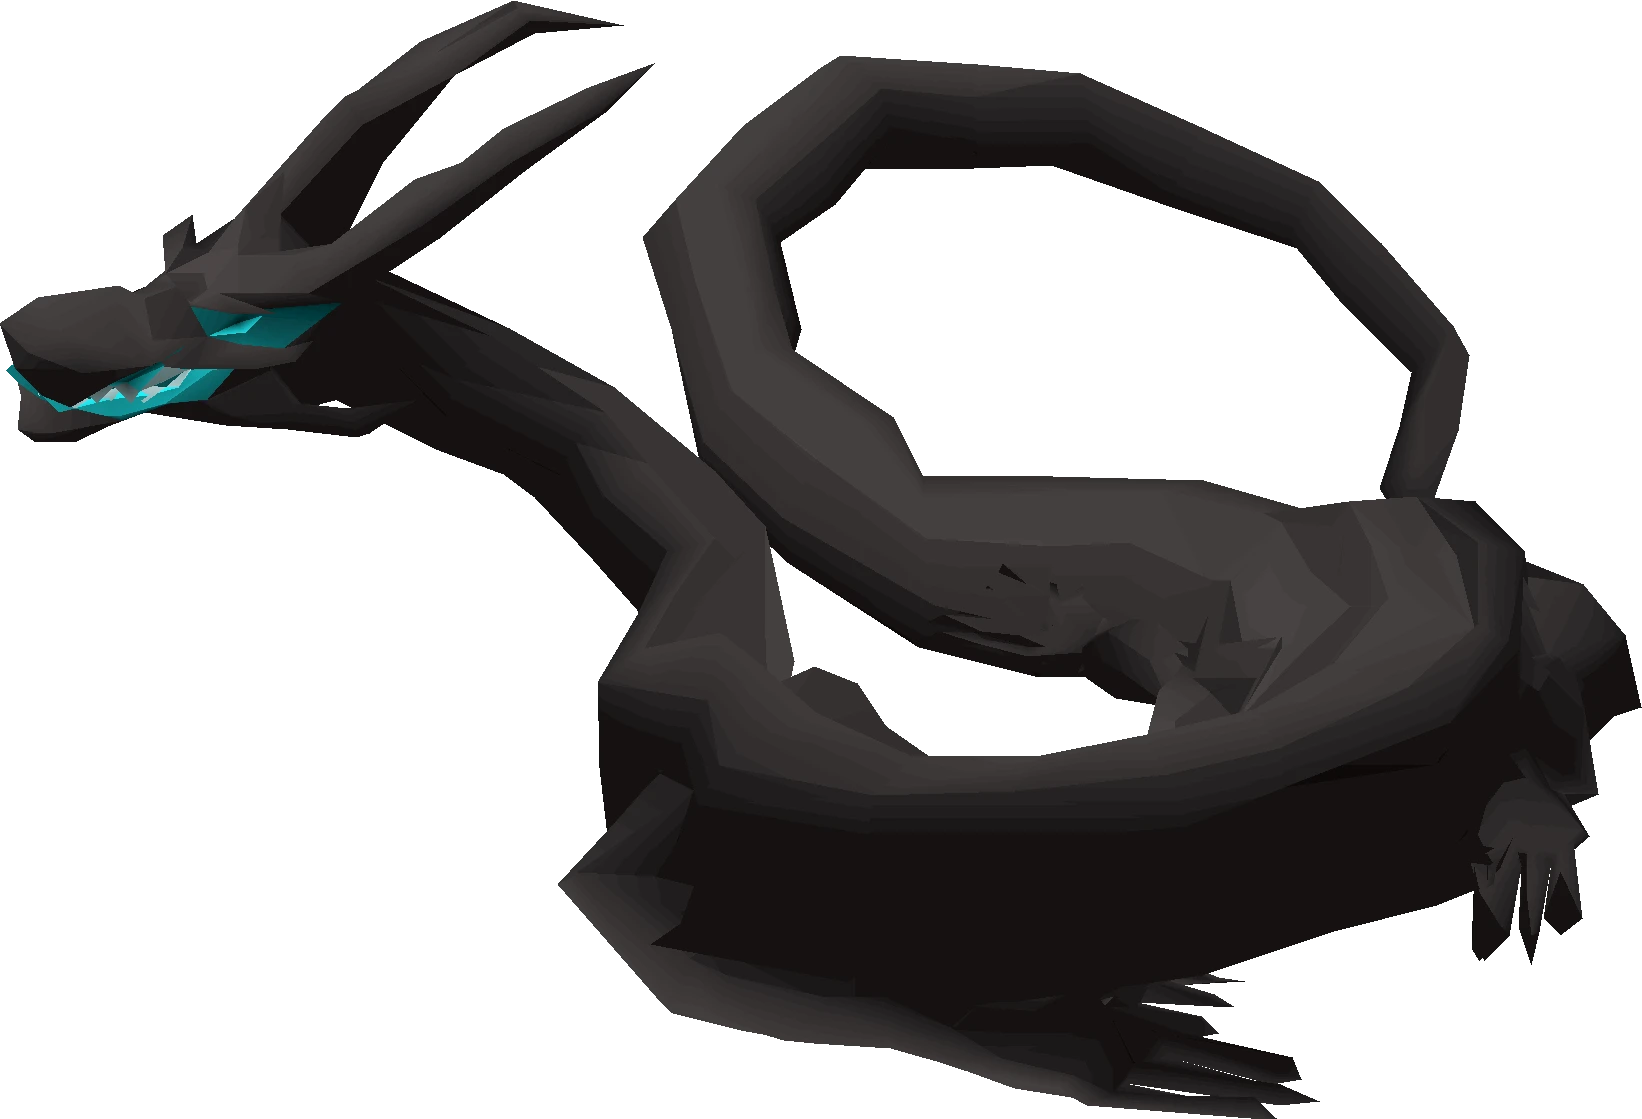 | Karuulm Slayer Dungeon Neypotzli Charred Dungeon | 125-190 | 200-250 | Karuulm Slayer Dungeon: Wyrm Neypotzli: Wyrmling Charred Dungeon: Lava Strykewyrm |
Brimstone Keys
Every kill during a Konar task has a chance to drop a brimstone key. These are stackable and untradeable, and you use them to open the brimstone chest sitting right next to Konar at the summit. The average chest value sits around 107,000 coins, not life-changing on any individual key, but it adds up over a long Slayer grind.
The drop rate scales with the enemy's combat level. Higher-level monsters drop keys more frequently, with a cap of around 1/50 and 1/100 for anything at combat level 100 or above, with a level cap of 350. Monsters with a Slayer-level requirement receive an additional 20% boost to their key drop rate. Superior Slayer monsters on a Konar task always drop a key, guaranteed, no RNG involved.
One thing to keep in mind: if you end up dying in the Wilderness with a brimstone key, it converts to just two coins for whoever killed you. Don't let that happen.
Is She Actually Worth It?
The OSRS community has debated Konar's worth for years, and the honest answer is: it depends on what stage of the game you're at.
The location-locked mechanic is genuinely annoying if you're trying to farm a specific boss variant. Say you want Abyssal Sire kills, you need to be sent to the Abyss, not the Catacombs of Kourend. That's a coin flip, and if Konar sends you somewhere inconvenient, you're stuck or you're spending 80 points to block. Players chasing specific boss drops or working through a farming grind often switch to Duradel instead, since he doesn't restrict your kill location. Konar will never send you somewhere like the Ancient Guthixian Temple either, so certain monster variants are simply off the table with her.
That said, the brimstone keys she generates are genuinely a good income boost, the point rate is excellent, and she's the exclusive gateway to hydra tasks. For players who don't have strong preferences about where they kill things, or who are specifically targeting Karuulm dungeon content, she's a solid choice.
Also Read: OSRS Kalphite Queen Boss Guide
FAQs About the Konar OSRS Guide
Q: Who is Konar quo Maten in OSRS?
A: Konar quo Maten is a Slayer master located at the top of Mount Karuulm in Great Kourend. Unlike other Slayer masters, she assigns both a monster and a specific location where the task must be completed. This mechanic makes her tasks more restrictive but also more rewarding.
Q: How do you get to Konar quo Maten?
A: Konar is located at the summit of Mount Karuulm in Great Kourend. The fastest method is using Rada’s Blessing 3 or 4, but players can also reach her through the CIR Fairy Ring, Battlefront Teleport, or by teleporting to the Farming Guild and traveling north. Once you've spoken to her in person, you can also use the NPC Contact spell to receive tasks remotely.
Q: What are the requirements to use Konar?
A: Players only need a combat level of 75 to receive tasks from Konar. No Slayer level or quest completion is required to unlock her. However, access to member-only areas is necessary since she is located in a members-only region.
Q: Why do players use Konar for Slayer?
A: Many players use Konar because she offers high Slayer point rewards and brimstone key drops. She is also the exclusive source for Hydra and Alchemical Hydra tasks. These benefits make her valuable for profit and Slayer progression.
Q: What are brimstone keys?
A: Brimstone keys are special drops obtained while completing Konar Slayer assignments. They can be used to open the Brimstone Chest near Konar for rewards averaging around 107,000 coins. Higher-level monsters and Slayer monsters increase the chance of receiving keys.
Final Words
Konar quo Maten occupies a specific and somewhat divisive role in OSRS Slayer. The location restriction frustrates players who want control over where they're grinding, and the 80-point block cost punishes task skipping more harshly than most masters. At the same time, the point rate rewards are hard to match without going into the Wilderness, the brimstone key income is consistent, and her monopoly on hydra and Alchemical Hydra tasks makes her mandatory for any serious Slayer account at some point.
She's not the right fit for every build or every goal. But for players leaning into Kourend content, working toward hydra tasks, or just wanting strong point gains, she's a genuinely strong choice.
OSRS & GameBoost Products
“ As a lifelong gamer with interests in multiple genres, Mario has a wide variety of knowledge when it comes to gaming, except, ironically, Super Mario. Using his experience and passion for games, Mario aims to create engaging and useful articles.”
