


Sunset Map Valorant Guide: Tips & Tricks
Sunset stands as one of Valorant's most elegant map designs, where sun-drenched Los Angeles streets meet tactical excellence. From tight corridors to open spaces, this California-inspired battleground rewards both strategic discipline and creative plays.
In this guide, we will cover everything from the Sunset map layout to strategic tips and tricks to help you master the unique challenges of this map.
Valorant Sunset Map Layout
Sunset embraces simplicity in its design, offering a refreshing departure from complex map mechanics. With its traditional three-lane layout and absence of teleporters or zip lines, the map focuses purely on tactical gameplay. The only mechanical feature on Sunset map consists of two breakable doors, similar to those found on Ascent, maintaining an emphasis on gunplay and positioning.
The map's compact design creates interesting dynamics between sites. While A site offers open spaces perfect for long-range engagements, B site challenges teams with tighter corners and multiple angles to clear.
Also Read: Valorant Guide: How to Plant a Spike with Wingman?
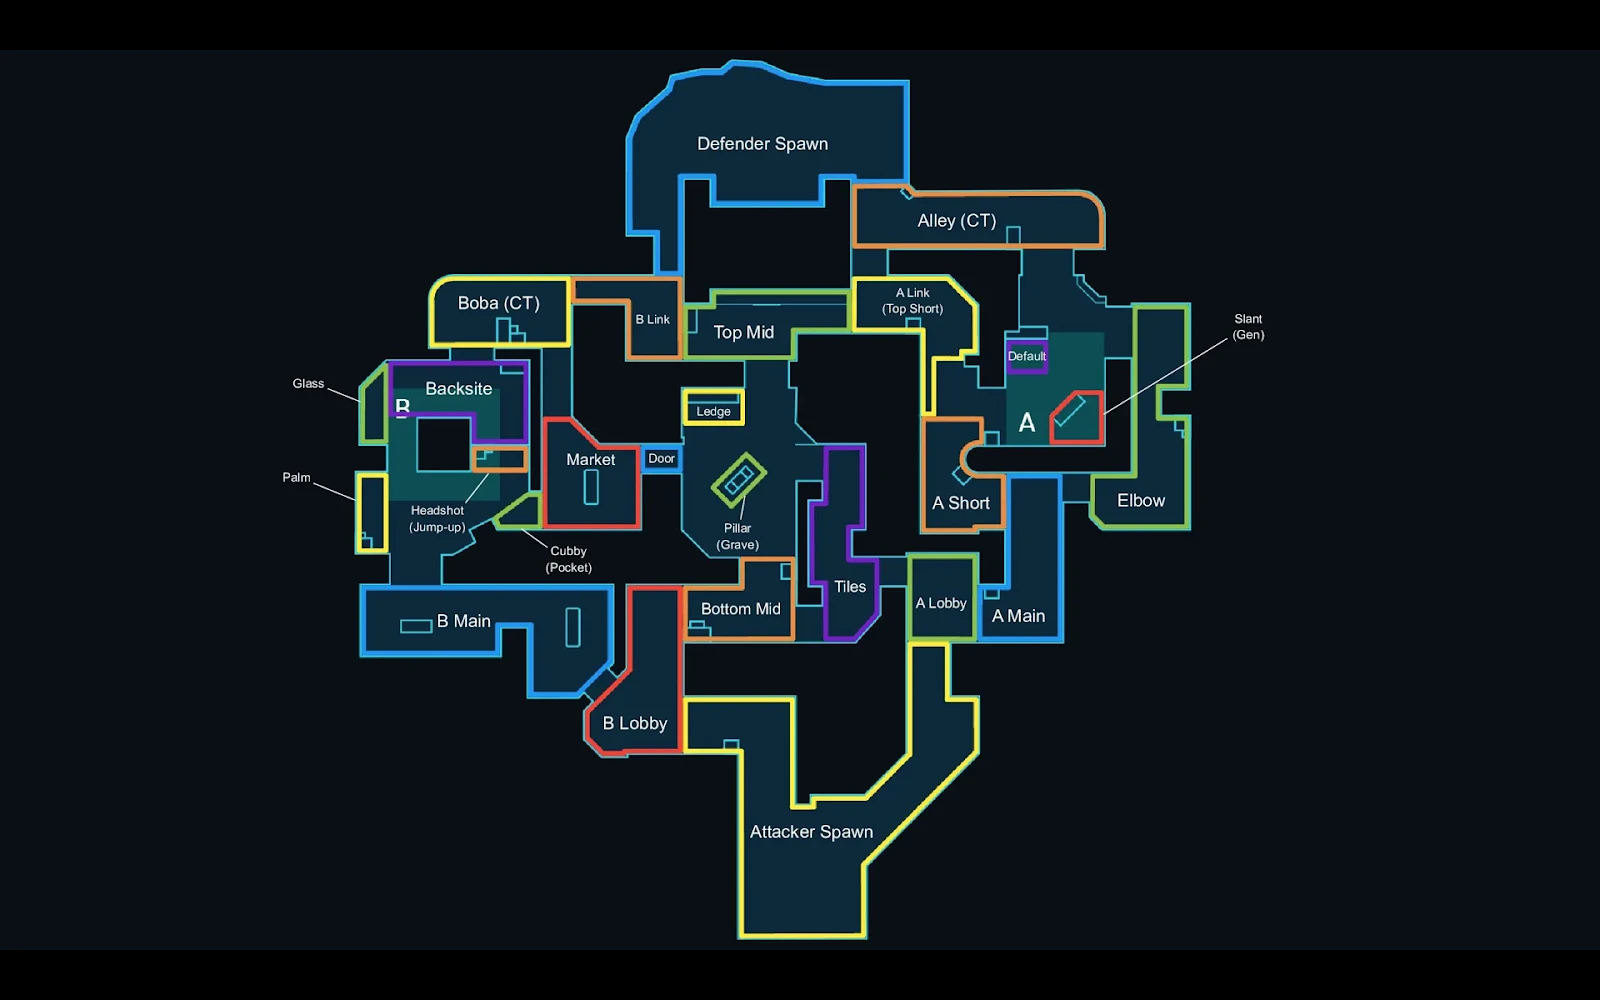
Essential Sunset Callouts and Map Control
The Sunset map is divided into three crucial sections, each with its own strategic callouts that teams must master for effective communication and control.
In the Sunset A site area, A Link is the main defender route, while A Green Boxes provides important cover for both attackers and defenders. These positions are linked by A Elbow, which is a strategic chokepoint connecting A Main and Alley. A Elbow ultimately determines which team controls the entire site.
Moving through the map's center, the Mid section is a strategic focal point that revolves around Mid Pillar and Mid Box. This heavily contested area branches into critical pathways like Mid Tiles, B Market, and Mid Top, creating a complex web of possibilities for both teams.
The Mid control on the Sunset map is particularly powerful because of its versatility. Defenders can hold aggressive positions at Mid Top or play defensively from Mid Tiles. Attackers can take advantage of multiple entry points to divide defensive attention. Teams that establish and maintain Mid control not only gain territorial advantage but also crucial information about enemy movements. This allows for quick transitions or fake rotations to either site.
The B site presents its own unique challenges with a distinctive layout that emphasizes vertical gameplay. B Stairs create opportunities for elevation-based advantages, while B Pillar provides essential cover in the site's center. B Platform further enhances the vertical element, allowing for unexpected angles and plays. Additionaly, two critical rotation points, B Boba and Market, must be carefully controlled for successful site executes or retakes.
Also Read: Valorant Night Market: How to Access and Use It?
Sunset Map Attack Strategies
Attacking on Sunset requires a methodical approach tailored to each site's unique characteristics. When attacking on A site, teams should prioritize taking control of A Elbow early to prevent defender rotations and establish strong post-plant positions. The wider space demands coordinated utility usage and careful attention to vertical positions near Green Boxes, which can create unexpected angles for both attack and defense.
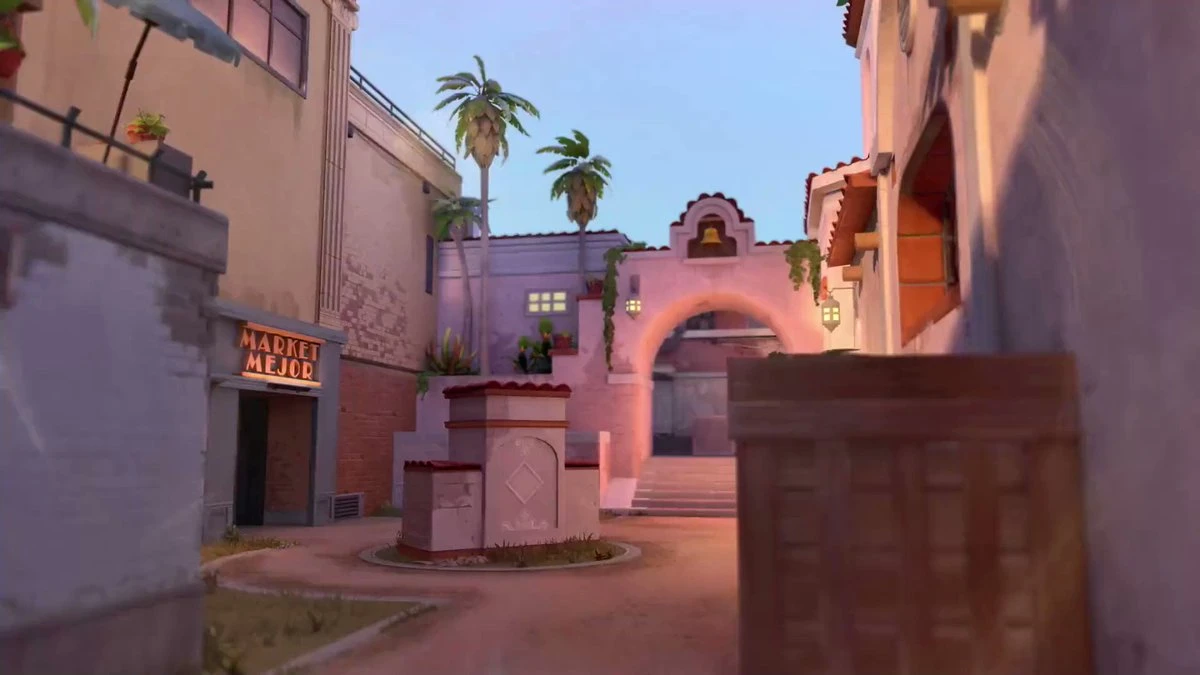
B-site presents different challenges due to the confined space. Success often depends on establishing control of B Market before pushing the site, preventing defenders from creating crossfires. The breakable door adds an extra strategic element, as teams must decide whether to destroy it for easier access or leave it intact for valuable sound cues during executes.
Mid control remains important regardless of which site you plan to attack. Establishing a presence at Mid Pillar provides crucial information about defender setups and creates opportunities for split pushes. Teams should use utility effectively to clear common holding angles at Mid Top and Mid Tiles before committing to a site take.
Sunset Defense Fundamentals
Defending on Sunset requires adaptive positioning and strong communication due to its compact layout. While the map allows for quick rotations, teams must carefully allocate resources across both sites and mid. A common early-round setup involves placing two defenders at A, one controlling mid, and two watching B, however this should be adjusted based on enemy patterns and economic situations.
Retaking sites demands coordination and understanding of multiple entry points. When retaking A, teams should coordinate pushes between CT and Elbow, using utility to clear common post-plant positions. B site retakes benefit from synchronized utility usage through Market and Main, with special attention paid to elevated positions where attackers commonly hold.
During economic constraint rounds, the map's architecture favors close-range engagements, making force buys with Spectres and Sheriffs particularly viable. Teams can effectively stack sites and play close angles, using the map's tight corners to maximize the potential of limited equipment.
Advanced Sunset Mechanics and Utility Usage
Sunset's unique architectural features create opportunities for creative plays and utility usage. The map features distinctive box heights and elevated positions that differ from standard Valorant maps, allowing teams to create unexpected angles and surprising plays. Learning these positions and practicing movement mechanics to access them quickly can provide significant advantages during both attack and defense.
Utility usage on Sunset map requires understanding how the map's architecture affects various abilities. Molotovs can deny common plant spots effectively, while smoke walls prove crucial for site splits. Flash setups through doorways and recon abilities gain extra value due to the map's layout.
Best Agents to Play on Sunset
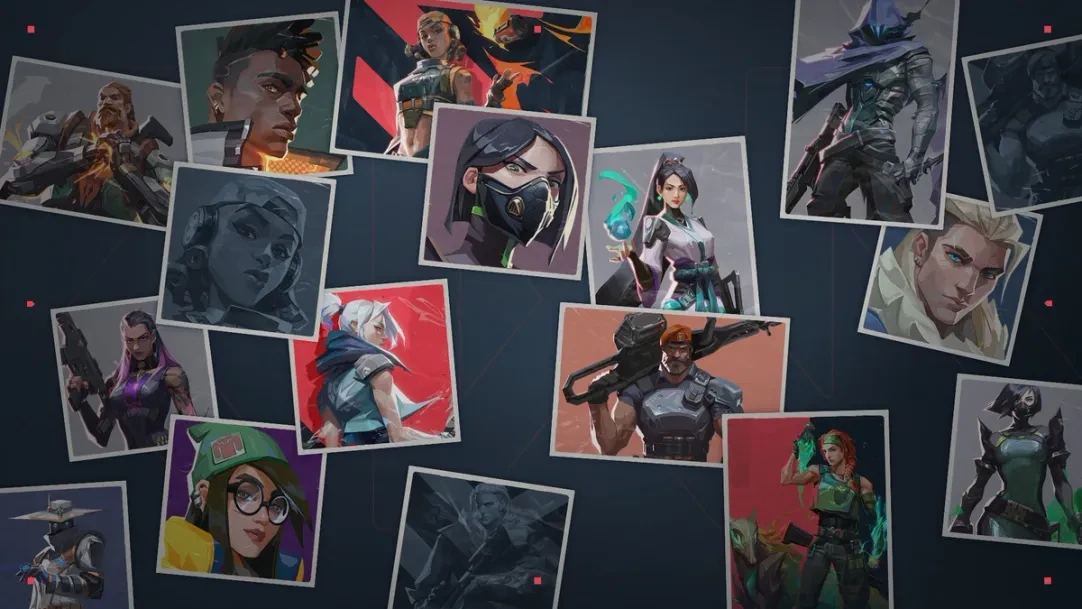
Sunset has a compact layout and demands a strategic approach to agent selection. The map's unique design favors certain agents whose abilities can effectively control space, gather information, and navigate tight corners.
These are the best agents for each role to play on Sunset:
Controllers: Harbor and Viper excel at site control and compact sites.
Initiators: Breach and Sova shine for info gathering in tight spaces and clearing angles.
Duelists: Raze thrives in close-quarters combat and tight corridors and corners.
Sentinels: Sage dominates with defensive utility and the ability to create unexpected angles and choke point control.
This agent composition takes advantage of Sunset's unique features, allowing teams to control space, gather crucial information, and adapt to the map's close quarters.
Sunset Map Economy Management
Successful economy management on Sunset requires balancing utility needs with the map's close-quarters nature. Full utility becomes crucial for site executes, but the frequency of close-range engagements makes force buys more viable than on other maps.
Teams should consider light armor and utility purchases over full buys when economy is tight, as the map's architecture can help maximize the value of cheaper weapons.
Valorant & GameBoost Products
Valorant Accounts For Sale
Buy Valorant Points
Valorant Boosting Service
View all GameBoost Accounts
View all GameBoost Boosting Services
View all GameBoost Currencies
View all GameBoost Game Keys
View all GameBoost Gift Cards
View all GameBoost Items
View all GameBoost Top Ups
Counter-Strike 2 Skins
“ Kristina joined GameBoost in 2024 as an SEO specialist and quickly became the go-to writer for third-person shooter and competitive games. She covers titles like Fortnite, Valorant, League of Legends, GTA 5, and Roblox, focusing on how-to guides, practical tips, and updates.”

