

Valorant Pearl Map Guide: Key Strategies and Tips
Pearl was introduced to Valorant in June 2022, and stands as one of Valorant's most tactically rich maps. Set in an underwater city beneath Omega Earth's Lisbon, Portugal, this map challenges players with its unique blend of tight corners and open spaces.
Unlike other post-release maps, Pearl doesn't feature any dynamic elements or gimmicks, instead offering a pure tactical experience that rewards strategic thinking and team coordination.
Pearl Map Overview and Layout
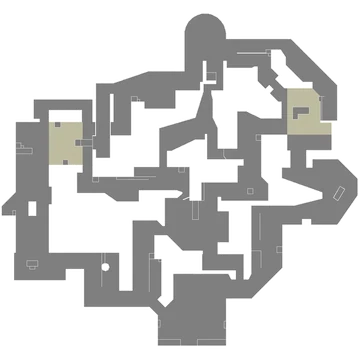
Pearl's map design centers around its remarkable symmetry and three-lane structure. The map's underwater city aesthetic creates distinct visual landmarks, with its centerpiece being a towering monument depicting a figure holding a globe.
What sets Pearl map apart is its notably wide mid-section, offering multiple entry and exit points that create opportunities for strategic rotations and surprise plays. The absence of extremely high ceilings makes utility usage more dynamic, requiring precise coordination and timing.
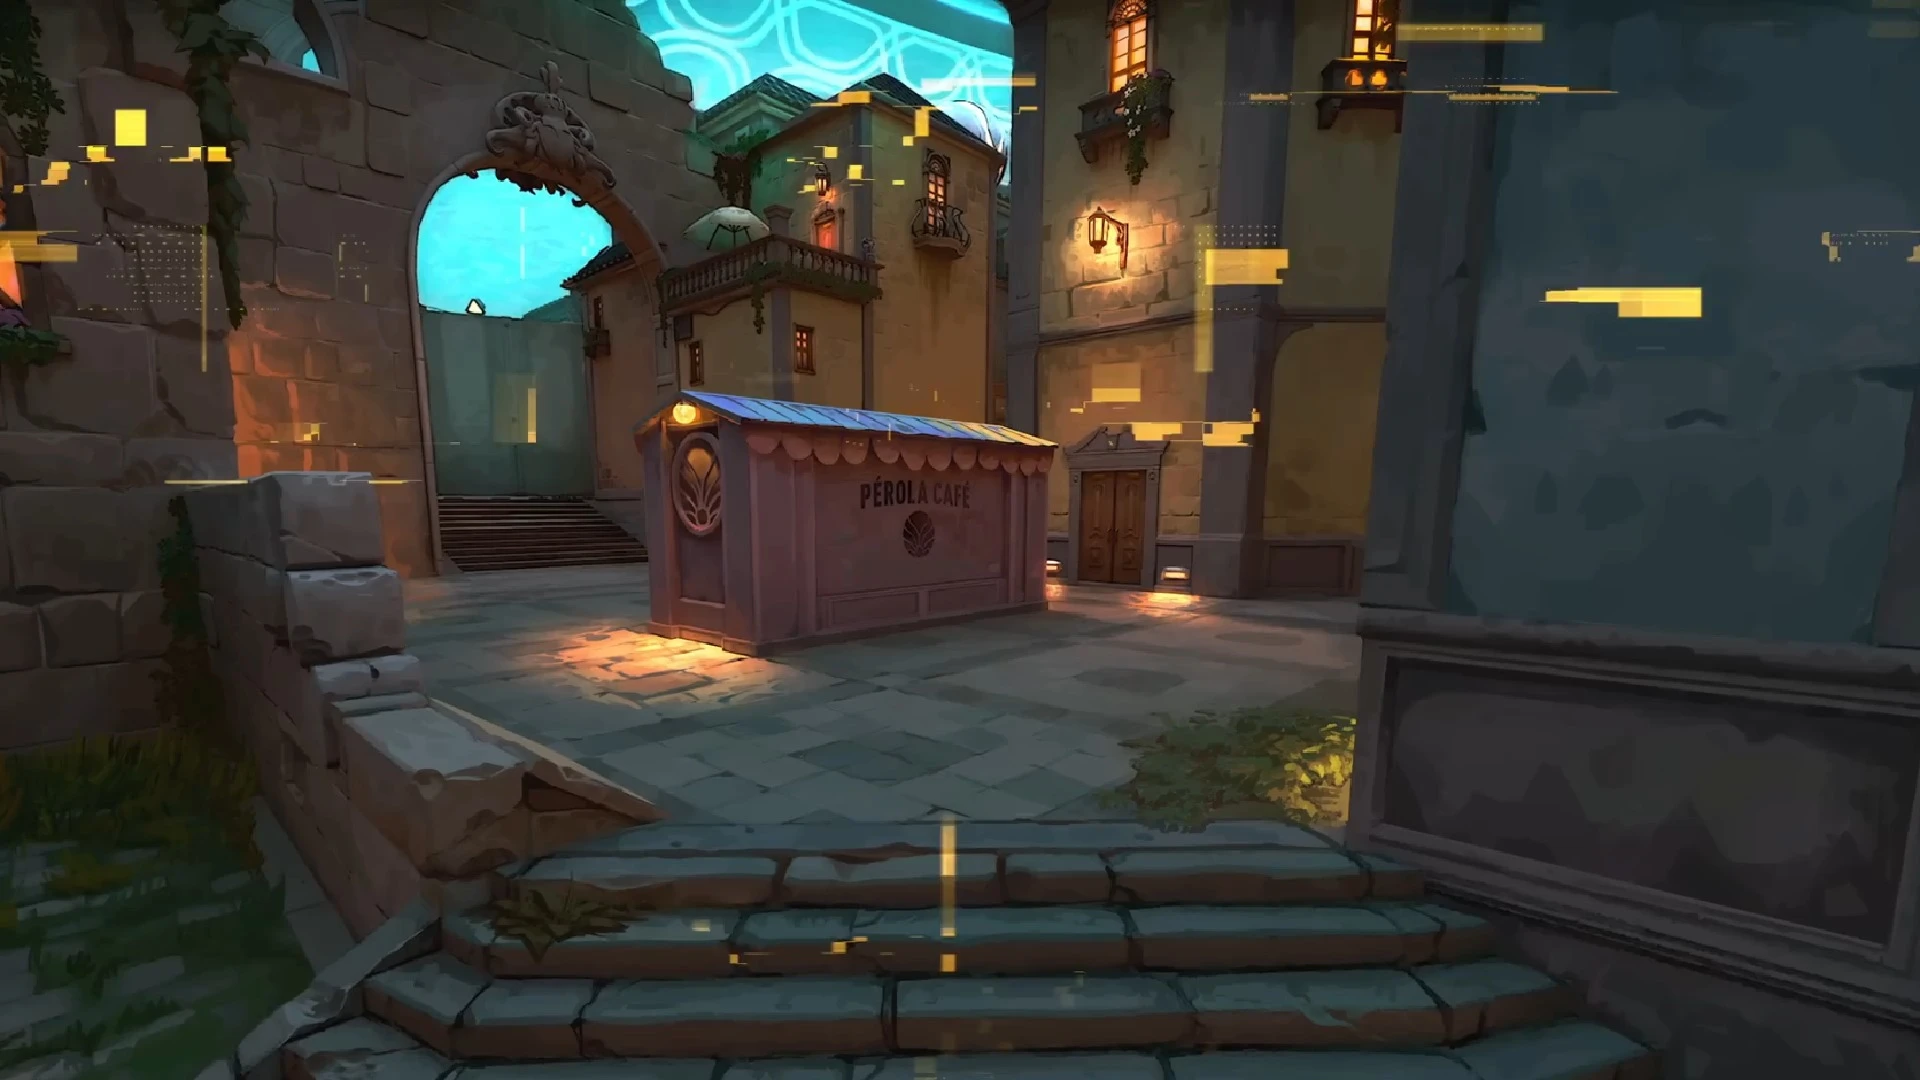
Pearl Map A Site - Attack Friendly Side
A Site presents itself as the more attacker-friendly location on Pearl, featuring multiple entry points that create both opportunities and challenges. The site's layout incorporates several key areas including Dugout, Secret, and Flowers, each offering unique tactical advantages. The restaurant area near A Main serves as a crucial staging ground for executes, while A Link provides defenders with strong retake possibilities.
The site's design encourages dynamic gameplay through its interconnected pathways. Defenders must maintain careful positioning, as the numerous entry points can quickly overwhelm an unprepared team. For attackers, the challenge lies in clearing these multiple angles efficiently while maintaining enough utility for post-plant situations.
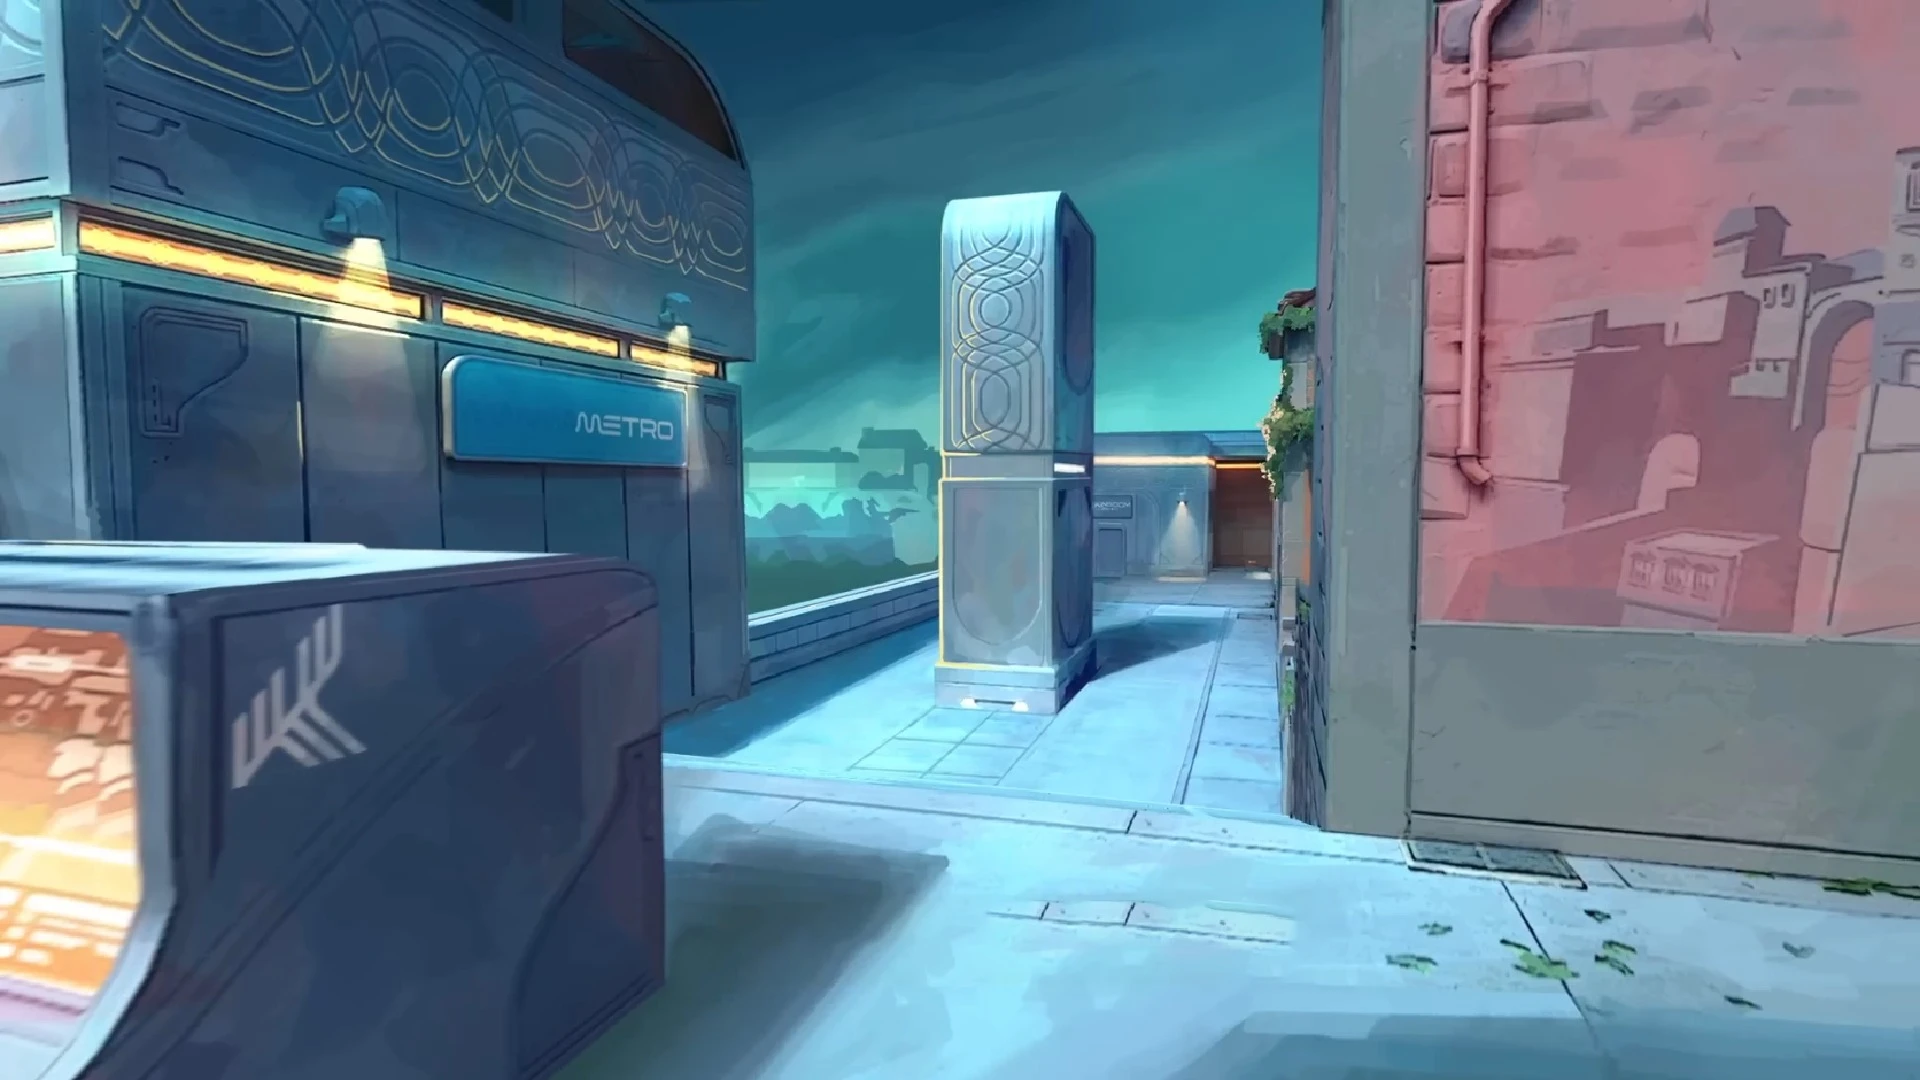
Pearl Map B Site - Defense Friendly Side
B Site stands in stark contrast to A Site, presenting a more defender-sided environment that demands methodical approaches from attackers. The long sight lines of B Main, combined with elevated positions like B Tower, create challenging scenarios for attacking teams.
The site's design forces attackers to commit significant utility for successful executes while giving defenders multiple strong positions for holds. The interplay between B Main, B Hall, and B Link creates interesting dynamics for both attack and defense strategies.
Mid Control Strategies for Pearl Map
The mid area serves as Pearl's strategic heart, featuring a unique dual-section design with Mid Plaza and Mid Connector. This area's control often dictates the flow of rounds, allowing teams to quickly rotate between sites or execute split pushes. The openness of mid, combined with its multiple connecting pathways, makes it a crucial battleground for map control.
Understanding mid control on Pearl goes beyond simple aim duels. Teams must coordinate utility usage to secure key chokepoints while maintaining awareness of potential flanks through Water or Art areas. The versatility of mid control allows teams to adapt their strategies mid-round, making it an essential aspect of successful play.
Also Read: Sunset Map Valorant Guide: Tips & Tricks
Pearl Map Attacking Side Strategies
A Site Execution
The A site attack revolves around controlling the Art Gallery and Dugout. Start by having your Controller smoke off Tower and Secret. Your Initiator should clear Dugout, while a Duelist takes the initial engagement through A Main. The rest of the team should be ready to trade and follow up quickly.
Key positions to clear while attacking through the A Site on Pearl:
- Behind the boxes near the default plant
- Tower corner
- Secret entrance
- Dugout deep corner
The most effective plant spot is typically behind the boxes near Dugout, as it can be defended from multiple angles and forces defenders into predictable retake paths.
For post-plant, position one player in Dugout watching the cross, another in Art to prevent flanks, and keep someone watching the Secret push. The remaining players should play off contact and be ready to swing together.
B Site Execution
B site requires more methodical execution due to its defender-favored design. Start by establishing B Main control with your Controller smoking off Tower and Hall entrance. Your Initiator's utility should focus on clearing close angles and Tower.
The safest plant location is behind the screen, protected from both Main and Link. However, if you have strong mid-control, planting open can work better as it allows for crossfire setups.
Post-plant positions that should be prioritized when attacking from the B site on Pearl Map:
- One player watching B Main cross
- Another holding B Link
- The rest setting up crossfires from Water or Main
Pearl Mid Attack Tactics
Mid control opens up the most strategic options. Have your Controller smoke Mid Towers on both sides, then use your Initiator's utility to clear close angles. A common mistake is pushing too aggressively - instead, establish control gradually and use it to pressure both sites.
The Water room connection to B site is often underutilized. Having a lurker push through Water while the team hits A can create crucial timing advantages.
Also Read: Valorant Guide: How to Plant a Spike with Wingman?
Pearl Map Defense Strategies
A Site Defense
Avoid playing too passively on A, as the site's multiple entry points can quickly overwhelm static positions. Instead, focus on gathering information early and making coordinated peeks with utility.
The primary A site set up for Defense on Pearl map should have:
- One player playing close contact in Tower or Secret
- Another watching the A Main push
- A third floating between Art and Site
The most effective retakes come through Secret and Art simultaneously, pinching attackers from multiple angles. Save utility specifically for retakes - many defenders make the mistake of using everything during the initial hold.
B Site Defense
B site defense is strongest when playing vertically. Use Tower and elevated positions to create crossfires. One player should always watch B Main while another floats between Link and Hall.
The screen provides excellent cover for both holds and retakes. Use it to play around utility and create timing advantages. When retaking, avoid pushing through Main unless necessary - Link and Hall provide better angles and safer approaches.
Pearl Mid Defense Strategies
Mid control is crucial for a successful defense. Rather than trying to hold mid permanently, focus on contesting it in different ways each round. Some rounds, play aggressive early utility, others play passive and let attackers waste resources. Coordinated aggression through mid can devastate attacking defaults, but should be used sparingly to maintain unpredictability.
Also Read: How to Change Enemy Color in Valorant?
Pearl Map Agent Selection and Composition
Pearl's unique layout influences optimal agent selection significantly. Controllers like Viper and Harbor excel at dividing sites and controlling key areas with their utility. Additionally, the map's numerous corners and tight spaces make Sentinels like Killjoy particularly effective for site control and information gathering.
For Duelists, Jett remains a strong pick due to her mobility in both attack and defense scenarios. Initiators like Fade and KAY/O prove invaluable for gathering information and clearing tight angles, especially when coordinating with teammates for site executes.
Pearl Map Advanced Strategies and Executes
Success on Pearl often hinges on adaptable strategies that can shift between methodical site takes and quick rotations. Teams should develop default setups that maintain map control while gathering information, particularly around mid and the main chokepoints. Post-plant positions and retake protocols become especially important given the map's size and multiple rotation possibilities.
Utility usage must be carefully managed, as the map's layout can quickly drain resources during executes. Teams should practice specific setups for both sites, incorporating fake executes and splits to keep defenders guessing. Understanding timing and rotations proves crucial, as the distance between sites can make late-round decisions particularly impactful.
You're finished reading, but we have more informative content that you could learn from. In addition, we offer game-changing services that can elevate your gaming experience to the next level. What would you like to do next?
“ GameBoost - The All-In-One Gaming Services Platform with a mission to truly change the life of every day gamers. Whether you're looking for Currencies, Items, High-Quality Accounts or Boosting, we've got you covered! ”