

•Hamza Rashid• 8 min read
Genshin Impact

Genshin Impact is an open-world action RPG where players build four-character parties and trigger elemental reactions to defeat bosses and enemy waves. Spiral Abyss sits at the top of that combat system, and Genshin Impact Spiral Abyss 7.1 tests how well a roster adapts to reaction-focused fights under a strict timer.
Floors 11 and 12 carry the toughest enemies, and each half of those floors rewards a different damage type. Parties that build around those rewards clear chambers faster and keep more time on the clock for higher star tiers.
Everything from floor structure and buffs to boss mechanics, team lineups, and rewards follows in the order a run actually plays out.
Spiral Abyss opens at Adventure Rank 20, and only Floors 9 to 12 reset every month with their own enemies, buffs, and rewards.
Version 7.1 runs the Stardread Moon blessing, a True DMG shockwave that fires off Cryo, Superconduct, and Stellar reactions.
Floor 11 adds a 60% Anemo DMG Bonus to the first half and a 60% Cryo DMG Bonus to the second half.
Floor 12 adds 75% Stellar Glimmer DMG to the first half and a 75% Cryo DMG Bonus to the second half.
Every chamber needs two separate four-character teams, one for each half.
Floor 12 bosses test root breaking, healing, shield cycling, armor control, and frequent Cryo hits.
A full clear of Floors 9 to 12 pays 800 Primogems per reset.
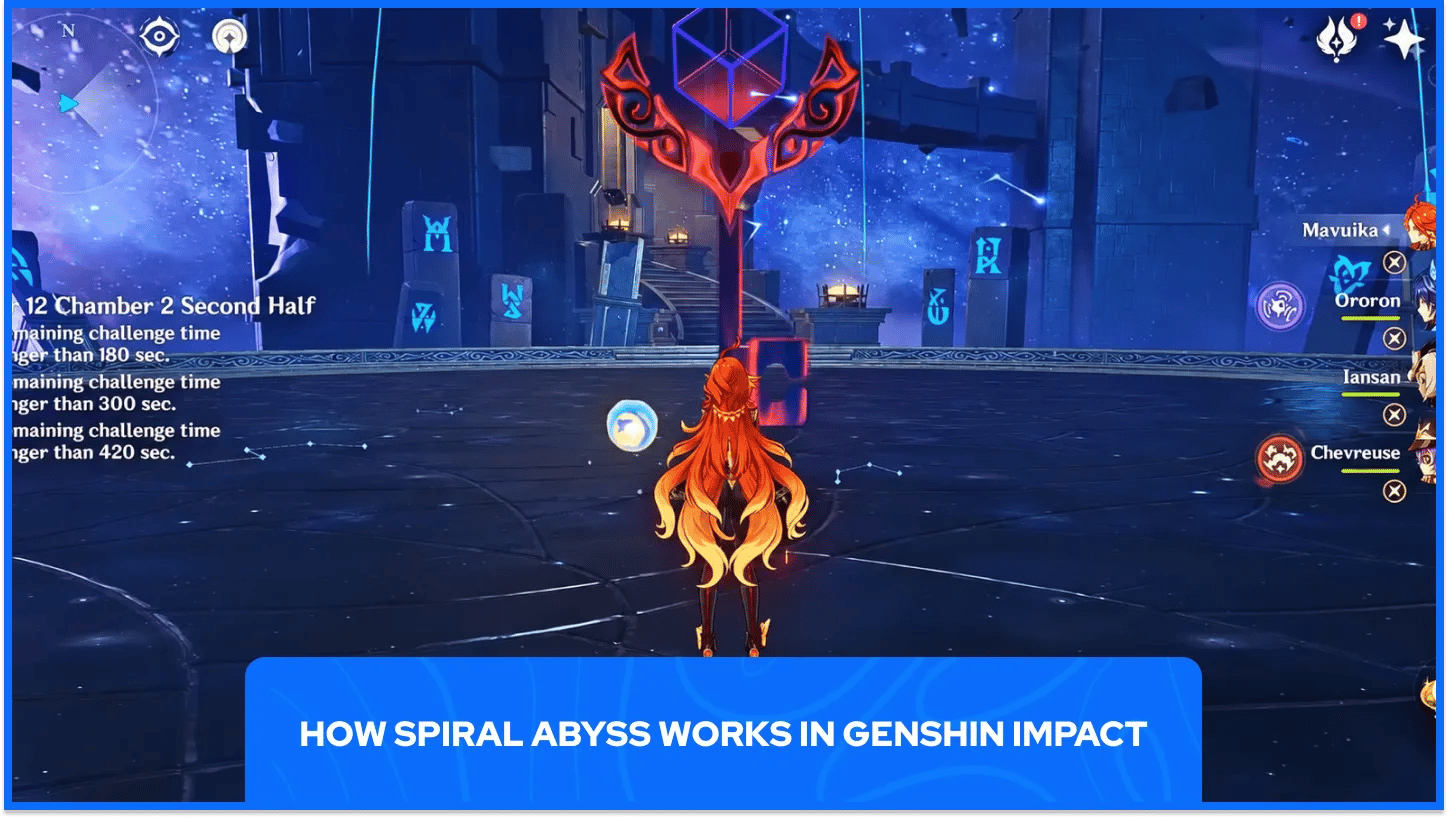
Spiral Abyss is a combat challenge that opens at Adventure Rank 20. The mode holds 12 floors split into the Abyss Corridor and the Abyssal Moon Spire, and every floor contains three chambers.
Floors 1 to 8 form the Corridor, and players claim those rewards a single time. Floors 9 to 12 form the Spire, and that part resets on the 16th of every month with its own blessing, enemy lineup, and set of Ley Line Disorders.
Each chamber splits into a first half and a second half, and each half needs its own four-character party. The two parties cannot share characters, so a run through one chamber calls for eight different characters.
The Blessing of the Abyssal Moon applies to the whole Spire for the full reset, and Version 7.1 runs the Stardread Moon blessing. A character who triggers Superconduct, Stellar-Conduct, Cryo Swirl, Stellar Swirl, Frozen, or Shatter on an opponent releases a shockwave at that opponent’s position that deals True DMG. Direct Stellar-Conduct or Stellar Swirl damage triggers the same shockwave, and the effect fires once every two seconds.
Each floor adds its own Ley Line Disorder to every half.
Floor and half | Ley Line Disorder | Best fit |
|---|---|---|
Floor 11 first half | 60% Anemo DMG Bonus for all party members | Anemo carries |
Floor 11 second half | 60% Cryo DMG Bonus for all party members | Cryo carries |
Floor 12 first half | Stellar Glimmer DMG increased by 75% | Stellar Swirl and Stellar-Conduct teams |
Floor 12 second half | 75% Cryo DMG Bonus for all party members | Cryo-Hydro and Freeze teams |
The Floor 12 first-half bonus works as a reaction multiplier, so it pays off only when a party member triggers Stellar-Conduct or Stellar Swirl. Characters such as Odette, Sandrone, Vesna, and Mizuki make those reactions possible, and a party without one of them gains nothing from the bonus.
The second-half bonus on both floors is a flat Cryo DMG Bonus, so any Cryo carry that scales with ATK and CRIT benefits with no reaction setup. Carries such as Skirk fit that role well, and the Skirk build covers the weapons and team behind her.
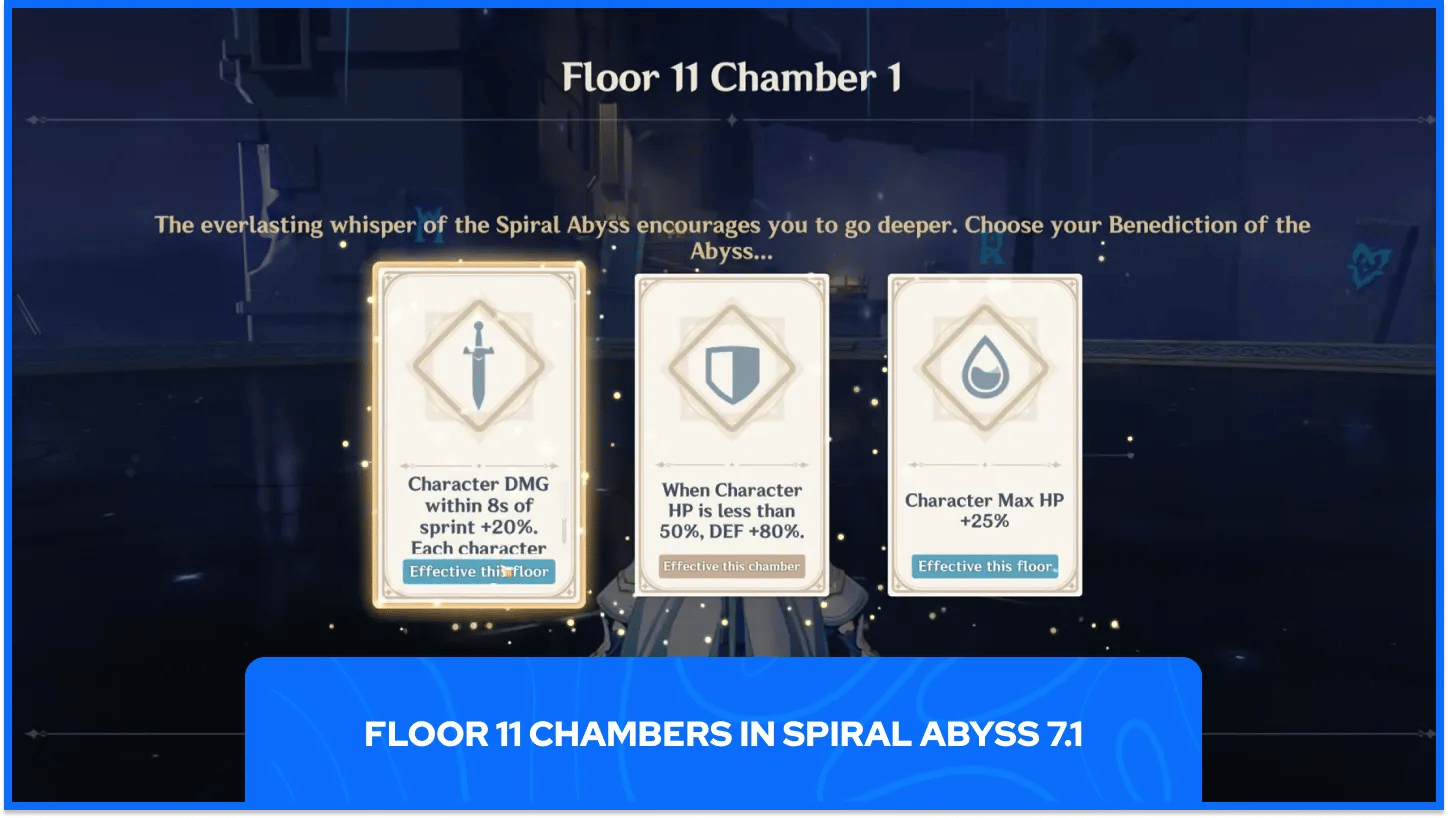
The first half of Floor 11 rewards Anemo damage, and Chamber 11-1 plays as a Monolith defense. Enemies arrive in groups and attack the Monolith, so Anemo supports such as Venti or Kazuha earn their slot by grouping enemies away from it. The Kazuha build covers the weapons and team for that role, and AoE carries like Vesna clear waves before they reach the Monolith.
Chambers 11-2 and 11-3 carry no special mechanics in the first half, which leaves raw damage as the main task. The second half of Floor 11 rewards Cryo damage. Chamber 11-2 brings Rifthounds that wear down party HP over time, so a reliable healer matters there. Chamber 11-3 features the Millennial Pearl Seahorse, whose Electro shield breaks under steady Cryo application and stuns it.
Floor 11 asks for lighter team checks than Floor 12, and most Floor 12 lineups carry over to it with small changes. Overlap between the two floors lets one roster investment serve both.
Floor 12 spreads three chambers across levels 95, 98, and 100, and every chamber pairs a first-half fight with a second-half fight. Each boss carries a mechanic that rewards the damage type its half favors, so learning the mechanic before the run saves time on the clock.
Each fight has one mechanic that matters most for the clear time.
The Battle-Hardened Chimeric Volkodlak Archer in 12-1 opens a damage window once its roots break: Stellar-Conduct or Stellar Swirl damage clears those roots quickly, and the weakened window that follows is the moment for burst damage.
The Iniquitous Baptist in 12-1 cycles Hydro, Electro, and Pyro shields before two Shadowy Husks arrive: Cryo reacts with all three shield types, so any Cryo carry can break them, and a Hydro unit such as Furina or Vodyanitsa speeds up the Pyro shield. Save cooldowns for the Husks that follow.
The Radiant Moonfly in 12-2 removes CRIT damage from any character below full HP: a dedicated healer tops up the affected character quickly, and Pyro or Dendro damage deals less against the Moonfly, which resists both elements heavily.
The Battle-Hardened Elite Treasure Hoarder (Hiljetta) in 12-2 loses her armor threat to Freeze or Overloaded: Freezing her during armor preparation avoids heavy damage, and Overloaded on the separate armor piece also works. Teams without Freeze can still clear the fight by dodging her heavy attacks.
The Chimeric Winged Lion in 12-3 raises an Electro ward and spawns Anemo Orbs: Cryo breaks the ward most easily, and Stellar Glimmer hits shut down its gimmicks, which makes this chamber the clearest match for the first-half bonus.
The Secret Source Automaton Overseer Device in 12-3 opens in Sweeper Mode with a large RES increase: the boss builds Flow Momentum as it spins, and each Cryo hit lowers that gauge. Once the gauge drops low enough, the boss stops attacking and its RES falls sharply, so frequent Cryo hits matter more than strong ones. Holding Nightsoul’s Blessing long enough pushes it into Counterstrike Mode instead, which fires tracking rays and also lowers its RES.
Only the second half of 12-1 brings extra enemies, so AoE damage matters in that room and single-target damage decides the other five halves.
Burst timing separates fast clears from slow ones in every chamber. Holding cooldowns for the weakened windows each boss offers keeps the clock healthy, and spending them outside those windows costs seconds that the star tiers depend on.
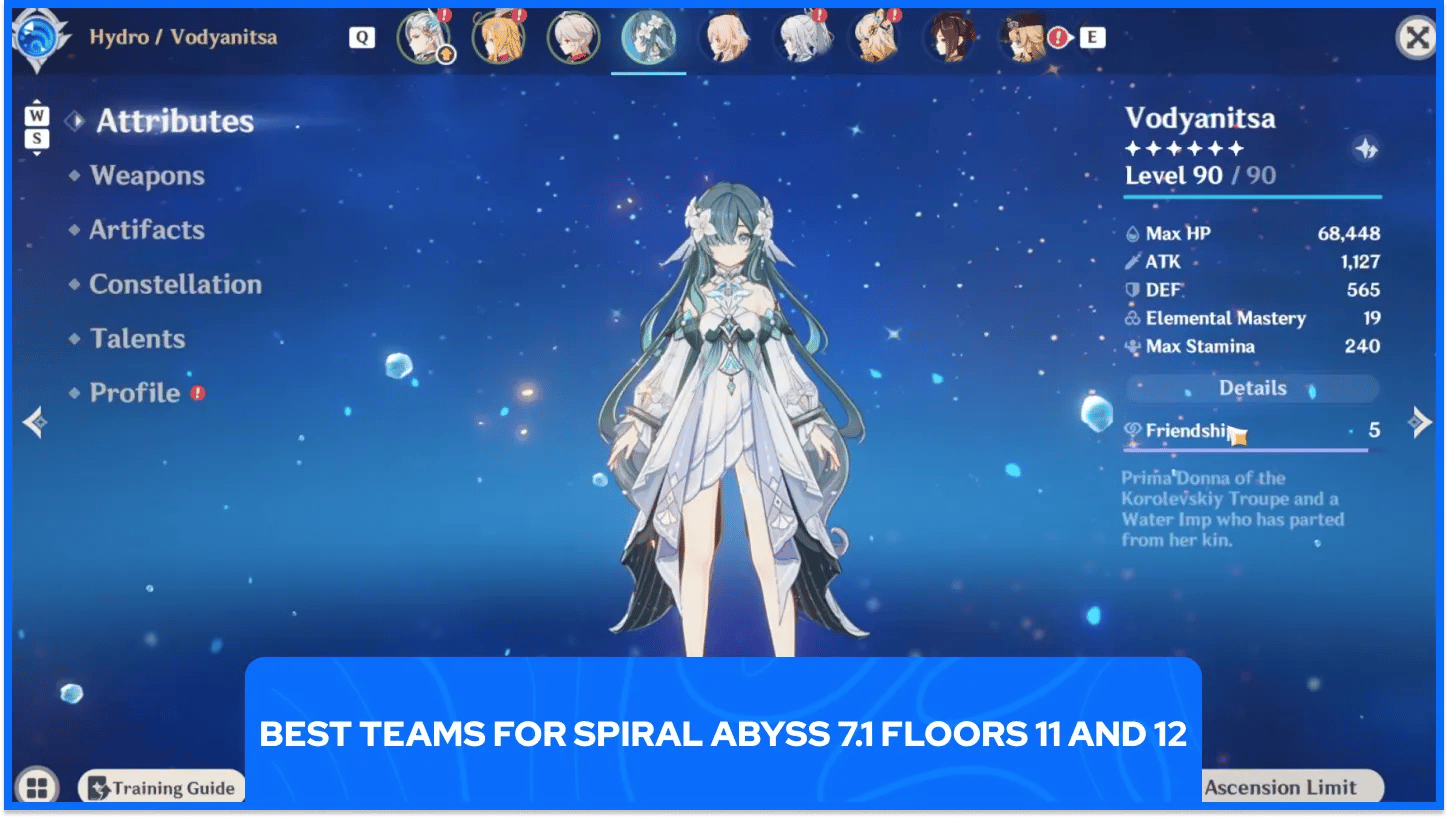
Teams for Version 7.1 split into two families, with first halves that lean on Anemo and Stellar reactions and second halves that lean on Cryo with Hydro support. Each lineup below pairs a damage type with the buffs of its half.
Floor and half | Lineup | Core idea |
|---|---|---|
Floor 11 first half | Venti, Faruzan, Durin, Bennett | Anemo damage for the Monolith defense |
Floor 11 first half | Varka, Venti, Durin, Nicole | Anemo carry with enemy grouping |
Floors 11 and 12 first half | Vesna, Odette, Faruzan, Vodyanitsa | Stellar Swirl with Anemo RES shred |
Floors 11 and 12 first half | Mizuki, Odette, Cryo Traveler, Faruzan | Stellar Swirl (Sucrose can replace Faruzan) |
Floor 12 first half | Sandrone, Yae Miko, Odette, Qiqi | Stellar-Conduct (Alyosha can replace Qiqi) |
Floor 12 first half | Mizuki, Cryo Traveler, Qiqi, Sucrose | Stellar Swirl without Odette, Sandrone, or Vesna |
Floors 11 and 12 second half | Skirk, Escoffier, Furina, Shenhe | Cryo-Hydro (Vodyanitsa can replace Shenhe) |
Floors 11 and 12 second half | Wriothesley, Furina, Escoffier, Vodyanitsa | Cryo carry (Yelan or Shenhe can flex) |
Floors 11 and 12 second half | Sandrone, Yae Miko, Escoffier, Qiqi | Electro and Cryo reactions |
Floor 12 second half | Lohen, Escoffier, Mona, Vodyanitsa | Cryo-Hydro with Lohen as the carry |
Floor 12 second half | Ayaka, Kokomi, Kazuha, Rosaria | Freeze fallback without Skirk or Escoffier |
Floors 11 and 12 either half | Cryo Traveler, Alyosha, Diona, Sucrose | Flexible Stellar Swirl and Cryo damage |
Vesna carries a higher ceiling than Mizuki and performs better in AoE fights, and much of her strength comes from supports such as Odette and Vodyanitsa. Faruzan shreds Anemo RES and adds CRIT DMG for Anemo allies at C6, which suits both Vesna and Mizuki.
Escoffier suits the second half with healing, frequent Cryo application, and resistance reduction that help in all three chambers. Four Cryo or Hydro characters in her team give the strongest resistance shred, and Vodyanitsa stacks with it by healing the party and lowering enemy Cryo and Hydro RES. The Escoffier team covers the full set of partners and weapons.
Since the two halves cannot share characters, pairing matters as much as individual lineups. Sandrone and Qiqi each appear in lineups for both halves, so using one of them in the first half means choosing a different option for the second. Splitting limited five-stars across halves in this way keeps both parties at full strength.
Every Floor 12 chamber awards stars by the time left on the clock after both halves finish. The same time rule applies to all three chambers.
Remaining time sets the star tier for each chamber.
Stars | Remaining challenge time |
|---|---|
1 star | More than 180 seconds |
2 stars | More than 300 seconds |
3 stars | More than 420 seconds |
Three stars leave roughly three minutes of combined fight time across both halves, so a few seconds of margin protect the result.
Nine stars on Floor 12 pay 200 Primogems and 60,000 Mora along with Domain Reliquary rewards, and a full clear of Floors 9 to 12 pays 800 Primogems per reset. Primogems from each reset convert into extra wishes, so players who want to get more wishes gain a free source every time.
A strong Spiral Abyss run starts before the first chamber loads. Reading the blessing and the Ley Line Disorders first sets the damage type for each half, and that habit carries over to every reset since the buffs rotate on a regular schedule.
Roster depth matters as much as raw strength. Two flexible four-character parties, one that leans on Anemo or Stellar reactions and one that leans on Cryo with Hydro support, adapt quickly whenever the buffs change, and each reset pays Primogems that add more wishes to the roster.
Genshin Impact Accounts
Genshin Impact Top Up
View all GameBoost Accounts
View all GameBoost Boosting Services
View all GameBoost Currencies
View all GameBoost Game Keys
View all GameBoost Gift Cards
View all GameBoost Top Ups
View all GameBoost Items
“ Hamza is your average video game enthusiast who’s always looking for his next game to play. Whether he’s diving into a competitive multiplayer match, exploring a massive open world, or getting completely hooked on a new release, gaming has always been one of his favorite ways to spend his time. Over the years, his love for games has grown into a passion for understanding and sharing everything about them. Through his articles, Hamza aims to help gamers discover new games, improve their skills, stay up to date with the latest gaming news, and get the most out of their favorite titles.”