

•Patrik Mršnik• 6 min read
Games
Onimusha: Way of the Sword bosses are the best reason to play Capcom's samurai revival. Onimusha: Way of the Sword throws 17 boss encounters at Musashi before a final run of rematches, and knowing the Onimusha bosses in order helps you plan charms, consumables, and practice time.
Our Onimusha: Way of the Sword review named the boss fights as the game's high point, with Sasaki Ganryu as the rival who returns harder every time. Each major fight gets its own moveset, so habits from one duel rarely carry over cleanly to the next.
Below, you'll find the boss order by chapter, what each fight throws at you, and a how-to-beat breakdown for every boss. Spoilers ahead, since the boss names alone give away story beats.
Most Onimusha: Way of the Sword bosses fall to stamina pressure: deflect, parry, empty the Stamina Gauge, then land a Break Issen.
Keep combos short. Sasaki Ganryu punishes a third hit from the very first duel.
Unavoidable Attacks can't be dodged, so deflect or parry them.
The Oni Bow solves several fights: it cuts Rasho-gan's tether, grounds Ifuu and breaks Dokyo's masks.
Oni Strength breaks guards and Countering Stances, and lets you throw Greater Nue's own tail back at it.
The final chapter runs a gauntlet of rematches before Minamoto no Yoshitsune, who has three health bars.
The table follows the story order of the main missions. Chapters without a boss (tutorials, Rift sealing and gathering missions) are left out, which is why the numbers skip.
Ch. | Boss | Chapter |
|---|---|---|
2 | Sasaki Ganryu | The Stage is Set at Kiyomizu |
2 | Daidara, Slavering Glutton | The Stage is Set at Kiyomizu |
5 | Rasho-gan, Wish Warper | Careful What You Wish For |
6 | Byakue, Hundred Defilements | The Curse of Kiyomizu-zaka Slope |
9 | Ifuu, Fearsome Gale | Windswept Kennin-ji |
11 | Nue, Legendary Chimera | What Lurks in the Shadows |
11 | Greater Nue | What Lurks in the Shadows |
12 | Dohatsu-ten, Heaven's Bane | The Roots of All Evil |
13 | Benkei | Bloodbath on the Bridge |
15 | Burai, Lightning Keeper | A Tempest at the Temple |
16 | Sasaki Ganryu (II) | To Live is to Suffer |
18 | Shuten Doji, Gourd Drainer | The Demon on the Mount |
20 | Ifuu and Burai | Storm Chaser |
21 | Sasaki Ganryu (III) | In the Light of an Icy Moon |
21 | Dokyo, The Transgressor | In the Light of an Icy Moon |
22 | Benkei (Fully Armed) | The Clash at Rendaino |
23 | Minamoto no Yoshitsune | The Way of the Sword |
Byakue and Dohatsu-ten also turn up in Rifts and other missions, and the optional chance encounter The Growling Ghost pits you against two Nue at once. The last chapter brings back Daidara, Byakue, two Nue, Greater Nue and Dohatsu-ten before the final duel.
Every fight runs on one loop. Drain the Stamina Gauge and finish with a Break Issen. After that, pick the red sparkles for direct damage or the purple ones, which release yellow souls for health, blue souls for Oni Power and purple souls for Awakening. Perfect Issen counters hit hardest, but the window is tiny, so learn deflect timing first and chase Issens once a boss's openers feel familiar.
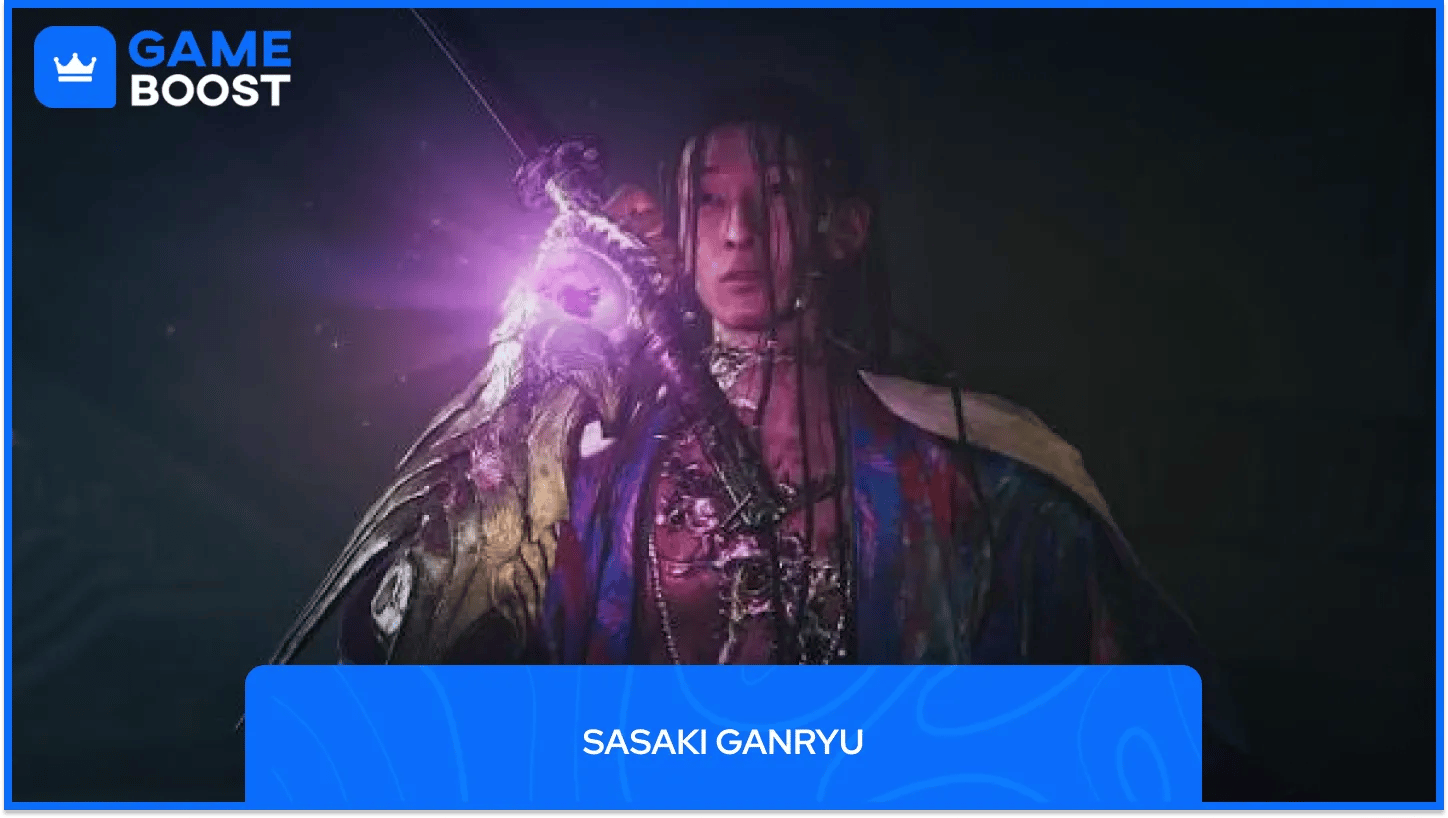
Musashi's rival is the first real boss, fought at Kiyomizu-dera in chapter 2. The opening duel works as an extended tutorial: he mixes feints with short combos that end on delayed strikes, and his jump height tells you what's coming. A high jump means a kick, a low one means a sword attack. When your blades lock, mash attack to overpower him, and expect a second phase after the first Break Issen.
Ganryu comes back twice. In chapter 16 an Oni riding on his back joins in with its own slashes, a snake-like head handles the grabs, and mid-combo he can drop into a Countering Stance with his sword glowing blue. The chapter 21 duel runs across three phases, adds tentacles you can sever with a Parry and ends with a Skull Knight form swinging a Malice-infused sword. Our review called Ganryu the heart of the game, and landing the counter against him was the moment the whole game made sense.
How to beat: Stop at two hits, as he counters the third, and dodge his kicks. In duel two, break his blue Countering Stance with Oni Strength. Duel three ends in a Skull Knight form, so learn the timing of its very fast Unavoidable Attack.
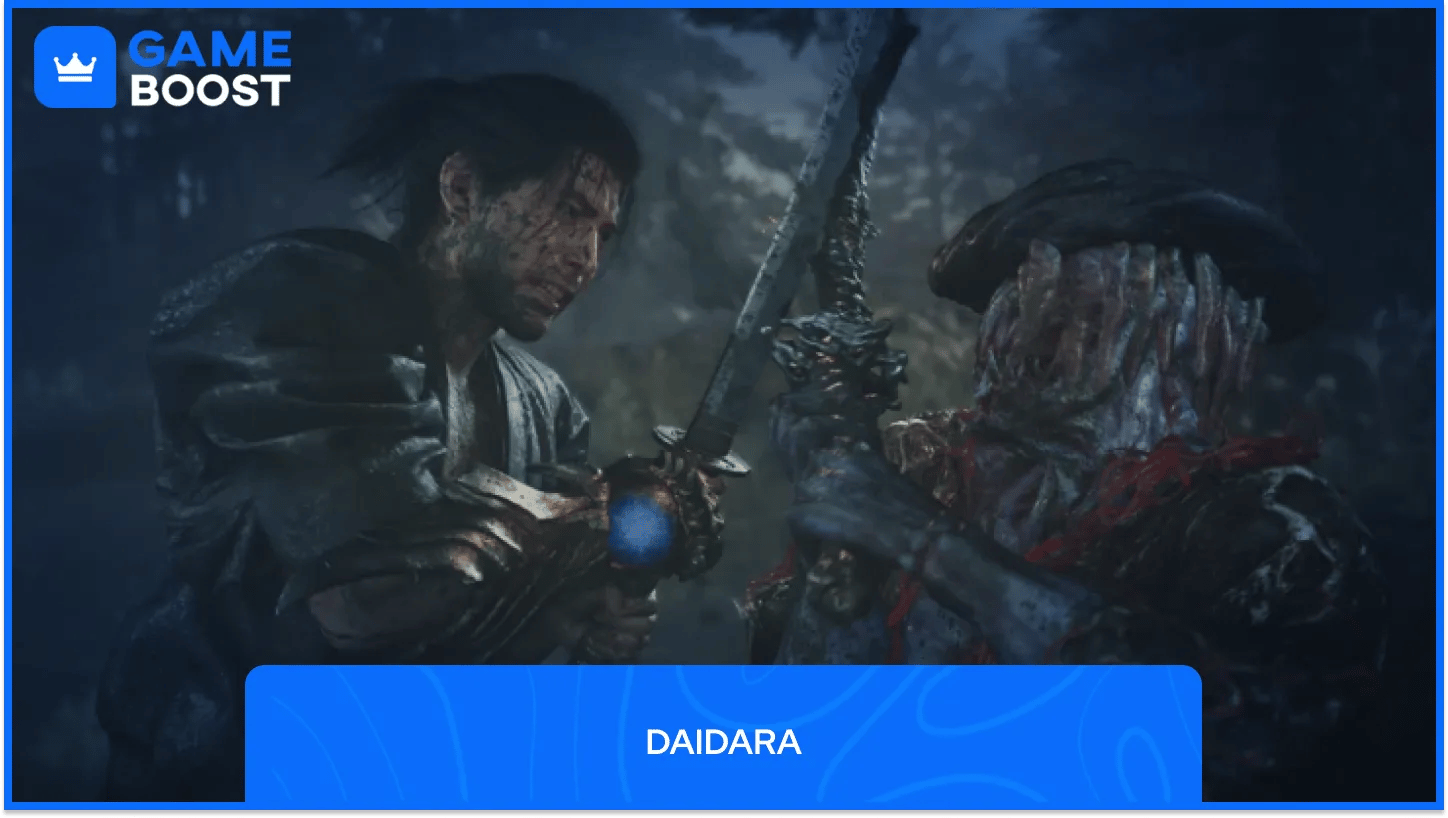
The second boss of chapter 2 is a huge horned brute with a kanabo, and he's far less dangerous than he looks. His club swings are slow and forgiving, and a missed swing can get stuck in the arena wall. Watch his feet: a quick stomp comes out fast, and a string of stomps announces his charge.
Daidara absorbs any souls you leave on the floor and grows stronger, which turns the fight into a race for pickups. After the first Break Issen his spinning attacks keep going even when you parry them. In phase two his weapon stretches into a whip-like form with far more reach, and he adds a slow grab. He returns in the final chapter as the first of the rematches.
How to beat: Parry his slow club swings and absorb souls before he can. Reflex Dodge his phase two grab.
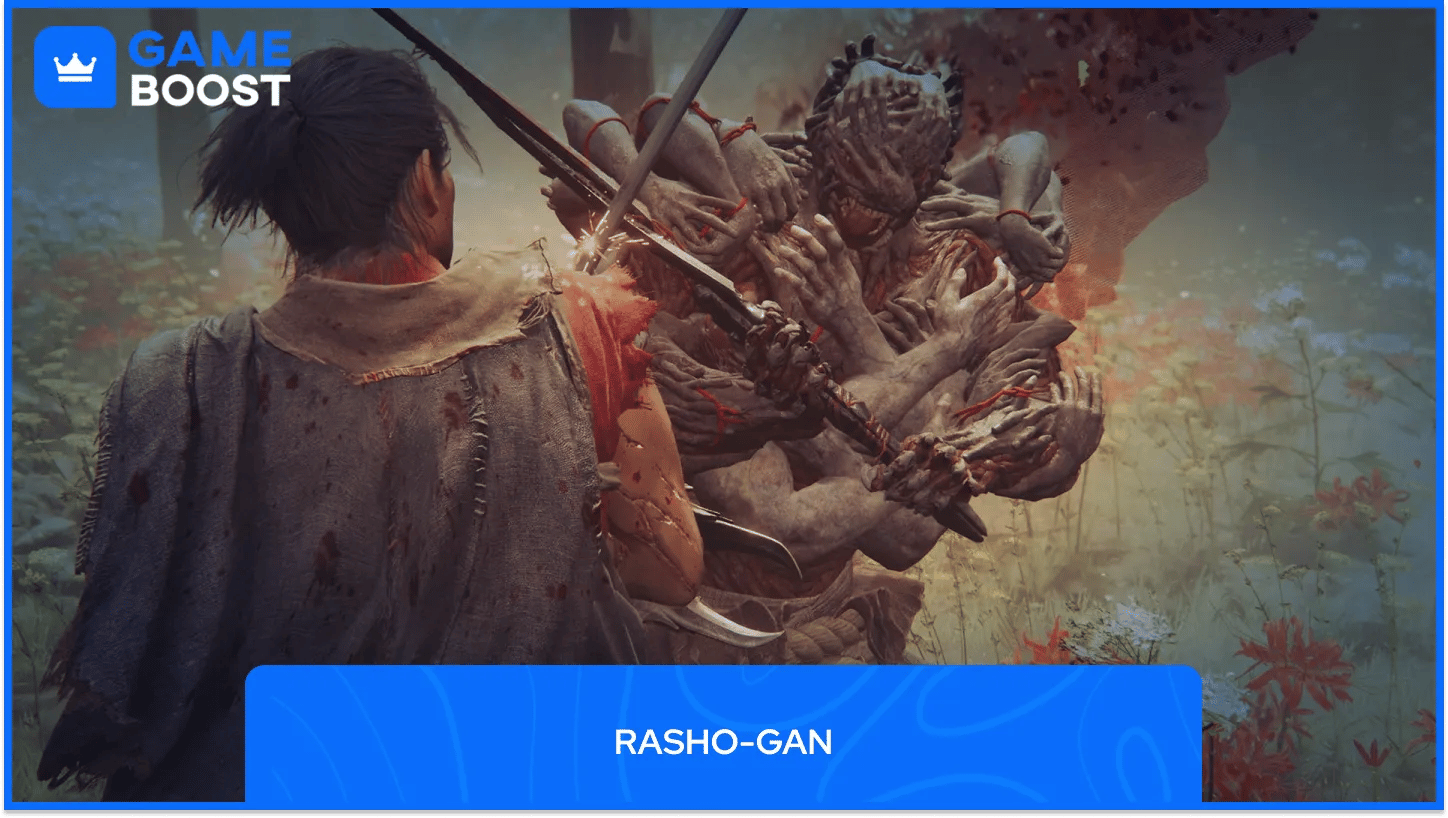
You'll meet this sword-wielding Genma near the end of chapter 5, tied to an altar by a tentacle. Cutting that tether weakens him slightly. Deal with it first. His sword strikes are slow and easy to parry, but a delayed vertical slash catches players who guard too early.
At range he fires projectiles in volleys of four, which you can deflect straight back. Up close, dodge his jumping strike, and treat his blue grab as a chance for heavy stamina damage. Phase two adds tentacles from his back that fling objects at you. In the final phase he draws a second sword for chained spinning charges, and parrying one knocks him straight to the ground.
How to beat: Cut the altar tentacle first, then parry up close. Shoot the tentacles on his back with the Oni Bow so thrown objects hit him.
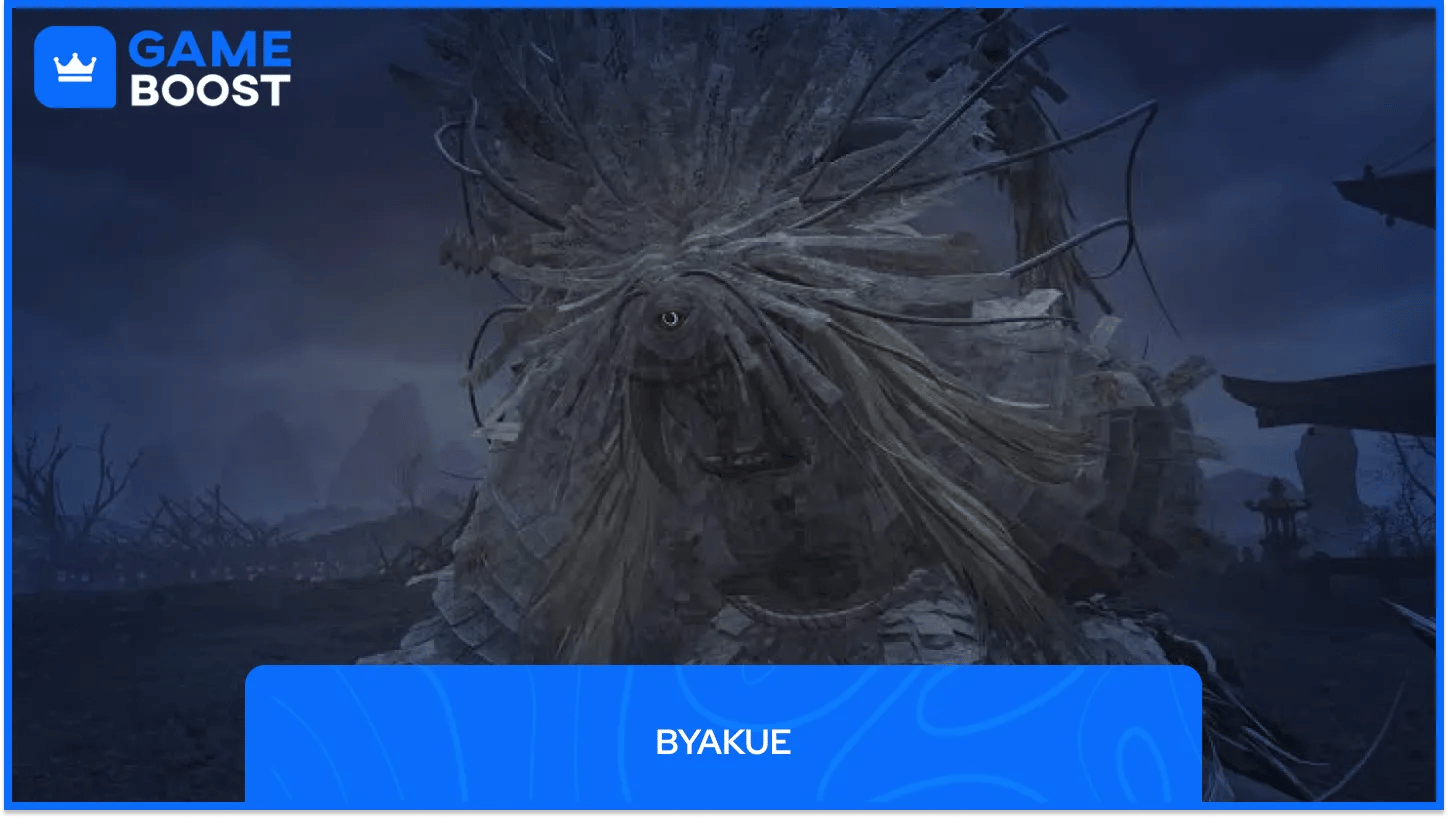
This talisman-covered aberration appears in chapter 6, The Curse of Kiyomizu-zaka Slope, and keeps coming back in Rifts, chance encounters and later missions. It attacks more relentlessly than most bosses and rarely gives you room to breathe. Its stamina also recovers quickly, and a passive approach only drags the fight out.
The moveset is simple: a heavy-step charge, fast leaps that look like jumping slashes, basic combos and a vertical smash. Later versions get nastier: its blade seems to grow teeth and red smoke pours from the ground before it slams down. Beating Byakue drops Byakue's Talismans, which you need for Gauntlet upgrades. The repeat fights at least pay you back.
How to beat: Match its aggression and deflect its blade. In rematches, jump when red smoke pours from the ground.
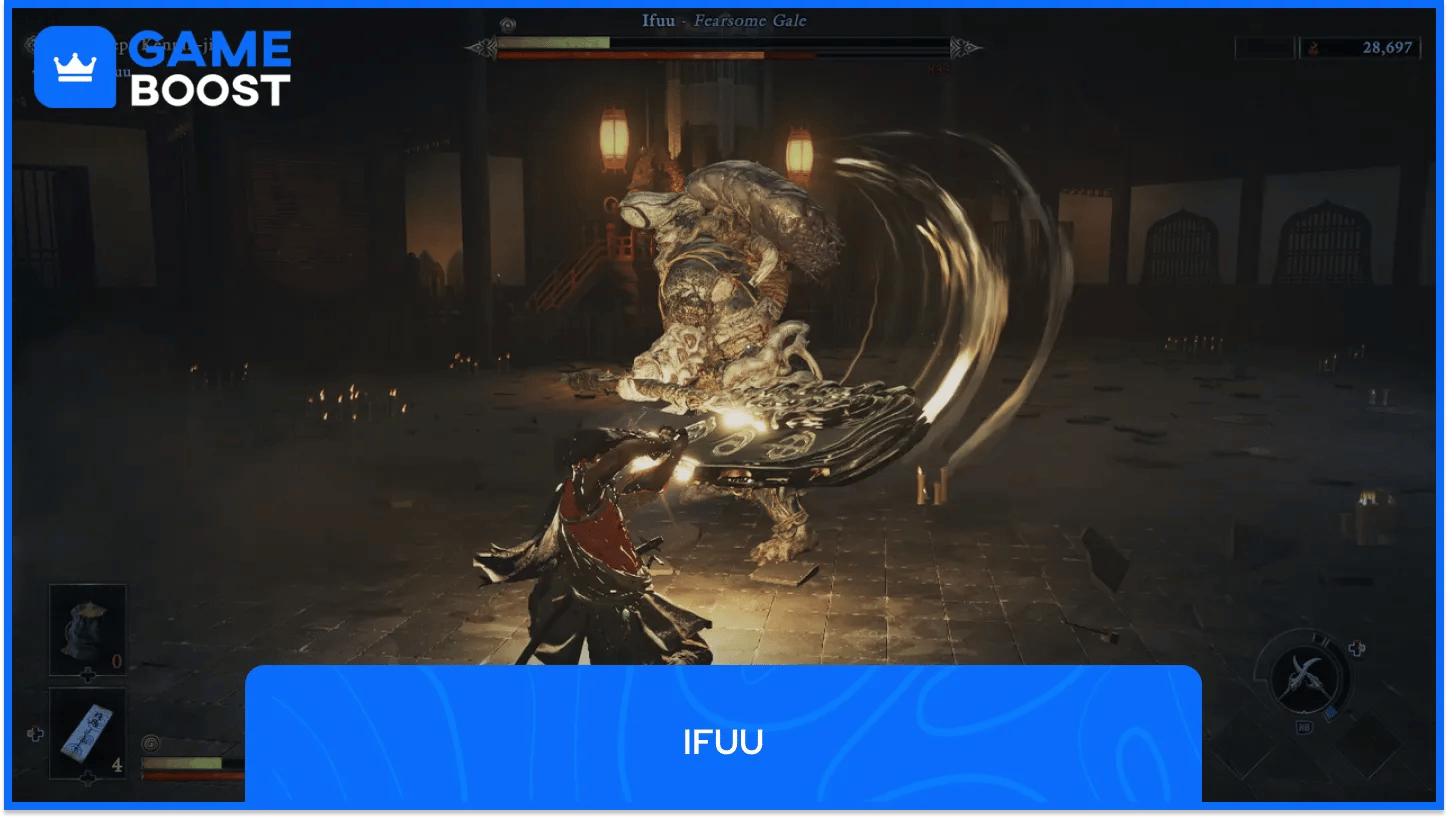
The wind brother waits in chapter 9, Windswept Kennin-ji, and he's just as happy to fight from range. He throws a horizontal wind blade and slams the ground for a shockwave, and both can be deflected back at him. Up close he drags his axe as he approaches, then swings, and a parried spinning axe strike leads into a follow-up slash.
Ifuu gets dangerous in phase two. A spiraling charge closes the distance before a slash you have to block, and a suction move pulls you in for a leaping strike you need to dodge. His worst move is a tornado sweep, but he hovers for a few seconds first, which gives you time to aim.
How to beat: Deflect his wind blade and shockwave back. When he rises for the tornado, shoot the pack above his head to ground him.
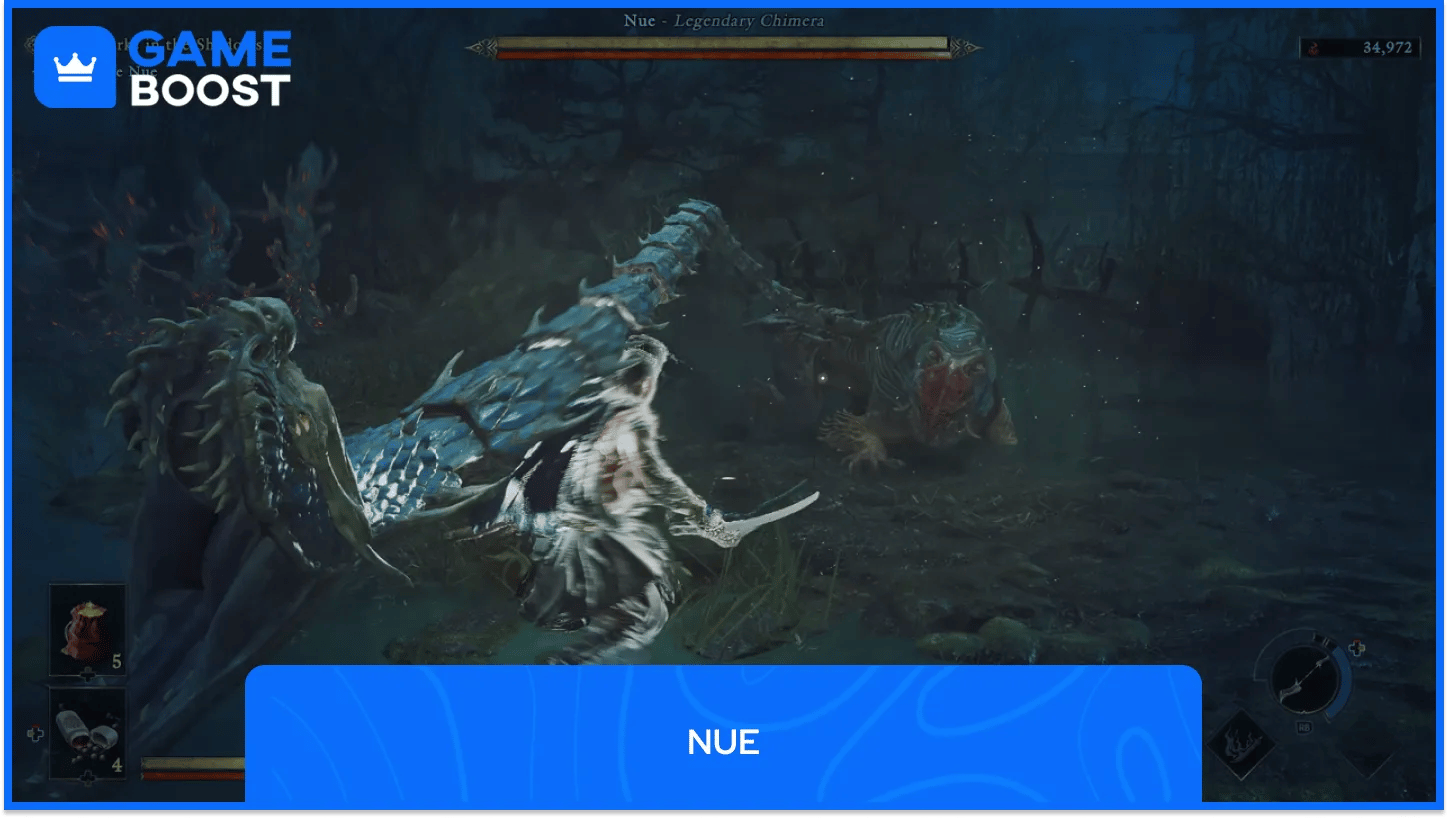
Nue waits inside Nijo Castle in chapter 11, and the fight is more tedious than hard. Its snake-headed tail blocks your strikes and attacks with awkward timing. Without the tail, Nue only has a two-hit claw combo, a shove and a charge.
Once you've dealt enough damage, Nue becomes electrified and the tail starts firing lightning projectiles. Those are a gift, as deflecting them back drains a lot of stamina. Destroying the tail in this phase removes the electricity. Two Nue come back together in the final chapter, and fighting them without lock-on makes it easier to track both.
How to beat: Shoot the tail with a charged Oni Bow shot when Nue retreats sideways. Deflect its lightning projectiles back later.
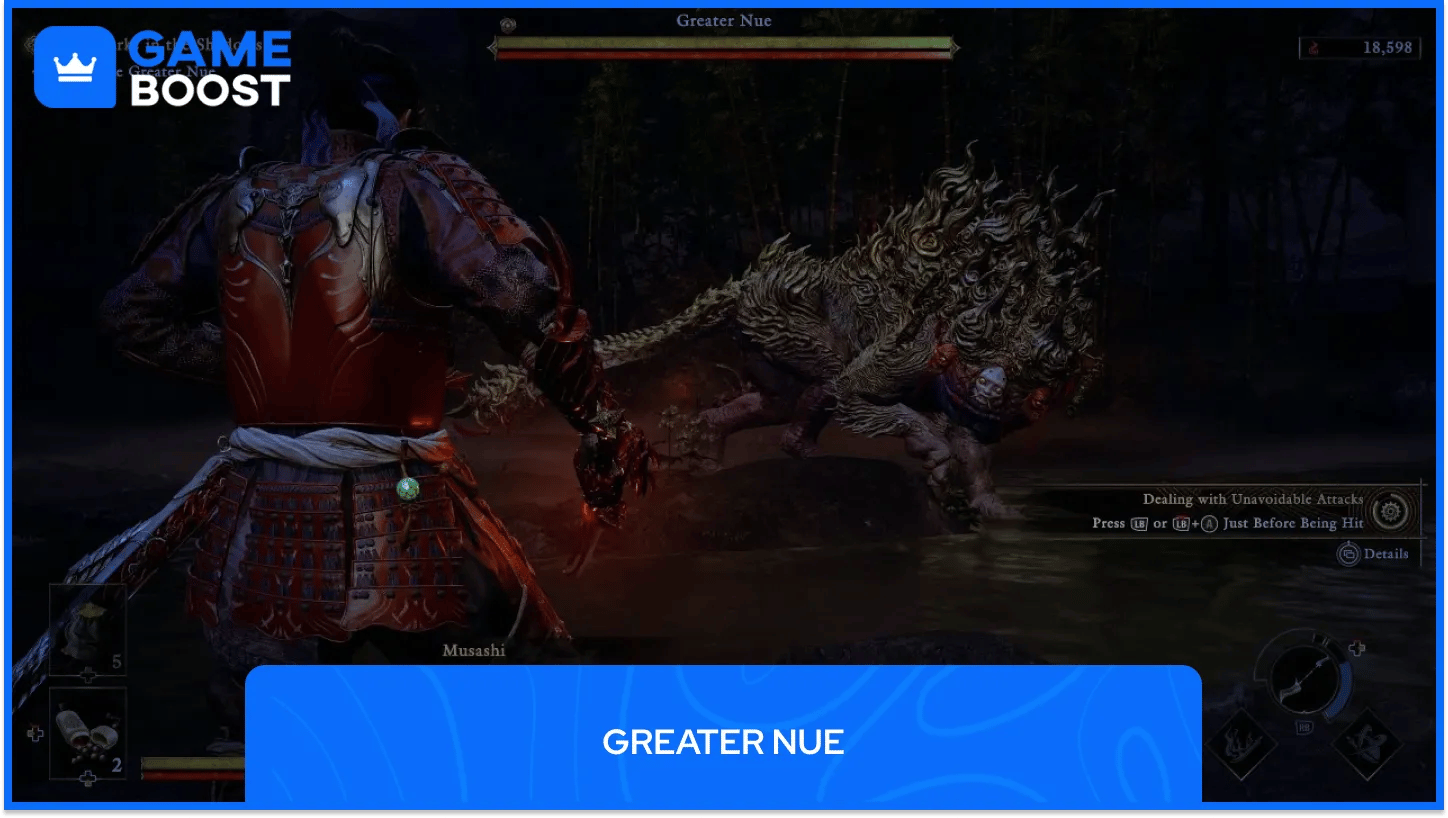
Greater Nue closes the chapter at the Kyoto Imperial Palace, and it's the first fight that feels like a real skill check. In our review it stood out as a fast fight full of electrical attacks that rewards reading patterns over panic dodging. It keeps the claw combos, charges and bites of the regular Nue and adds pink-glowing Unavoidable Attacks that a regular guard won't stop. You have to deflect them to one side.
When it rears onto its hind legs and extends blades from its claws, back away until it drops to all fours. In the second phase, lightning strikes across the arena, its charge becomes electrified and it starts setting off lightning explosions. You'll see it again in the final chapter, and the timing you learn here carries over.
How to beat: Deflect its Unavoidable Attacks with the stick pushed left or right. Hit Earth-Shakers after its leaps, then sever the tail and throw it back with Oni Strength.
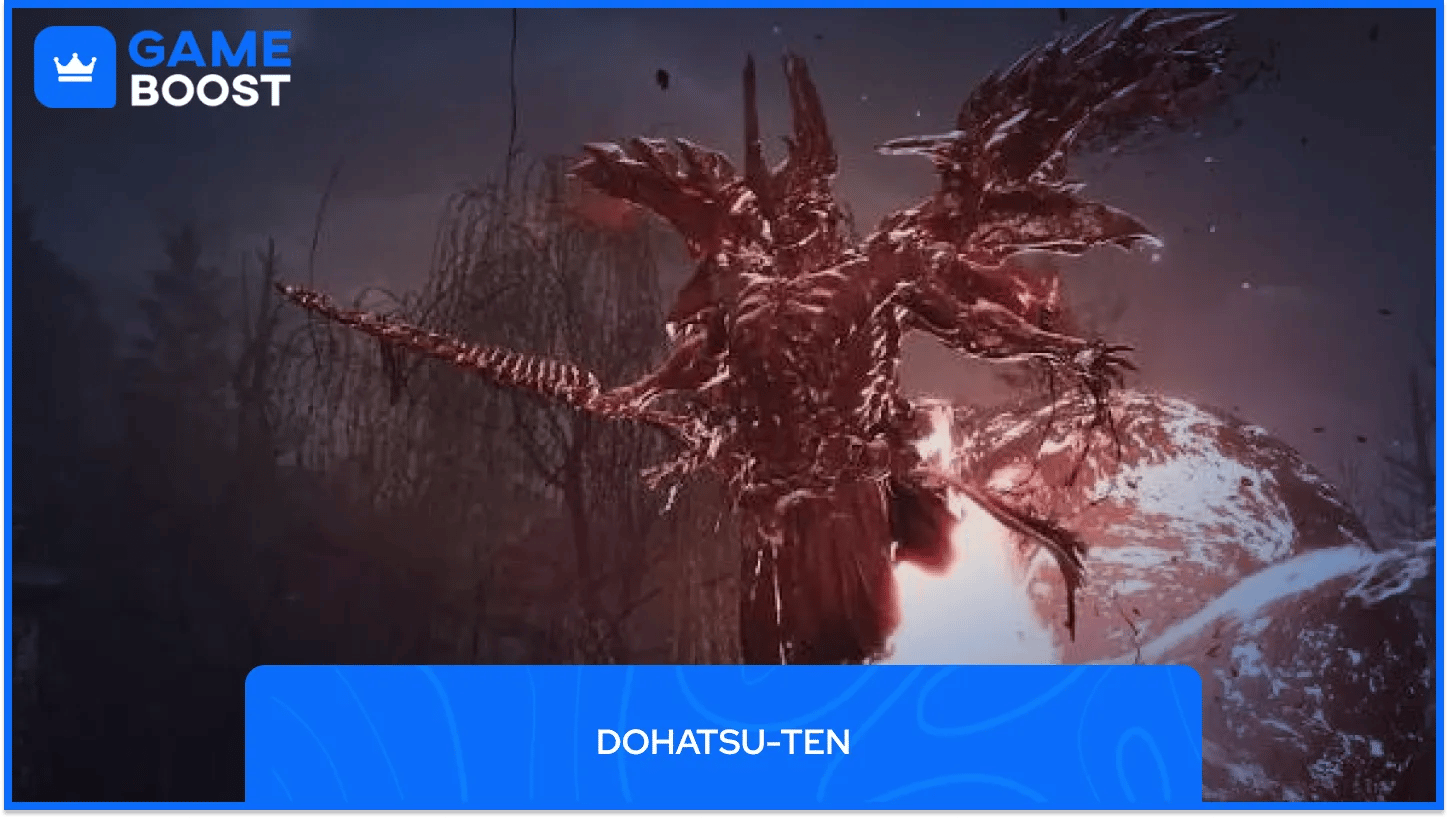
This vampire-like Genma arrives in chapter 12, The Roots of All Evil, and he's probably the fastest boss up to that point. His kit is wide: single kicks, spinning kick combos, a jumping attack that covers a lot of ground, and a vacuum slash he fires once he raises his sword with both hands.
He also guards often, which is your cue for Oni Strength. As his health drops he spreads his wings for a fast long-range attack, then his sword enters a Blazing state. That adds a kick that launches you into the air before a slash, plus a barrage of vacuum slashes. Like Byakue, he reappears in Rifts and drops Dohatsu-ten's Horns for Gauntlet upgrades.
How to beat: Parry his spinning attack as he turns. Deflect vacuum slashes back and break his guard with Oni Strength.
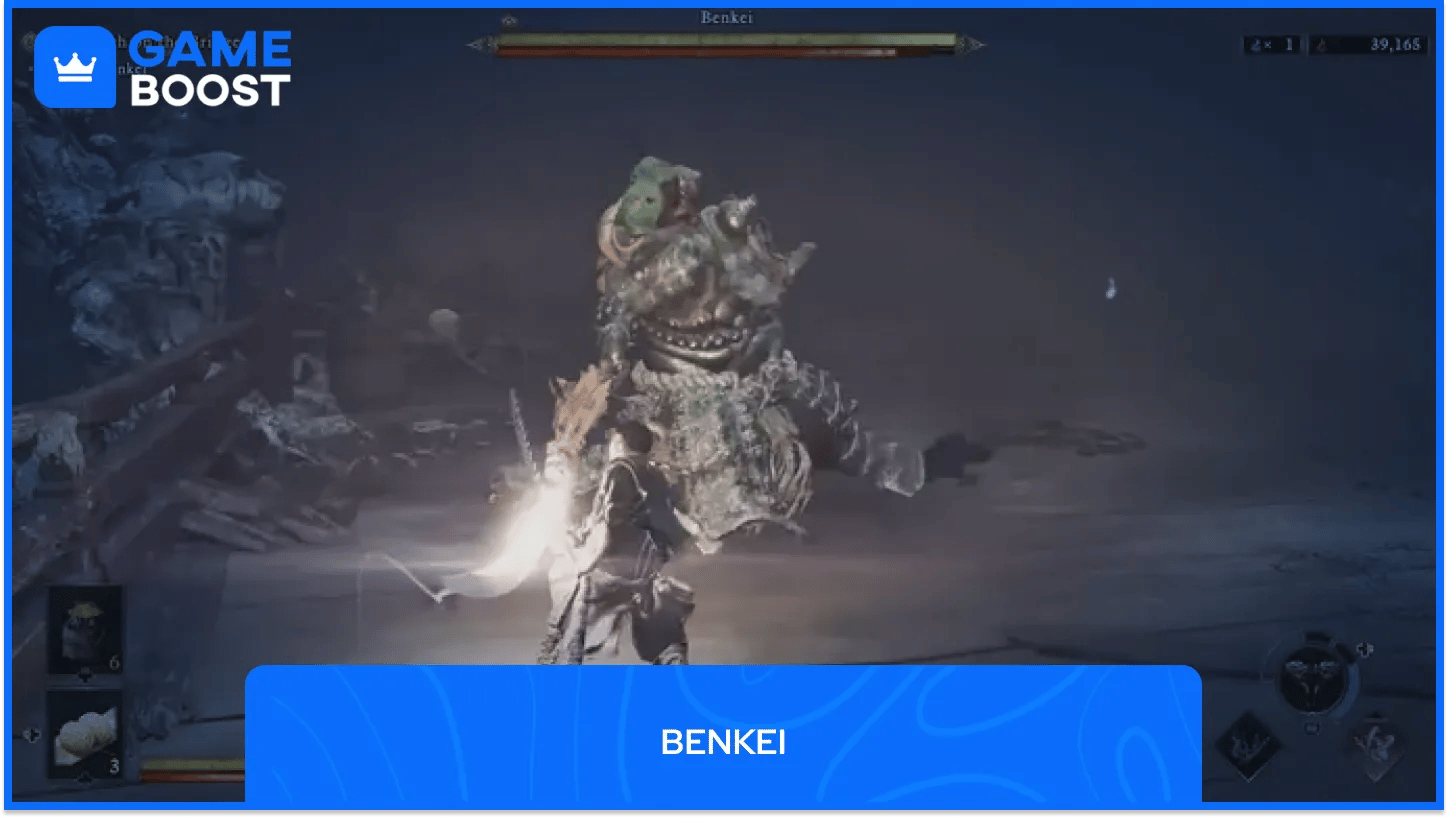
Benkei holds the bridge with his naginata in chapter 13, Bloodbath on the Bridge. Until you break his armor, you won't do meaningful damage to his health. From range he stomps and charges with a thrust, and the moment the bridge planks kick up is your cue to parry. He also advances with X-shaped diagonal slashes and leaps into an area slam that leaves him stuck for a second or two if it misses.
In phase two he pulls out a flaming naginata that hits much harder, and parrying his Unavoidable Attack now leads straight into a second one, a leap with two naginatas. Benkei returns as the only boss of chapter 22, The Clash at Rendaino, listed in the rematch roster as Benkei (Fully Armed). That version front-loads aggression and adds a fast white-glowing flurry with the second polearm that you can only deflect.
How to beat: Strip his armor with Earth-Shakers. His wide circular swing always leads into an Unavoidable Attack, so stay ready.
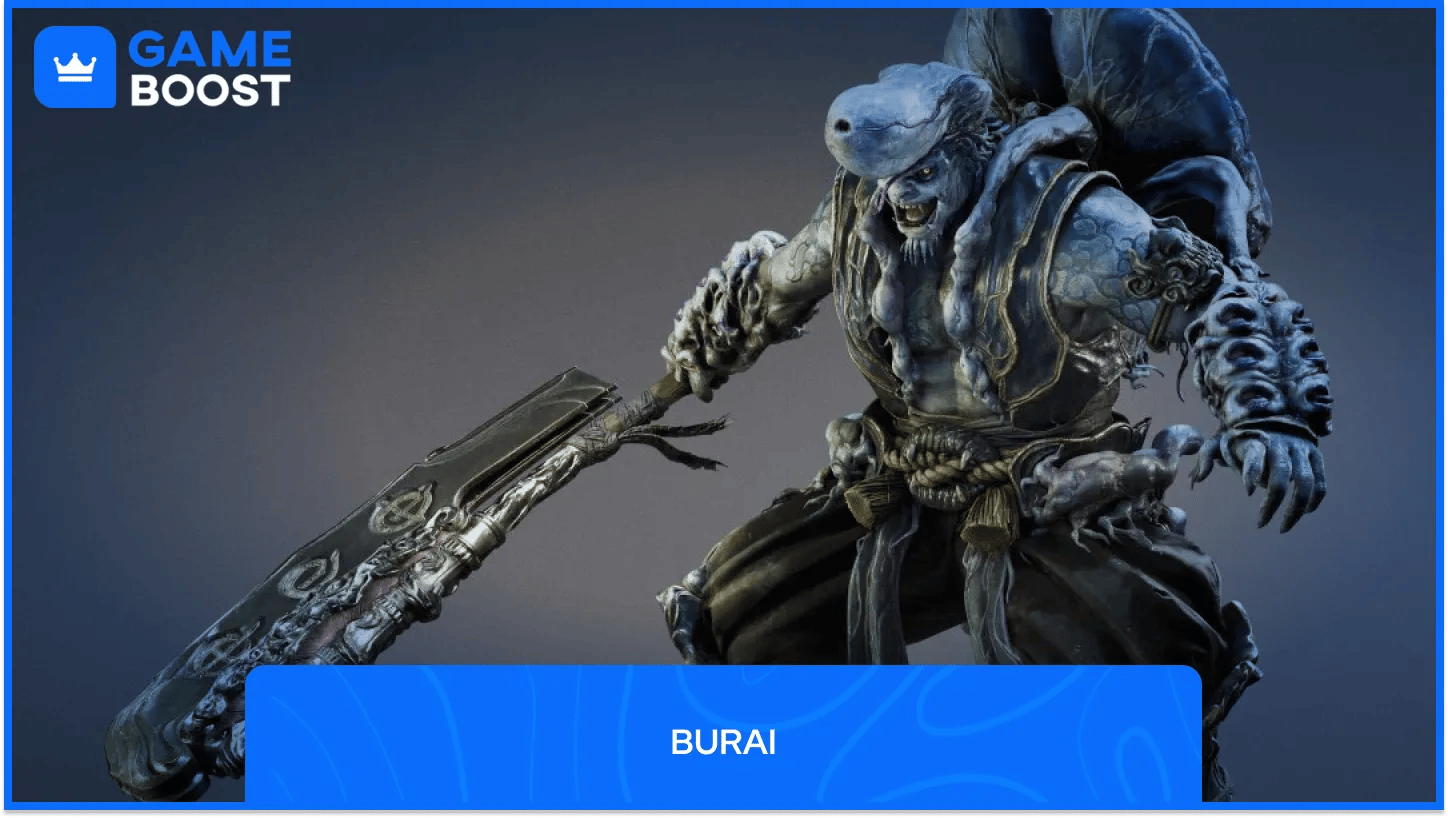
Ifuu's brother comes looking for revenge in chapter 15, A Tempest at the Temple. Once his patterns make sense, Burai is simpler than most of the bosses before him. The main threat is his lightning orbs, and you don't need to stay close to beat him.
In phase one he uses a naginata thrust that needs a precise parry and a rushing slash you have to block. Phase two adds a vanishing move that ends in a downward crash, plus a one-legged stance you shouldn't attack into. His final phase adds a lightning bolt fired straight ahead, then a powerful vertical slash that's easier to dodge than block.
How to beat: Stay at range, clear of his lightning orbs, and punish with charged Earth-Shakers. Dodge his closing lightning slash.
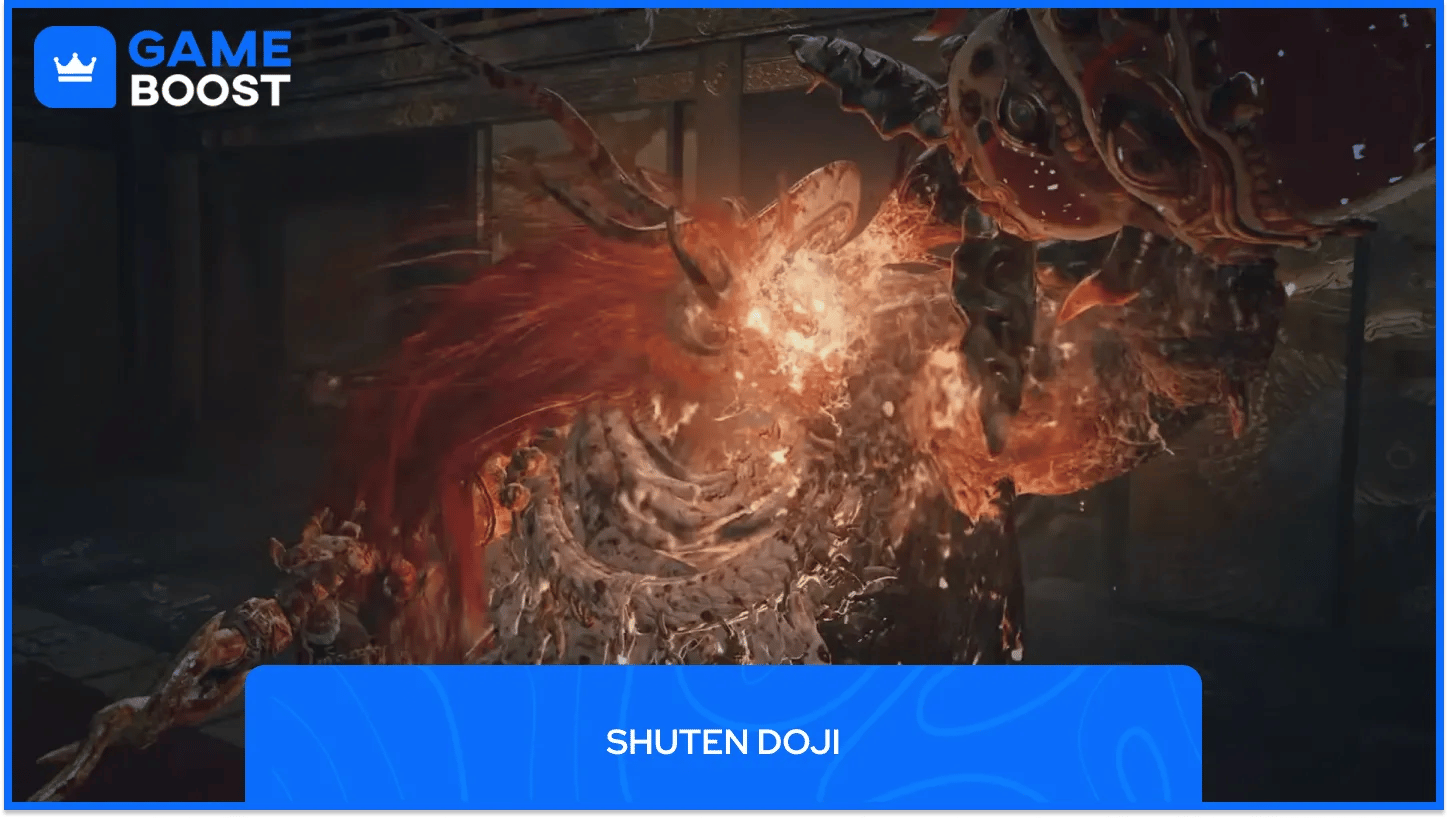
Chapter 18, The Demon on the Mount, pits you against a drunken demon across three phases, and the second one can't be won. Our review singled him out as one of the most dangerous late-story fights. He leans on unarmed moves: a right-leg kick that often drops him to the floor, a spinning leg attack as he gets back up and two-part swings of the sake gourd in his left hand.
His sword attacks are predictable apart from a stumble followed by a sudden slash. Every drink from the gourd restores his health and stamina and undoes your work. Hit him mid-drink and he drops it, then jumps on it for an explosion. Later he sprays fire in a wide fan and spits it into the air as a flamethrower and mortar in one, and in phase three you gain a new ability of your own.
How to beat: Stay aggressive, since his gourd heals him. Hit him mid-drink, dodge the blast and answer fire with Oni Armaments.

The brothers team up in chapter 20, Storm Chaser, for a three-phase fight our review saw as a test of everything learned so far. Their health bars are separate but linked, damage carries across phases, and spreading your hits between them pays off. They use the same moves as in their solo fights.
In phase two they launch special attacks at the same moment, so you mostly defend against one. Phase three adds two tandem finishers, including one where they hover on a cloud as lightning hits the arena and gusts of wind warn you of the last strike. Parry it for heavy stamina damage. Once one brother falls, the other is much easier.
How to beat: Skip lock-on. Parry their paired slash without Deflect so they hit each other, and shoot Ifuu's pack to drop him onto Burai.
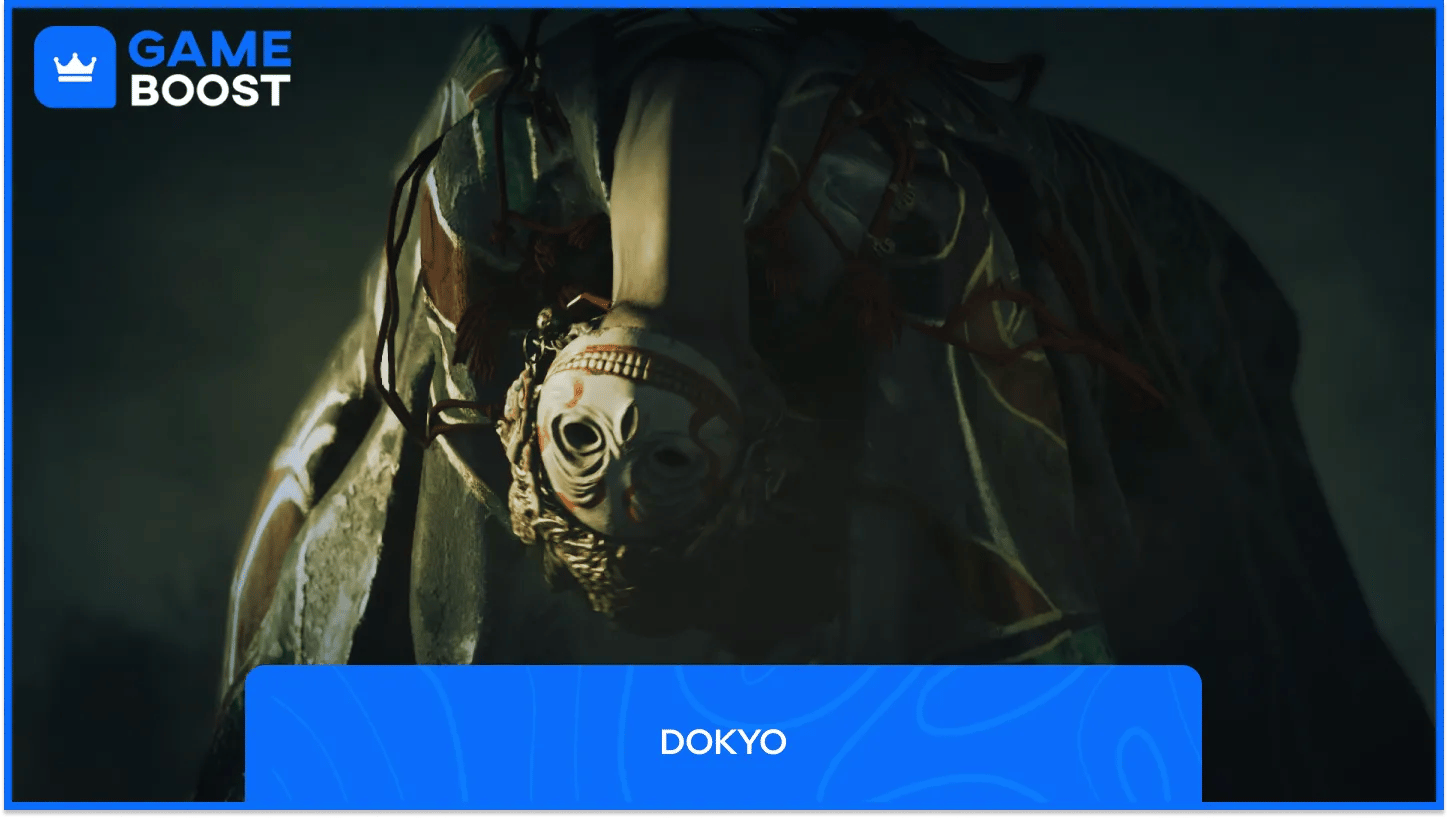
Dokyo shares chapter 21 with the last Ganryu duel. The fight is simple but very long, as she stays out of reach and bombards you with projectiles. Expect a chain shot followed by waves of fire along the ground (dodge just before they reach you) and a giant mask that circles her, later two at once.
In the second phase her ring of Kubi Akari includes a red one that tries to grab you, and a last-second dodge sends it flying into her. Her closing trick is a rockfall across the arena. Hide behind the one rock that stays intact, then lift part of it with Oni Strength and throw it at her.
How to beat: Close in with Reflex Combo: Range and break her masks with the Oni Bow. Lead Kubi Akari rings into her.
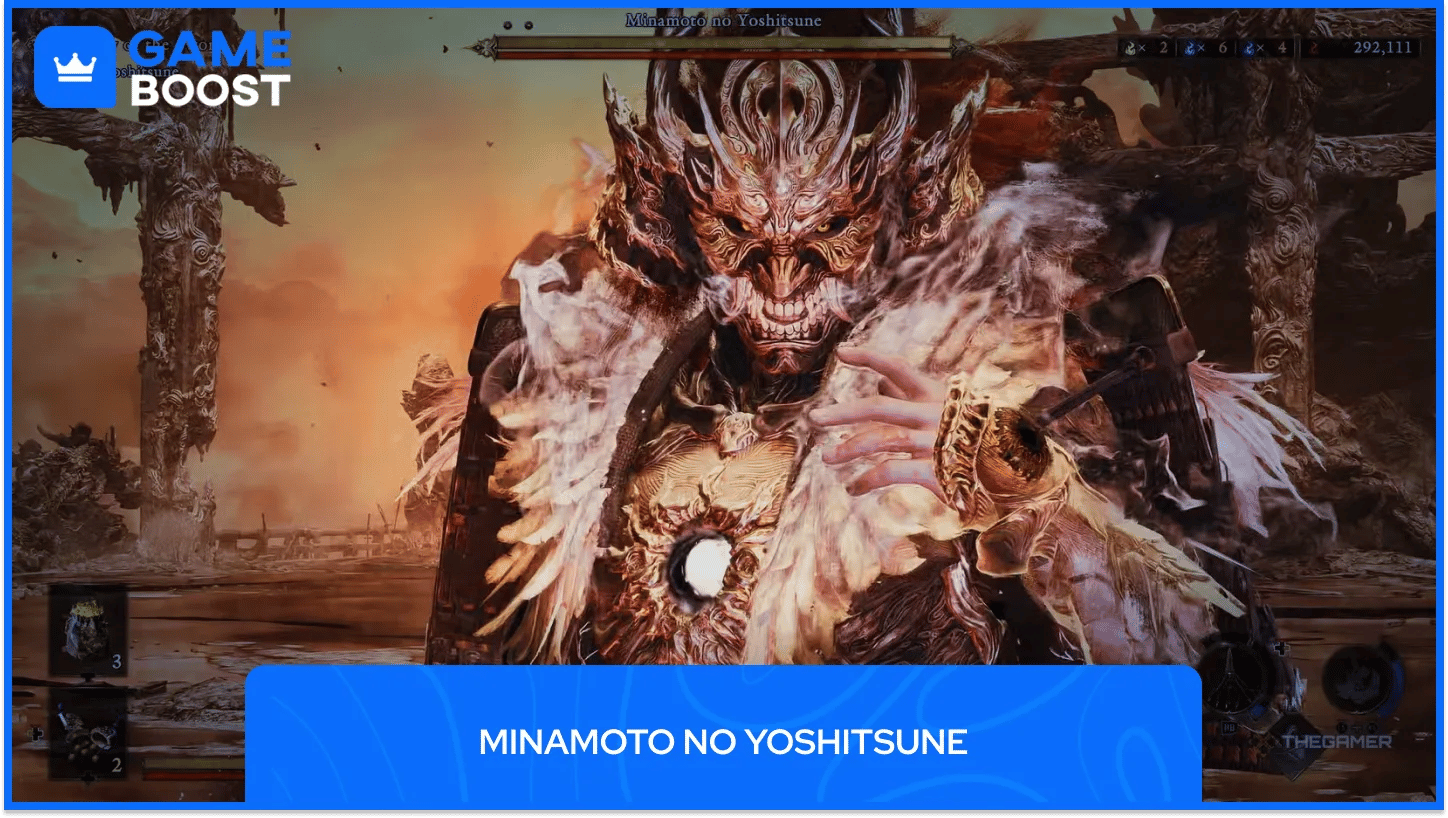
The Onimusha Way of the Sword final boss waits in the Keep at the top of Shanaoh Castle, at the end of chapter 23, The Way of the Sword. You reach him after five rematches, and he has three health bars where most bosses have two. His sword combos keep going after a successful parry, and he uses a jumping kick to reset distance.
Watch for two Unavoidable Attacks: two diagonal slashes into a horizontal one, and a circular slash that leads into a grab that steals your souls if it lands. In phase two he adds punches and gets more aggressive, and his airborne sword assault is the best chance to fill your Reflex Gauge: block the two sword strikes and dodge the kick. In phase three he starts absorbing souls, and Onimusha Onslaught in Oni Awakening is the answer.
How to beat: Learn phase one defensively and dodge his jumping kick. Phase three only allows damage during Oni Awakening. Bring an Amulet of Introspection.
Onimusha bosses reward patience over reflexes. Almost every fight here asks one question: can you hold your nerve long enough to parry the attack that matters? Short combos and early deflects win more duels than big damage.
Study Sasaki Ganryu. Each of his three duels previews the mechanic the next stretch of the game tests, from feints to Countering Stances to Unavoidable Attacks, so treat them as checkpoints. Five rematches stand between you and Yoshitsune in the last chapter. Ration healing items and talismans on the way up Shanaoh Castle.
Stuck on a wall? Rerun the boss in the Practice Ground with Action Prompts off. You'll learn the real timing, and that's the best prep for Carnage.
Onimusha: Way of the Sword Game Key
View all GameBoost Game Keys
View all GameBoost Accounts
View all GameBoost Boosting Services
View all GameBoost Currencies
View all GameBoost Gift Cards
View all GameBoost Top Ups
View all GameBoost Items
“ A former sports journalist and editor, Patrik joined Gameboost SEO team in 2026. He has spent most of his life playing Football Manager, but his sphere of interests spreads through whole gaming universe.”