
•Filip Premuš• 5 min read
OSRS
Obor, the Hill Titan, is OSRS's Hill Giant boss and one of the best entry points into bossing, especially if you're playing on a free-to-play account. He's not going to test your reaction time or make you learn a dozen attack phases, but he hits hard enough that showing up unprepared will send you back to Lumbridge. Players struggling with Obor can use this guide to improve their strategy, and if they’re still having trouble, they could buy some OSRS gold for better gear and supplies, or simply keep training and gaining experience before challenging the boss again.
Compared to other F2P content, Obor sits in a comfortable spot. He's a clear step above regular Hill Giants but nowhere near as punishing as something like the Dagannoth Kings or even Bryophyta if your gear isn't up to scratch. Think of him as the game's way of easing you into proper bossing: real mechanics, real loot, real consequences for sloppy play.
Also Read: OSRS Cerberus Guide – Everything You Need to Know
Obor, the Hill Titan, is a beginner-friendly boss located in the Edgeville Dungeon
Players need a Giant Key to unlock Obor’s lair for the first time
Obor uses both melee and ranged attacks, with max hits of 22 and 28, respectively
Magic is considered the strongest combat style against Obor due to his weakness to magic
Protect from Missiles is highly recommended for most setups to reduce incoming ranged damage
The Giantsoul Amulet provides the fastest route to Obor by teleporting players directly outside his lair
Obor, the Hill Titan, is Old School RuneScape's Hill Giant boss and one of the few bosses F2P players can actually get their hands on. He sits at combat level 106 and lives deep in the Edgeville Dungeon behind a locked gate, waiting for anyone bold enough to show up with a Giant Key.
What makes Obor stand out is how approachable he is. You don't need a member’s subscription, any quest completion, or end-game gear. A rune scimitar and a pack of lobsters can get the job done. That said, he hits hard. His Melee tops out at 22, and his Ranged can crack you for up to 28, so walking in underprepared will hurt.
He's also one of those bosses that rewards repeat visits. Once you unlock his lair, the door stays open permanently. You can camp him, chain kills, and farm keys directly from him at a 1/16 drop rate. For a F2P boss, the loop is genuinely satisfying.
Stat | Value |
|---|---|
Combat Level | 106 |
Hitpoints | 120 |
Attack | 90 |
Strength | 100 |
Defence | 60 |
Magic | 1 |
Ranged | 120 |
Max Hit (Melee) | 22 |
Max Hit (Ranged) | 28 |
Attack Speed | 6 ticks (3.6 seconds) |
Attack Style | Crush, Ranged |
Poison/Venom | Immune |
Elemental Weakness | Earth spells (20%) |
A few things stand out here. Obor's Defence is surprisingly low at 60, which is a big part of why Magic performs so well against him, especially earth spells with that 20% weakness factored in. His Hitpoints sit at 120, so he's not going to drop in two hits, but with the right setup, the fight moves fast. The 90 Attack and 100 Strength explain why his melee hurts as much as it does, and his Ranged stat matching at 120 is exactly why you don't want to ignore that 28 max hit on the ranged side. He can't be poisoned or venomed, so don't bother bringing a Serpentine Helm for that perk.
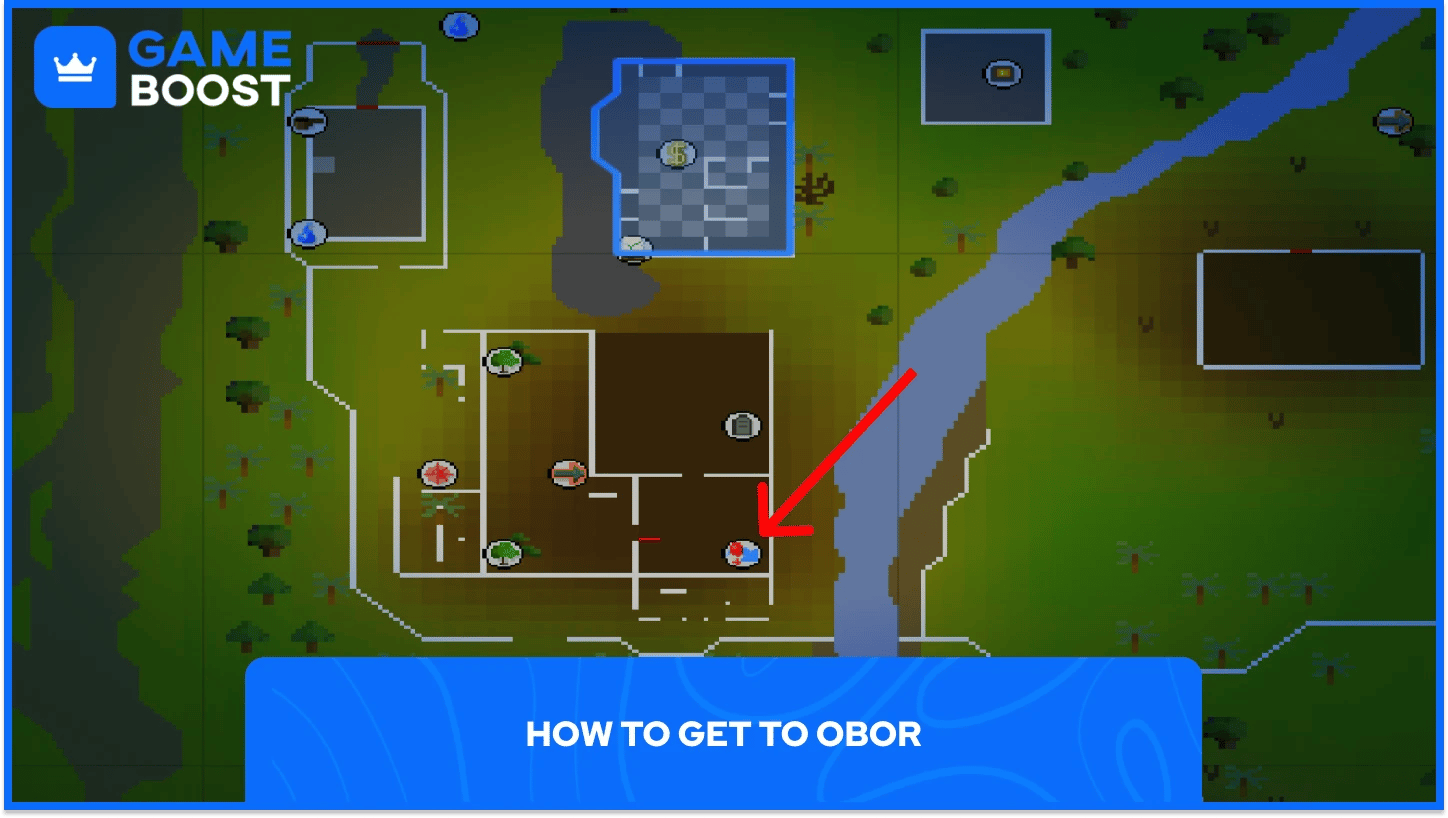
Before your very first visit, you'll need a Giant Key. This one-time requirement permanently unlocks the gate to Obor's lair. After that, you can walk straight in on every future trip without carrying a key.
Giant Keys drop from Hill Giants at a rate of 1/128 in the dungeon and 1/64 in the wild. The most convenient place to farm them is the Hill Giant room in the Edgeville Dungeon itself, which puts you steps away from Obor's gate. You can also find Hill Giants in a few other F2P spots, but Edgeville is by far the most convenient.
Once you've defeated Obor, you can use your Giant Key on the chest inside his lair to claim the loot inside. He also drops the key himself at 1/16, so if you're camping him, you can often self-sustain your key supply without ever leaving. The key can also be found in the chest in Obor’s lair with a 1/16 chance of spawning, much like Obor.
Once you have the key, make your way towards the Edgeville Dungeon. There are two entrances to the dungeon. The first is in Egdeville itself, with the entrance being a trapdoor located in the ruined house south of the Edgeville bank. The other entrance is in a locked shed west of the Cooks' Guild near Varrock on the east side of the River Lum. Unfortunately, to open the shed, you must use a brass key, a key that can be found in a small circular room north of the hill giant room in the Edgeville Dungeon itself, so you have to use the ruined house entrance at least once.
After you make it in, make your way through the dungeon to the Hill Giant area. At the western wall of the Hill Giant room, you'll find a locked gate. After you use the Giant Key to unlock the gate, simply enter the lair and climb down the rocks into the arena. That's when the fight begins.
The easiest way to get to Obor is by using the Giantsoul Amulet, which can teleport you directly outside Obor's lair, skipping the dungeon walk entirely. Worth picking up if you plan on farming him regularly.
Before getting into the specific approaches, it helps to know exactly what you're dealing with when you drop into that arena. Obor uses two attack styles throughout the fight: Crush and Ranged.
Crush is his standard attack mode; it’s straightforward and hits often. At max 22 damage, it can chunk through your health fast without a prayer to protect yourself. Protect from Melee is the go-to prayer for melee-focused builds when fighting Obor. However, Obor occasionally throws a ranged attack that can deal up to 28 damage. Protect from Missiles cuts this damage by 50%, which turns it from a scary hit into a manageable one.
Mixed into his attacks, Obor can slam you back across the room. This disrupts your attack rhythm and, if you're not near a wall, can send you flying. Getting knocked back delays your next hit, so repositioning quickly matters. The combat style you choose determines which of these you primarily worry about and which prayer you lean on.
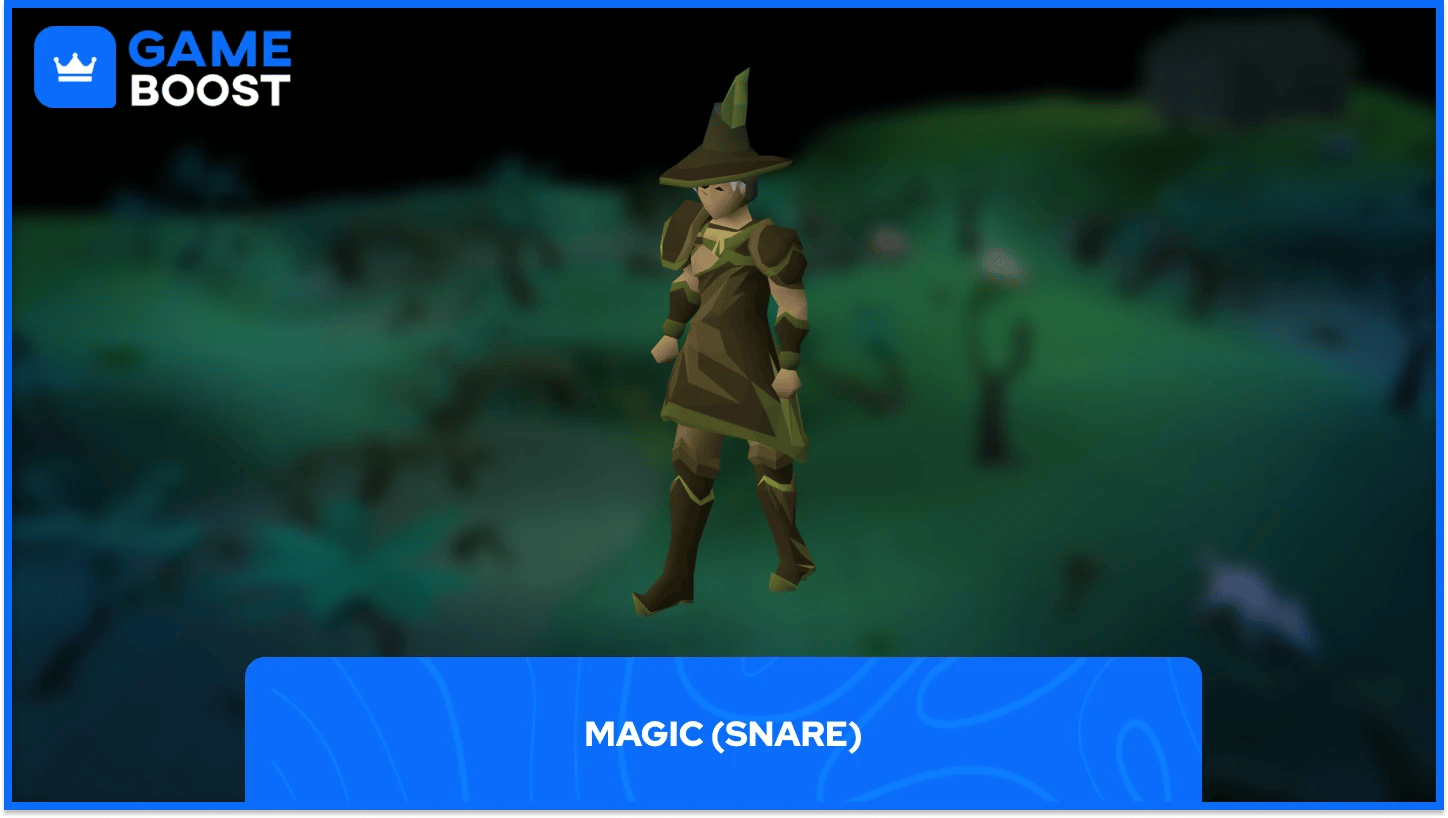
This is the go-to approach for lower-level players who want to stay safe by keeping Obor at arm's length. The idea is simple: snare him in place, blast him from a distance, and repeat. This strategy requires 50+ magic and 40+ prayer.
Turn on Protect from Missiles before you even climb down the rocks. Once the fight starts, open with Snare to stop Obor from moving, then fire your highest available damage spell. The key detail here is room management. Wait for Obor to shuffle toward one end of the arena, snare him, then run to the other side and cast while he's immobilized. When the snare wears off, and once he starts walking again, repeat the process.
One thing to watch: Snare doesn't always lock him down for the full 9.6 seconds. He can sometimes break free earlier, so don't get caught flat-footed. If you're a member, Entangle or any of the Ice spells hold him much more reliably.
If you plan on using this method, make sure to pack a lot of food, as well as an energy potion, as you will be doing a lot of running.
Slot | Item for F2P | Item for P2P |
|---|---|---|
Head | Wizards Hat | Swampbark Helm |
Body | Wizard Robe | Swampbark Body |
Legs | Zamorak Monk Bottom | Swampbark Legs |
Hands | Leather Vambraces | Swampbark Gauntlets/Mystic Gloves |
Boots | Leather Boots | Swampbark Boots/Wizard boots |
Shield | Anti-Dragon Shield | Book of Darkness |
Amulet | Amulet of Magic | Amulet of Magic/Amulet of Glory |
Cape | (Any) | Ghostly Cloak |
Ring | (Any) | Beacon/Seers/Wealth |
Weapon | Staff of Water/Staff of Earth | Iban’s Staff |
Food | Swordfish | Monkfish/Shark |
Potion | Energy Potion | Energy Potion |
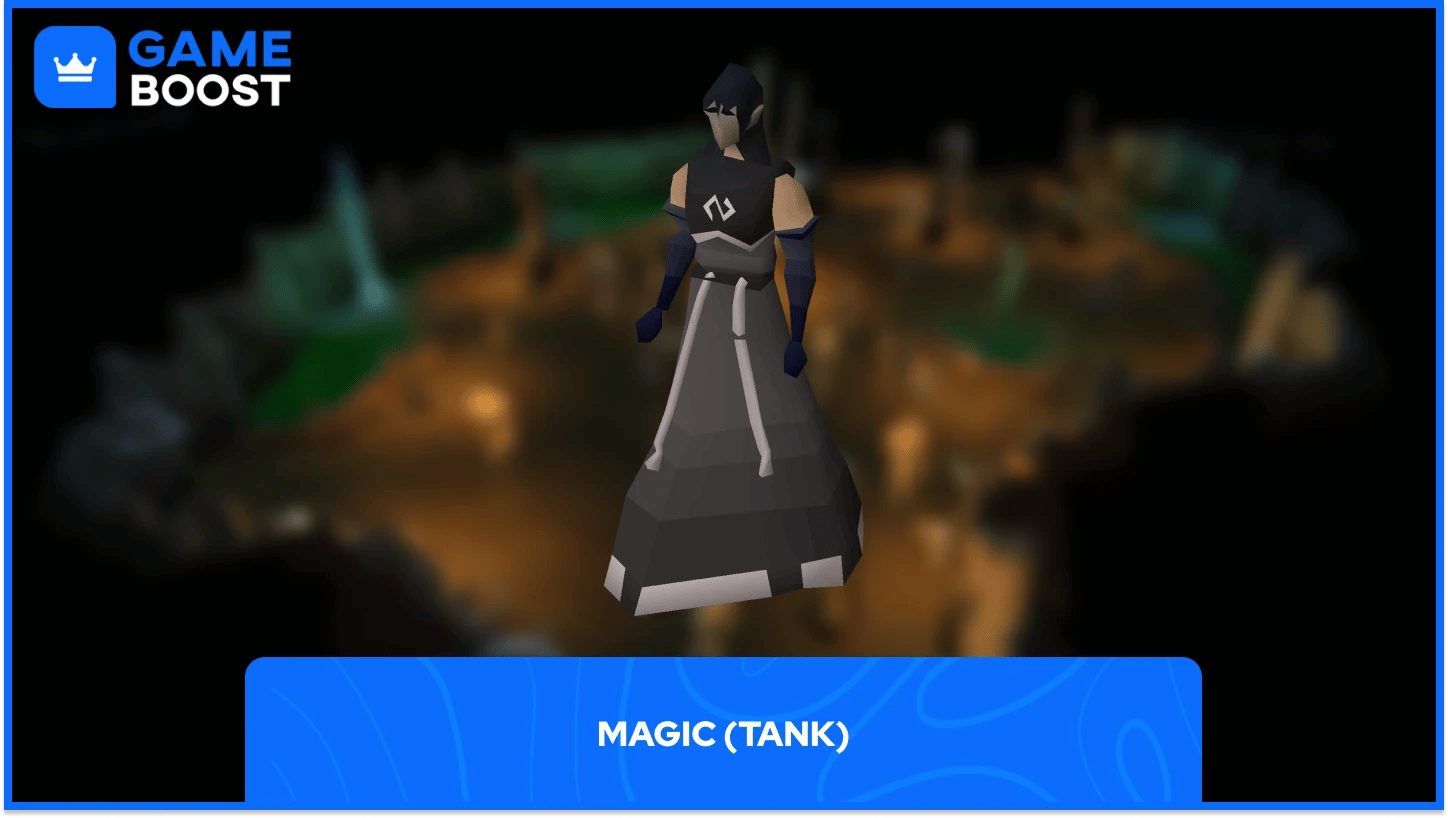
This approach works well for members who'd rather stand toe-to-toe with Obor than kite him around the room. Since Obor is weak to magic, this is the strongest combat style against him overall, and this setup makes the most of that. This strategy requires 50+ Magic, 60+ Defence, and 42+ in other combat stats.
The setup revolves around Void Knight equipment with the Void Mage Helm, or Elite Void Knight equipment if you've got it. Position yourself with your back pressed against a wall. This limits how far the knockback can shove you and keeps you from getting sent across the arena.
Rather than Protect from Missiles, use a defence-boosting prayer like Steel Skin. You'll absorb more damage with this method than with the Snare approach, so bring more food and accept that it'll hurt more. The tradeoff is that you don't have to do as much running around, and the DPS stays consistent.
Slot | Item for P2P |
|---|---|
Head | Void Mage Helm |
Body | Void Knight Top/Elite Void Top |
Legs | Void Knight Robe/Elite Void Robe |
Hands | Void Knight Gloves |
Boots | Swampbark Boots |
Shield | Book of Darkness |
Amulet | Amulet of Magic |
Cape | Ghostly Cloak |
Ring | Beacon Ring |
Weapon | Iban’s staff |
Food | Shark |
Potion | (Any) |
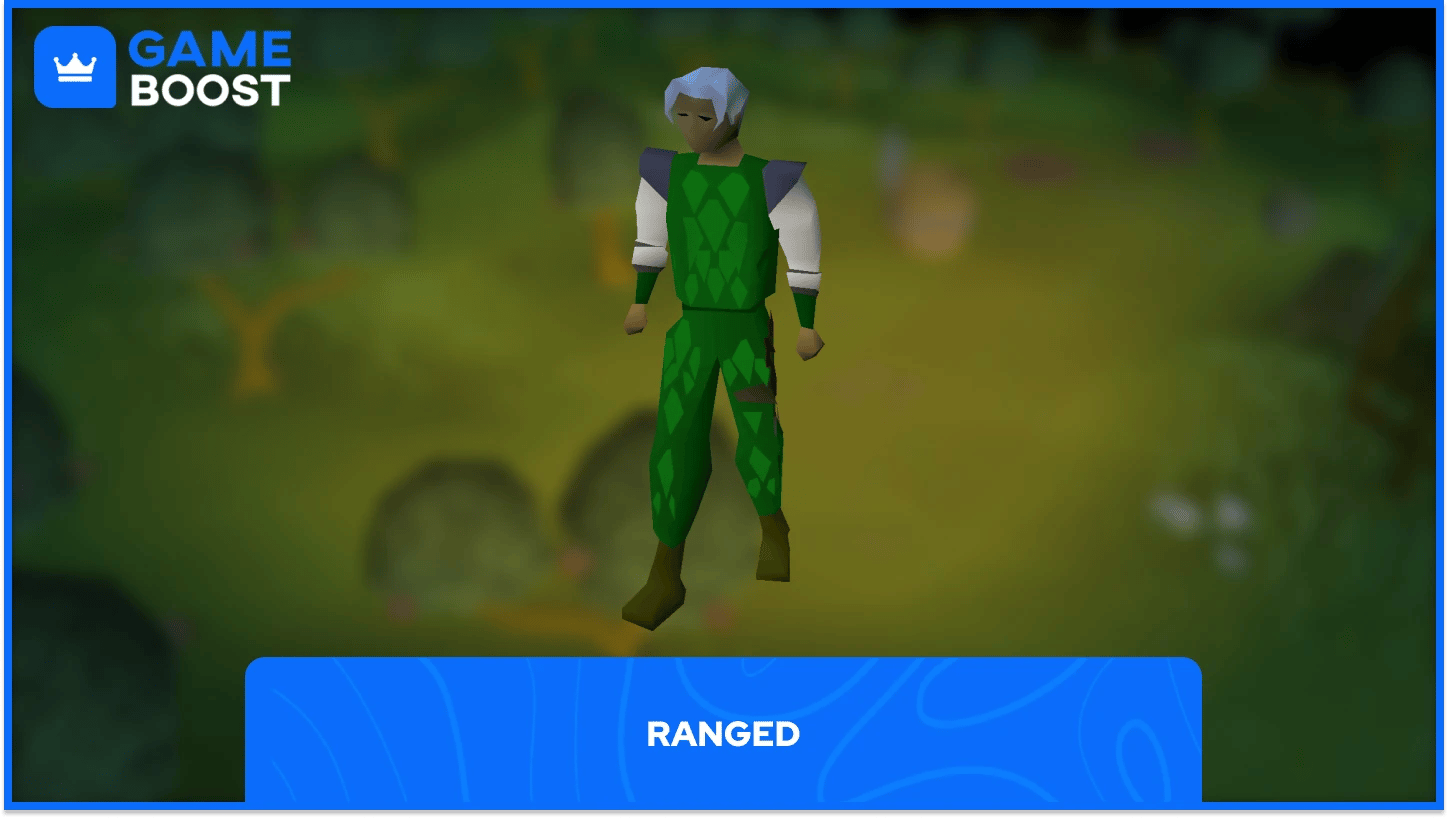
Ranged works well as long as you've got the defence to take hits and the prayer for Protect from Missiles. The gear recommendation here is a Rune Chainbody, which gives solid crush defence against Obor's melee hits without dragging down your Ranged attack bonus. Pair it with your best ranged weapon. Green dragonhide armour helps with defence if you've got the stats. Speaking of stats, this strategy requires 60+ Ranged, 50+ Defence, 40+ Prayer for F2P players, with P2P players needing 75+ Ranged for Toxic Blowpipe.
For members with 75+ Ranged, the Toxic Blowpipe is the weapon of choice. Obor's low defence level, combined with the blowpipe's fast attack speed makes it extremely effective here, despite Obor’s immunity to venom. The damage output is hard to beat. Activate Protect from Missiles and stand your ground. Ranged lets you deal consistent damage while managing Obor's attacks through prayer, making this a reliable method across both F2P and P2P.
Slot | Item for F2P | Item for P2P |
|---|---|---|
Head | Coif | Archer Helm |
Body | Green Dragonhide Body | Blue Dragonhide Body |
Legs | Green Dragonhide Chaps | Blue Dragonhide Chaps |
Hands | Green Dragonhide Vambraces | Blue Dragonhide Vambraces |
Boots | Leather Boots | Snakeskin/Rune Boots |
Shield | (None) | (None) |
Amulet | Amulet of Power | Amulet of Glory |
Cape | (Any) | Ava’s Accumulator |
Ring | (Any)/(None) | Ring of Wealth |
Weapon | Maple Shortbow | Toxic Blowpipe |
Food | Swordfish | Monkfish/Shark |
Potion | Energy Potion | Energy Potion |
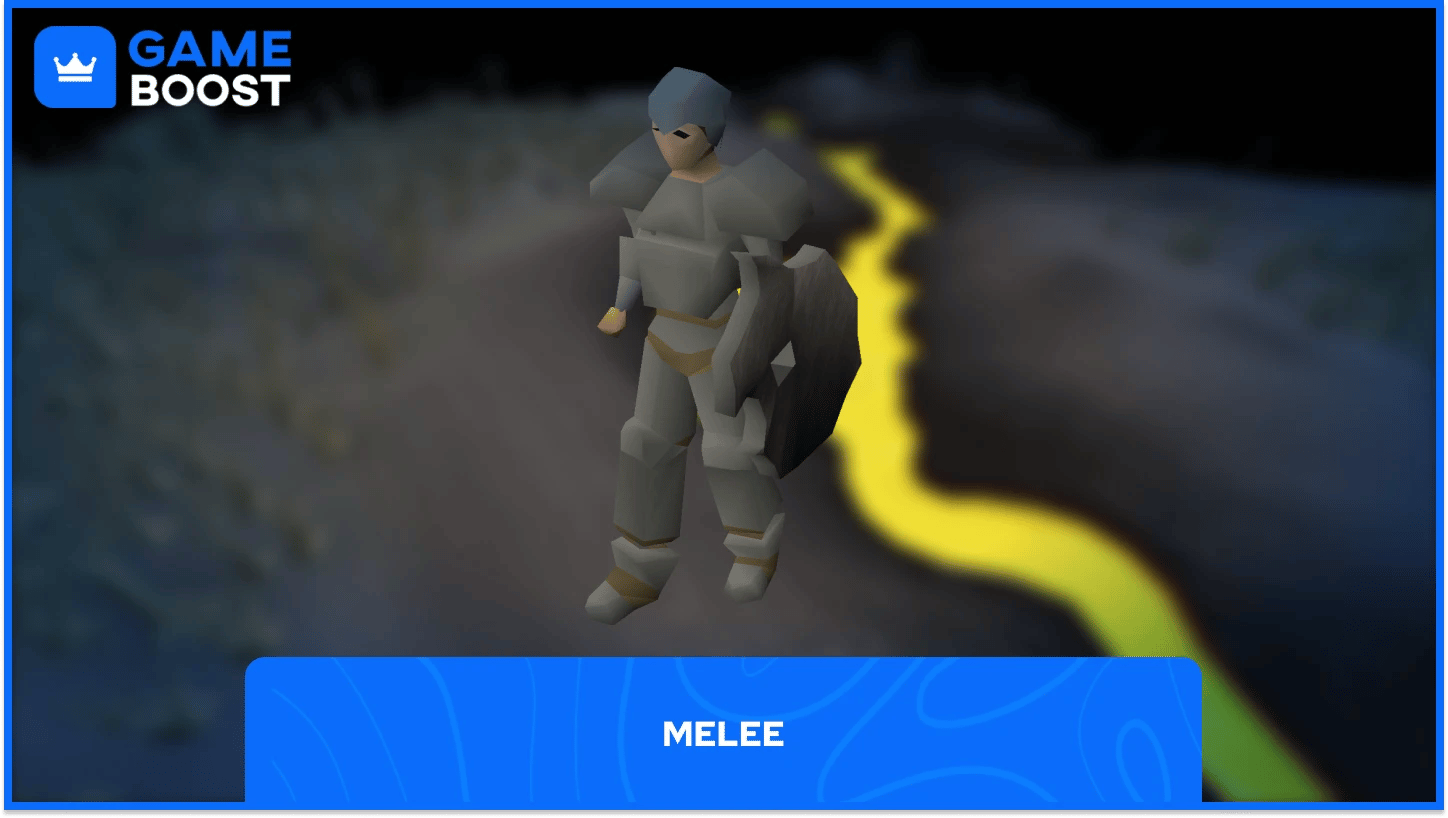
Melee is the fastest way to kill Obor, faster than the Snare method at least, but you'll take more punishment for it. He'll be right in your face the whole time, and those knockbacks will slow your attack rhythm whenever they land. The stat requirement here is 50+ Attack, Strength, and Defence, and 40+ Prayer.
The prayer setup here is once again Protect from Missiles to handle his ranged attacks, but Protect from Melee works as well. His melee hits are unavoidable up close, so your gear's defence stats carry more weight. Good melee armour with decent ranged and crush defensive values is the goal. For weapons, F2P players want a Rune Scimitar, while members can bring an Abyssal Whip or Dragon Scimitar for better DPS. A Strength Potion at the start of the fight gives you a nice damage bump that can shorten the kill significantly and is especially helpful for F2P players. When it comes to armor, members can trade at the Grand Exchange to get the Granite equipment, whose high defense will serve them well in this fight.
When Obor knocks you back, move back in immediately. The delay between getting sent flying and your next attack is already built in, whether you're near a wall or not, so staying aggressive and closing the gap quickly is the right play. But try to position yourself so that you have a wall behind you; that way, you avoid having to run back to Obor when he knocks you back.
Slot | Item for F2P | Item for P2P |
|---|---|---|
Head | Rune Full Helm | Granite Helm |
Body | Rune Chainbody | Granite Body |
Legs | Rune Platelegs/Plateskirt | Granite Legs |
Hands | Green Dragonhide Vambraces | Granite Gloves |
Boots | Leather Boots | Granite Boots |
Shield | Rune Kiteshield | Granite Shield |
Amulet | Amulet of Power | Amulet of Glory |
Cape | (Any) | Ancient Cloak |
Ring | (None) | Granite Ring |
Weapon | Rune Scimitar | Abyssal Whip/Dragon Scimitar/Granite Longsword |
Food | Swordfish | Shark |
Potion | Strength Potion | Strength Potion |
Also Read: OSRS Kalphite Queen Boss Guide
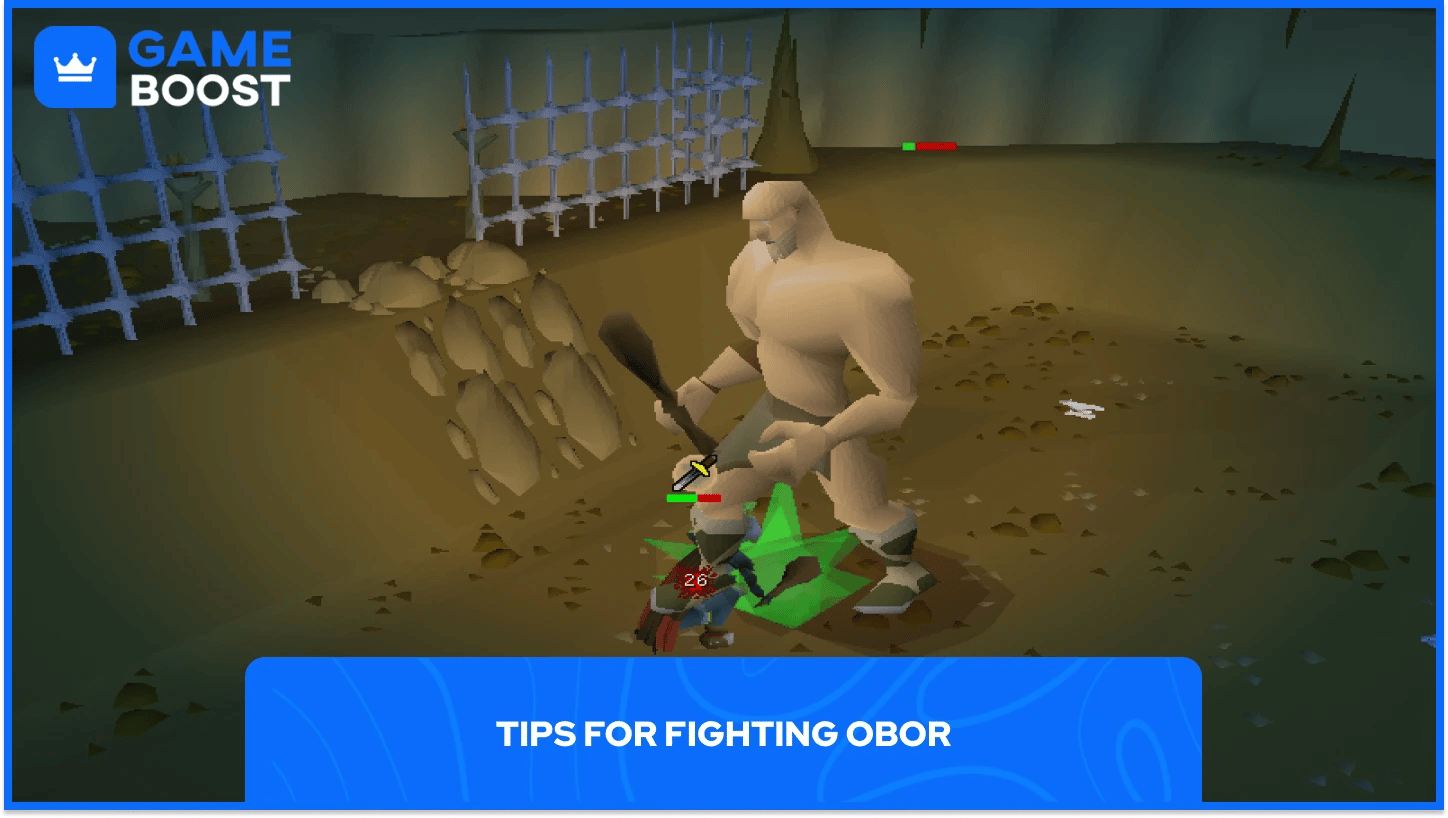
Make sure to activate Protect from Missiles before the fight even starts. Blocking his ranged attacks from the get-go makes a real difference, especially at lower levels where a 28 max hit can end your trip fast.
Potions are best used right at the start. Strength or Attack Potions carry the bonus through the most hits when popped early, so don't hold onto them waiting for the "right moment" that never comes. The same goes for food: eat reactively and don't wait until you're dangerously low. Obor's hits stack up quicker than you'd expect, and Lobsters or Swordfish are the standard F2P choice for good reason.
When he knocks you back, close the gap immediately. The attack delay is already happening whether you're standing next to him or across the room, so there's no reason to stay at a distance. Get back in and keep swinging.
If your combat stats are on the lower end, pack more food than you think you'll need. Dying to Obor means losing your key, and that's the part that actually stings. On the flip side, if you run out of keys, Hill Giants in the same dungeon drop them at 1/128. Not the best drop rate, but it gets you back in business without too much downtime if you know what you are doing.
The best rewards come from opening the chest inside his lair with a Giant Key after the kill, so don't skip it. The Giant Key itself drops at 1/16, which is generous enough that you can often sustain your own supply without leaving the dungeon. Every kill also drops Big Bones (or Giant Bones on members), which adds decent Prayer XP over a long session.
For F2P, Limpwurt Roots are the most consistent money drop, and Law Runes are a solid pick-up whenever they land. Gem table rolls can net you anything from a Sapphire up to a Diamond, though the rarer ones are a nice surprise rather than something to count on. A Beginner Clue Scroll can also drop as a tertiary, worth doing if you need the casket rewards.
Members get a noticeably better pool. The Ensouled Giant Head at 1/25 is a real highlight if you're training Prayer through the Arceuus spellbook. Grimy Ranarr Weed shows up from the herb table and is always welcome. There's also a chance at a Giant Champion Scroll at 1/5,000 for the Champions' Challenge, and a Long Bone at 1/400 that you can hand in to Barlak for a chunk of Construction XP and some coins.
Also Read: OSRS Yama Boss Guide
A: Obor is considered one of the easiest bosses in OSRS, making him perfect for beginners learning boss mechanics. While his attacks can hit hard, the fight is straightforward and forgiving compared to higher-level bosses. Good preparation and prayer usage are usually enough to secure a kill.
A: You must use a Giant Key on the locked gate inside the Edgeville Dungeon to unlock Obor’s lair for the first time. Giant Keys are dropped by Hill Giants, with better drop rates in the Wilderness. Once unlocked, the gate stays permanently open for future runs.
A: Players should ideally have at least 50+ combat stats and 40 Prayer before attempting Obor comfortably. Lower-level players can still defeat him using Magic and Snare tactics, but they should bring extra food and supplies. Higher Defence and Prayer levels make the fight significantly safer.
A: Magic is generally considered the strongest option because Obor has a weakness to Earth spells and magic. Snare-based Magic setups are especially effective for lower-level players since they allow safer positioning. Ranged and Melee are also viable, but usually require stronger gear and more food.
A: Protect from Missiles is the safest prayer for most strategies because Obor’s ranged attack can hit extremely hard. Melee-focused players may use Protect from Melee instead, depending on their setup and confidence. Defensive prayers like Steel Skin can also help tank builds reduce damage.
Obor is one of those bosses that earns its reputation as a solid starting point for OSRS bossing. The mechanics are clean, the access requirements are minimal, and the fight itself teaches you how to manage prayers and positioning without throwing you into anything overwhelming.
F2P players get a boss that's genuinely worth farming. The key drop rate is generous, the chest loot covers a good range, and the XP bonus is a nice touch. Members get even more out of the trip, with the Ensouled Giant Head alone making repeated kills worthwhile for Prayer training.
Get your Giant Key, head to Edgeville Dungeon, and give the Hill Titan a proper challenge.
“ As a lifelong gamer with interests in multiple genres, Mario has a wide variety of knowledge when it comes to gaming, except, ironically, Super Mario. Using his experience and passion for games, Mario aims to create engaging and useful articles.”