

•Patrik Mršnik• 9 min read
Raid Shadow Legends
This Raid Doom Tower guide covers the monthly climb that hands out shards, free Epic and Legendary champions, and eight artifact sets you can't forge anywhere else. The Doom Tower resets every 30 days, so every rotation is a fresh shot at the same rewards.
It's also one of the hardest modes in Raid Shadow Legends. Eight bosses each break a different rule, from Hex that ignores Unkillable to clones of your own team. Players who'd rather start higher up the tower can pick up Raid Shadow Legends accounts with a roster that already clears it.
Below, you'll find how the tower works, how Gold and Silver Keys work, every boss and its counters, the Secret Room champions, all eight artifact sets, and the stats you need for the top floors.
The Doom Tower has 120 floors with a boss on every 10th floor, and it resets every 30 days
Normal and Hard are open at the same time, and you can switch between them freely
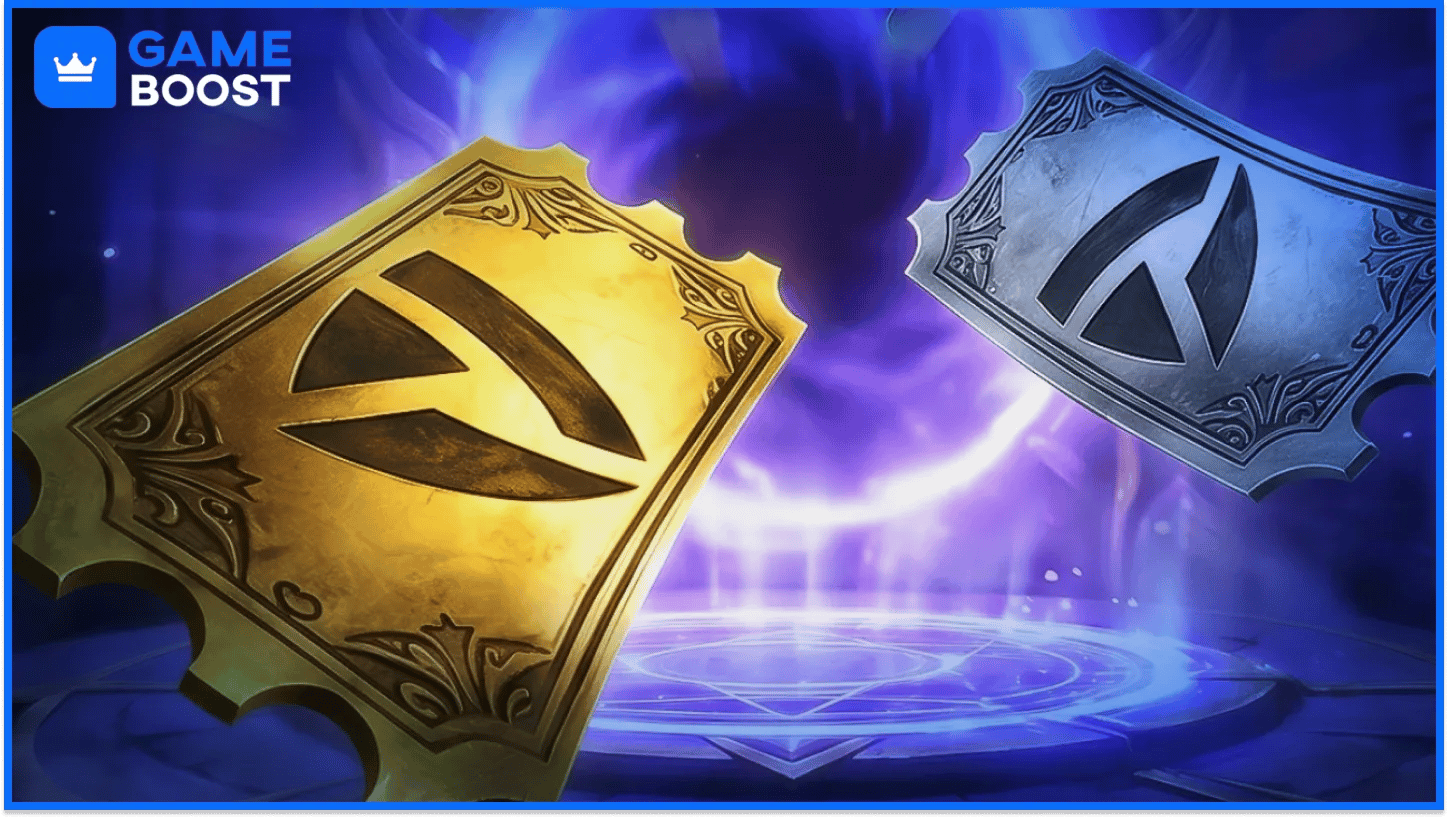
You get 10 Gold Keys and 10 Silver Keys every day at 00:00 UTC, and neither can be bought
Gold Keys clear floors for the first time; Silver Keys open Secret Rooms and farm boss floors
Three rotations cycle through eight bosses, ending on the Frost Spider, Eternal Dragon, or Dark Fae
Secret Rooms give free champions: 9 Epics on Normal, including Dark Kael, and 9 Legendaries on Hard
Boss farming drops materials for eight Doom Tower-only artifact sets, such as Lethal and Guardian
Top floors need roughly 260 RES on Normal and 450 RES on Hard to resist enemy debuffs
Background Auto-Climb runs regular floors for you, skipping Secret Rooms and stopping at boss floors

The Doom Tower is a monthly challenge with 120 floors that you clear one by one in order. Plarium's Doom Tower guide describes it as a 30-day climb, and each floor plays like a campaign stage with three rounds of enemies.
Every 10th floor is a boss floor, so a full climb means 12 boss fights. Bosses grow tougher as you go up, and the floor 110 version of a boss hits far harder than the floor 10 one. Optional Secret Rooms sit along the way with their own rules and rewards.
Normal and Hard run side by side. Both open at the same time, you can switch between them whenever you like, and your daily keys work on either one. Hard uses the same bosses with much higher stats, so most players climb Normal first.
Player guides say the tower opens at account level 40. After every 30 days, progress resets to the first floor on both difficulties, and a new rotation swaps the bosses, the floor enemies, and the Secret Room rules.
Buy Raid: Shadow Legends Accounts
Doom Tower keys decide how far you climb each day. You get 10 Gold Keys and 10 Silver Keys every day, and both reset at 00:00 UTC. Neither can be bought with Gems, and the cap is 10 of each, so unused keys don't pile up.
Key | What It Does | Daily Amount |
|---|---|---|
Gold Key | Clears a floor for the first time, boss floors included | 10 |
Silver Key | Enters a Secret Room, or farms a boss floor you've already beaten | 10 |
Keys are only spent on a win. Plarium's support page confirms that failing a Secret Room doesn't cost the Silver Key, and player guides report the same for Gold Keys on lost floors. Re-running a floor you've already cleared costs nothing, but it gives no new completion reward.
Ten Gold Keys means about 10 new floors a day, unless an event hands out extra keys. A full 120-floor climb on one difficulty takes around 12 days, which leaves room in a 30-day rotation for Hard as well. Silver Keys are the ones to plan: spend them on Secret Rooms first, then farm the boss whose set you want.
The Doom Tower runs on three rotations, and each one uses four of the eight bosses. The last boss of each rotation sits on floor 120 and names it. Floor order has stayed the same each time a rotation comes back, on both Normal and Hard.
Rotation | Final Boss (Floor 120) | Other Bosses |
|---|---|---|
Rotation 1 | Sorath the Frost Spider | Magma Dragon, Nether Spider, Scarab King |
Rotation 2 | Iragoth the Eternal Dragon | Celestial Griffin, Magma Dragon, Nether Spider |
Rotation 3 | Astranyx the Dark Fae | Bommal the Dreadhorn, Scarab King, Celestial Griffin |
Each boss shows up on three floors per rotation. Here's where they sit:
Rotation | Floors 10, 50, 90 | Floors 20, 60, 100 | Floors 30, 70, 110 | Floors 40, 80, 120 |
|---|---|---|---|---|
Rotation 2 | Celestial Griffin | Magma Dragon | Nether Spider | Eternal Dragon |
Rotation 3 | Bommal the Dreadhorn | Scarab King | Celestial Griffin | Dark Fae |
Rotation 1 breaks that pattern. The Magma Dragon holds floors 10, 80, and 110, the Nether Spider 20, 60, and 90, the Scarab King 30, 50, and 100, and the Frost Spider 40, 70, and 120.
Expect the hardest month in Rotation 3. Bommal on floor 10 already stops many accounts on Hard, and Dark Fae copies your own team. Check the rotation in-game at the start of each month, then save your best Silver Key plan for the boss sets that rotation offers.
Most Doom Tower bosses shrug off crowd control and cap Enemy MAX HP damage at 10% of their MAX HP per hit. Each one then adds a rule your team has to answer. Learn the rule first, and the gear check gets much easier.
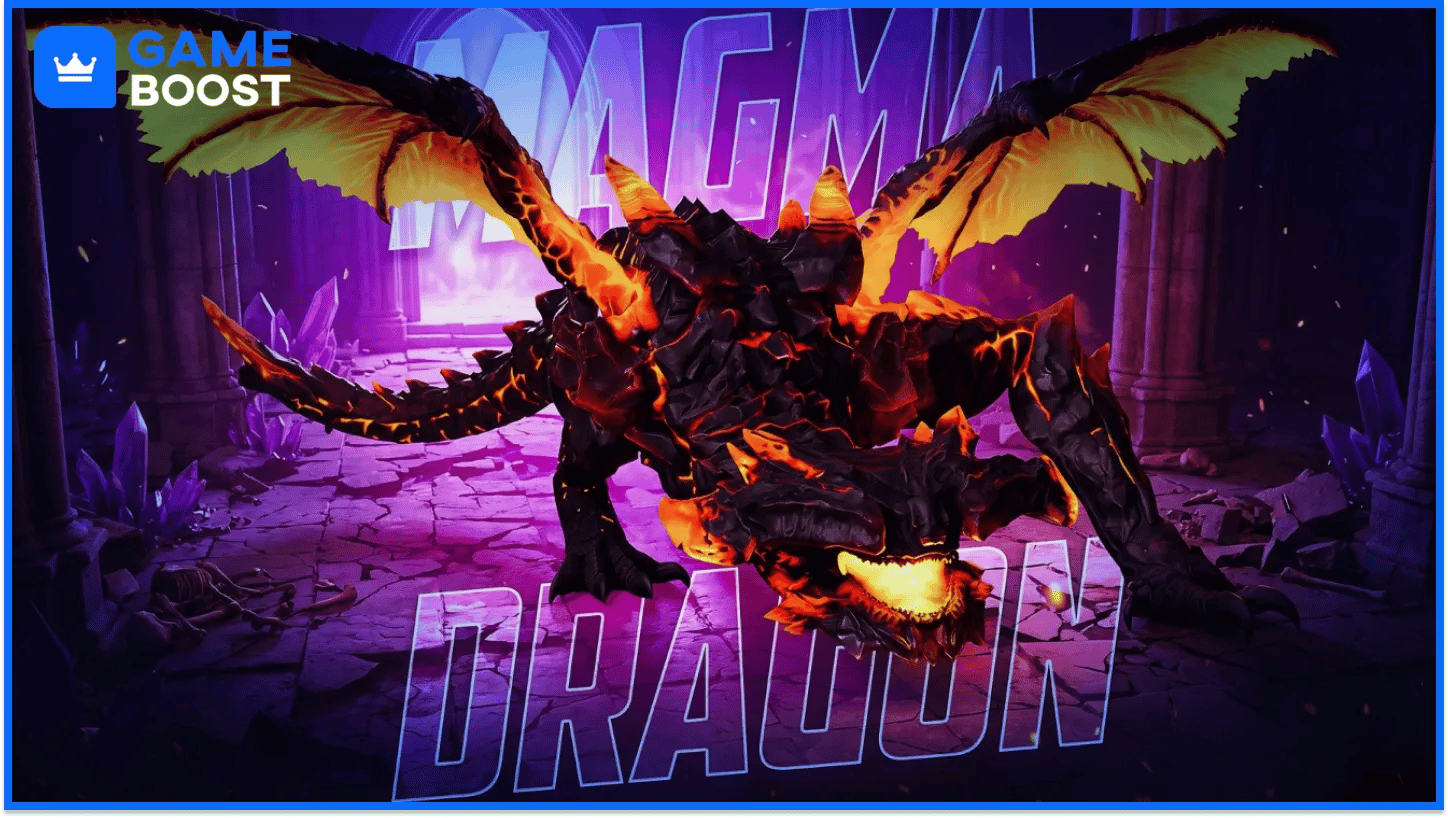
The Magma Dragon appears in Rotations 1 and 2 and drops Magma Cores for the Fatal set. His Stoke the Flames skill places HP Burn on your team and an irresistible Hex on your lowest-HP champion. Hexed champions take hits that ignore DEF, Shields, Block Damage, and Unkillable.
Provoke is the answer. A Provoked Magma Dragon can only use his basic attack, so teams bring two Provokers to keep him locked down. He also resists most other control, and Poison deals 90% less damage to him.
Leave your HP Burn champions at home. HP Burn on the Magma Dragon gets removed and turns into a continuous heal for him. Accuracy for the Provokers, plus Block Debuffs or increase RES against his own HP Burn, keeps the team stable.
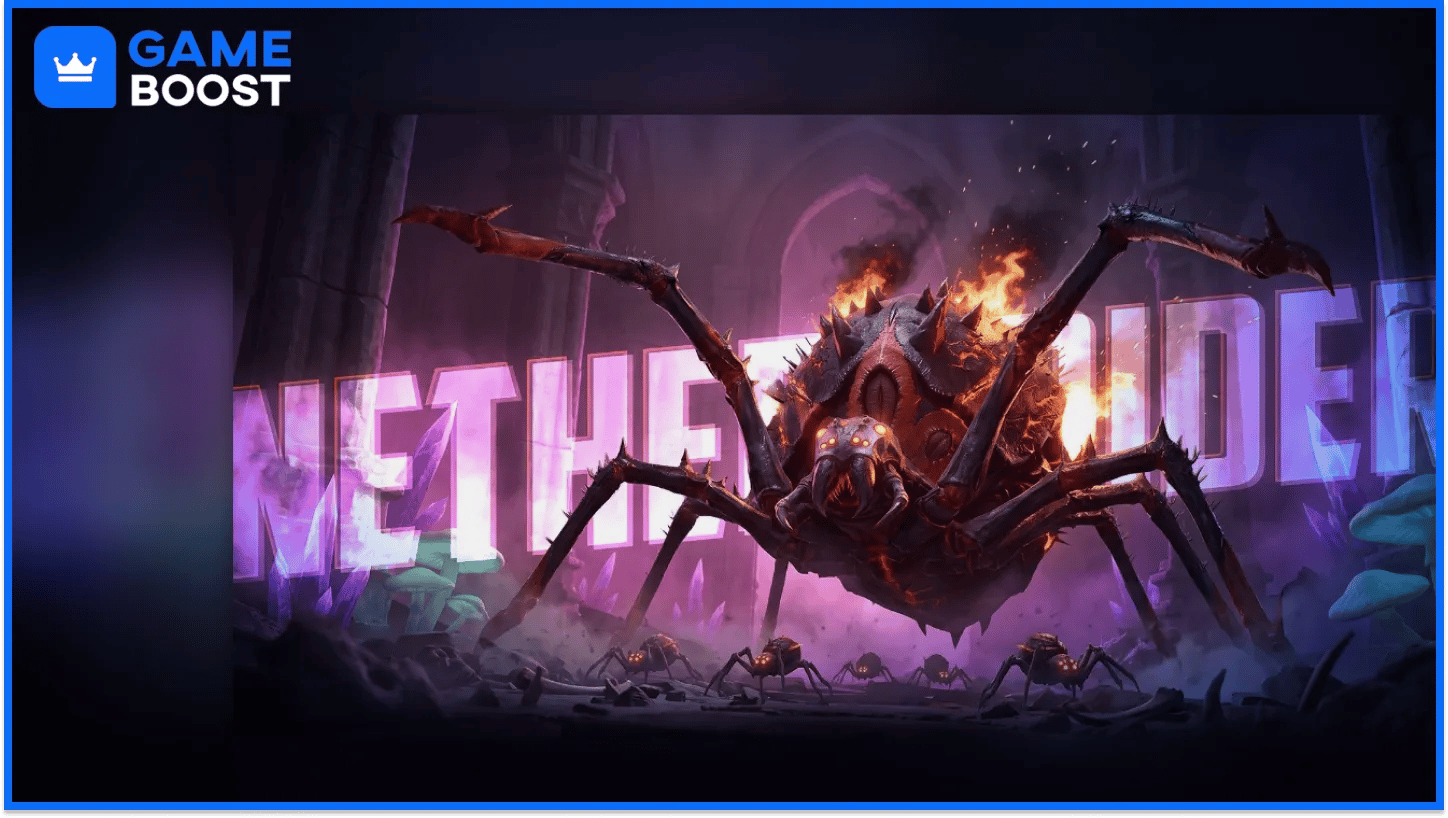
The Nether Spider appears in Rotations 1 and 2 and drops Nether Eggs for the Affinitybreaker set. She opens with four Spiderlings that counterattack, and her AoE hit places unavoidable Poison on your team. At the start of each of her turns, every Poison on your team triggers.
Cleansers win this fight. Removing Poison before her turn takes away most of her damage, and Stoneskin helps fragile cleansers survive the opening. Counterattacks from her Spiderlings heal her, so Heal Reduction matters too.
Geomancer is the classic answer, as his reflect passive triggers every time the Spiderlings attack him. Old Ghrukkus adds AoE Heal Reduction, and a reviver such as Pythion covers mistakes. Turn Meter reduction on Agreth backfires, as she counterattacks with damage that ignores DEF.
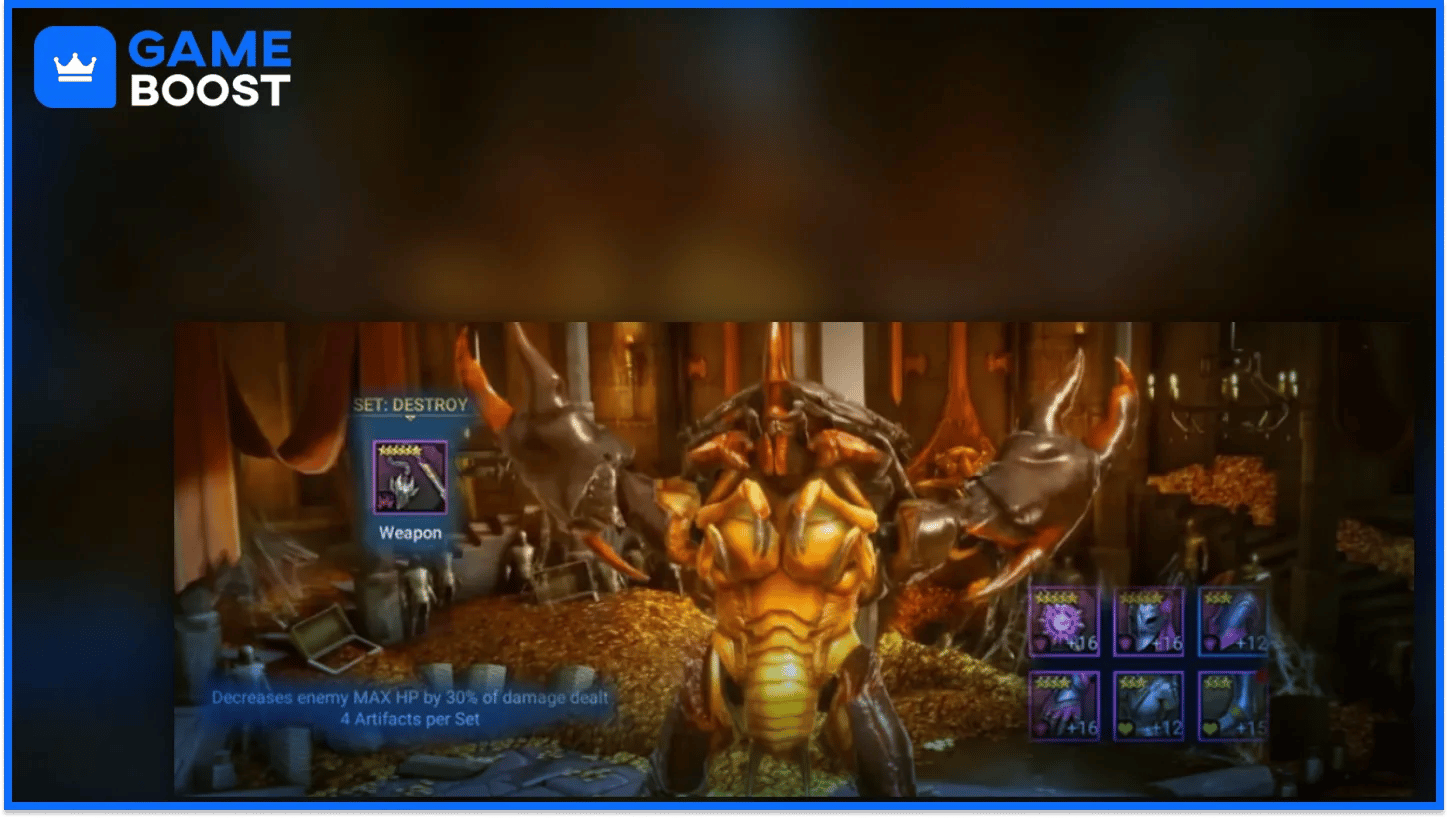
The Scarab King appears in Rotations 1 and 3 and drops Scarab Claws for the Untouchable set. He counterattacks anyone who hits him without a Shield, so a team Shield on every turn comes first.
He also takes reduced damage until enough of his MAX HP is gone, and Destroy MAX HP effects are how you break that. Guides point to roughly 30% of his MAX HP being destroyed before your team deals full damage. Turn Meter reduction works at half strength on him.
Budget teams lean on Metalshaper for fast team Shields and Armiger or Coldheart for MAX HP damage. Poisoners such as Bad-el-Kazar add steady damage, and a healer like Apothecary or Doompriest keeps the team topped up.

The Frost Spider closes Rotation 1 on floor 120 and drops Frost Spines for the Frostbite set. Damage alone can't kill her. If she drops to zero HP without HP Burn on her, she revives with 50% HP, a full Turn Meter, and two new Spiderlings.
Keep HP Burn on Sorath at the moment she dies, or finish her with a Block Revive attack from champions like Armiger or Fenax. Her Spiderlings can cleanse her, which wipes your HP Burn, so control or kill them first.
Coffin Smasher, from our Raid Clan Boss beginner teams, works here as a budget HP Burn source. An accessible team pairs Drexthar, Armiger, Scyl of the Drakes, Apothecary, and Reliquary Tender. Guides recommend around 250 Accuracy on the HP Burn champion.
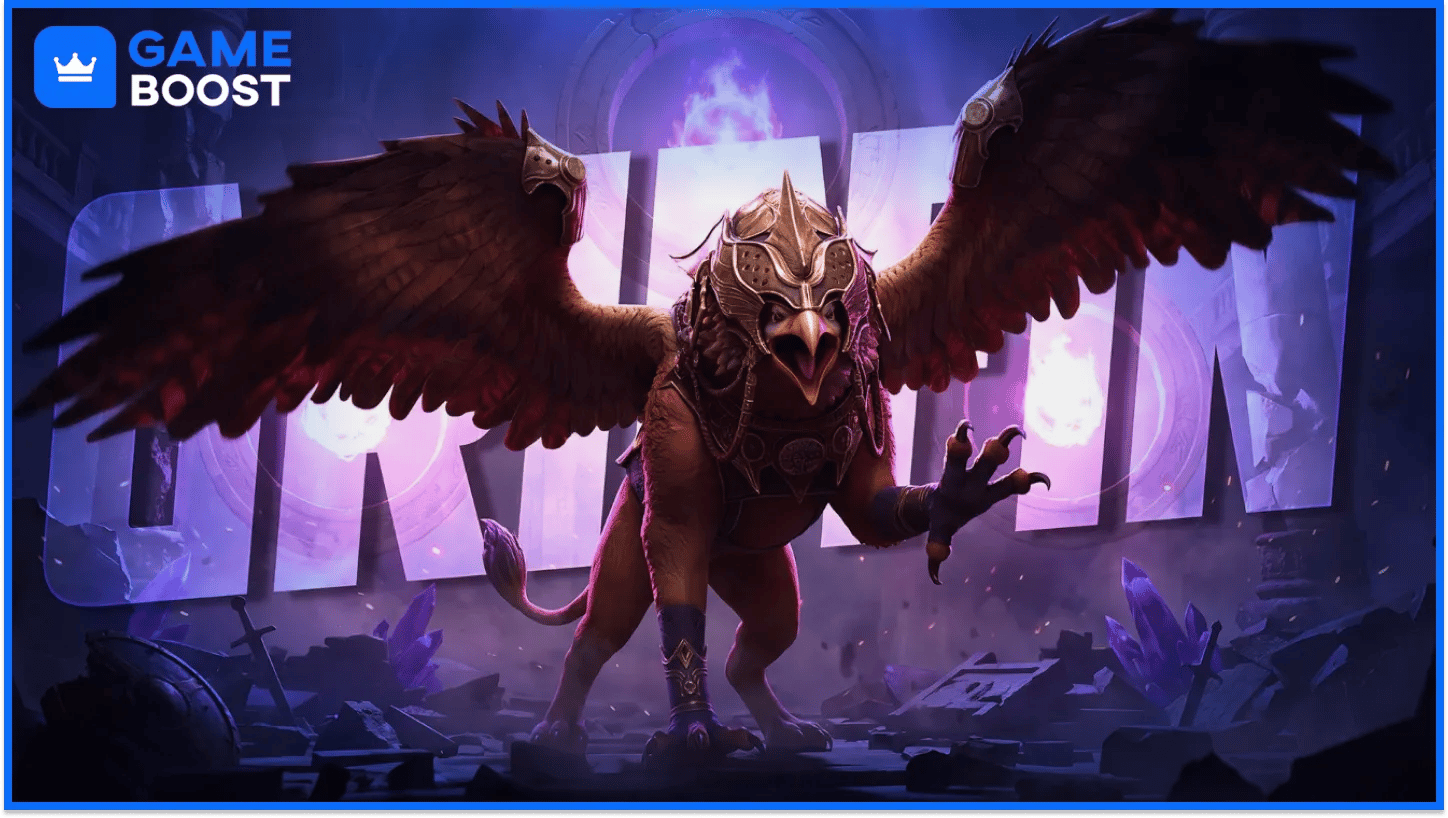
The Celestial Griffin appears in Rotations 2 and 3 and drops Griffin Feathers for the Guardian set. He gains a Sky Bond stack at the start of each turn and whenever one of your champions drops below 50% HP. At 10 stacks, he ignores Shield, Block Damage, and Unkillable.
Speed matters, as the clock is always running. Keep everyone above 50% HP, keep Decrease ATK on him, and kill him before the stacks pile up. His Death Gust strips all your buffs and hits harder for each one removed, so don't stack buffs right before it.
Skip Turn Meter effects entirely. His Fair Wind passive mirrors Turn Meter changes onto your team, so fills and reductions both hurt you. Steady healers like Doompriest or Scyl and single-target damage dealers like Drexthar suit this fight.
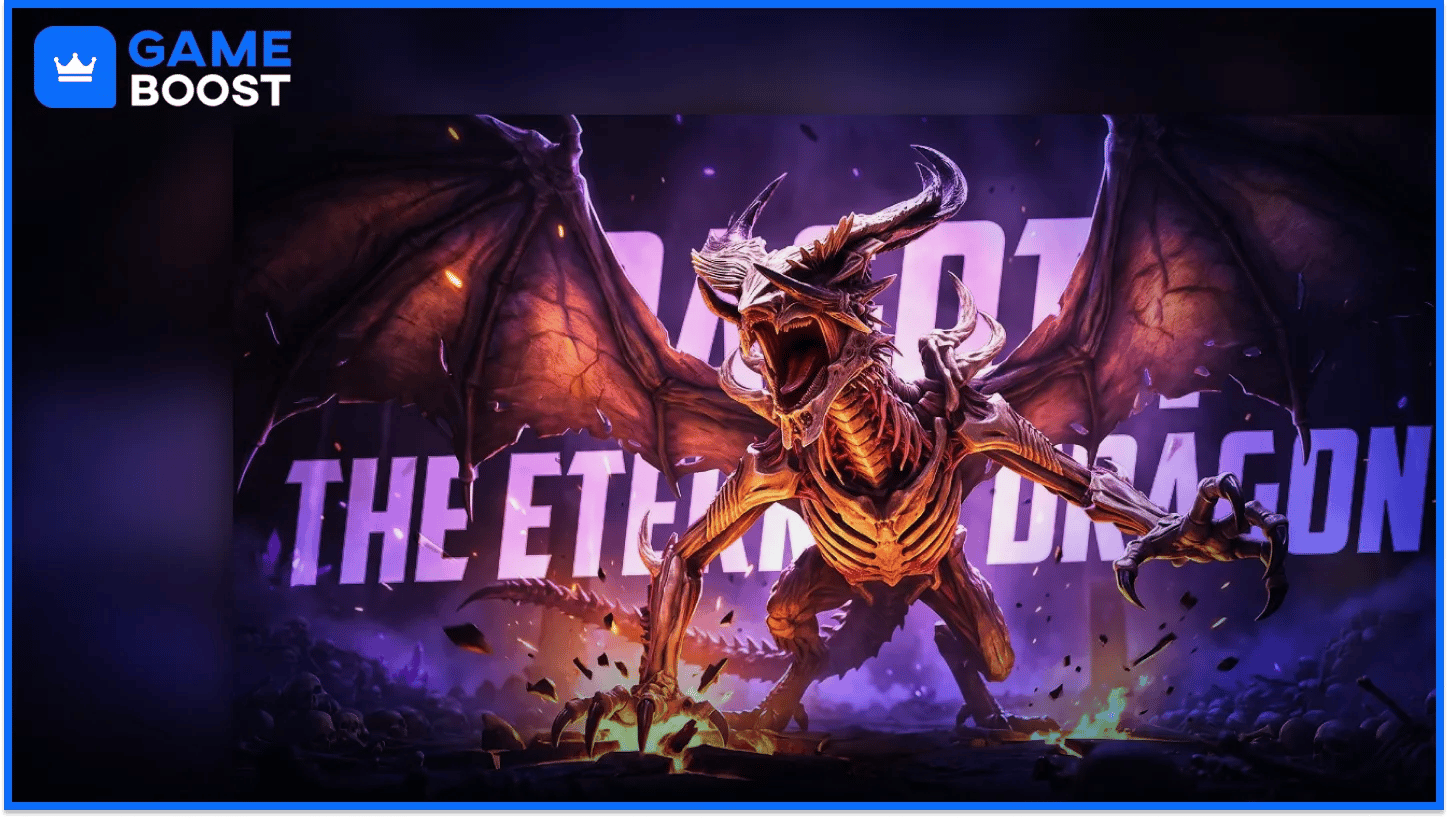
The Eternal Dragon closes Rotation 2 on floor 120 and drops Dragon Bones for the Bloodthirst set. He puts your skills on cooldown, punishes cooldowns with extra damage, and summons an Eternal Priest and two Eternal Guards every five turns.
He's the only Doom Tower boss vulnerable to Increase Skill Cooldown, so champions like Elegaius or Yumeko turn his own trick against him. Kill the Eternal Priest before he sacrifices it, or he resets his cooldowns and takes an extra turn.
One team built by HellHades runs Elegaius, Michelangelo, Donatello, Geomancer, and Duchess Lilitu. AoE damage clears his minions, and Block Debuffs or cleansing handles his debuffs.
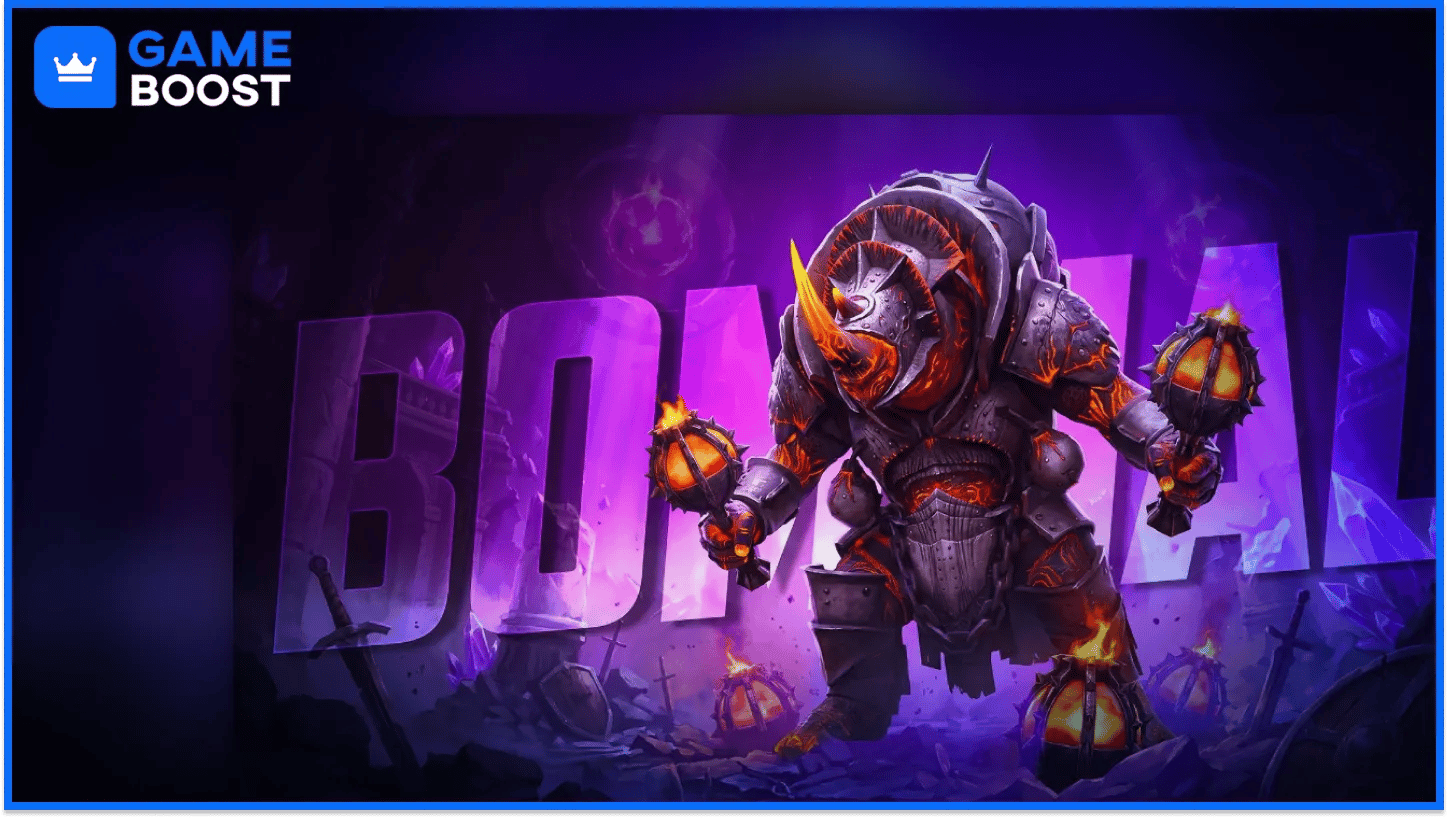
Bommal appears in Rotation 3 on floors 10, 50, and 90, and he drops Dreadhorn Plates for the Fortitude set. He places Bombs that can't be blocked or removed and summons Dreadbombs that hit your team for a share of their HP.
Normal floor 90 and Hard floor 10 are where most accounts get stuck. Stuck there? One reliable budget answer is Templar. Built with Regeneration and Immortal gear, he heals himself, and his Block Damage, timed right, lets him ignore Bommal's Bombs completely.
Bomb champions are the other route, since Bombs deal massive bonus damage to Bommal. Gnishak Verminlord, Lady Annabelle, and the 2026 fusion Haggibah the Nestmaid can all carry this fight, and some setups solo it.
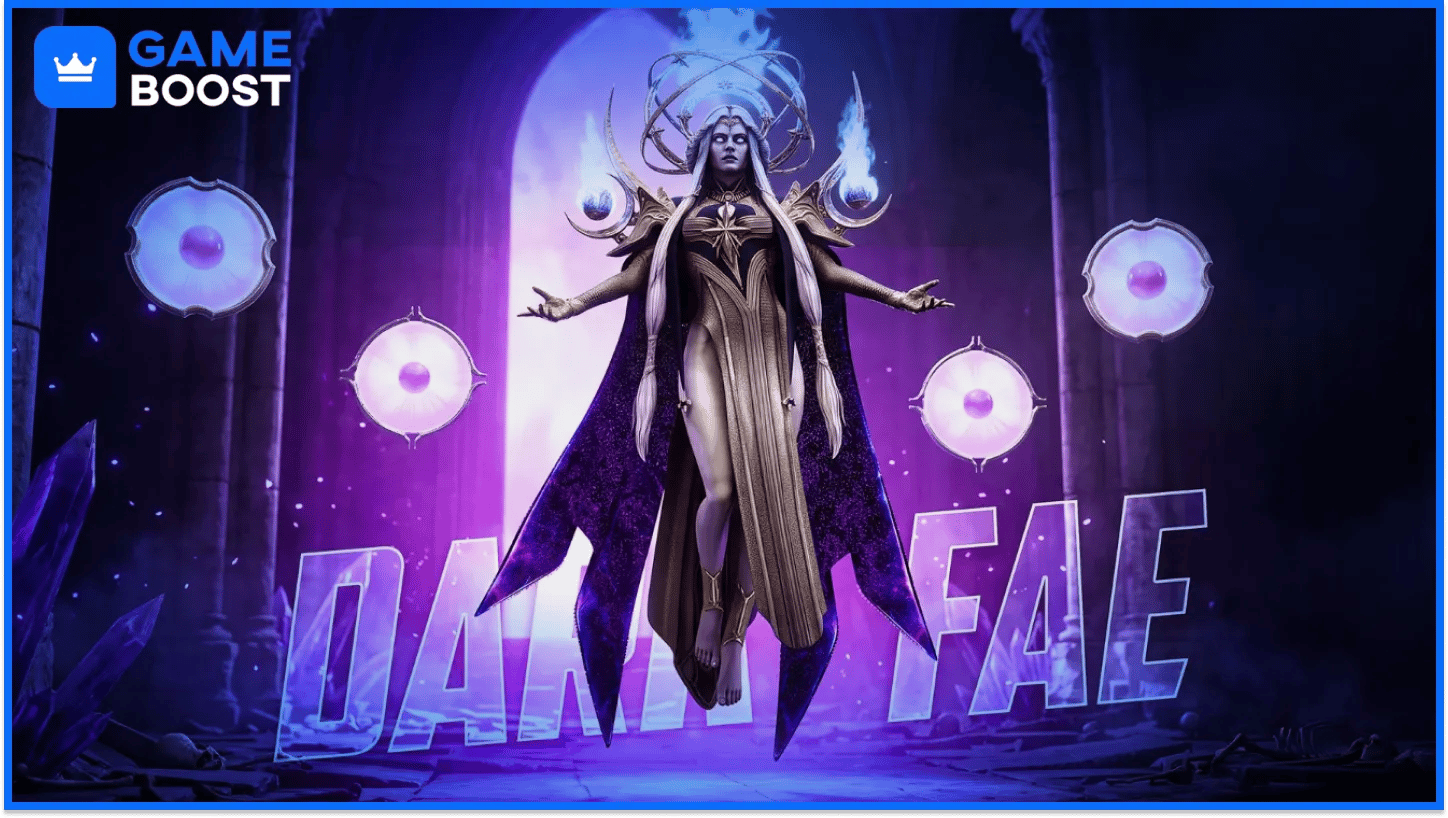
The Dark Fae closes Rotation 3 on floor 120 and drops Fae Spheres for the Lethal set. When the boss round starts, she creates Mirror Copies of your whole team, with the same stats and gear.
Clones are the real fight. Her Faerie Storm deals 25% more damage for each living ally on her side, and every Dark Abduction banishes your highest-ATK champion and makes another copy. Kill the clones fast, then turn on her.
She's immune to most control, and Turn Meter reduction against her is halved, so bring Speed to act before the clones do. Gnut, Coldheart, and Alure handle damage, Deacon Armstrong adds Turn Meter for your team, and Arbiter covers revives.
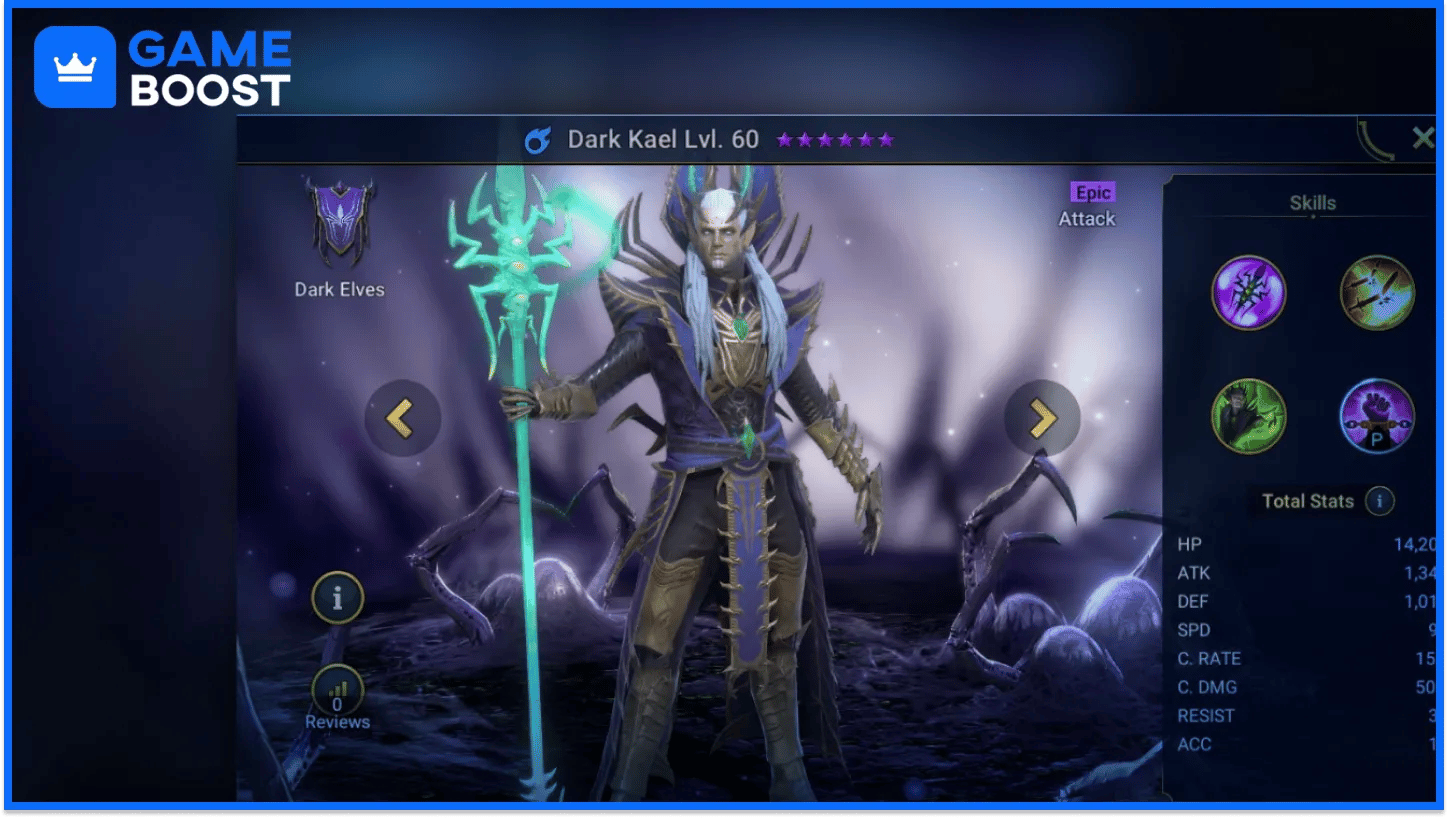
Doom Tower Secret Rooms are optional battles with special rules, such as using only Rare champions or a single faction. There are 12 per difficulty, they open as you climb, and you can clear them in any order once they're open. Each one costs a Silver Key on a win.
Rewards come as champion fragments in a fixed order. You have to finish one champion before fragments for the next one start dropping, and the list is the same every rotation:
Difficulty | Champions in Order |
|---|---|
Normal (Epic) | Archmage Hellmut, Akoth the Seared, Rian the Conjurer, Dark Kael, Gwynneth, Taya, Zii Ixchi, Liburga, Krakarth |
Hard (Legendary) | Thea the Tomb Angel, Urost the Soulcage, Gomlok Skyhide, Varl the Destroyer, Ba Satha, Vasal of the Seal, Cromax Moonblood, Gronjarr, Ginro the Stork |
Archmage Hellmut comes first on Normal and sits in the A tier of our tier list. Dark Kael is fourth, and he's a strong Clan Boss poisoner you never have to pull from a shard. Mythical champions count for a room's rule if either of their forms matches it.
Once you've collected every champion on a difficulty, Secret Rooms switch to Forge materials for the bosses in order. Room 1 gives the floor 10 boss's material, Room 2 the floor 20 one, and so on. A wide roster of Rares and Epics clears far more rooms, which is one reason fresh Raid Shadow Legends starter accounts with several factions climb faster.
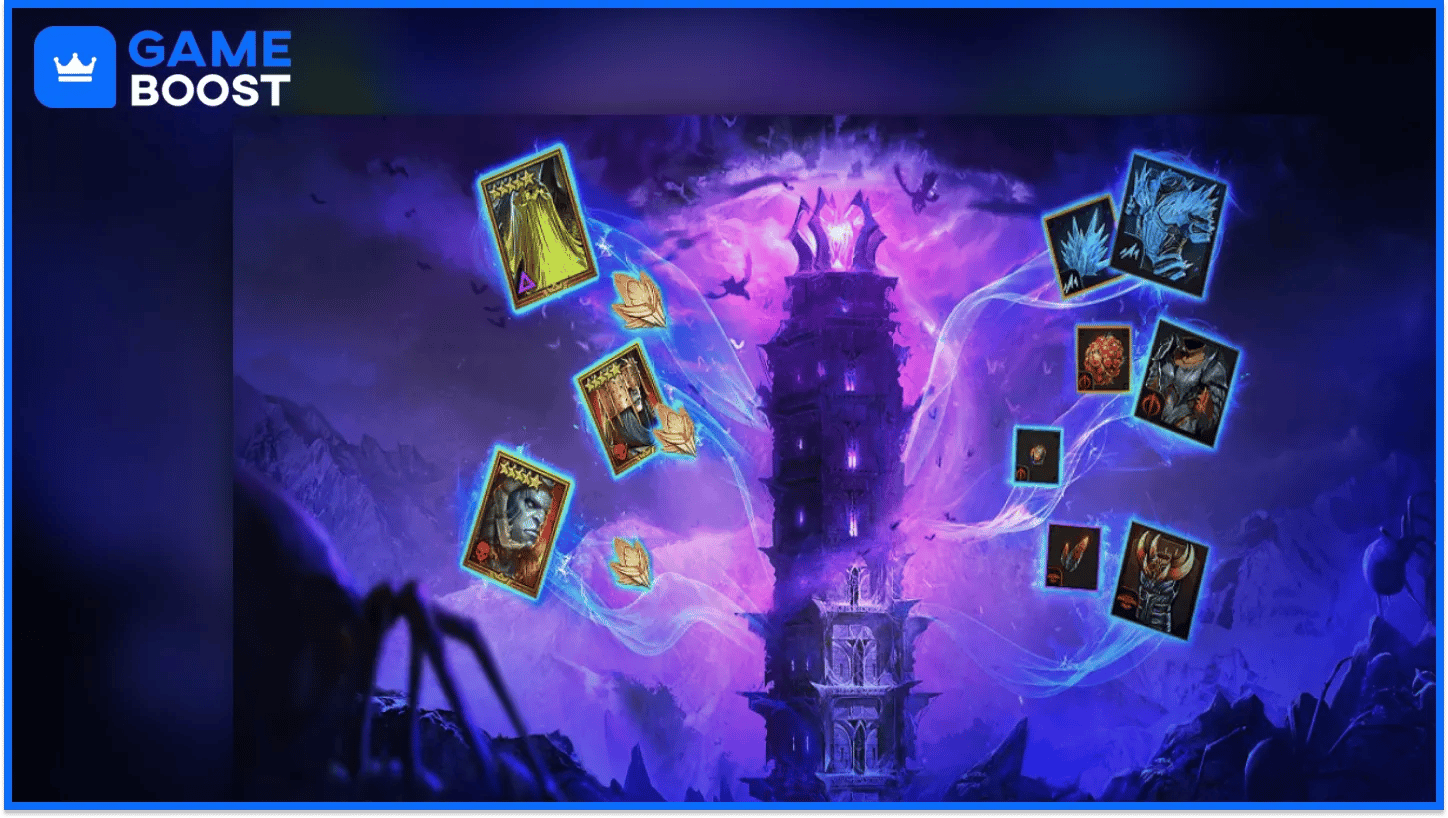
Every Doom Tower boss drops a Forge material when you farm its floor with Silver Keys. You turn those materials into artifact sets at the Forge, and these eight sets can't be found anywhere else in Raid.
Set | Boss | Material | Pieces | What It Does |
|---|---|---|---|---|
Fatal | Magma Dragon | Magma Cores | 2 | ATK and C.RATE |
Affinitybreaker | Nether Spider | Nether Eggs | 4 | C.DMG and a chance to turn Weak Hits into Critical Hits |
Untouchable | Scarab King | Scarab Claws | 4 | RES and a short Immunity buff |
Frostbite | Frost Spider | Frost Spines | 2 | Partial Freeze protection and a chance to Freeze attackers |
Guardian | Celestial Griffin | Griffin Feathers | 4 | Absorbs part of the damage dealt to allies and heals over time |
Bloodthirst | Eternal Dragon | Dragon Bones | 4 | C.RATE and Lifesteal |
Fortitude | Bommal the Dreadhorn | Dreadhorn Plates | 2 | RES and DEF |
Lethal | Dark Fae | Fae Spheres | 4 | C.RATE and partial DEF ignore |
Players report better materials from higher boss floors, so farm the highest floor of a boss your team clears on auto. The Reward Info icon on the Tower Map shows what each boss drops before you spend a key.
Lethal and Bloodthirst suit damage dealers, and Guardian fits PvE support champions who protect the team. Pick one target set per rotation, since Silver Keys run out fast once you start farming.
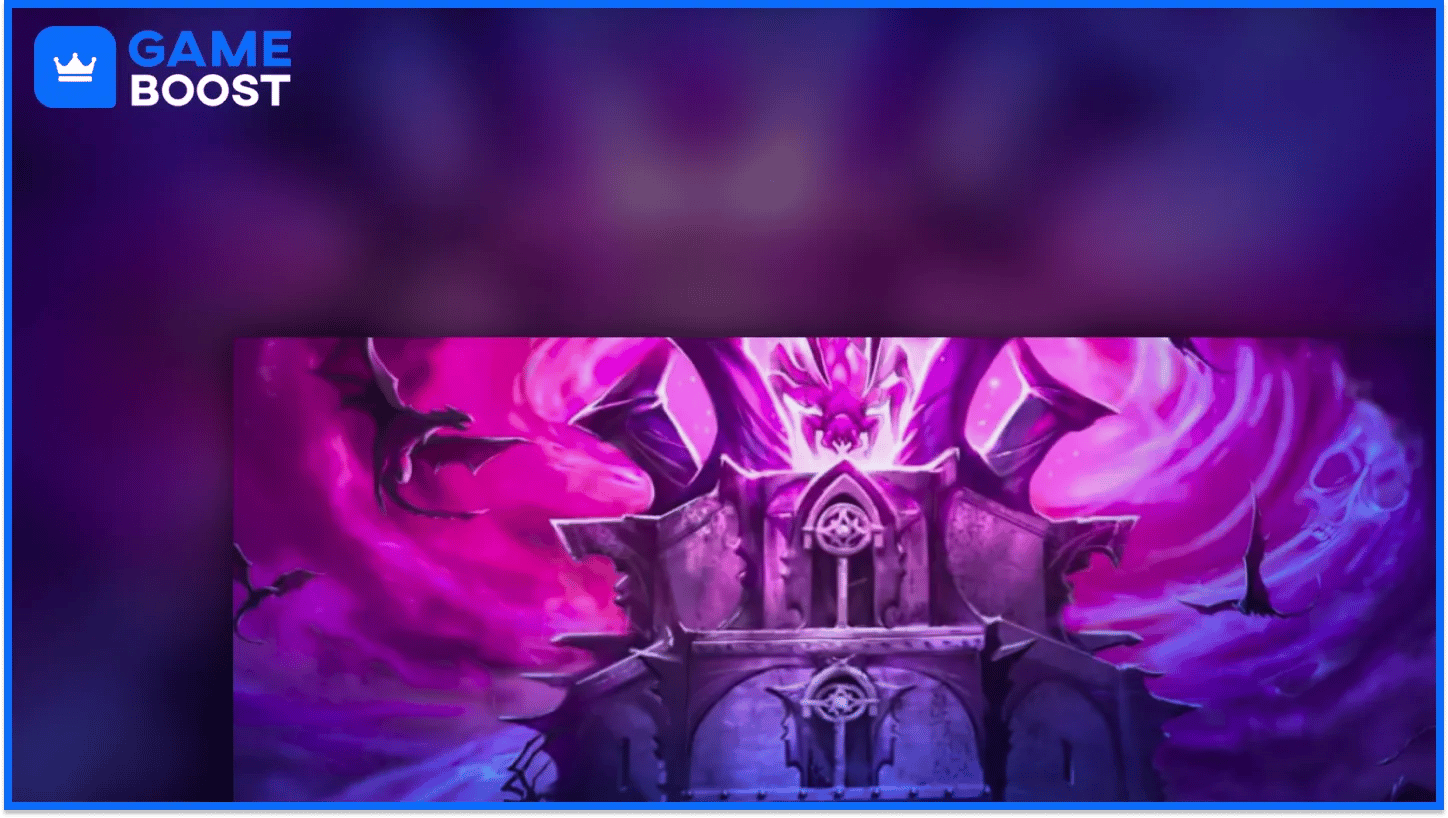
Doom Tower rewards come in two kinds. Completion Rewards drop once per rotation, the first time you beat each floor or Secret Room. Farming Rewards only exist on boss floors and keep dropping each time you spend a Silver Key on a boss you've already beaten.
Completion Rewards include Silver, potions, and shards. Our guide to free shards in Raid Shadow Legends counts 2 Sacred Shards per rotation from Hard, and Normal adds Void Shards through its rotation rewards. Clearing both difficulties every month adds up fast.
Rankings track the total number of turns you take to clear floors and Secret Rooms, with separate Global and Clan boards for each difficulty. You join the rankings after clearing floor 10, and you can re-run content to lower your turn count.
The Best Teams icon in Team Selection shows the teams that top players used on any floor or Secret Room. It's one of the fastest ways to find a counter for a boss you're stuck on.
Auto-Climb clears regular floors for you. Tick Start Auto-Climb before a battle, and the game keeps going until you lose, run out of Gold Keys, or reach a boss floor. Secret Rooms are never part of it.
Update 11.50 added Background Auto-Climb, so the climb keeps running as you do something else in the game. Since 11.80, the reward window after an Auto-Climb run lists every reward earned, where it used to stop at 10 unique ones.
Waves matter as much as bosses. AoE damage dealers like Ezio clear Doom Tower waves well, and new wave clearers such as Skorza Norrstalker are built for this kind of content. Check new pulls in our Raid Shadow Legends tier list before investing in them.
HellHades lists the highest enemy Accuracy in each rotation, and from floor 110 onward you need roughly this much RES to resist their debuffs:
Difficulty | Highest Enemy ACC (Floor 110+) | RES Recommended |
|---|---|---|
Normal | 150 | 260 |
Hard | 320 | 450 |
Enemy RES climbs too. Rotation 1 on Hard has wave enemies with up to 365 RES on floor 119, so your debuffers need around 390 Accuracy to land anything there.
The Doom Tower rewards planning more than raw roster strength. Ten Gold Keys a day turns the climb into a marathon. The players who finish every month usually know which boss rule is coming next and bring the one champion that answers it.
Treat each boss as a puzzle with one key piece: Provoke for the Magma Dragon, cleansing for the Nether Spider, Shields for the Scarab King, HP Burn for the Frost Spider. Most of those pieces are Rares or Epics, and that's what makes the tower reachable for free-to-play players.
Rotation 3 asks the most of a young roster, as Bommal sits on floor 10. When he blocks you on Hard, push Normal to 120 and spend Silver Keys on Secret Rooms instead.
Dark Kael and Archmage Hellmut alone make the Normal Secret Rooms worth chasing every rotation until you own them. After that, the tower turns into a steady source of shards and the artifact sets no other mode drops.
Raid Shadow Legends Starter Accounts for Sale
Buy Acrizia Accounts
Cheap Raid Shadow Legends Accounts
View all GameBoost Accounts
View all GameBoost Boosting Services
View all GameBoost Currencies
View all GameBoost Game Keys
View all GameBoost Gift Cards
View all GameBoost Top Ups
View all GameBoost Items
“ A former sports journalist and editor, Patrik joined Gameboost SEO team in 2026. He has spent most of his life playing Football Manager, but his sphere of interests spreads through whole gaming universe.”