
.png)

•Hamza Rashid• 6 min read
Steal An Egg

Dr. Scramble runs Steal an Egg's recurring boss encounter, and the fight sits behind a timed portal that opens somewhere across the map. Players enter as a group, push through a three-phase mech battle, then chase down the doctor for the final hits. Every clear pays out Samples and Boss Mastery, the two currencies that open access to the update's strongest pets and eggs.
Reaching Dr. Scramble takes more than a fast pair of legs. Knowing where the portal spawns, how each mech phase behaves, and where the exposed core gets pinned down turns a messy scramble into a clean kill. From the portal location to the Lab's banner odds and the paid Extinction Egg sitting beside it, every system gets covered step by step below.

Dr. Scramble's Mech boss fight opens through a portal that appears at a random point on the map roughly every 30 minutes, and the portal closes once a group finishes the encounter
The mech fight runs across three phases full of charges, a mechanical crocodile, drones, and area attacks, then leaves behind an exposed core
The exposed core targets one player at a time and only takes damage once it gets pinned near one of the small blue towers inside the lab
Landing three hits on Dr. Scramble after the core falls finishes the encounter and pays out Samples plus one point of Boss Mastery
The Boss Mastery track runs a full 100 tiers deep, paying a Biohazard Egg on the first kill and climbing through Eye Bat #021, Citadel Snail #007, Uncoiled Armadillo, and Toxic Crocodile before the Eternal Pink Dragon Experiment #010 lands at tier 100
Dr. Scramble's Lab trades three requested eggs directly for an experimental pet pull, and a 200-point pity bar guarantees the featured banner's top reward
The Extinction Egg sits in the Featured shop as a separate Robux purchase with six base extinct animals and a rare Skeletal version
The boss fight also spawns inside private servers, letting solo players clear the encounter without waiting on a full lobby
Dr. Scramble's Revenge turned a background character into Steal an Egg's dedicated boss fight. The doctor pilots a mech that patrols the map, and defeating him hands out the update's core currency along with permanent mastery progress. The fight sits apart from egg hatching entirely, so pet luck plays no part in the outcome of a match.
The mech phase, the core phase, and the final chase against Dr. Scramble all feed into a single reward. Groups that treat the fight as three separate mini bosses tend to lose track of the sequence. Groups that expect one continuous encounter clear it with fewer wipes instead, since each phase carries its own attack pattern and its own damage window.
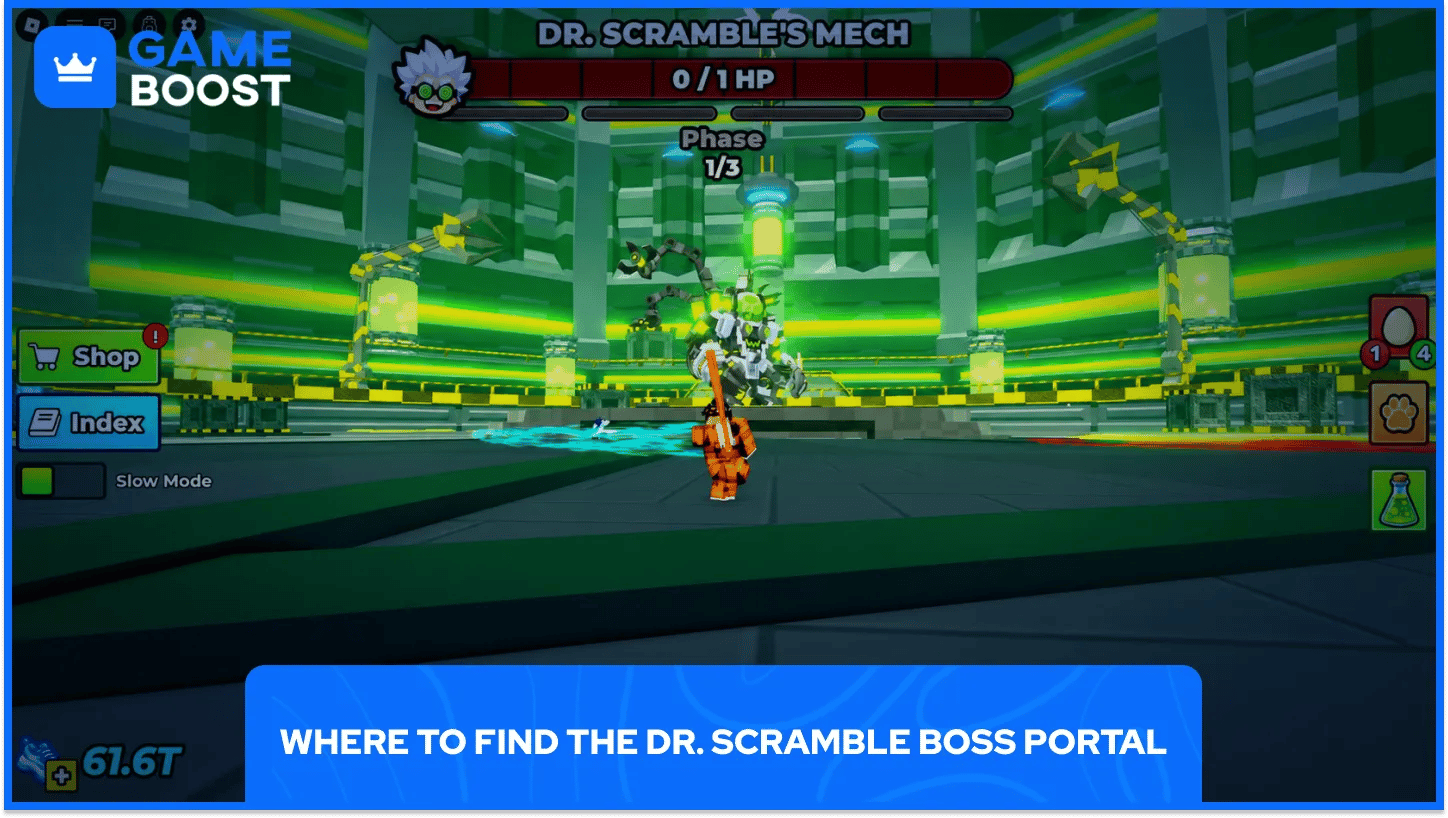
The boss portal does not sit in one fixed biome. It opens at a random point across the map on a fixed timer, appearing roughly every 30 minutes during active play. A glowing portal marker stays visible from a distance once it spawns, and stepping inside pulls the whole nearby group into the encounter together.
The portal disappears once a group finishes the fight, so the next window depends entirely on the in-game timer instead of a set clock. Checking the timer before wandering off keeps a group from missing the spawn, and arriving with a look at the strongest bats ranked cuts down on wasted swings against the mech's health pool. The encounter also spawns inside private servers, giving solo players a way to practice each phase without competing against a full lobby for hits.
Dr. Scramble's Mech carries a large health pool and runs through three phases before it can be forced open. Each phase introduces a new attack, and staying spread out keeps one bad dodge from wiping half the group.
The mech cycles through several distinct attack patterns that repeat as it takes damage.
Mech Charge: the mech rushes forward at high speed and knocks back anyone standing in the marked path, so moving out of the lane before it closes the gap avoids the hit entirely
Croco: a mechanical crocodile drops onto the field and chases down a random player, and since it cannot be damaged the only response is dodging until it despawns
Scramble Drones: a wave of drones tracks players around the arena, and swinging a bat into each one clears them before they stack up
Lasers and Ground Smash: the mech fires beams or slams the ground after a short charge up, and that charge time is the cue to put distance between the group and the mech's feet
Once all the attack phases run their course, the mech overheats and locks in place for a short window. That window is the best time to unload full damage, since the mech takes no counter action during the stun and every hit lands cleanly.
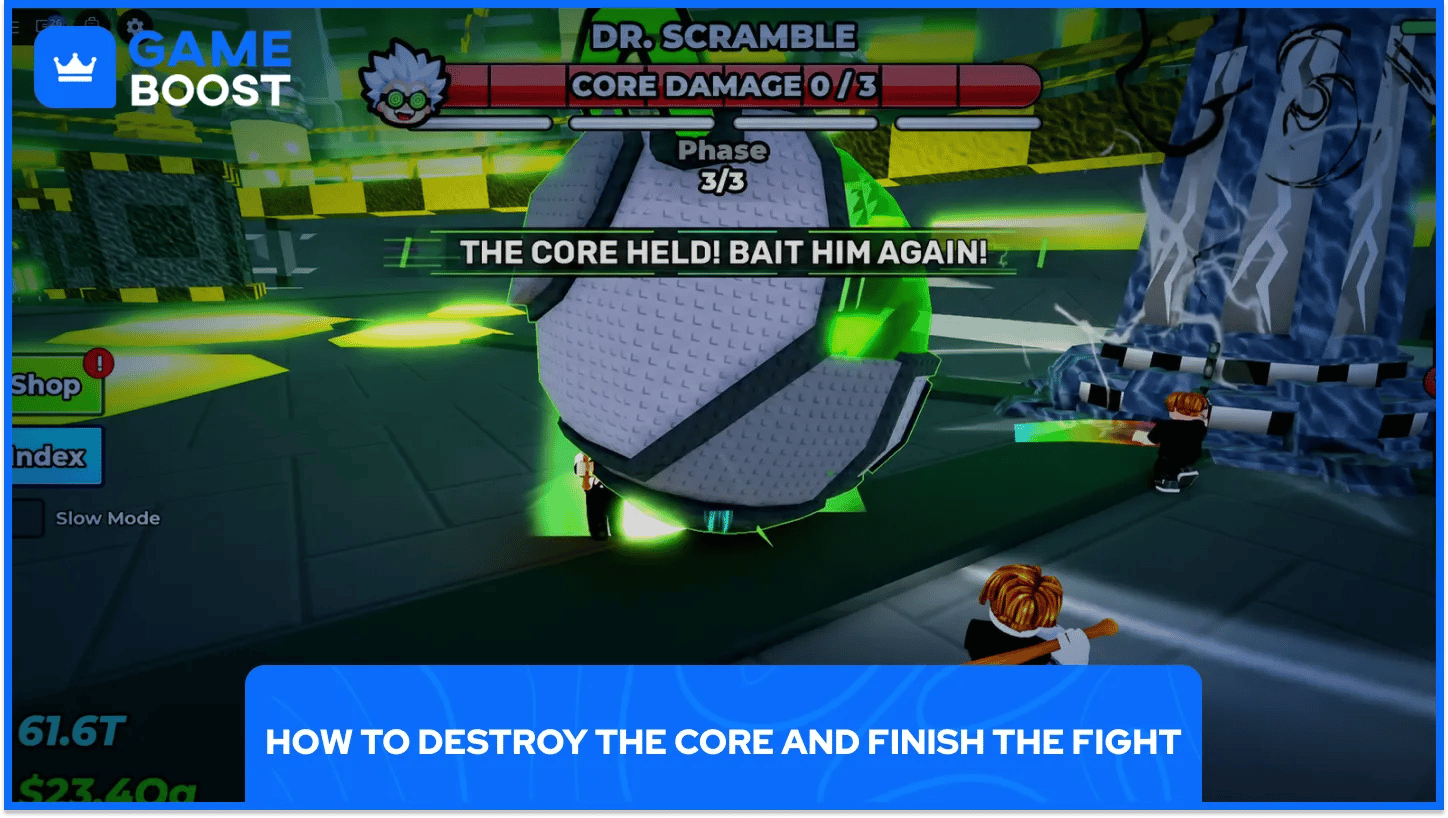
Once the mech's outer shell breaks, an exposed core drops out and becomes the fight's second stage. The core singles out one player, marks them with an on-screen notification, and charges toward that target until it gets stopped near a fixed point.
Handling the core comes down to a short, repeatable sequence.
Watch for the marker: the targeted player gets a clear on-screen notification the moment the core locks onto them
Run toward a blue tower: several small blue towers sit inside the lab, and leading the core close to one causes it to stall in place
Attack during the stall: the core only takes damage during that pinned window, so the rest of the group should focus fire in that short opening
Repeat three times: the core's health bar has to be emptied three separate times before it goes down for good
After the third core kill, Dr. Scramble breaks free and starts running through the lab on foot. Landing three clean hits on him closes out the encounter and triggers the reward payout for everyone who took part.
Every completed kill pays out two things at once, a stack of Samples and a single point of Boss Mastery. Samples spend directly in the Sample Shop, and damage dealt during the fight decides how large that stack turns out to be. Boss Mastery tracks lifetime kills instead, and it climbs along a 100 tier track that hands out a pet or egg reward at set checkpoints.
The Boss Mastery track pays out at six checkpoints between the first kill and tier 100.
Boss Mastery Tier | Reward |
|---|---|
Tier 1 (first kill) | Biohazard Egg |
Tier 10 | Eye Bat #021 |
Tier 25 | Citadel Snail #007 |
Tier 50 | Uncoiled Armadillo |
Tier 75 | Toxic Crocodile |
Tier 100 | Pink Dragon Experiment #010 (Eternal pet) |
The gap between tier 75 and tier 100 carries the most weight on the whole track, since the Pink Dragon Experiment #010 lands as a tagged Eternal pet with a high base income instead of a standard drop. Players chasing that top reward should treat every portal spawn as steady progress toward tier 100 instead of a one off currency run, since the track never resets between sessions.
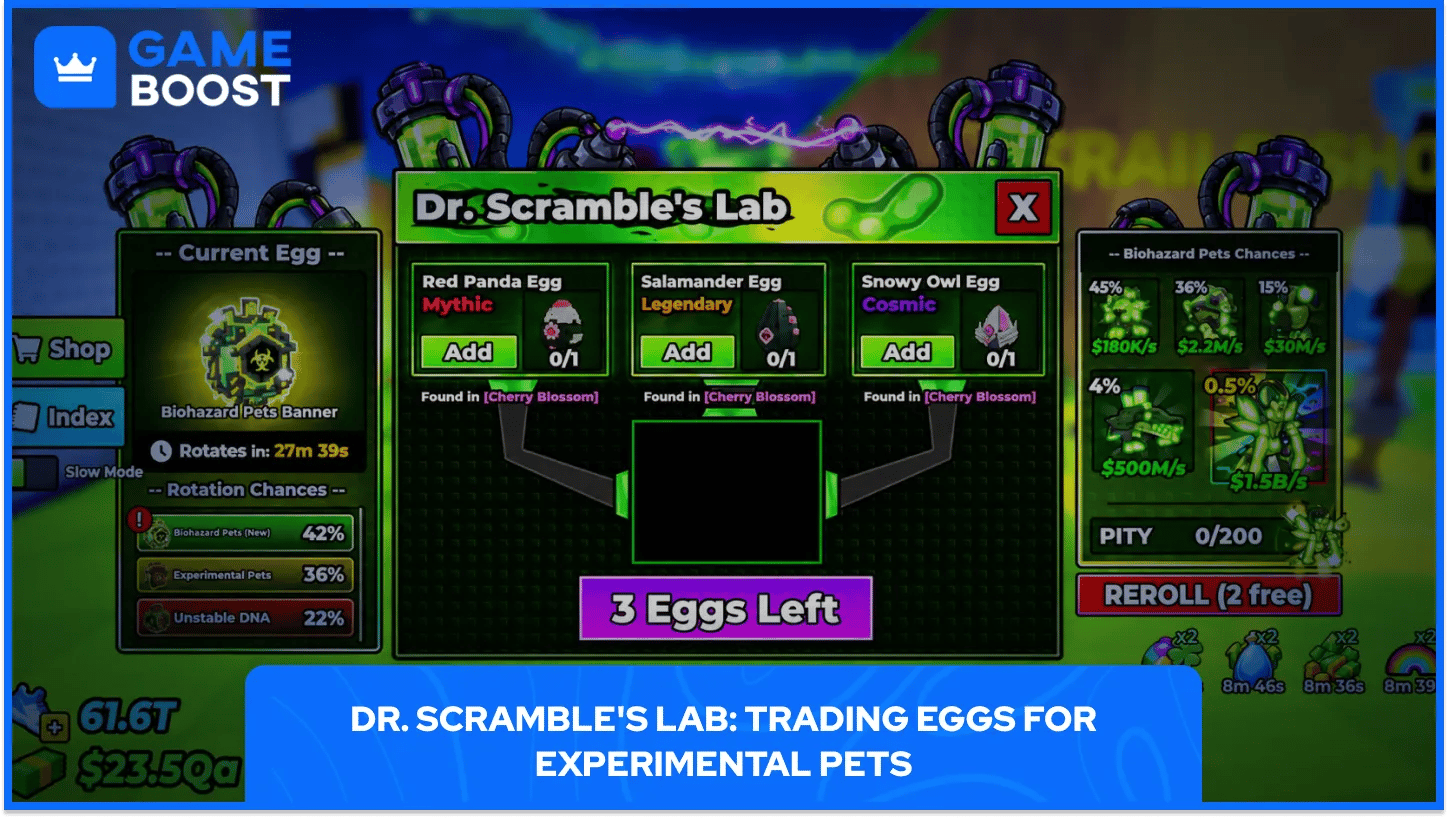
Dr. Scramble's Lab sits in the lobby next to the Shop and replaced the older trade-in rift machine entirely. Instead of hatching pets first, the Lab accepts three specific eggs directly and returns an experimental pet pull tied to whichever banner is active.
The Lab rotates between three banner pools, and each one draws from its own set of eggs instead of one shared pool.
Banner Pool | Displayed Odds | Eggs in the Pool |
|---|---|---|
Biohazard Pets | 42% | Prehistoric Egg, Cosmic Egg, Cherry Blossom Egg |
Experimental Pets | 36% | Cosmic Egg, Cherry Blossom Egg, Titan Temple Egg |
Unstable DNA | 22% | Cherry Blossom Egg, Titan Temple Egg, Angels & Demons Egg |
A 200 point pity bar runs alongside every banner, and hitting that pity threshold guarantees the Cosmic tier pet from whichever egg a player submitted, instead of leaving that pull to chance. Two free rerolls are also available for players who want to skip a banner's current egg request without spending a submission on it.
Reading the odds against the egg pool shapes how a player should stock eggs ahead of time. Biohazard Pets carries the highest odds of appearing at 42% and pulls from the widest spread of biomes, since it covers a Prehistoric, a Cosmic, and a Cherry Blossom egg together. Unstable DNA sits at the lowest odds of the three, yet it still draws from three separate eggs instead of one, so stocking only Cherry Blossom eggs still leaves two of its three requests unmet.
The Laboratory update added 15 new pets across the three banners, spanning Mythic through Divine rarity. Each pet carries a base income figure and a separate reward value paid out once its Index entry is completed.
Pet Image | Pet Name | Rarity | Income | Index Reward |
|---|---|---|---|---|
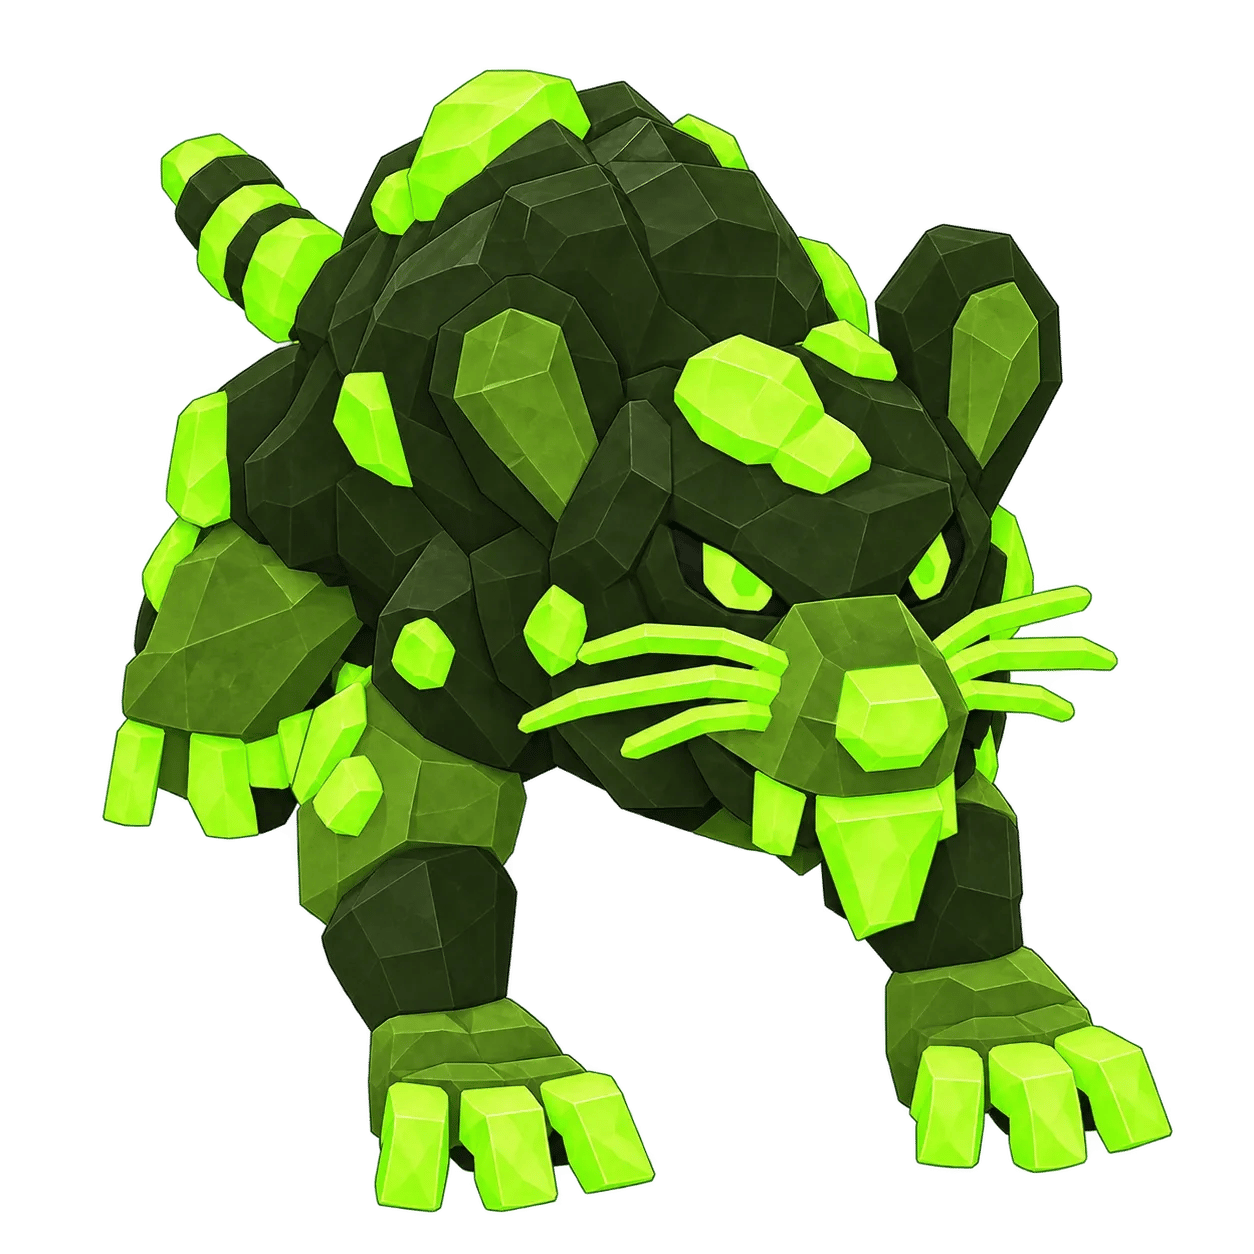 | Toxic Rat | Mythic | $180K/s | $18M |
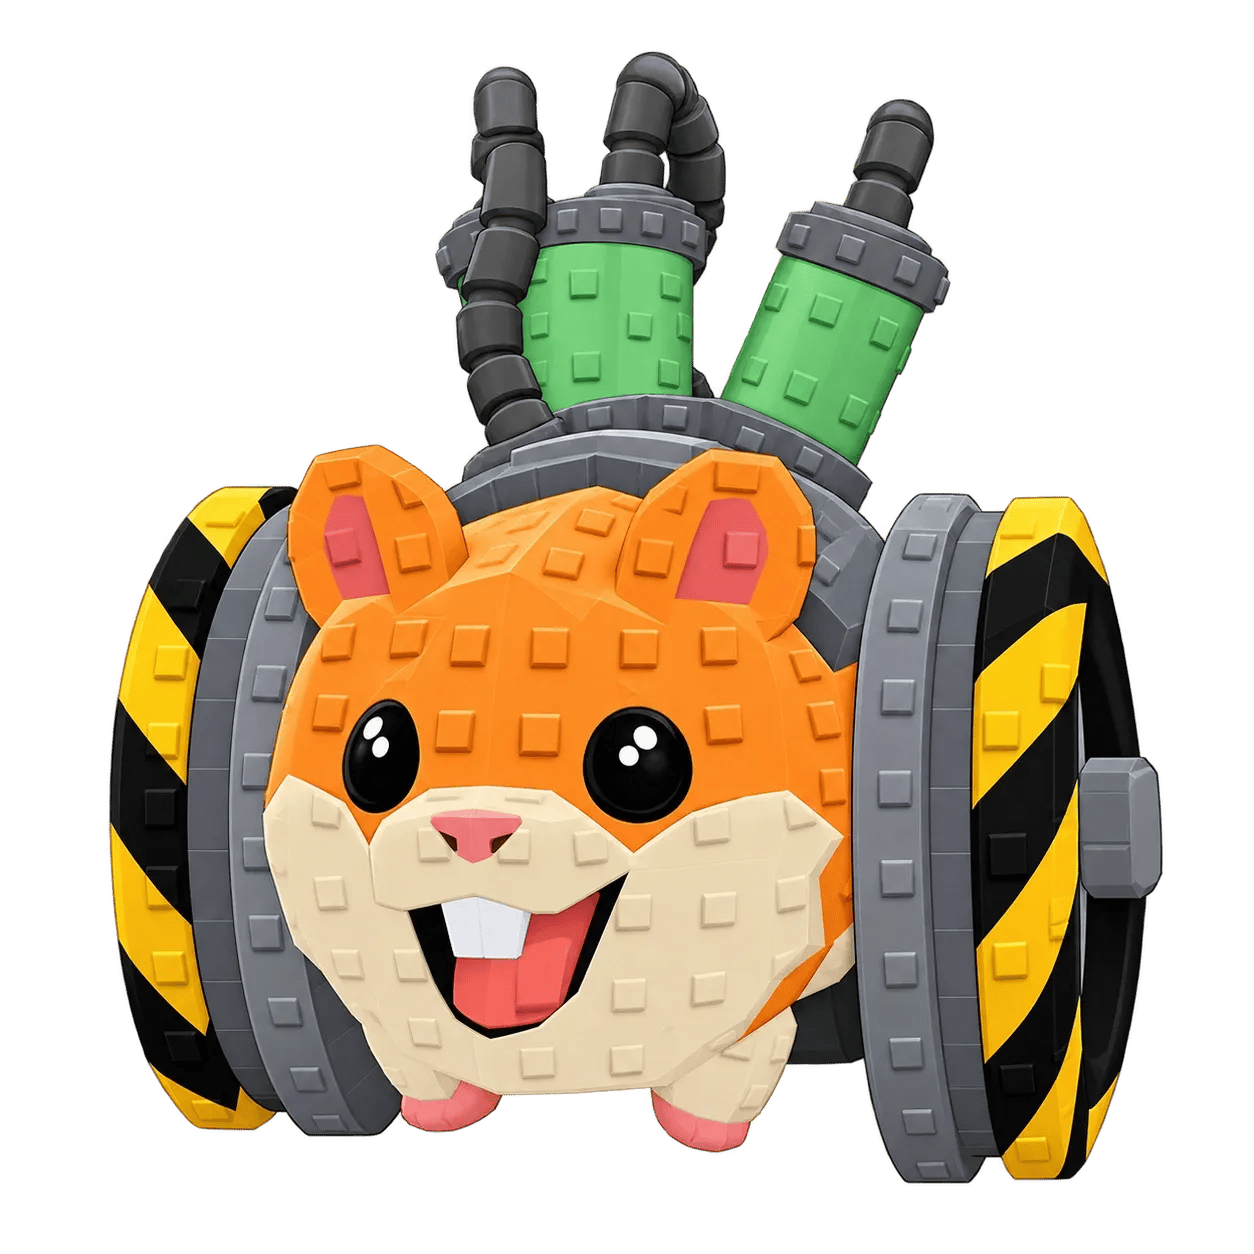 | Wheel Hamster | Mythic | $450K/s | $45M |
 | Frogfly | Mythic | $1.2M/s | $125M |
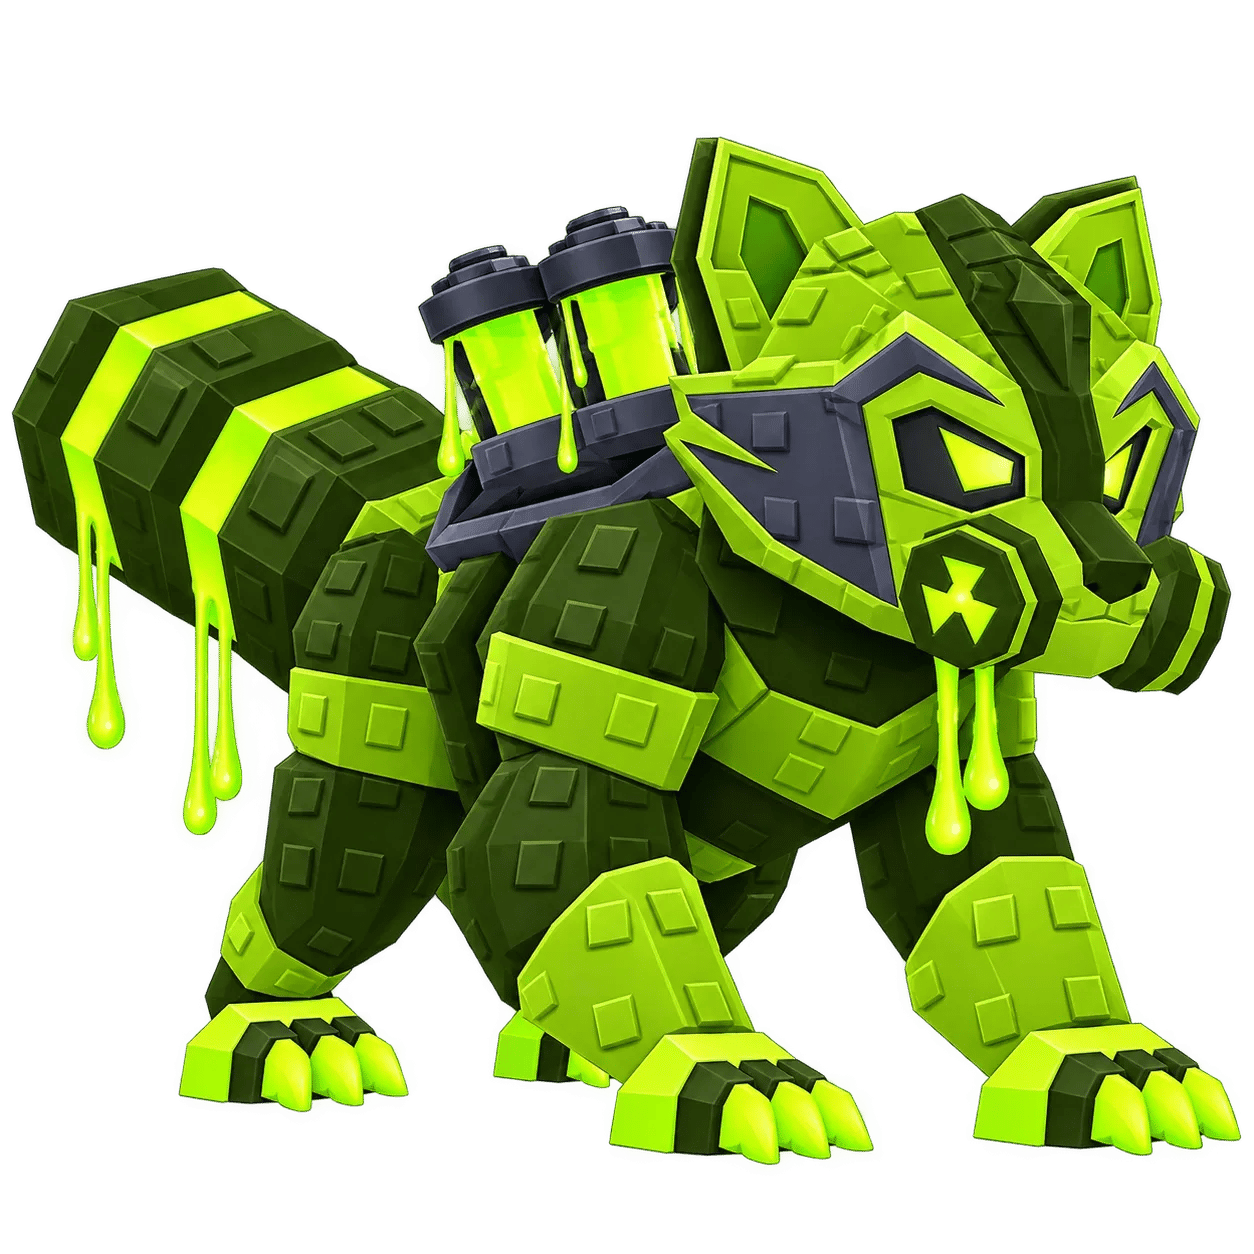 | Radcoon | Cosmic | $2.2M/s | $220M |
 | Stacked Turtle | Cosmic | $12M/s | $1.2B |
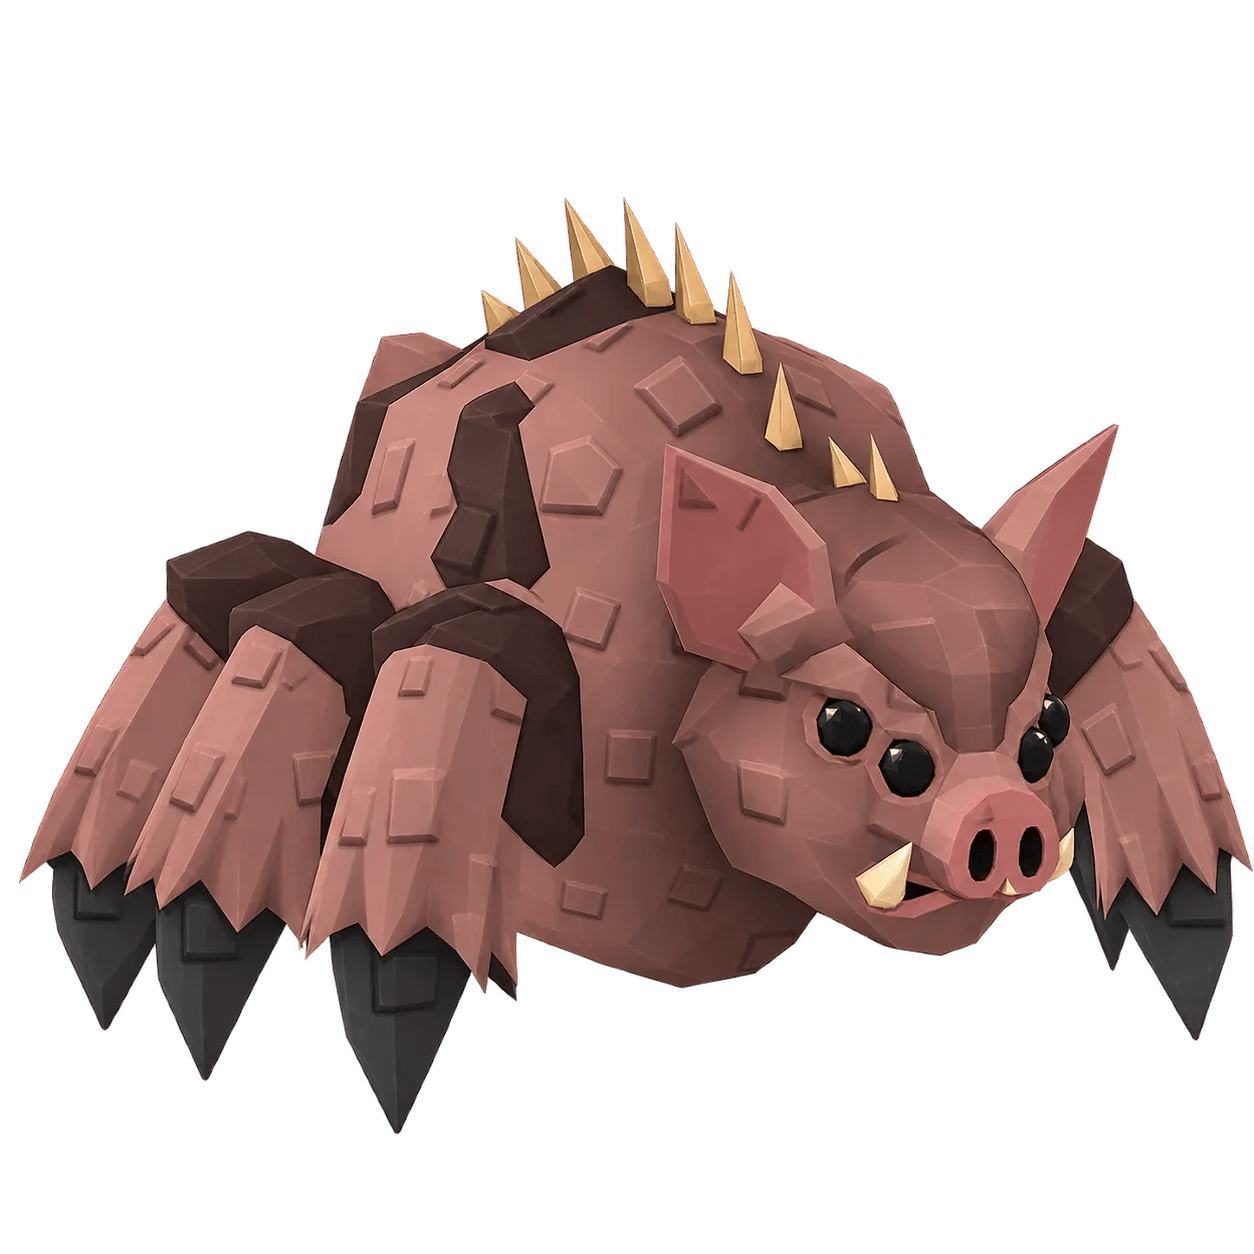 | Spiderpig | Cosmic | $25M/s | $2.5B |
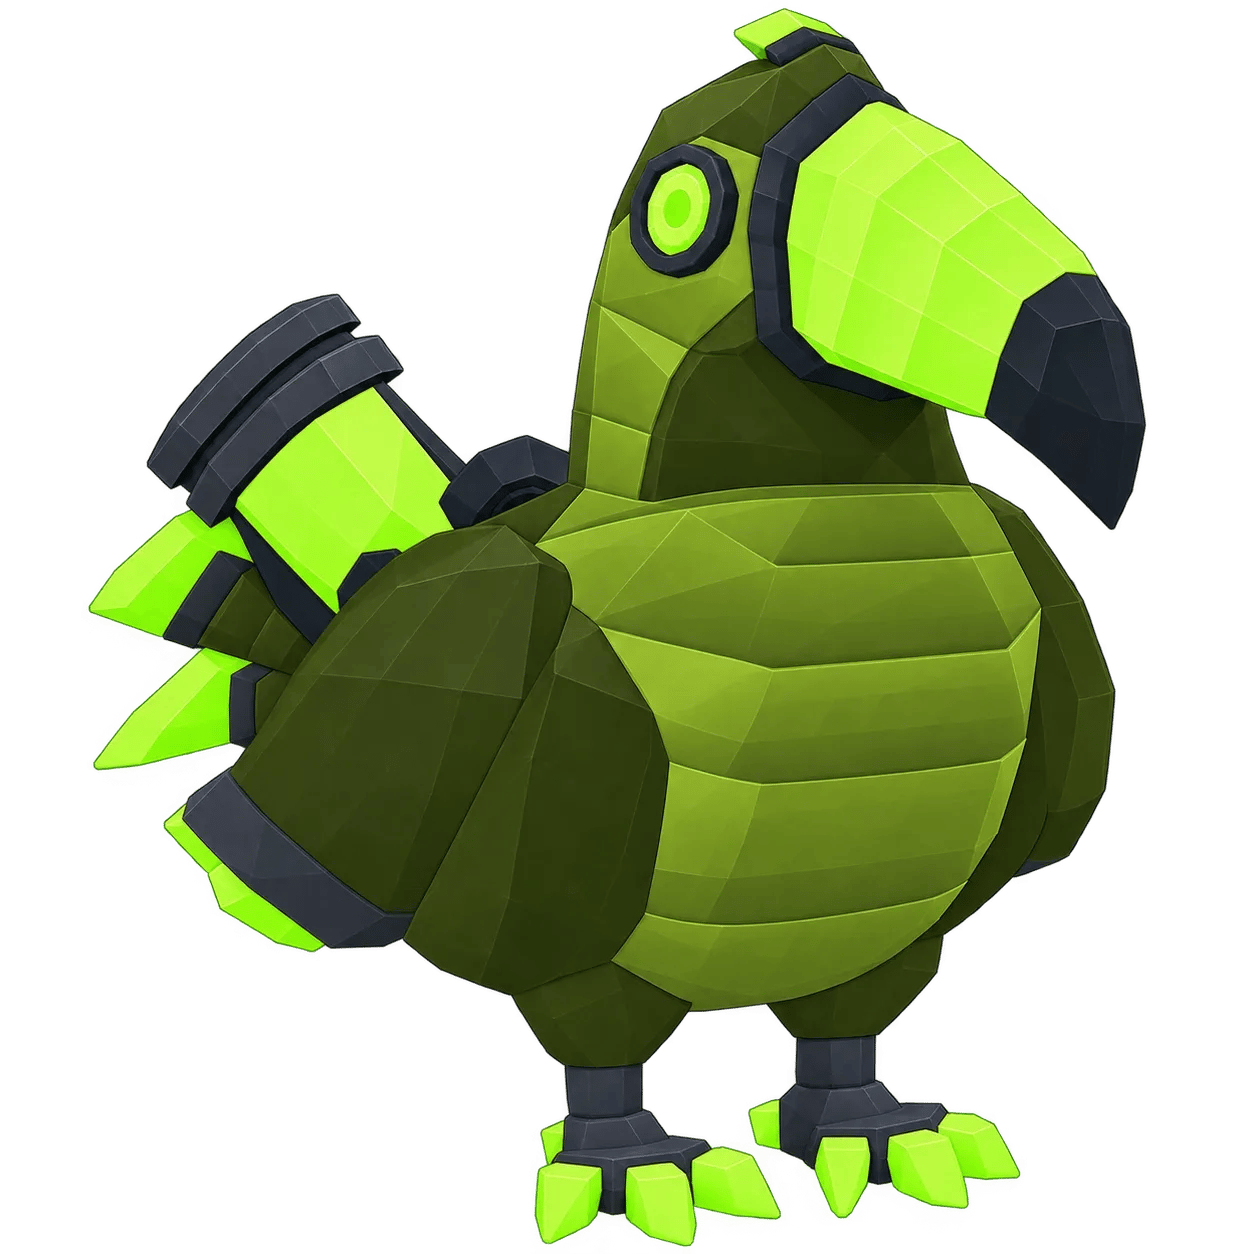 | Toucax | Cosmic | $30M/s | $3B |
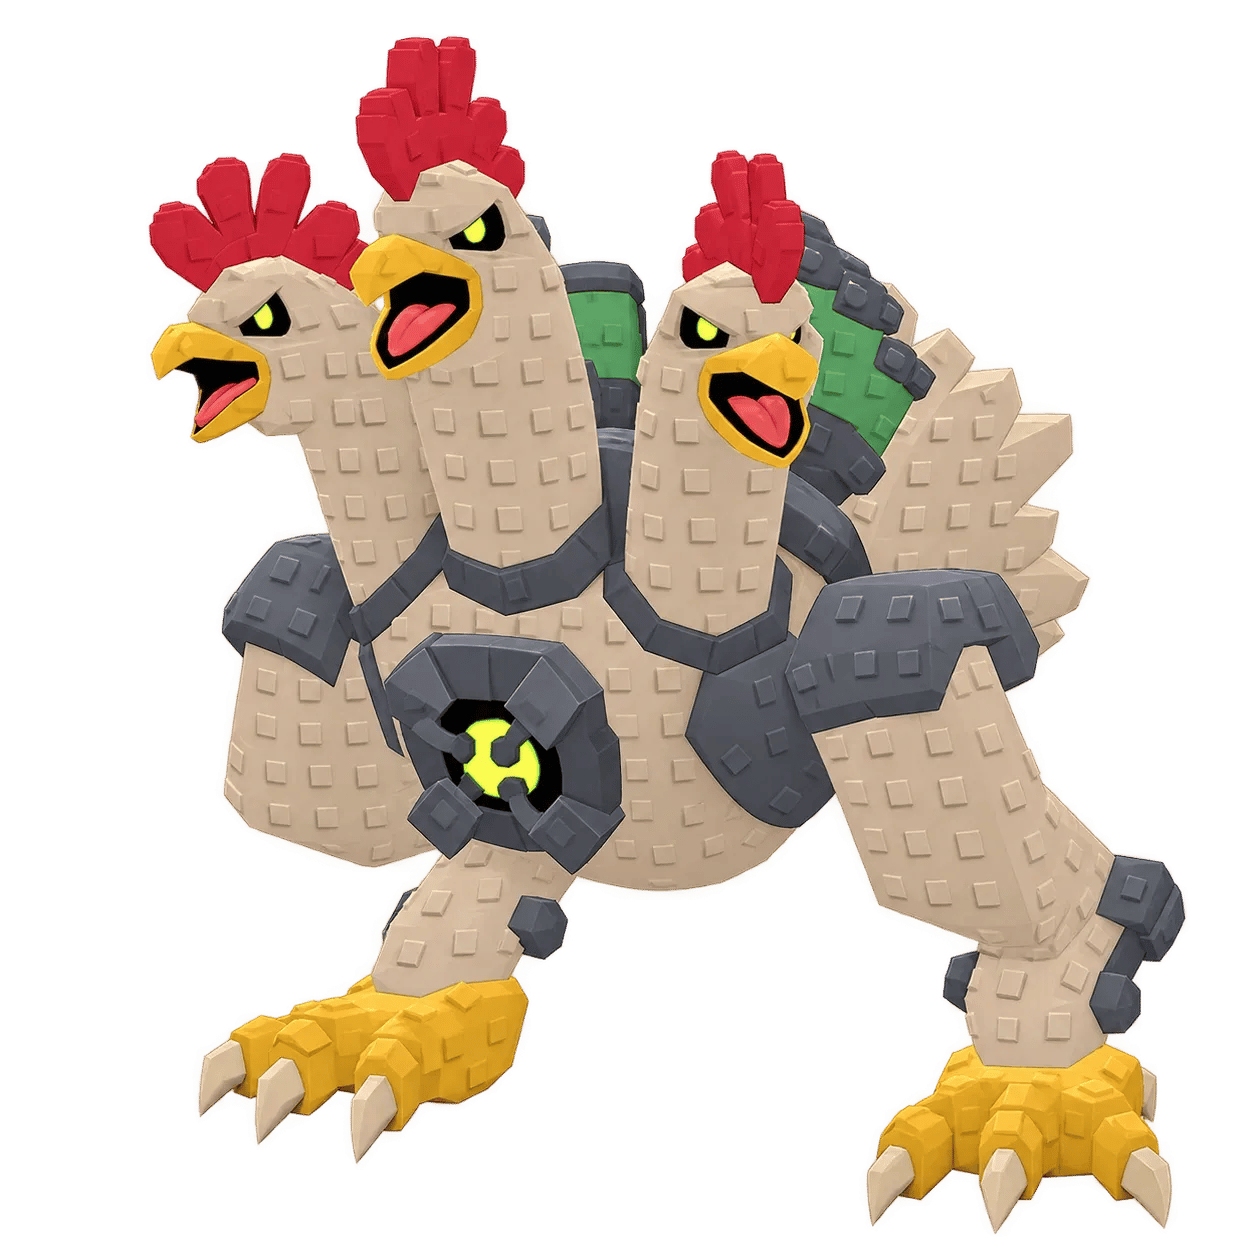 | Three Headed Chicken | Cosmic | $165M/s | $16.5B |
 | Sharkodile | Secret | $350M/s | $35B |
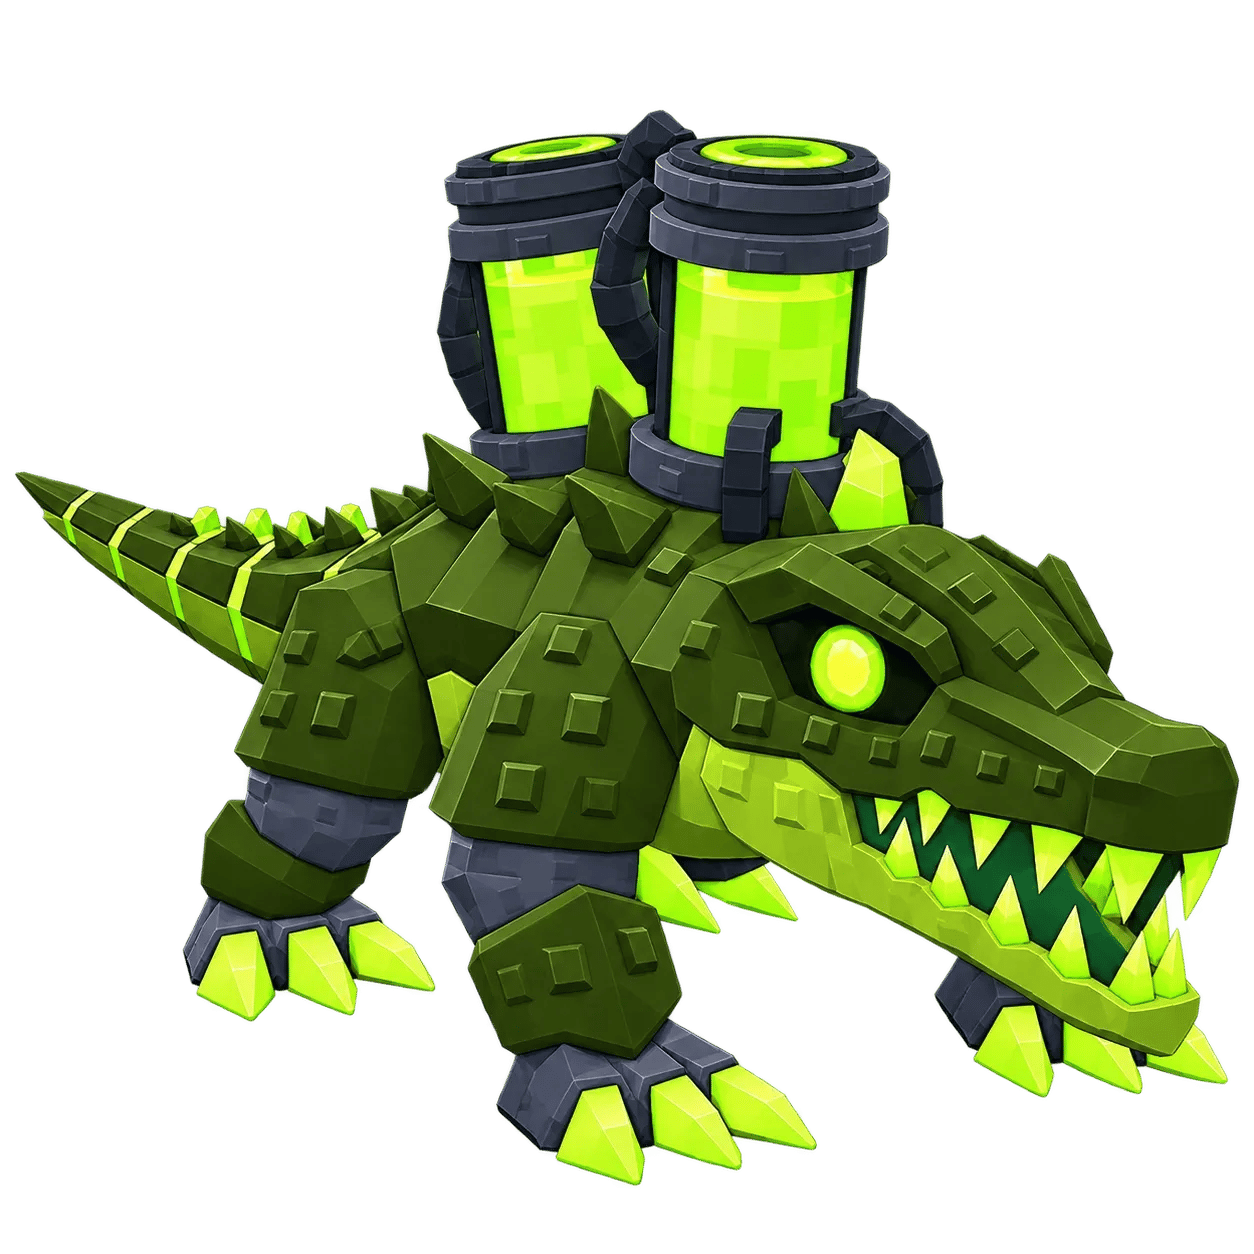 | Nuceodile | Secret | $500M/s | $50B |
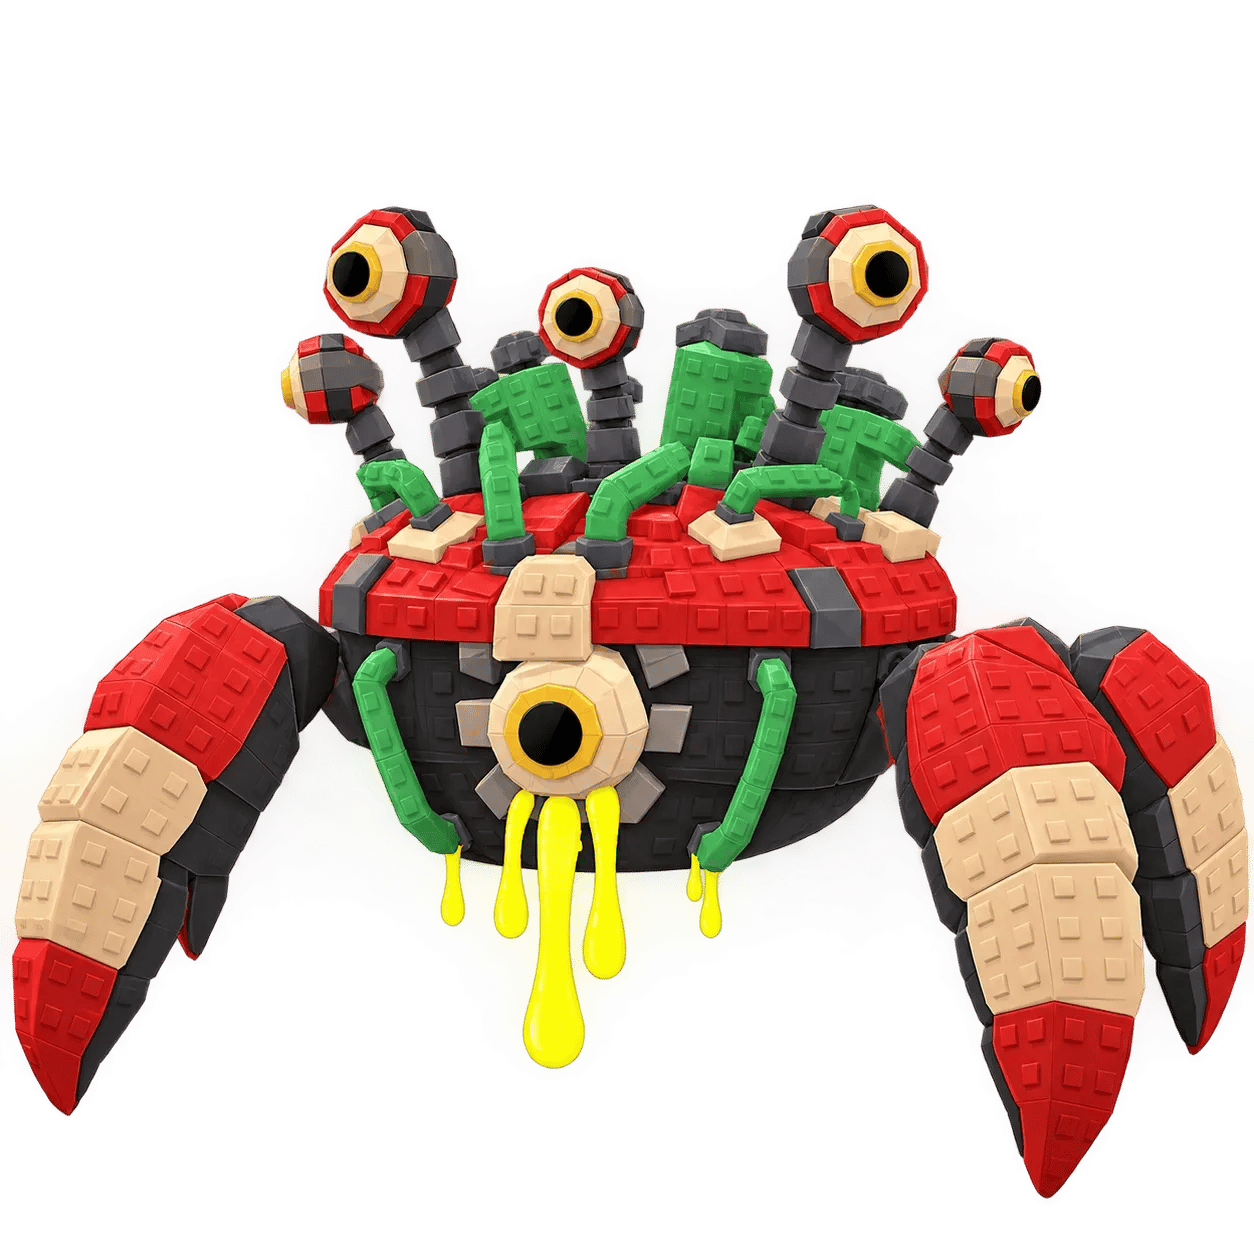 | Eyeball Crab | Secret | $825M/s | $82.5B |
 | Rhinobear | Eternal | $1B/s | $100B |
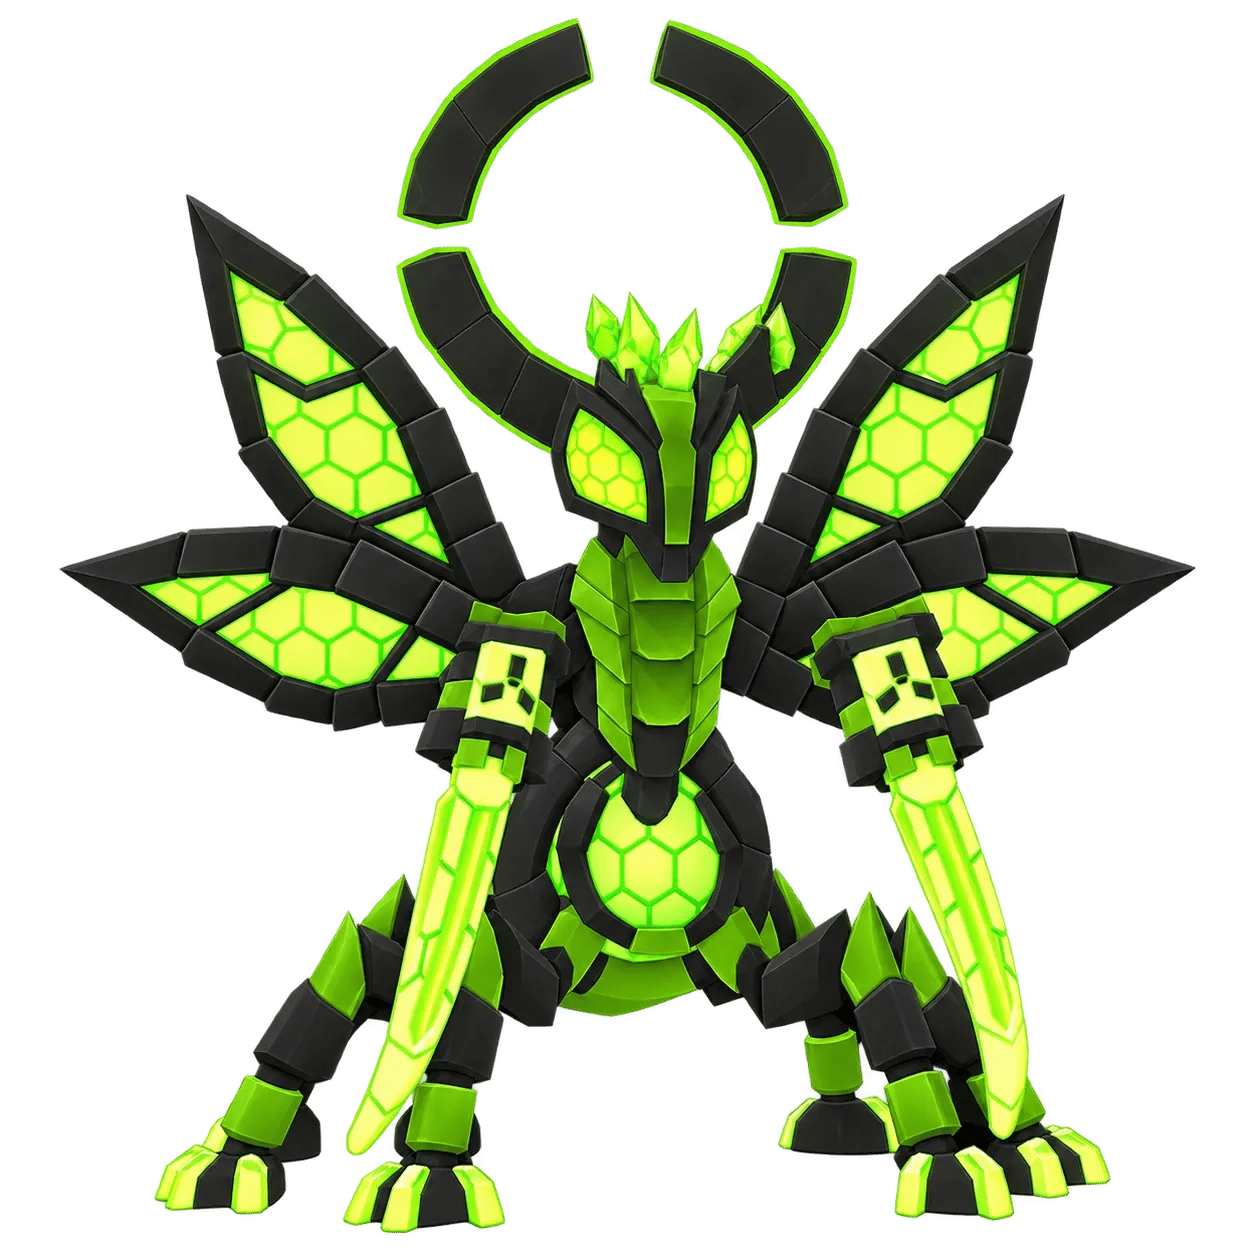 | Nuclear Mantis | Eternal | $1.5B/s | $150B |
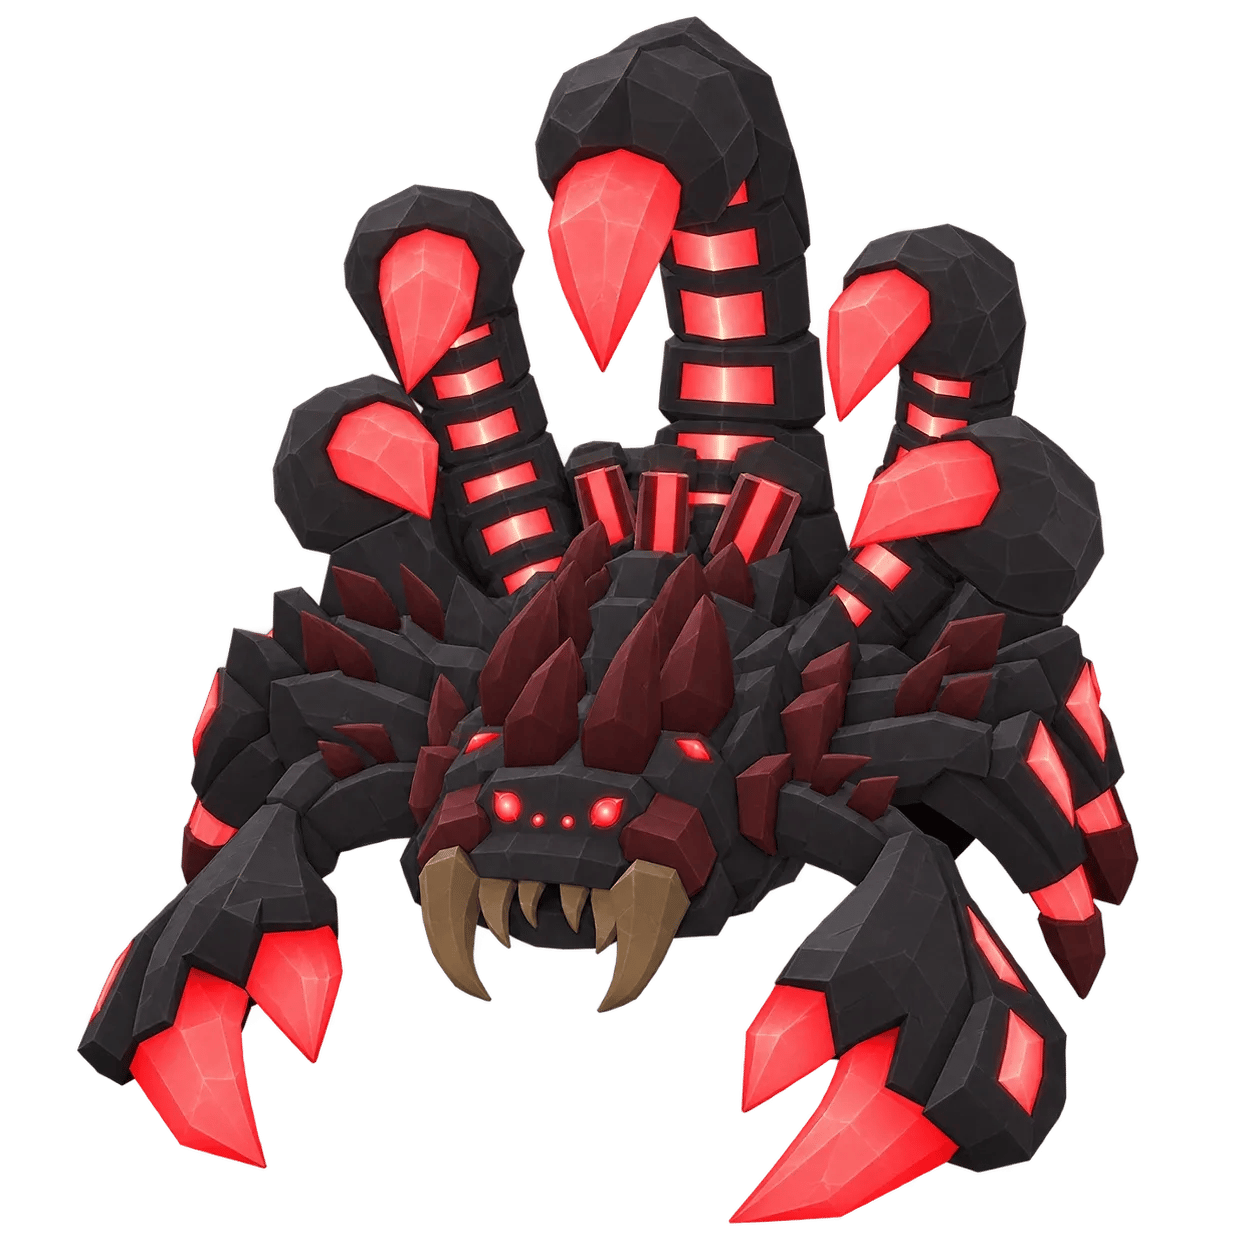 | Dreadstinger | Eternal | $2B/s | $200B |
 | Octophant | Divine | $4B/s | $400B |
Income climbs steadily from the three Mythic pets at the bottom of the table up to Octophant at the top, the lone Divine pet in the set and the clearest long-term target from the Lab.
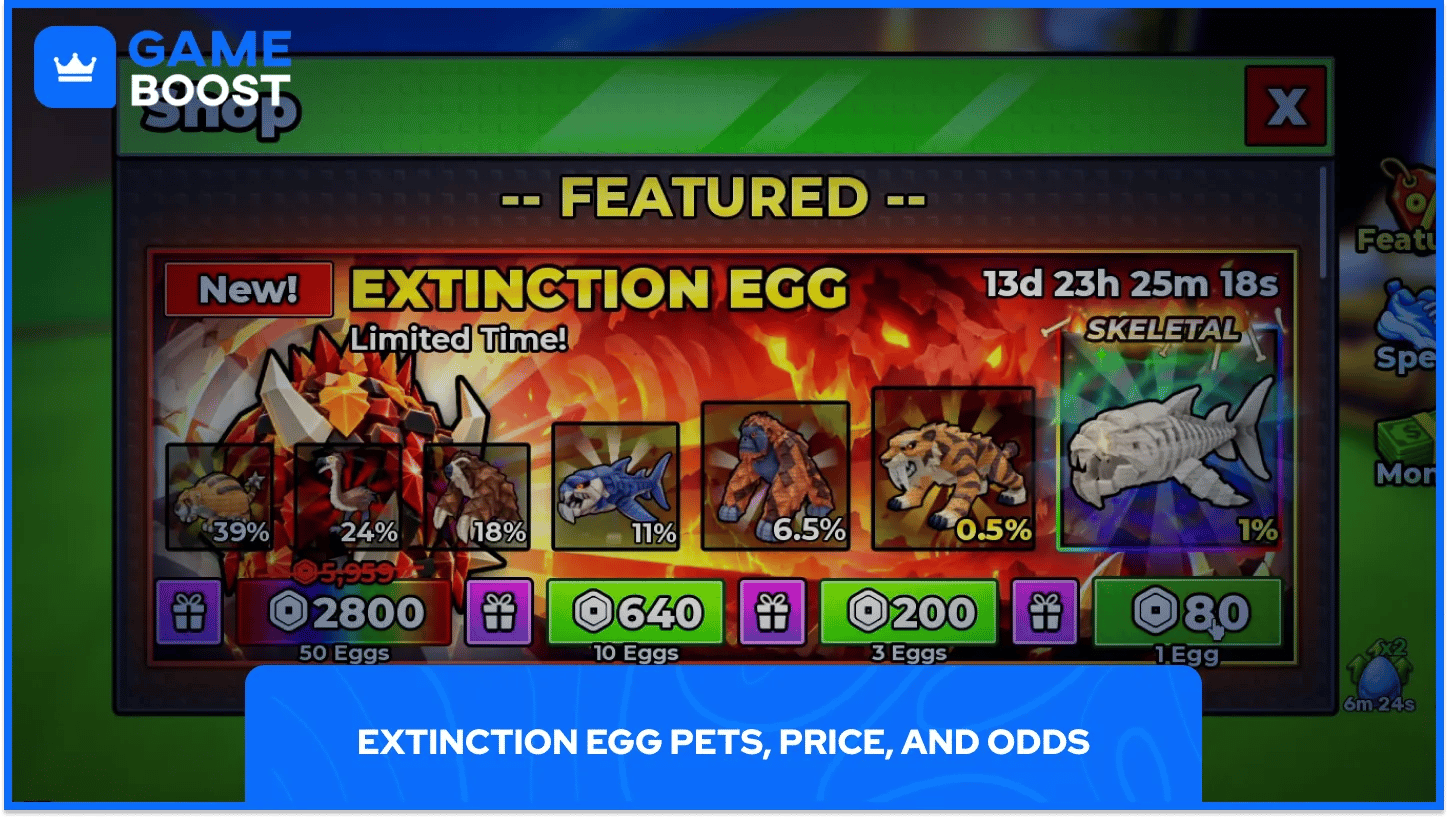
The Extinction Egg sits in the Shop's Featured section, completely separate from the Lab and the boss loop. Purchasing it costs Robux directly, and no amount of Samples or Boss Mastery affects the price or the odds inside.
Pricing scales across several bundle sizes in the Featured panel.
Bundle | Price |
|---|---|
1 Extinction Egg | 99 Robux |
3 Extinction Eggs | 249 Robux |
10 Extinction Eggs | 799 Robux |
50 Extinction Eggs | 3,499 Robux |
Each egg produces one of six base extinct animals, with a separate rare chance at a Skeletal recolor of the same lineup. Rarity climbs across the six-animal pool, and each animal's Skeletal recolor sits above its base version on the income scale.
Pet Image | Pet Name | Base Rarity | Base Income | Skeletal Version | Skeletal Rarity | Skeletal Income |
|---|---|---|---|---|---|---|
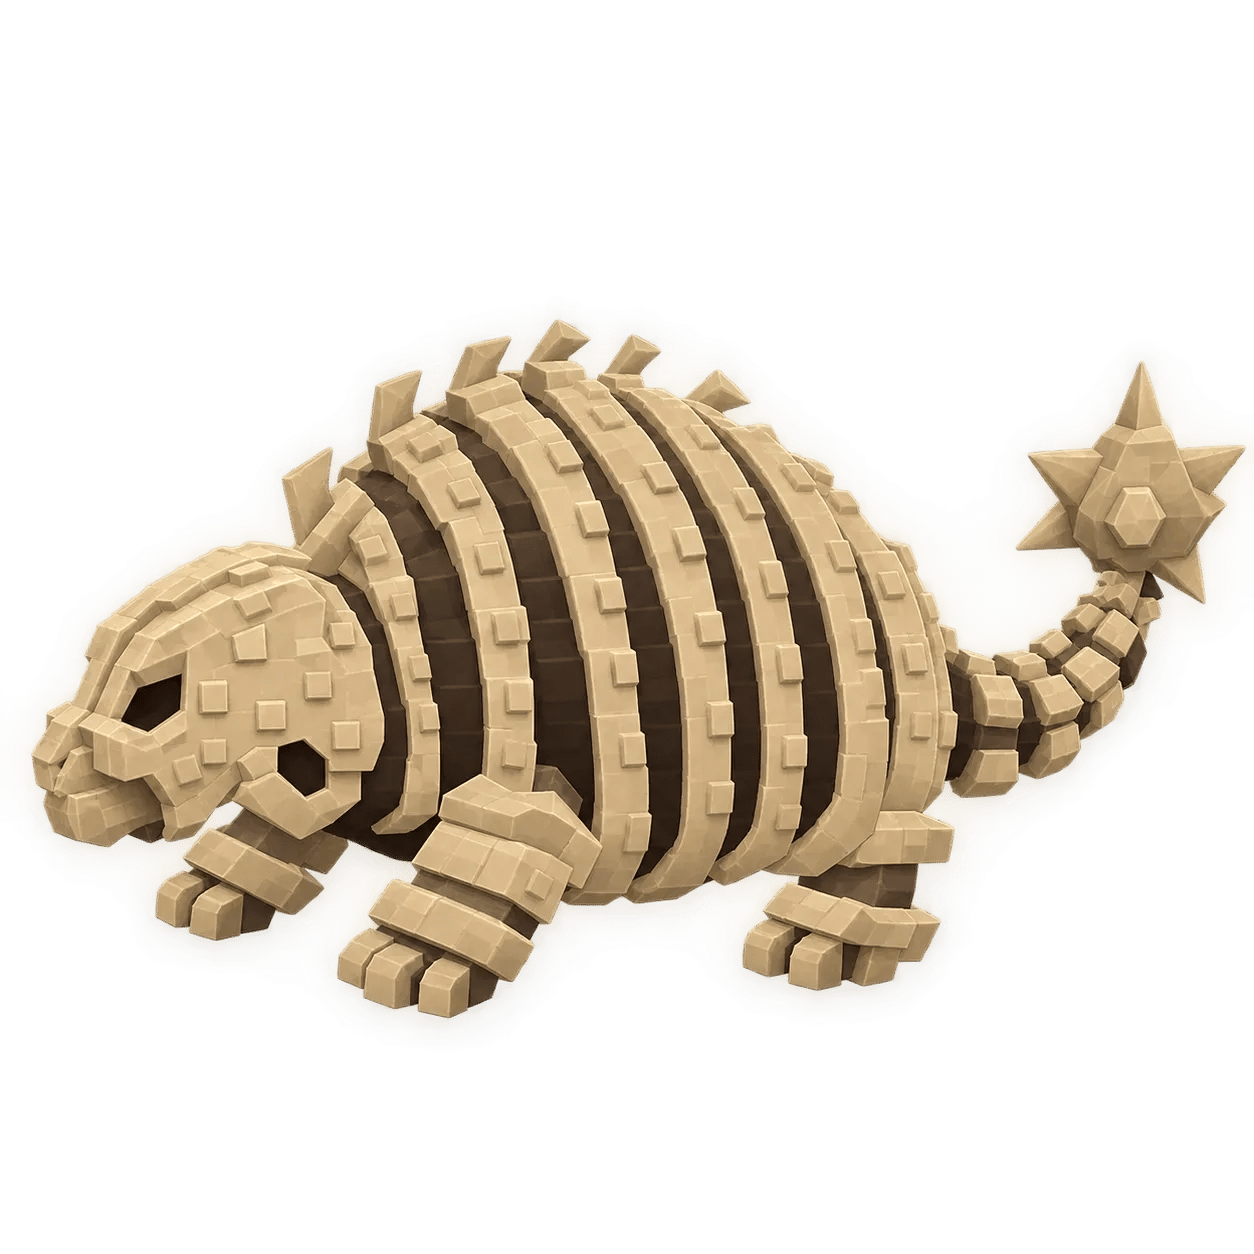 | Glyptodon | Legendary | $2.2M/s | Skeletal Glyptodon | Secret | $55B/s |
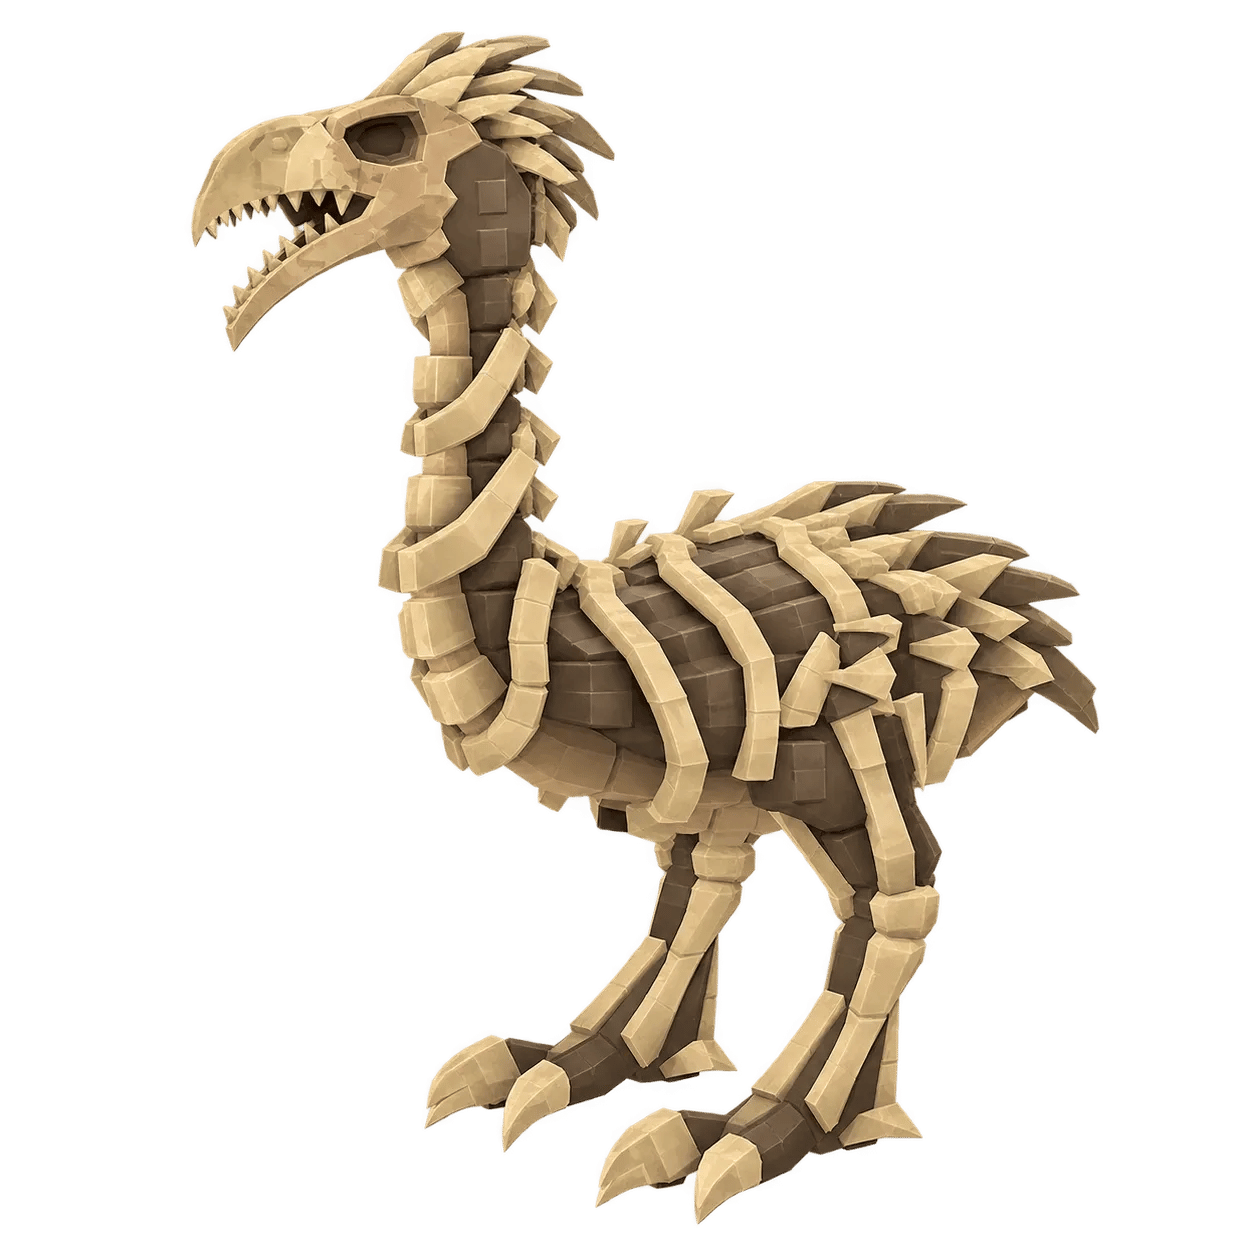 | Terrorbird | Mythic | $11M/s | Skeletal Terrorbird | Secret | $75B/s |
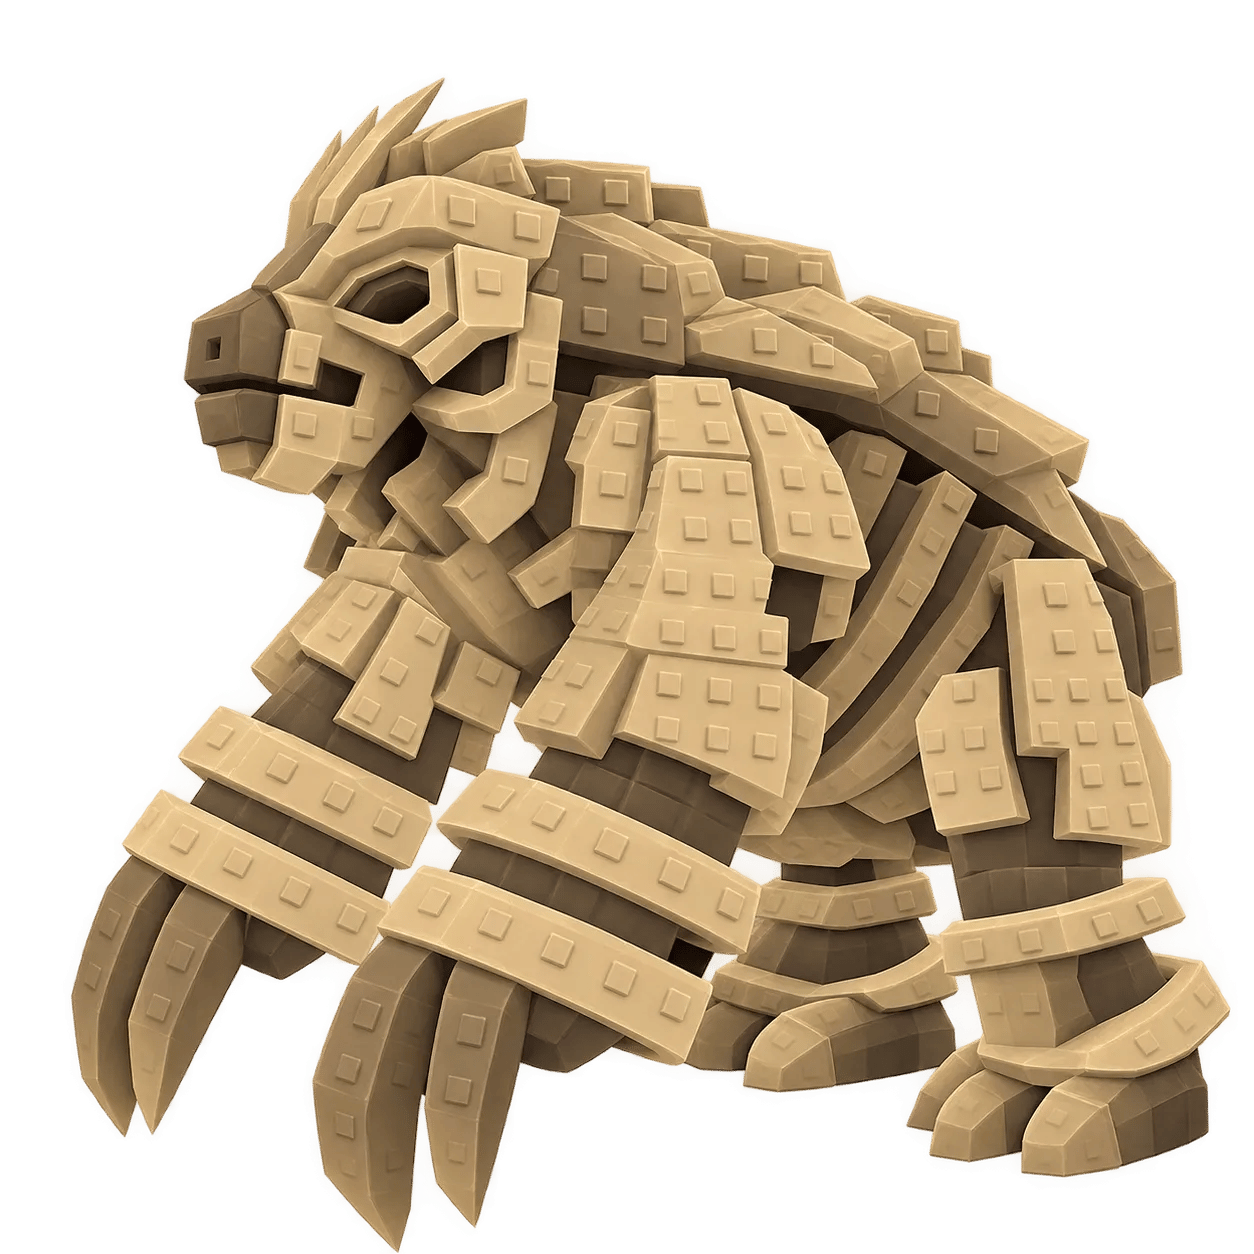 | Giant Sloth | Cosmic | $400M/s | Skeletal Giant Sloth | Secret | $90B/s |
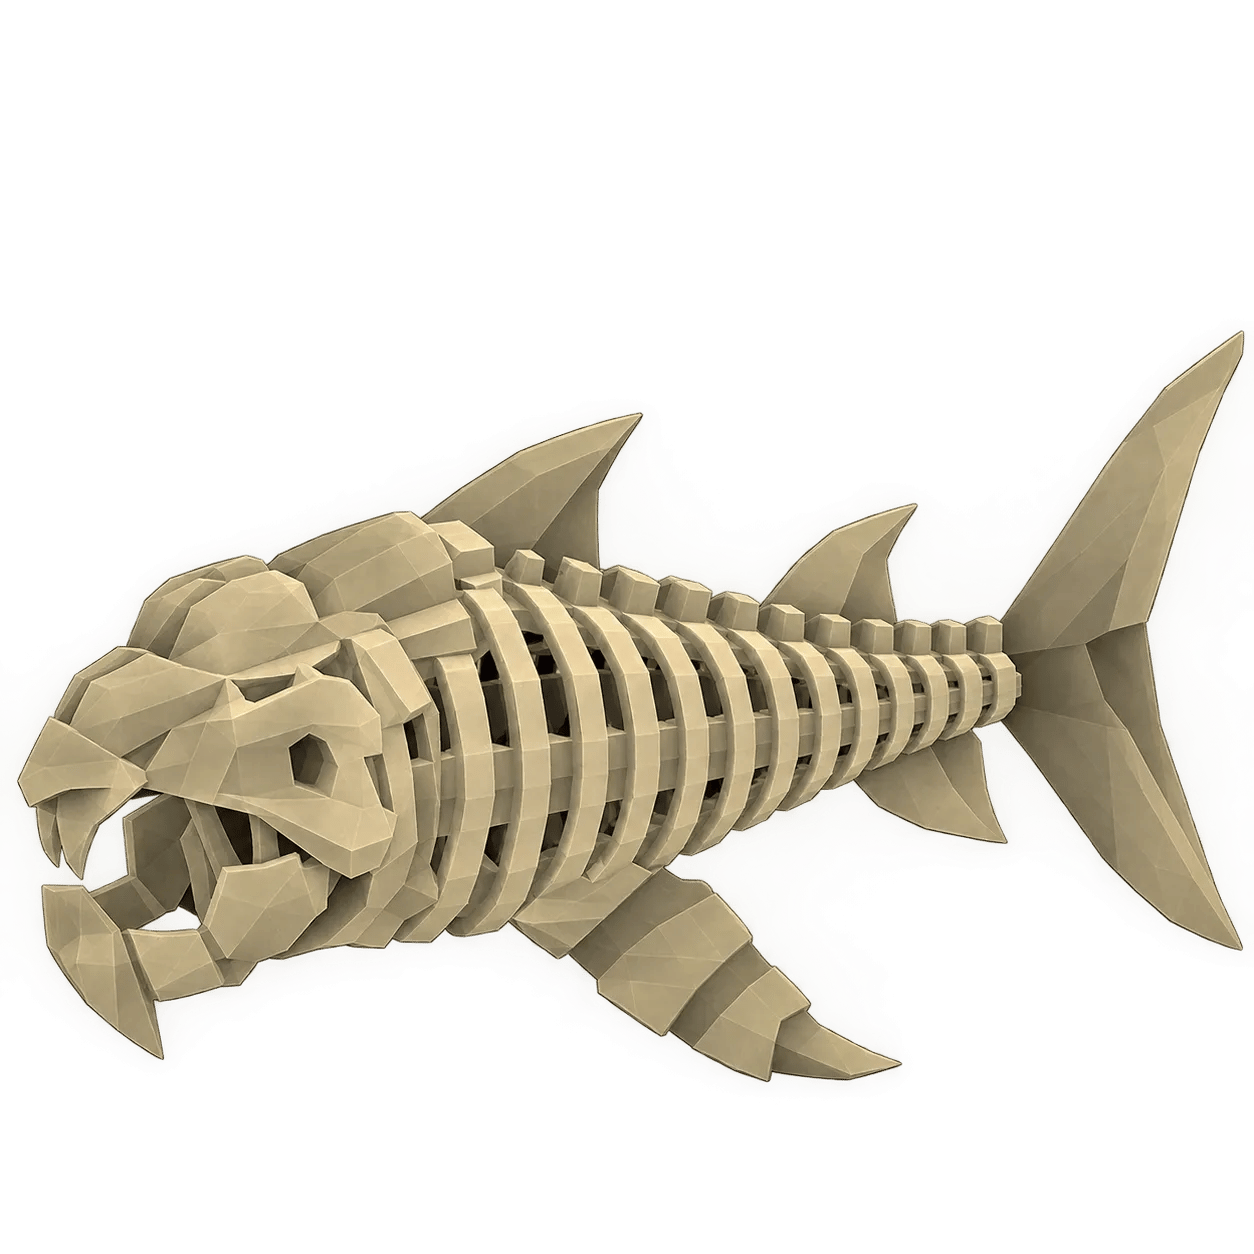 | Dunkleosteus | Secret | $30B/s | Skeletal Dunkleosteus | Eternal | $250B/s |
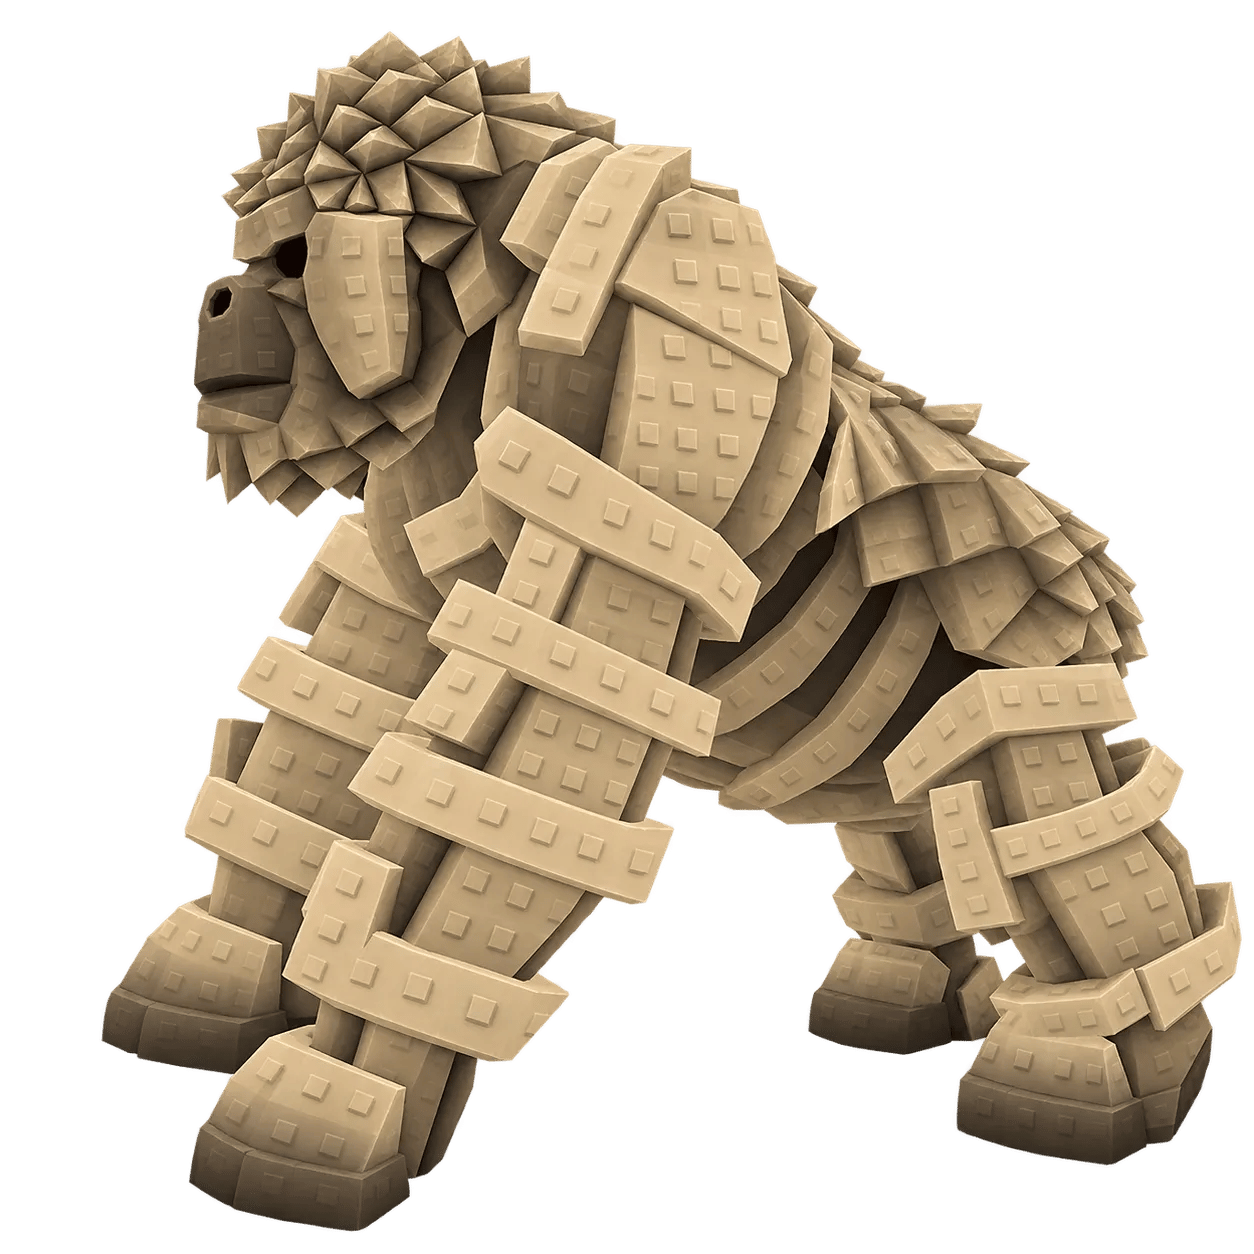 | Gigantus | Eternal | $100B/s | Skeletal Gigantus | Eternal | $400B/s |
 | Sabertooth | Divine | $500B/s | Skeletal Sabertooth | Divine | $900B/s |
Sabertooth sits at the top of the base lineup at Divine rarity, and its Skeletal version pushes income even higher on top of that. Since the purchase sits outside the free progression entirely, treating it as an optional collector pull instead of a requirement keeps the free Lab and boss rewards as the main priority.
A few habits separate groups that clear the fight in one attempt from groups that reset every phase. None of them require rare gear, just better positioning and faster reactions.
The following habits cut down wipes across every phase of the fight.
Bring a strong bat: checking best bats ranked before the portal spawns means less time swinging at drones with a weak starter weapon
Split core duty early: assigning one or two players to lead the core toward a tower keeps the rest of the group free to keep attacking
Move fast between phases: players who increase movement speed reach the mech, the core, and Dr. Scramble's chase phase without falling behind the group
Track the portal timer: watching the clock instead of wandering off avoids missing the next spawn entirely
Most wipes happen from splitting attention across every duty at once, everyone dodging, and no one funneling the core toward a tower. Assigning roles before the portal even opens turns the fight into a formality instead of a scramble.

Dr. Scramble's fight rewards coordination more than raw stats, since the core phase alone can stall a strong group that skips the tower step. Treating the boss loop, the Lab, and the Extinction Egg as three separate systems instead of one combined grind keeps expectations realistic about what free progression can and cannot deliver.
Groups that lock down the tower routine and track their kill count toward the next Boss Mastery tier tend to get more consistent value out of every portal spawn than groups chasing the fight only when Samples run low. Building that habit early pays off across every boss cycle a group runs into afterward.
Cheap Roblox Accounts For Sale
“ Hamza is your average video game enthusiast who’s always looking for his next game to play. Whether he’s diving into a competitive multiplayer match, exploring a massive open world, or getting completely hooked on a new release, gaming has always been one of his favorite ways to spend his time. Over the years, his love for games has grown into a passion for understanding and sharing everything about them. Through his articles, Hamza aims to help gamers discover new games, improve their skills, stay up to date with the latest gaming news, and get the most out of their favorite titles.”