


Valorant Split Map Overview
Ask anyone who's played Split for more than a few hours, and they'll tell you - it's not the friendliest map for attackers. Once you get a feel for how it's laid out and what each area actually demands of you, though, it stops feeling overwhelming and starts to make sense.
This guide breaks down the basics: what the map looks like, where the key areas are, and how to approach both attack and defense without feeling completely lost.
Also Read: All Released Valorant Bundles
Valorant Split Map Summary
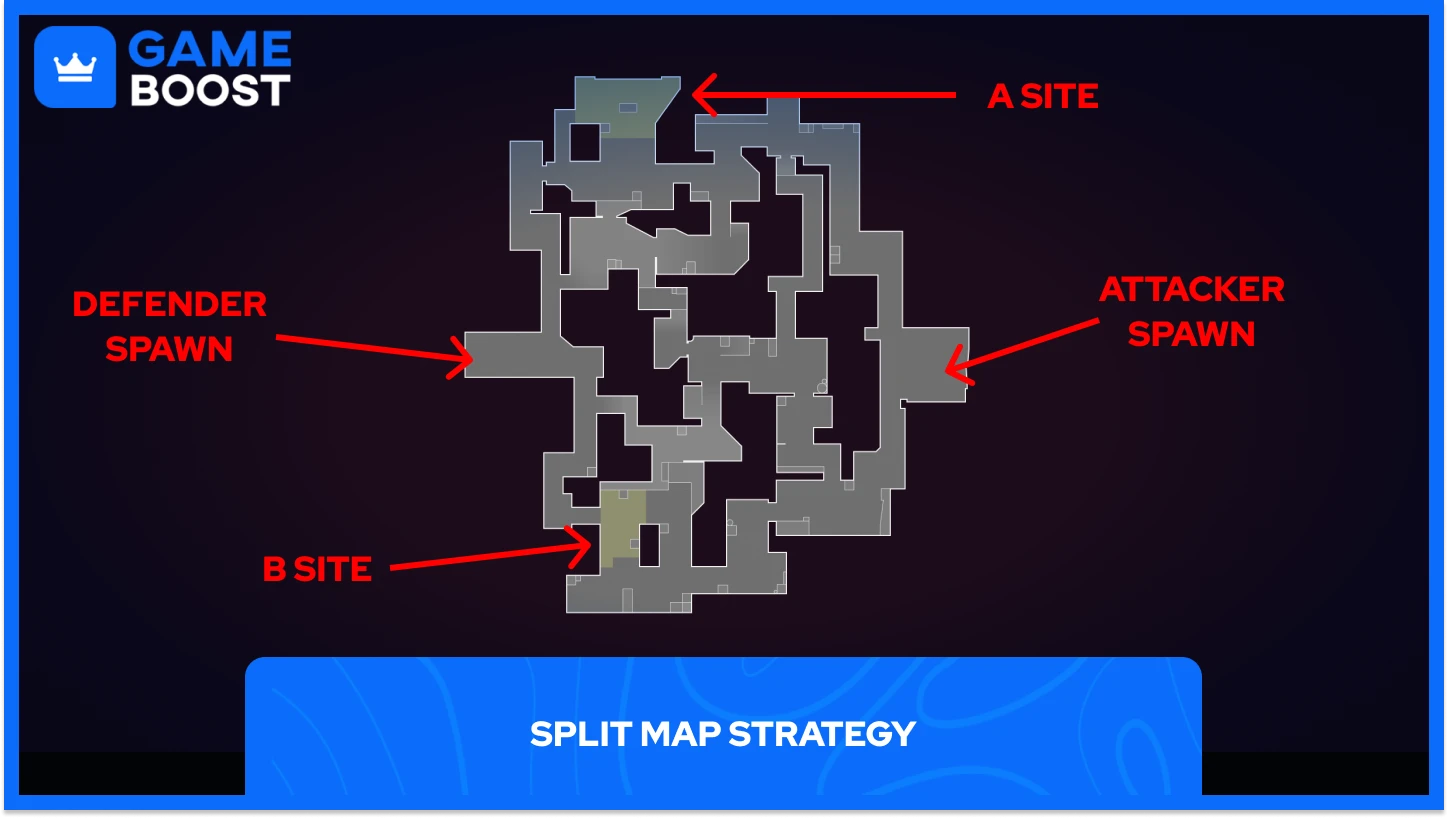
Split is a three-lane map with two bomb sites (A and B) connected through a central area
The map's design gives defenders a natural edge
Mid control is a major factor on Split, not having it can be detrimental
A Heaven and B Heaven are the most powerful positions on their respective sites
Use utility like smoke and flashes extensively
Split Map Basics
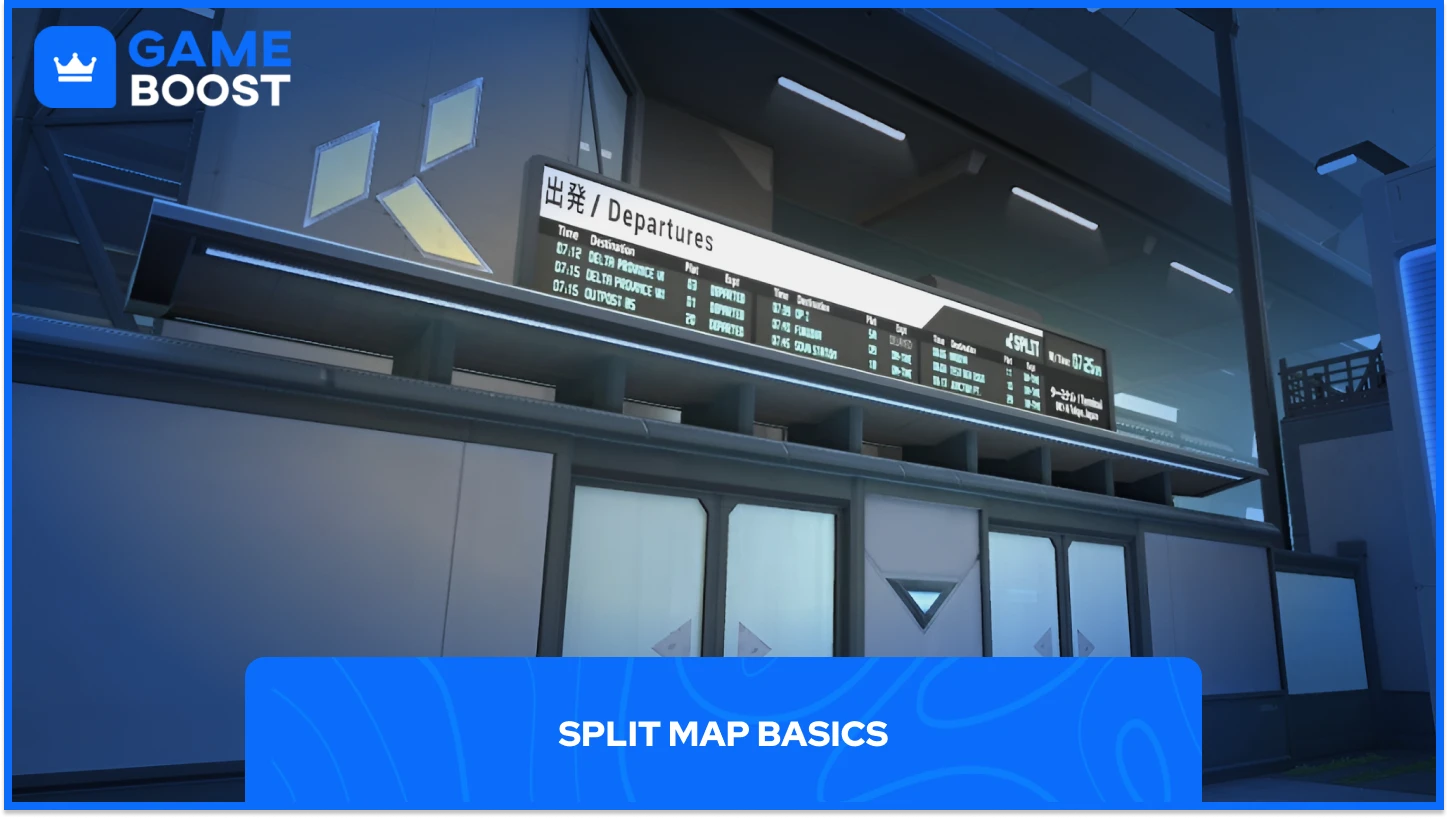
Split is a three-lane map set in a Japan-inspired urban environment. It's one of Valorant's original maps and has been in competitive rotation since the game launched. The two bomb sites - A and B - sit on opposite ends, connected through a central Mid area perfect for flanking.
What makes Split different from other maps is its verticality, with ascenders that let players move between levels quickly. That vertical design is what makes the map feel a bit unforgiving at first - defenders can hold angles from above, and attackers often have to push upward into that disadvantage.
While Split leans in favor of defenders, that doesn't mean attacking is hopeless, but it does mean attackers need to be a bit more coordinated to get things done.
Key Areas
A Site sits on the north side of the map. Attackers get there through A Main, a narrow corridor that feeds into the site. From there, players can go up to A Heaven (also called A Tower) - the high ground platform overlooking the site - or push through A Ramps, the sloped pathway connecting the main entrance to the elevated area. Whoever holds A Heaven has a clear line of sight across most of the site. For attackers, getting a player up into Heaven early can completely change how the round plays out. For defenders, losing Heaven usually means losing the site.
B Site is on the south end of the map, attackers come in through B Main (sometimes just called Garage) - another tight corridor that opens onto the site. Much like the A site, B Heaven will be extremely important for both the defending and attacking sides.
Mid is the connective tissue of the whole map. It links both sites, and whoever takes control of it early gets a serious strategic advantage - they can rotate to either site faster, cut off enemy rotations, and force hostiles into a worse position. It has its own set of key spots: Mail, a small room on the attacker side connecting towards B, Vent, a passage that opens towards A, and Sewer, which connects to A Lobby (near A Main).
Also Read: All Valorant Agents Release Dates in Order
Split Map Strategy
Split punishes players who don't communicate. The callouts - A Main, A Heaven, B Tower, Mail, Vent, Sewer - exist so your team can tell each other where threats are coming from without describing them from scratch every time. You don't need every callout memorized on day one, but the major ones are worth learning early.
In addition, no matter if you’re attacking or defending, remember that noise can make a significant difference in matches. On Split, this is made even clearer by the ascender sound cues. Keep your ears open and be mindful of anything that could give your position away.
Attack
The biggest challenge on attack is the map's tight entry points. Every site approach funnels through chokepoints, which means defenders can hold a lot of ground with very little. Smokes and flashes are strongly recommended, as well as splitting your attack through Mid.
For A Site, send most players through A Main while one or two try to take Mid and A Heaven. If you can get someone up into Heaven before the defenders lock it down, you create a crossfire that's hard to play against. The goal is to isolate whoever's holding the site and push before backup arrives.
For B Site, pressure through B Main while someone in Mid takes control of the B Tower. Getting a player up to B Heaven this way puts defenders in a tough spot - they can't hold Main and Heaven at the same time with just one or two people, and if the attackers are holding Mid they can’t rotate fast either.
Defense
Defending on Split is a bit more intuitive for new players, mostly because the map's structure gives you natural advantages. The narrow entry points mean you can set up, wait, and let attackers come to you. Mid control matters just as much on defense: holding Mid stops attackers from getting free rotations, and a well-placed smoke can buy your team serious time to figure out where the attack is coming.
On A Site, at least one player should hold Heaven; it's the most powerful defensive position on that side of the map. The others can hold from default or behind the boxes on site. On the B Site, one player in Heaven and one watching Main covers most of the angles attackers need to push through.
Split is small enough that rotations are fast - but if you leave a site completely open before you're sure where the attackers are going, you're still setting yourself up for failure.
Also Read: Every Valorant Act and Episode Start & End Date
FAQs About the Valorant Split Map
Q: What is Split in Valorant?
A: Split is one of Valorant's original maps, set in a Japan-inspired urban environment. It's a three-lane map with two bomb sites separated by a contested Mid area, known for its vertical design and tight chokepoints.
Q: Was Split removed from Valorant?
A: Split was removed from the competitive map pool in 2022, but it has since returned to the active rotation.
Q: Why does Split favor defenders?
A: The map's narrow entry points and vertical layout make it hard for attackers to push onto sites without losing ground to players holding from above. Defenders can cover a lot of angles with fewer players, which naturally tilts the balance in their favor.
Q: How important is Mid on Split?
A: Controlling Mid gives your team faster rotation to both sites and cuts off the enemy's ability to do the same. It's the part of the map that new players most often overlook - and most often get punished for ignoring.
Conclusion
Split rewards patience more than aggression. The map's tight corridors and vertical design mean that rushing in without a plan - or without utility - usually ends badly. Get comfortable with the key areas, learn the major callouts, and make Mid a habit to check every round. Once you have everything down the map becomes much more enjoyable to play.
Valorant & GameBoost Products
Valorant Accounts For Sale
Buy Valorant Points
Valorant Boosting Service
View all GameBoost Accounts
View all GameBoost Boosting Services
View all GameBoost Currencies
View all GameBoost Game Keys
View all GameBoost Gift Cards
View all GameBoost Items
View all GameBoost Top Ups
Counter-Strike 2 Skins
“ Domagoj is a long-time gamer, skilled in a wide range of genres. Through a sharp eye for structure and a focus on delivering real value to readers, he turns complex topics into clear, compelling articles.”

