



•Hamza Rashid• 10 min read
Roblox
All pets in Throw Food for Animals total 148, and every one of them comes from a specific area, belongs to a rarity tier, and earns a fixed amount of cash each second. The throwing lane holds 140 pets across 17 areas, and the remaining 8 come only from eggs and the Robux shop in Roblox.
Rarity runs through 12 tiers, from Common to Supreme, and income grows with every area along the lane. The first pets in Forest earn a few dollars per second, and the deepest pets earn amounts so large that the game shortens them with letter suffixes. Below is the full list of pets with their area, rarity, income, and best food, along with tips for catching rarer pets faster.
148 pets exist in total, split between 140 catchable animals across 17 areas and 8 egg and shop animals
Every area holds 8 ranked pets, except Nuclear Wasteland with 12, and the top ranks only show up when food lands in the back third of an area
Rarity runs through 12 tiers, from Common up to Supreme, a tier reserved for the two deepest pets on the lane
Waste Harvester tops the catchable list at $410Dd per second and comes from the far end of Nuclear Wasteland
Egg and shop pets carry no fixed income and pay a multiple of the best animal on the plot, with the Pumpkin Monster at 9x sitting on top
The top-ranked pet in an area usually earns around 25 times the rank 1 pet, so depth inside an area matters as much as reaching new ones
Throw distance, area-matched food, and luck items decide how fast rarer pets show up
Every pet in Throw Food for Animals belongs to one of 17 areas laid out along a lane close to 8,000 studs long. Food lands somewhere on that lane, and the area under the landing spot decides which animals can come for it.
Forest starts just 5 studs out, and Nuclear Wasteland sits beyond 6,000 studs. Each area ranks its own animals from the weakest earner to the strongest, and those ranks drive the whole catch system.
The catch system follows a fixed set of rules on every single throw.
The landing spot sets the rank ceiling: Every area splits into a front, middle, and back third. Food in the front third only pulls ranks 1 to 4, the middle third reaches rank 6, and only the back third can pull the top-ranked pet.
Food tilts the odds inside an area: Foods made for a specific area push results toward its higher ranks, and cheaper foods drag results toward the bottom. The full food list covers prices and rarities for every option in the shop.
Throw level decides which areas open up: Each area needs a set throw level to reach with a perfect throw, so training on pull-up bars directly widens the pool of available pets.
The thirds rule explains why a player can farm Ocean for hours and never see a Seal. Without a throw that reaches the back of the area, the top ranks never enter the roll at all, no matter how much premium food goes out.
Higher ranks also pay far more than lower ones in the same area, with the top pet usually earning roughly 25 times the rank 1 pet. Reaching the back third of an area matters as much as reaching a new area in the first place.
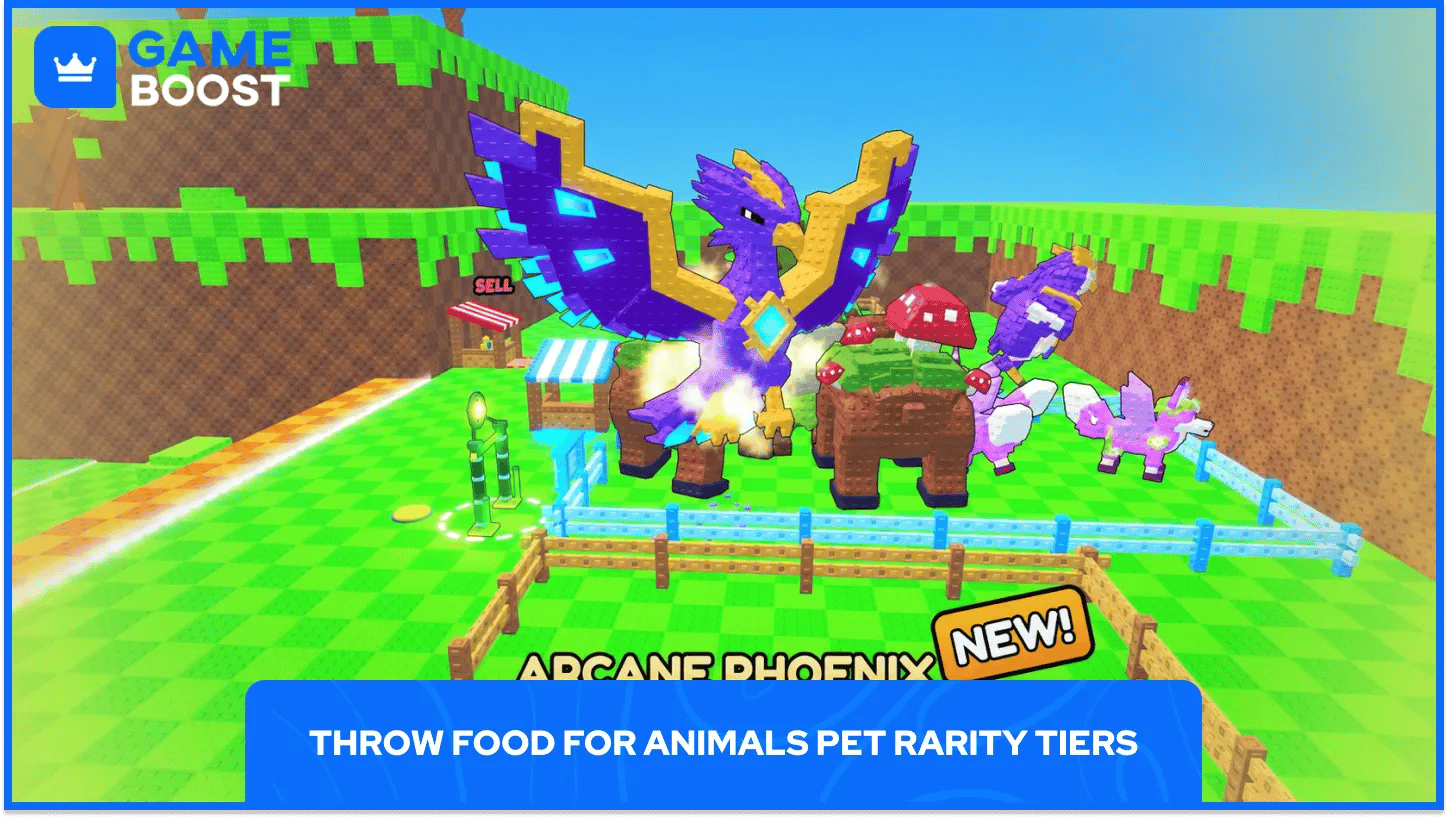
Rarity in Throw Food for Animals runs across 12 tiers, and each tier spans a band of neighboring areas instead of staying in one place. Lower tiers fade out as the lane goes deeper, and higher tiers take over the rank slots.
Each tier, the first area that carries it, and the last area where it still appears sit below.
Rarity | First Area | Last Area |
|---|---|---|
Common | Forest | Desert |
Uncommon | Forest | Mountains |
Rare | Forest | Winter |
Epic | Forest | Deep Waters |
Legendary | Jungle | Ancient Ruins |
Mythic | Mountains | Shadow Realm |
Secret | Winter | Phantom Harbor |
Divine | Deep Waters | Nuclear Wasteland |
Celestial | Ancient Ruins | Nuclear Wasteland |
Eternal | Shadow Realm | Nuclear Wasteland |
Cosmic | Phantom Harbor | Nuclear Wasteland |
Supreme | Nuclear Wasteland | Nuclear Wasteland |
Rarity alone never sets income in Throw Food for Animals. A Divine Plesiosaur from Deep Waters earns far less than a Mythic Black Cat from Shadow Realm, since depth multiplies income much faster than the rarity label does.
The highest tier in any area always holds its final rank slots. Chasing the best rarity in a given area ties straight back to landing deep throws in the back third.
Pets in Throw Food for Animals unlock area by area, so the throw level decides which part of the roster a player can even roll for. Every area needs a set throw level before a perfect throw can reach it, and the requirement grows much faster than the distance itself.
Each area, its distance from the start of the lane, the throw level it needs, and its pet count sit below.
Area | Distance From Start | Throw Level Needed | Pets |
|---|---|---|---|
Forest | 5 studs | 1 | 8 |
Savanna | 173 studs | 28 | 8 |
Desert | 341 studs | 62 | 8 |
Jungle | 509 studs | 96 | 8 |
Ocean | 677 studs | 129 | 8 |
Mountains | 845 studs | 163 | 8 |
Taiga | 1K studs | 201 | 8 |
Winter | 1.3K studs | 244 | 8 |
Prehistoric Forest | 1.5K studs | 292 | 8 |
Deep Waters | 1.8K studs | 345 | 8 |
Hell | 2K studs | 403 | 8 |
Ancient Ruins | 2.4K studs | 470 | 8 |
Mythical Paradise | 2.8K studs | 547 | 8 |
Shadow Realm | 3.2K studs | 643 | 8 |
Harvest Fields | 4.1K studs | 811 | 8 |
Phantom Harbor | 5.2K studs | 1K | 8 |
Nuclear Wasteland | 6.2K studs | 1.2K | 12 |
Early areas sit close together, and a few training sessions carry a player from Forest into Jungle. Past Ocean, each new area asks for 34 to 43 extra throw levels, and the late stretch pushes that gap past 50 levels per area, so pull-up bar training drives most progress from the middle of the lane onward.
Late areas also chain into each other through food. The food that targets the back of one area usually covers the front ranks of a deeper one, so holding onto spare food after clearing an area often gives a head start on the next.
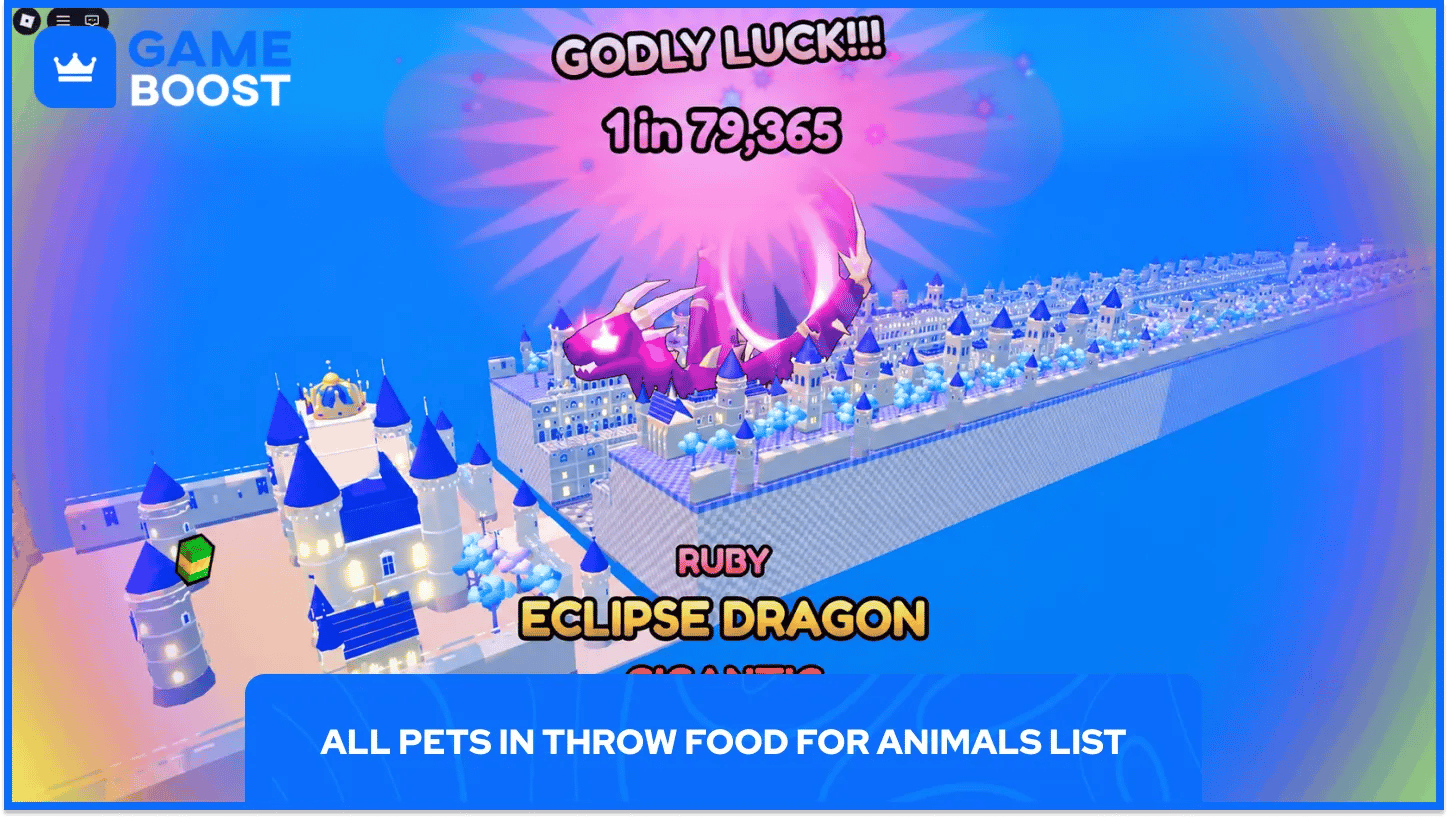
The complete roster runs from the Snail in Forest all the way to the Waste Harvester at the far end of the lane, with egg and shop pets closing out the list. Pets appear in lane order, so every row sits deeper and earns more than the one above it until the egg and shop section starts.
Every pet in the game with its area, rarity, cash per second, and best food sits below.
Image | Pet | Area | Rarity | Cash per Second | Best Food |
|---|---|---|---|---|---|
 | Snail | Forest | Common | $1 | Carrot |
 | Frog | Forest | Common | $2 | Carrot |
 | Bunny | Forest | Common | $3 | Apple |
 | Owl | Forest | Uncommon | $5 | Banana |
 | Kookaburra | Forest | Uncommon | $8 | Carrot |
 | Badger | Forest | Uncommon | $12 | Banana |
 | Cow | Forest | Rare | $18 | Apple |
 | Pony | Forest | Epic | $25 | Banana |
 | Ostrich | Savanna | Common | $40 | Carrot |
 | Quokka | Savanna | Common | $80 | Carrot |
 | Giraffe | Savanna | Uncommon | $120 | Carrot |
 | Hyena | Savanna | Uncommon | $200 | Orange |
 | Zebra | Savanna | Uncommon | $320 | Banana |
 | Aardvark | Savanna | Rare | $480 | Orange |
 | Elephant | Savanna | Rare | $720 | Toast |
 | Lion | Savanna | Epic | $1K | Orange |
 | Hamster | Desert | Common | $1.5K | Apple |
 | Vulture | Desert | Uncommon | $3K | Apple |
 | Emu | Desert | Uncommon | $4.5K | Apple |
 | Snake | Desert | Uncommon | $7.5K | Cheese |
 | Dingo | Desert | Rare | $12K | Orange |
 | Jackal | Desert | Rare | $18K | Cheese |
 | Horse | Desert | Epic | $27K | Pear |
 | Kangaroo | Desert | Epic | $38K | Cheese |
 | Lizard | Jungle | Uncommon | $60K | Toast |
 | Bat | Jungle | Uncommon | $120K | Toast |
 | Parrot | Jungle | Uncommon | $180K | Toast |
 | Koala | Jungle | Rare | $300K | Water Melon |
 | Cobra | Jungle | Rare | $480K | Cheese |
 | Crocodile | Jungle | Epic | $720K | Water Melon |
 | Tiger | Jungle | Epic | $1.1M | Bread Loaf |
 | Gorilla | Jungle | Legendary | $1.5M | Water Melon |
 | Crab | Ocean | Uncommon | $2.5M | Pear |
 | Turtle | Ocean | Uncommon | $5M | Pear |
 | Jellyfish | Ocean | Rare | $7.5M | Pear |
 | Goblin Shark | Ocean | Rare | $12M | Chocolate |
 | Seahorse | Ocean | Epic | $20M | Water Melon |
 | Mantis Shrimp | Ocean | Epic | $30M | Chocolate |
 | Leafy Sea Dragon | Ocean | Legendary | $45M | Croissant |
 | Seal | Ocean | Legendary | $62M | Chocolate |
 | Llama | Mountains | Uncommon | $100M | Bread Loaf |
 | Guinea Pig | Mountains | Rare | $200M | Bread Loaf |
 | Roc | Mountains | Rare | $300M | Bread Loaf |
 | Capybara | Mountains | Epic | $500M | Bacon |
 | Thunderbird | Mountains | Epic | $800M | Chocolate |
 | Bull | Mountains | Legendary | $1.2B | Bacon |
 | Yak | Mountains | Legendary | $1.8B | Mushroom |
 | Griffin | Mountains | Mythic | $2.5B | Bacon |
 | Honey Badger | Taiga | Rare | $4B | Croissant |
 | Cockatrice | Taiga | Rare | $8B | Croissant |
 | Caracal | Taiga | Epic | $12B | Croissant |
 | Wolf | Taiga | Epic | $20B | Shank |
 | Jackalope | Taiga | Legendary | $32B | Bacon |
 | Bear | Taiga | Legendary | $48B | Shank |
 | Kitsune | Taiga | Mythic | $72B | Burger |
 | Fenrir | Taiga | Mythic | $100B | Shank |
 | Husky | Winter | Rare | $150B | Mushroom |
 | Goat | Winter | Epic | $300B | Mushroom |
 | Tanuki | Winter | Epic | $450B | Mushroom |
 | Caladrius | Winter | Legendary | $750B | Steak |
 | Polar Bear | Winter | Legendary | $1.2T | Shank |
 | Mammoth | Winter | Mythic | $1.8T | Steak |
 | Lindworm | Winter | Mythic | $2.7T | Fillet |
 | Sabertooth Tiger | Winter | Secret | $3.8T | Steak |
 | Pterodactyl | Prehistoric Forest | Epic | $6T | Burger |
 | Triceratops | Prehistoric Forest | Epic | $12T | Burger |
 | Dimetrodon | Prehistoric Forest | Legendary | $18T | Burger |
 | Gallimimus | Prehistoric Forest | Legendary | $30T | Golden Apple |
 | Brachiosaurus | Prehistoric Forest | Mythic | $48T | Steak |
 | Spinosaurus | Prehistoric Forest | Mythic | $72T | Golden Apple |
 | T-Rex | Prehistoric Forest | Secret | $110T | Royal Steak |
 | Velociraptor | Prehistoric Forest | Secret | $150T | Golden Apple |
 | Anglerfish | Deep Waters | Epic | $250T | Fillet |
 | Swordfish | Deep Waters | Legendary | $500T | Fillet |
 | Shark | Deep Waters | Legendary | $750T | Fillet |
 | Whale | Deep Waters | Mythic | $1.2Qa | Ember Bacon |
 | Megalodon | Deep Waters | Mythic | $2Qa | Golden Apple |
 | Mosasaurus | Deep Waters | Secret | $3Qa | Ember Bacon |
 | Kraken | Deep Waters | Secret | $4.5Qa | Crystal Melon |
 | Plesiosaur | Deep Waters | Divine | $6.2Qa | Ember Bacon |
 | Mothman | Hell | Legendary | $10Qa | Royal Steak |
 | Bunyip | Hell | Legendary | $20Qa | Royal Steak |
 | Gargoyle Bat | Hell | Mythic | $30Qa | Royal Steak |
 | Winged Imp | Hell | Mythic | $50Qa | Elder Strawberry |
 | Manticore | Hell | Secret | $80Qa | Ember Bacon |
 | Chupacabra | Hell | Secret | $120Qa | Elder Strawberry |
 | Dullahan | Hell | Divine | $180Qa | Lava Steak |
 | Cerberus | Hell | Divine | $250Qa | Elder Strawberry |
 | Triple Cobra | Ancient Ruins | Legendary | $400Qa | Crystal Melon |
 | Leviathan | Ancient Ruins | Mythic | $800Qa | Crystal Melon |
 | Microraptor | Ancient Ruins | Mythic | $1.2Qi | Crystal Melon |
 | Archaeopteryx | Ancient Ruins | Secret | $2Qi | Star Jelly |
 | Qilin | Ancient Ruins | Secret | $3.2Qi | Elder Strawberry |
 | Sphinx | Ancient Ruins | Divine | $4.8Qi | Star Jelly |
 | Minotaur | Ancient Ruins | Divine | $7.2Qi | Phoenix Fillet |
 | Hydra | Ancient Ruins | Celestial | $10Qi | Star Jelly |
 | Raiju | Mythical Paradise | Mythic | $15Qi | Elder Strawberry |
 | Unicorn | Mythical Paradise | Mythic | $30Qi | Dragon's Apple |
 | Pegasus | Mythical Paradise | Secret | $45Qi | Elder Strawberry |
 | Simurgh | Mythical Paradise | Secret | $75Qi | Sundae Tower |
 | Amphiptere | Mythical Paradise | Divine | $120Qi | Starlight Donut |
 | Wyvern | Mythical Paradise | Divine | $180Qi | Sundae Tower |
 | Dragon | Mythical Paradise | Celestial | $270Qi | Glowshroom |
 | Phoenix | Mythical Paradise | Celestial | $380Qi | Sundae Tower |
 | Black Cat | Shadow Realm | Mythic | $250Sx | Dragon's Apple |
 | Cursed Raven | Shadow Realm | Secret | $500Sx | Dragon's Apple |
 | Cursed Owl | Shadow Realm | Secret | $1Sp | Dragon's Apple |
 | Shadow Wolf | Shadow Realm | Divine | $2Sp | Caramel Apple |
 | Phantom Dog | Shadow Realm | Divine | $4Sp | Golden Corn |
 | Hellhound | Shadow Realm | Celestial | $8Sp | Caramel Apple |
 | Shadow Demon | Shadow Realm | Celestial | $16Sp | Caramel Apple |
 | Nightmare | Shadow Realm | Eternal | $32Sp | Caramel Apple |
 | Raven | Harvest Fields | Secret | $25Oc | Golden Corn |
 | Zombie Crow | Harvest Fields | Secret | $50Oc | Golden Corn |
 | Scarecrow | Harvest Fields | Divine | $100Oc | Golden Corn |
 | Witch's Cat | Harvest Fields | Divine | $200Oc | Golden Pumpkin |
 | Jack-o'-Lantern | Harvest Fields | Celestial | $400Oc | Candy Corn |
 | Witch | Harvest Fields | Celestial | $800Oc | Golden Pumpkin |
 | Pumpkin Golem | Harvest Fields | Eternal | $1.6No | Hot Cider |
 | Headless Horseman | Harvest Fields | Eternal | $3.2No | Golden Pumpkin |
 | Ghost | Phantom Harbor | Secret | $2Dc | Candy Corn |
 | Poltergeist | Phantom Harbor | Divine | $4Dc | Candy Corn |
 | Wraith | Phantom Harbor | Divine | $8Dc | Candy Corn |
 | Specter | Phantom Harbor | Celestial | $16Dc | Phantom Lobster |
 | Banshee | Phantom Harbor | Celestial | $32Dc | Ghost Chowder |
 | Ghostly Horse | Phantom Harbor | Eternal | $64Dc | Phantom Lobster |
 | Lich | Phantom Harbor | Eternal | $128Dc | Phantom Lobster |
 | Ghost Pirate | Phantom Harbor | Cosmic | $256Dc | Phantom Lobster |
 | Reactor Hound | Nuclear Wasteland | Divine | $200Ud | Ghost Chowder |
 | Uranium Stag | Nuclear Wasteland | Divine | $400Ud | Ghost Chowder |
 | Barrel Brute | Nuclear Wasteland | Celestial | $800Ud | Toxic Donut |
 | Sludge Mimic | Nuclear Wasteland | Celestial | $1.6Dd | Ghost Chowder |
 | Reactor Golem | Nuclear Wasteland | Celestial | $3.2Dd | Toxic Donut |
 | Siren Spire | Nuclear Wasteland | Eternal | $6.4Dd | Toxic Donut |
 | Glassback Colossus | Nuclear Wasteland | Eternal | $12.8Dd | Mutant Melon |
 | Isotope Angel | Nuclear Wasteland | Eternal | $25.6Dd | Mutant Melon |
 | Ferro Wyrm | Nuclear Wasteland | Cosmic | $51.2Dd | Mutant Melon |
 | Rad Scarecrow | Nuclear Wasteland | Cosmic | $102Dd | Atomic Pizza |
 | Meltdown Idol | Nuclear Wasteland | Supreme | $205Dd | Uranium Cake |
 | Waste Harvester | Nuclear Wasteland | Supreme | $410Dd | Uranium Cake |
 | Pumpkin Monster | Eggs and Shop | Divine | 9x best animal | None |
 | Reaper | Eggs and Shop | Celestial | 5x best animal | None |
 | Giant Squid | Eggs and Shop | Celestial | 3x best animal | None |
 | Reaper Steed | Eggs and Shop | Mythic | 3x best animal | None |
 | Demon | Eggs and Shop | Legendary | 2x best animal | None |
 | Woolly Mammoth | Eggs and Shop | Mythic | 1.5x best animal | None |
 | Skeleton Horse | Eggs and Shop | Epic | 1.5x best animal | None |
 | Skeleton | Eggs and Shop | Rare | 1x best animal | None |
Income values climb through a long suffix ladder, starting with K, M, B, and T and moving through Qa, Qi, Sx, Sp, Oc, No, Dc, Ud, and Dd. Each step up that ladder equals a thousand times the step before it, which explains why a single deep catch can replace an entire plot.
Back-third catches dwarf front-third ones in later areas. A full plot of ten Mothman catches still earns less than half of one Cerberus, so one deep Hell throw can reshape a whole lineup.
Top-rank odds also drop hard near the end of the lane. The best food for Nightmare and Ghost Pirate lands each one only about 22.5 percent of the time on a first throw, against roughly 78.6 percent for the top pet in most earlier areas, and Waste Harvester sits even lower at just over a fifth of the time.
Eight pets sit outside the lane entirely and come only from eggs and the Robux shop. Instead of a fixed income, each one earns a multiple of the best animal on the plot, so its value keeps climbing as the plot improves.
A multiplier pet picked up early keeps pace with every upgrade that follows, so its value grows without any extra spending. Catching a stronger lane pet lifts every multiplier pet on the plot at the same moment.
Only the Pumpkin Monster, Giant Squid, and Woolly Mammoth sell directly in the shop, and the rest come from egg hatches with fixed odds. The top egg hatch lands at just 1 percent, so a direct purchase costs far less than rolling eggs for the same pet.
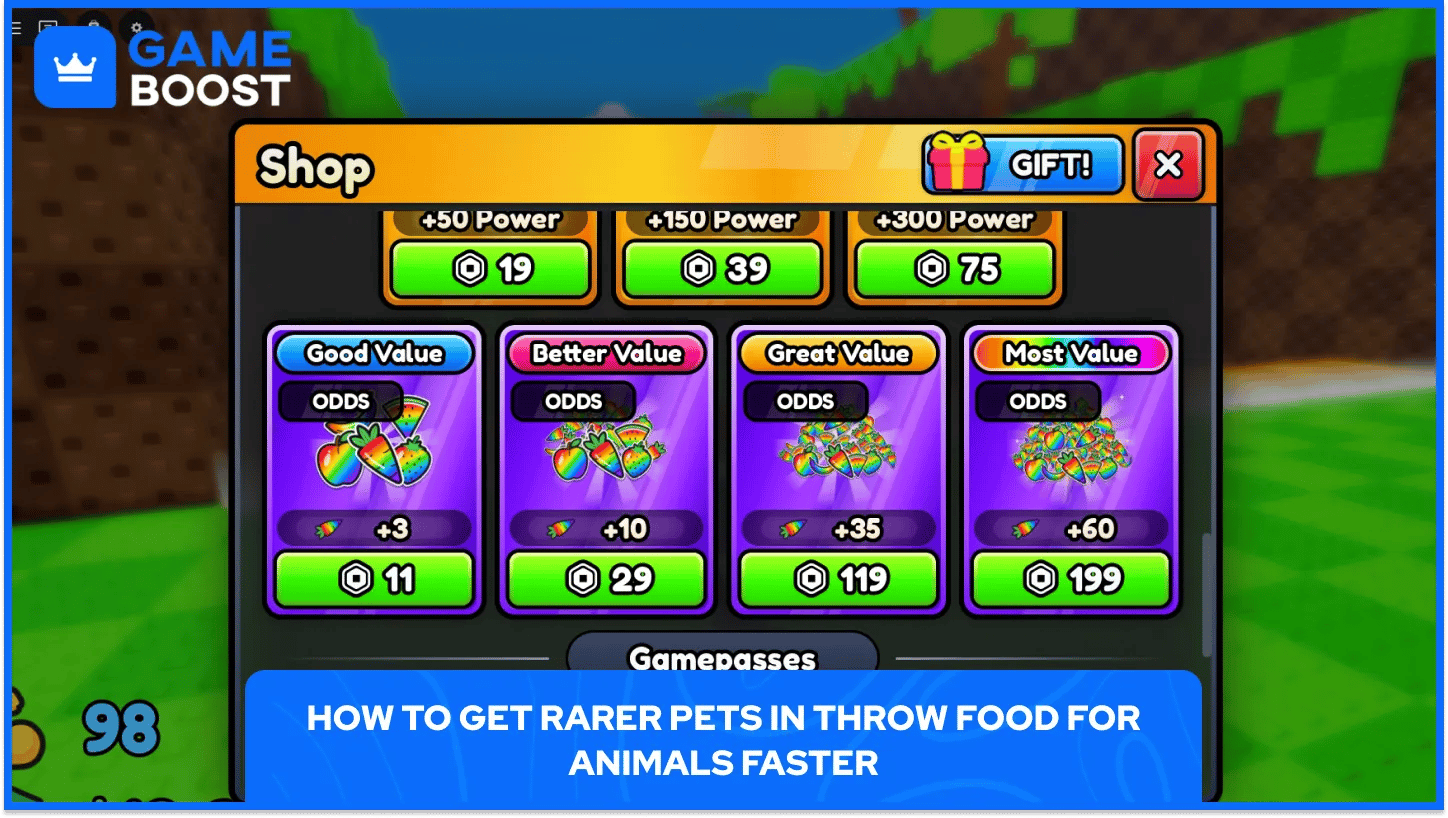
Rarer pets come down to throw distance, food choice, and luck, and each lever stacks on top of the others. Pushing only one of them leaves the back third out of reach or wastes good food on low ranks.
Players chasing rarer pets get more from each session with the following habits.
Training comes before food upgrades: Distance sets the rank ceiling, so premium food on a short throw wastes cash. A dedicated throw power walkthrough lays out the fastest training routine.
Super Lucky Throws work best on back-third attempts: Each Super Lucky Throw raises luck on a single throw, so spending them on deep throws with matched food stacks every advantage at once.
Server Luck pays off during long sessions: Server Luck items raise luck for the entire server for 15 minutes, with tiers running from 2x up to 16x. Lining one up with a long farming session squeezes the most catches out of the window.
Only top earners deserve plot slots: The plot holds 10 earning pets, and anything left in the inventory makes no money at all. Swapping weaker residents out right after a strong catch lifts income straight away.
Free rewards stretch early cash further: Redeeming game codes adds free rewards that help pay for the first rounds of training and food.
Admin Abuse events reward deep farming: Developers switch on size boosts during these events, which raises the odds of oversized pets across every area of the lane.
Progress compounds over time, since every income jump funds more training and better food. A plot with higher income reaches the next food tier sooner, and each new food tier sets up the next income jump.
Mutations add one more layer on top of rarity and depth. Checking every fresh catch for a mutation or an oversized build before selling stops a valuable pet from leaving the plot by accident.
Collecting all 148 pets and building the highest-earning plot pull players in slightly different directions. Completing the roster means farming low-value front-third pets in every area, and income growth rewards skipping them in favor of deeper throws. Picking one goal per session keeps progress focused and avoids wasting food on pets that serve neither aim.
Roblox Accounts for Sale
Buy Roblox Robux
Roblox Items For Sale
Buy Roblox Gift Cards
View all GameBoost Accounts
View all GameBoost Boosting Services
View all GameBoost Currencies
View all GameBoost Game Keys
View all GameBoost Gift Cards
View all GameBoost Items
View all GameBoost Top Ups
“ Hamza is your average video game enthusiast who’s always looking for his next game to play. Whether he’s diving into a competitive multiplayer match, exploring a massive open world, or getting completely hooked on a new release, gaming has always been one of his favorite ways to spend his time. Over the years, his love for games has grown into a passion for understanding and sharing everything about them. Through his articles, Hamza aims to help gamers discover new games, improve their skills, stay up to date with the latest gaming news, and get the most out of their favorite titles.”


