


•Hamza Rashid• 16 min read
Roblox

The fastest way to increase Luck in Throw Food for Animals comes down to distance. Luck works as a multiplier that climbs the farther food travels down the lane, so players raise it by training Throw Power on the pull-up bar, landing PERFECT stops on the throw meter, and equipping higher-tier food from the Food Shop.
Robux options sit on top of those free methods in most Roblox games. The in-game Shop sells rainbow food packs that raise Luck directly, and Throw Power packs add distance without extra training. Higher Luck translates directly into rarer species, mutated animals, and Huge variants with far higher income. Below sits each Luck lever with the numbers behind every biome, meter rating, food choice, and Robux tier.
Luck in Throw Food for Animals scales with distance, climbing from roughly 2.54X in Forest to over 20X in Taiga, with farther zones stretching the track past that point
Throw Power training on the pull-up bar adds +5 Throw Power per level, and bar upgrades raise the XP each rep earns
A PERFECT meter stop adds +19 or +20 power to a single throw at no cost
Food tier decides which animals can appear, and higher tiers can show stronger Luck values at the same landing spot
Rainbow food packs are the only paid Luck item, ranging from +3 for 11 Robux to +60 for 199 Robux, with an ODDS button on each pack
Throw Power packs add up to +300 Power for 75 Robux, pushing food into higher-Luck biomes
Higher Luck lifts the odds of mutations up to Rainbow at 20x income, and lucky score rolls that produce Huge animals
The Details button shows exact mutation chances for a throw before the food leaves the lane
Luck in Throw Food for Animals works as a multiplier on the roll that picks which animal claims the food. The game shows no permanent Luck stat on the player profile, so the value only appears as a label on the track during each throw.
The multiplier rises continuously as food travels down the lane, and the value at the landing spot applies to the catch. Food quality sets the pool of possible animals, and distance sets how lucky the roll from that pool turns out.
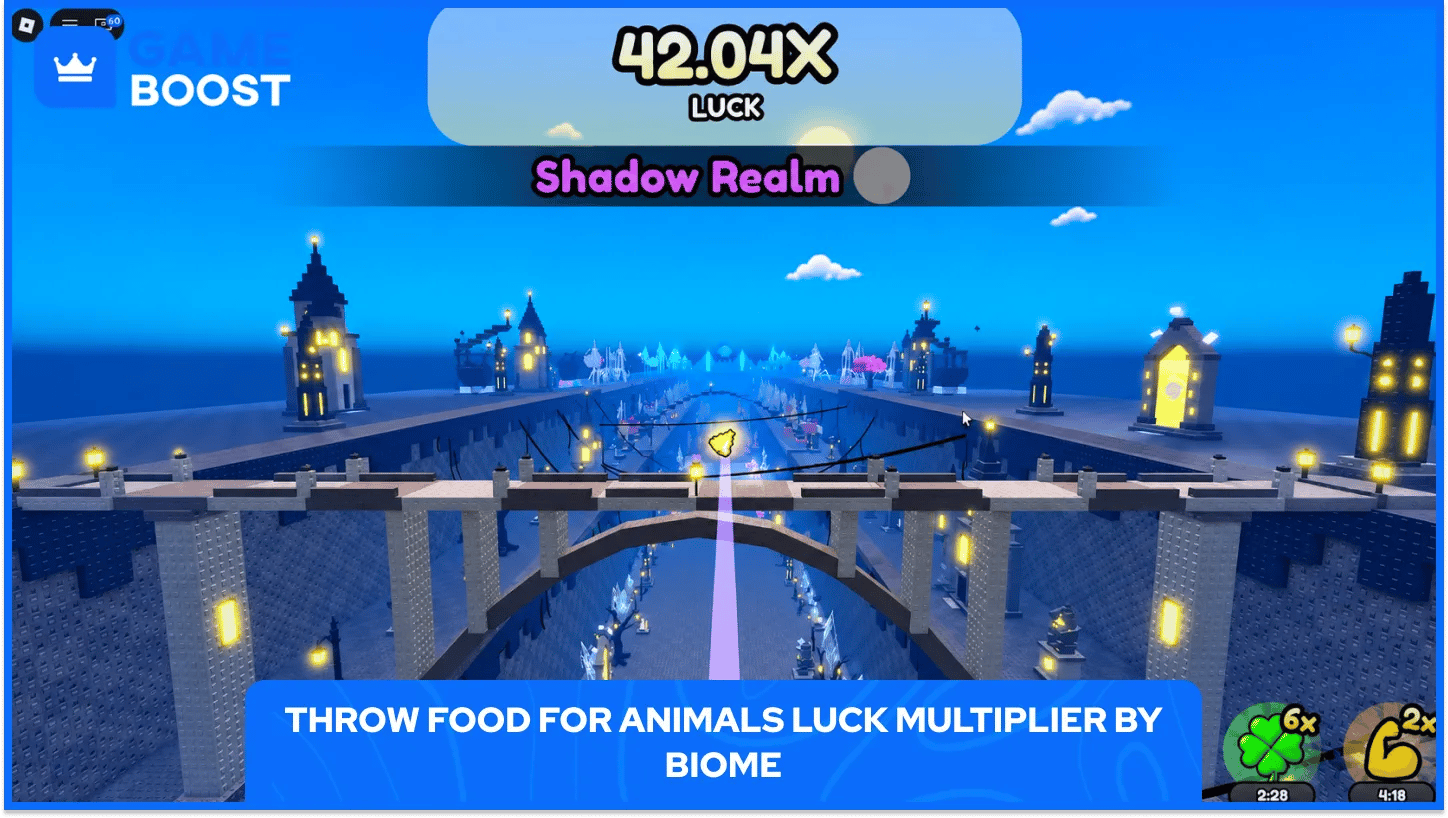
The runway always follows the same biome order, and the on-screen label updates as food passes through each zone. Reading the label at the landing spot tells players exactly where a throw ran out of distance.
Each of the first seven biomes carries its own Luck range on the track.
Order | Biome | Luck Range on the Track |
|---|---|---|
1 | Forest | 2.54X to 3.37X |
2 | Savanna | 4.21X to 6.71X |
3 | Desert | 7.59X to 9.99X |
4 | Jungle | 10.98X to 13.33X |
5 | Ocean | 14.36X to 16.57X |
6 | Mountains | 17.51X to 19.44X |
7 | Taiga | 19.23X to 20.67X |
The gap between the start and the late biomes changes everything about a catch. A throw that stops in Forest carries roughly an eighth of the Luck a Taiga landing collects, so every extra stretch of distance pays off directly in better rolls. The track keeps going past Taiga into zones such as Nuclear Wasteland, Cursed Carnival, and Eclipse Kingdom, with Eclipse Kingdom sitting farthest from the throwing area.
Throw Power sets how far food travels, which makes it the main stat behind every Luck gain. Weak throws stall inside the first three zones, and top-tier food never reaches the higher Luck ranges without enough power behind it.
Training on the pull-up bar follows a simple loop that rewards steady sessions.
Each rep on the bar earns XP: every level gained adds +5 Throw Power, so longer sessions turn directly into extra distance and higher Luck.
Bar upgrades raise XP per rep: the Ruby Bar gives +32 XP, the Amber Bar gives +64 XP, and the Chrome Bar gives +128 XP, with each tier roughly doubling the last.
Late-game bars cost serious cash: the Solar Bar costs $680B for +4,096 XP per rep, and the Frost Bar costs $4.2T for +8,192 XP per rep.
The purple x2 button speeds up leveling: tapping the button during a training set pushes progression further without extra reps.
Training itself costs nothing, and cash only goes into bar upgrades. Players buy each bar at the yellow circular pad next to the training station, and a NEW EQUIPMENT! pop-up appears once the next bar comes within budget.
Even inside Taiga, a few extra levels still make a visible difference. Recorded throws moved from 19.48X to 20.67X after a handful of additional levels, and players chasing faster levels can follow the steps to increase Throw Power across every bar.
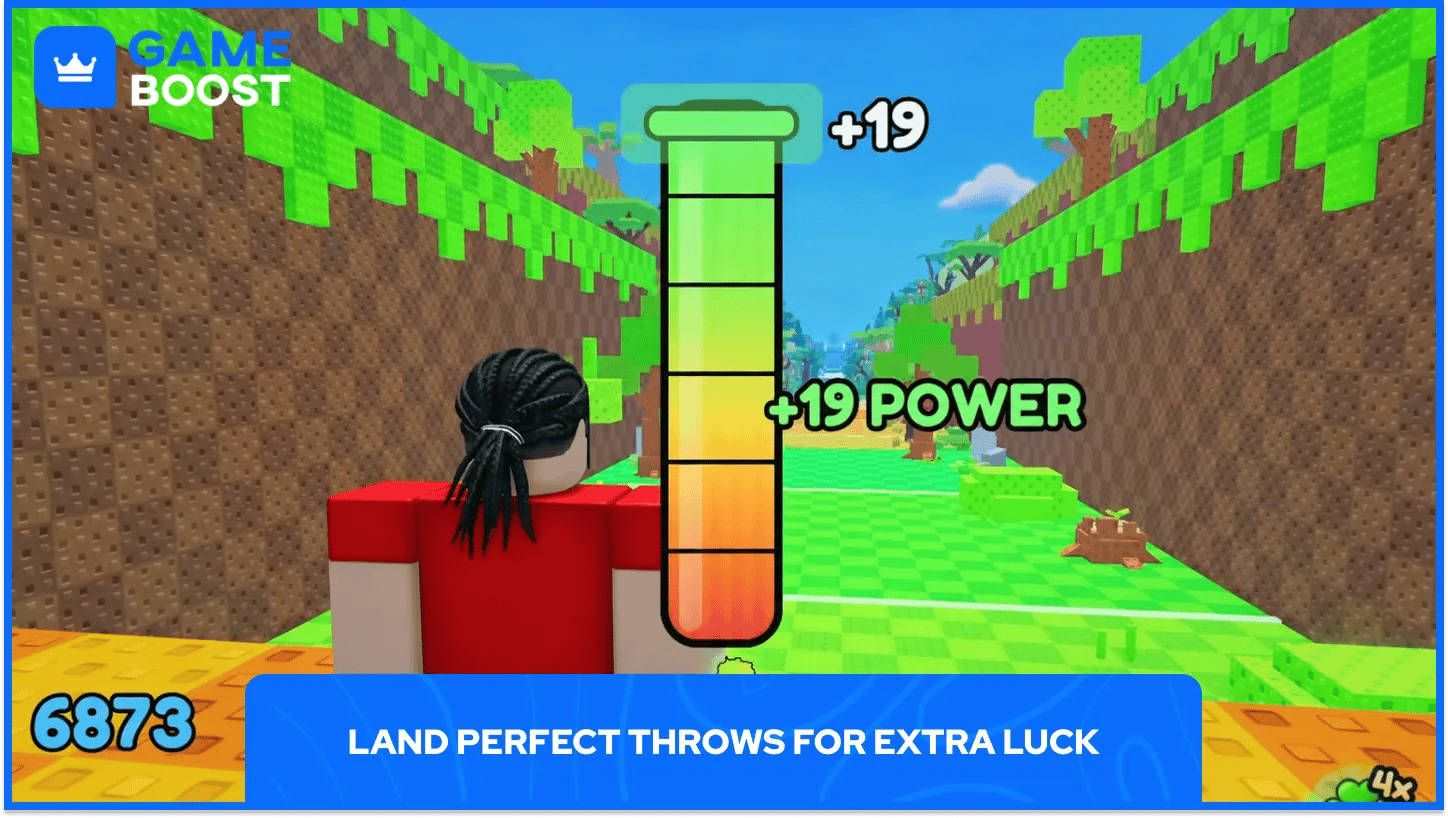
The throw meter adds a one-time power bonus on top of trained Throw Power. Where the meter stops decides the size of that bonus, so a sloppy tap costs both distance and Luck on every throw.
Each meter rating adds a different amount of power to the throw.
PERFECT! adds the largest bonus: a stop near the top marker gives +19 or +20 power, the maximum any single throw can gain.
GREAT! lands just under the top: the rating gives +15 to +18 power, still useful but a few points short of a full bonus.
The meter runs from 0 to 20: stopping as close to the top as possible always produces the longest throw.
A PERFECT bonus stacks with trained Throw Power, so the two work together on every toss. Once Throw Power climbs high, PERFECT timing separates a mid-Taiga landing from a late-Taiga landing, and that difference shows up directly in the Luck label.
The throw sequence stays identical every single time. Players walk to the bright white throw line, tap at TAP TO ENTER!, then tap at TAP TO THROW! as the meter nears the top, and the Luck label updates live as the food flies.
Food and distance do separate jobs on every single throw. Food tier decides which animals enter the pool, and Luck rolls on top of that pool once the food lands. Higher-tier food can also show a stronger multiplier at the same spot, with Pear reaching 6.71X in Savanna against 5.47X for earlier foods.
Buying a new food changes nothing until players equip it. Players step into the blue circle at the blue-striped Food Shop stall, buy or select a food, and confirm the EQUIPPED label before heading back to the lane, since every throw uses the equipped food until the player swaps it.
Spending order matters a lot when cash runs tight. Food adds nothing to distance, so throws that keep landing in early zones need more training first. Once throws reach the late biomes, the next food tier pays off fastest, and the list of every food tier shows prices and rarities side by side.
The in-game Shop sells rainbow food packs as the only paid item that raises Luck directly. Each pack adds a set number of rainbow foods, and an ODDS button on every pack card shows the exact chances before players spend any Robux.
Each pack tier trades a higher Robux price for more rainbow foods.
Pack | Rainbow Foods | Robux Price |
|---|---|---|
Good Value | +3 | 11 Robux |
Better Value | +10 | 29 Robux |
Great Value | +35 | 119 Robux |
Most Value | +60 | 199 Robux |
The labels hide a surprise on cost per food. Better Value carries the lowest price per rainbow food at 2.9 Robux each, against about 3.7 in Good Value and roughly 3.3 to 3.4 in the two largest packs.
The same Shop menu sells Throw Power packs, which raise Luck indirectly through distance. Tiers include +50 Power for 19 Robux, +150 Power for 39 Robux, and +300 Power for 75 Robux, and every extra point carries food deeper into higher-Luck biomes on the track.
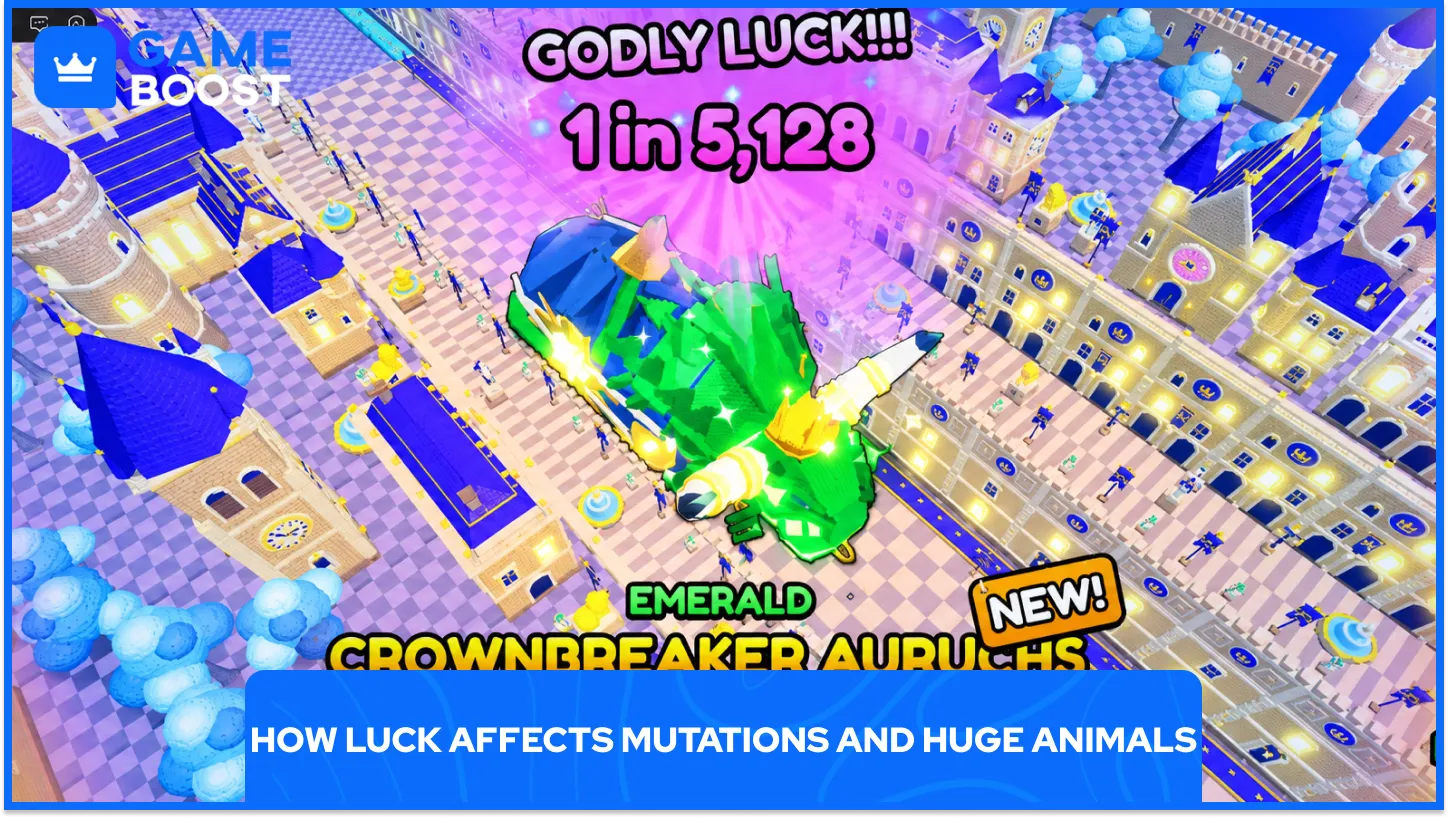
Every catch rolls once for a mutation, and higher Luck raises those odds. Mutations multiply both sale value and income per second, so a single mutated catch can lift plot income sharply.
Each mutation carries its own Normal Throw chance and income multiplier.
Mutation | Chance on a Normal Throw | Value Multiplier |
|---|---|---|
Gold | 13% | 1.5x |
Diamond | 4% | 3x |
Emerald | 2% | 5x |
Ruby | 1% | 10x |
Rainbow | 0.5% | 20x |
Around 79.5% of Normal Throw catches carry no mutation, so mutated animals stay rare without extra Luck. Lucky Throws and higher Luck move those percentages, and the Details button shows the exact chances for each setup as players prepare a throw on the map.
Some landings trigger a score sequence that climbs through LUCKY!, SUPER LUCKY!, and INSANE LUCK! as multipliers stack. One INSANE LUCK! roll at a score of 16,641 produced a Huge Caracal earning $107B per second, close to nine times the $12B of a regular Caracal, and the full animal list covers every catchable species.
Luck in Throw Food for Animals rewards patient training above everything else. Every level on the pull-up bar adds distance that stays with the account, and every extra stretch of track makes later purchases, from food tiers to rainbow food packs, work harder on each throw. Players eyeing rainbow food packs can top up Robux through GameBoost to keep paid Luck within reach, and a plot built this way fills with mutated and Huge animals that keep earning long after the food lands.
Roblox Accounts for Sale
Buy Roblox Robux
Roblox Items For Sale
Buy Roblox Gift Cards
View all GameBoost Accounts
View all GameBoost Boosting Services
View all GameBoost Currencies
View all GameBoost Game Keys
View all GameBoost Gift Cards
View all GameBoost Items
View all GameBoost Top Ups
“ Hamza is your average video game enthusiast who’s always looking for his next game to play. Whether he’s diving into a competitive multiplayer match, exploring a massive open world, or getting completely hooked on a new release, gaming has always been one of his favorite ways to spend his time. Over the years, his love for games has grown into a passion for understanding and sharing everything about them. Through his articles, Hamza aims to help gamers discover new games, improve their skills, stay up to date with the latest gaming news, and get the most out of their favorite titles.”


