


Killjoy: Valorant Agent Guide
Killjoy doesn't need to be in the room to win the fight. That's what makes her special. She’s not about flashy entries or constant duels. Her value comes from locking down space, gathering info without risk, and turning post-plant situations into uncomfortable guessing games for the enemy team. Those looking to climb the ranks will surely benefit from this agent, and those who are still struggling could buy a Valorant account to help themselves out.
If you've been sleeping on this agent, this guide breaks down everything you need to dominate with the genius of Germany.
Also read: How to Play as Sage in Valorant?
Summary:
Killjoy is a Sentinel in Valorant focused on map control, info, and post-plant pressure
She wins rounds through smart utility setups instead of direct fights
Strongest on defense, with solid value on attack via flank control and post-plant plays
Nanoswarm + Alarmbot combos punish pushes and defuse attempts
Turret gives early info and pressure, not raw damage
Lockdown is a powerful retake or site-take tool
Consistent and unpredictable setups are key to climbing in ranked
Who Is Killjoy?
Killjoy, real name Klara Böhringer, is a young inventor from Germany who joined the Valorant Protocol as its resident tech genius. She spent her childhood tinkering with machines and coding systems that most engineers couldn't even conceptualize. By the time she found her way into combat, her gadgets were already battlefield-ready.
Killjoy is a Sentinel, Valorant's defensive anchor archetype. Sentinels hold sites, slow enemy pushes, and give their team crucial information without always needing to be in the middle of a gunfight. What sets Killjoy apart from other Sentinels is her remote influence. Her gadgets operate independently, meaning she can set up a full defensive web on one site and rotate somewhere else entirely, fully trusting her machines to handle things while she's gone. That flexibility makes her one of the most map-controlling agents in the game.
She's a strong pick at almost every level of play. Beginner-friendly enough to get immediate value from, but with enough depth that high-rank players can squeeze creative setups out of her kit for years.
Killjoy’s Abilities
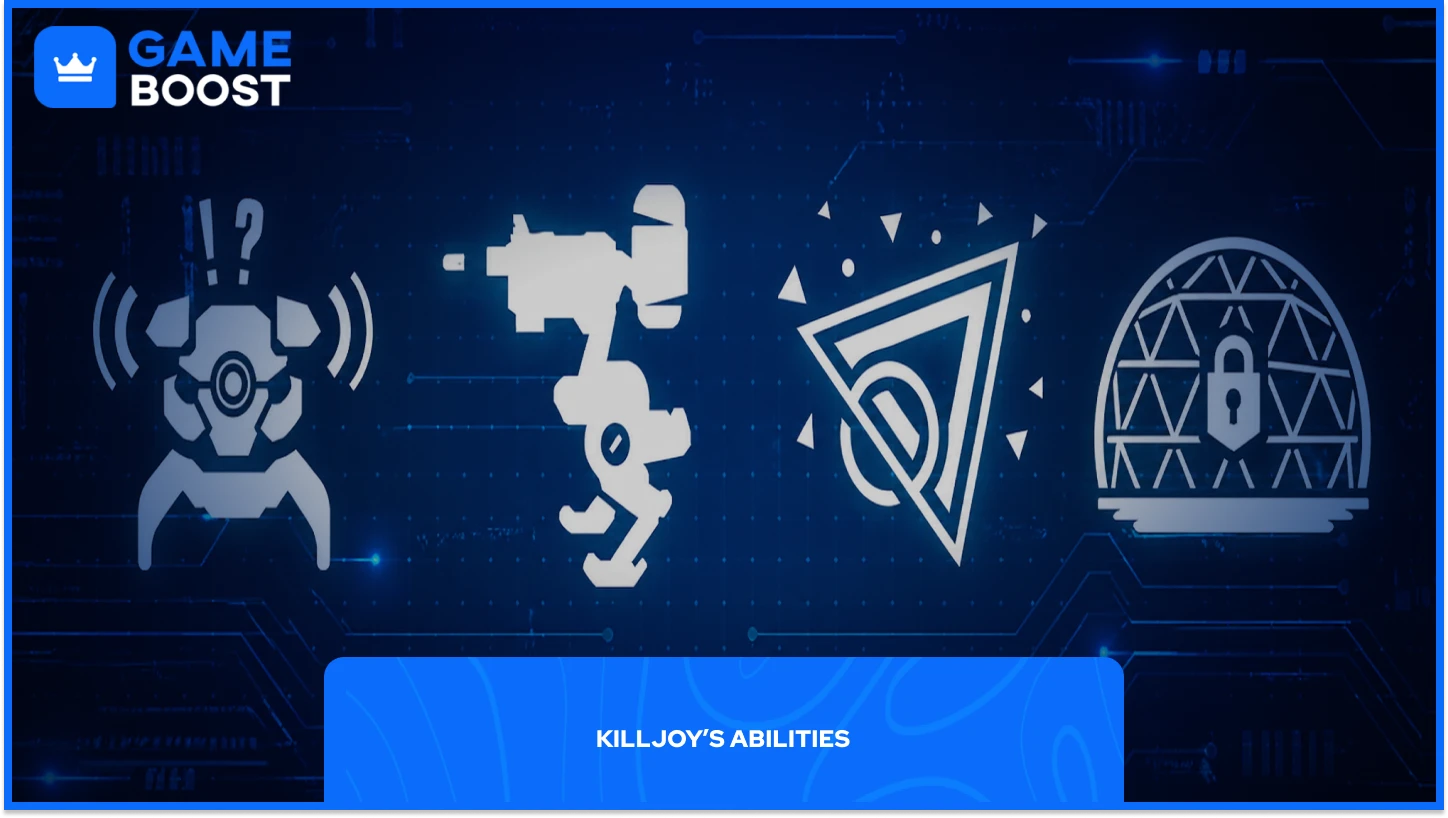
Killjoy's kit is built around one idea: make the enemy deal with your gadgets so you don't have to deal with them. Every ability she has either deals damage, slows a push, punishes a plant, or locks down an entire site. None of them require her to be standing next to them to work. Learn what each one does, where to put it, and when to trigger it; that's the whole game with Killjoy.
Nanoswarm
Killjoy tosses a grenade that lands quietly and goes dormant. Enemies walking near it won't immediately know what it is until she activates it remotely. Once triggered, it erupts into a swarm of nanobots dealing 45 damage per second for as long as enemies stay in its radius.
You can activate Nanoswarm from anywhere on the map. It's the only one of her abilities without a range restriction. That means you can deploy one on B Site, rotate to A, and still detonate it the moment you hear the spike being touched. You could toss them onto bomb plant spots before a round starts. Leave them dormant, then trigger the second an enemy starts planting or defusing.
Just make sure to vary your placements every round. Experienced opponents will destroy a Nanoswarm the moment they spot it if they've seen it in the same corner three rounds in a row.
Alarmbot
A sneaky little robot that crouches in place and waits. When an enemy steps into its detection radius, it chases them down and detonates on contact, dealing damage and applying Vulnerable for 4 seconds. Vulnerable enemies take double damage from all sources.
It doesn't do massive damage on its own. The real damage comes from what happens after: hit a Vulnerable enemy with your Turret, a Nanoswarm, or your own gun, and they melt. You can also use it to safely check corners or smokes. If an enemy is hiding inside a smoke, toss your Alarmbot into it. The bot will activate and instantly reveal their position.
A quick tip: pick it up and reposition when rotating. The recall puts it on a 20-second cooldown, which is far shorter than waiting for a fresh one.
Turret
Killjoy's bread and butter. She deploys a stationary turret that fires in 180-degree bursts at any enemy it detects within its cone and has 125 hp. The damage it deals varies by range:
Under 20m: 8 damage per shot (24 per burst)
20–35m: 6 damage per shot (18 per burst)
Over 35m: 4 damage per shot (12 per burst)
The Turret isn't designed to kill people on its own, the damage numbers aren't high enough for that. Its real value is information and distraction. Enemies hit by it get slowed, they have to stop and deal with it, and you know exactly where they are while they do. You should cover an entrance that the enemy hasn't factored into their plan. Place your Turret on one angle and your Alarmbot on another so that they can't safely clear both at once.
Just like with the Alarmbot, you should recall it before rotating. A recalled Turret gets a 20-second cooldown instead of a full recharge, so repositioning mid-round is always worth it.
Lockdown
Killjoy drops a large device that, after a 13-second activation delay, pulses outward and detains every enemy caught inside its radius for 8 seconds. Detained players can't shoot, use abilities, and are severely slowed, meaning that they're completely locked in place and take extra damage.
Enemies can destroy the device before it detonates, which means placement and teamwork are everything. It is important to coordinate the push. Your team should be ready to enter the site right as the Lockdown is about two seconds from completing. Don't wait for it to fully detonate, as the sound cue gives enemies enough time to react if you do.
Lockdown is your best retake tool. If the enemy plants the spike, drop it near the bomb and buy your team the time to get back and defuse safely.
Also read: All Valorant Agents and Their Abilities
How to Play Killjoy
Killjoy works best when you treat every round like a setup puzzle instead of a fight, and in this section, we will be covering the optimal play on defense, attack, and post-plant.
Playing on Defense
This is where Killjoy is at her strongest. Set up your gadgets before the round starts, take a passive off-angle, and let everything run while you wait for the enemy to commit to a site. In the standard setup, the Turret covers one entry point, Alarmbot covers another. A Nanoswarm sits dormant on the default plant spot. You hold a deep angle and wait. When enemies push, you'll know it before they know you know it. The Turret fires, the Alarmbot tags someone Vulnerable, and you swing to clean up.
Don't play the same setup twice in a row. Good opponents will destroy your utility the moment they recognize the pattern. Shift your Turret a few meters, change the Alarmbot angle, drop the Nanoswarm in a different corner. Small adjustments make your traps dramatically harder to play around. If you're holding a large site and need to rotate, recall your gadgets first. A Killjoy who shows up to a retake with her Turret and Alarmbot ready is far more valuable than one who left everything behind.
Playing on Attack
Your job on attack shifts to flank protection and post-plant control. Your Turret goes behind your team, covering the angle you came from. Your Alarmbot watches mid or any area from which a rotating defender might appear from.
Once the spike goes down, that's Nanoswarm time. Learn a few lineups for each site's default plant, so that you will be able to throw the Nanoswarm from outside the site so enemies can't see or hear them land, then detonate the moment someone starts defusing.
Make sure to stagger two Nanoswarms at slightly different distances from the spike. If the enemy dodges the first, the second is already waiting.
Post-Plant
Killjoy is one of the strongest post-plant agents in the game. Once the spike is planted, she's not really defending it; she's setting the rules for how the defuse plays out. Enemies have to choose between eating a Nanoswarm or giving up the round. That's a winning position to put people in, and it's where a good Killjoy player earns their money.
Killjoy in Ranked
In ranked games, Killjoy is one of the most reliable agents for climbing if you enjoy structured gameplay and is often considered one of the top picks among Sentinels.
She performs well because:
Random team coordination doesn’t matter as much when your setup holds space
You can gather info without risking early deaths
Post-plant rounds become easier to win with simple nanoswarm timing
She can watch areas of the map without being there
The biggest difference between average and strong Killjoy players in ranked is consistency with setups. If you change your turret, alarmbot, and nanoswarm placements slightly each round, enemies stop pre-clearing everything and start guessing again.
She’s especially strong when teammates understand basic spacing, but even solo queue works fine since your kit already creates structure for the round.
Also read: How to Get Better at VALORANT?
FAQs About Killjoy
Q: Is Killjoy good for beginners in Valorant?
A: Yes. Her kit is easy to understand and gives value even without perfect aim. Beginners get value just by placing utility in smart spots.
Q: Where is Killjoy strongest?
A: She performs best on defense, especially on maps with tight chokepoints where setups can fully lock down space.
Q: How do you use Nanoswarm effectively?
A: Hide it near spike plant zones or common defuse positions, then trigger it when enemies commit instead of using it instantly.
Q: What makes Killjoy strong in ranked games?
A: Her kit doesn’t rely on team coordination. Even in chaotic matches, her traps, info tools, and post-plant setups create structure.
Q: Can Killjoy's Lockdown be countered?
A: Yes, enemies can destroy the device during its 13-second wind-up.
Final Thoughts
Killjoy rewards patience more than aggression. Her kit turns space into a problem for the enemy team, and once setups are in place, opponents are forced to play around her rules instead of their own.
She fits players who like planning rounds, controlling map flow, and turning simple setups into repeatable wins. Aim helps, sure, but timing and placement do most of the heavy lifting here.
Valorant & GameBoost Products
Valorant Accounts For Sale
Buy Valorant Points
Valorant Boosting Service
View all GameBoost Accounts
View all GameBoost Boosting Services
View all GameBoost Currencies
View all GameBoost Game Keys
View all GameBoost Gift Cards
View all GameBoost Items
View all GameBoost Top Ups
Counter-Strike 2 Skins
“ As a lifelong gamer with interests in multiple genres, Mario has a wide variety of knowledge when it comes to gaming, except, ironically, Super Mario. Using his experience and passion for games, Mario aims to create engaging and useful articles.”

