


•Hamza Rashid• 12 min read
Games
Phantom Blade Zero is a wuxia action RPG where players carry two main weapons and two secondary tools called Phantom Edges. Each edge adds its own move set to the fight, from guard-breaking maces to summoned monks, and several double as traversal gear for chains, vines, and mist barriers.
Choosing the best Phantom Edges in Phantom Blade Zero changes how fast shields break, how safely bosses fall, and how many hidden routes open up. Every Phantom Edge appears below with its exact location, its place in the rankings, and the reason it earns a loadout slot.
Phantom Blade Zero holds 25 Phantom Edges spread across regions from Weeping Creek Valley to Mirage Estate.
Hunter's Chain Sickle ranks as the best overall Phantom Edge, with Bashpole leading Guard Break and Inanis' Radiant Fan leading survival.
Weeping Creek Valley hands out Dread Axe, Feather Bow, and Hunter's Chain Sickle, which makes the region the natural starting point.
Optional bosses and side quests guard standout edges such as Iron Gauntlets, Kuye Temple Prayer Beads, and Puppeteer's Bell.
The Illusory Pipa clears mist barriers and opens the Mountain of Imprisonment, where Inanis' Radiant Fan waits.
Pairing a damage edge with a traversal or recovery edge produces the strongest loadouts.
Upgrades work best on the two edges used most, and reversing an upgrade costs nothing up to level 10.
Phantom Edges are secondary weapons that sit in dedicated slots apart from the main blades. Phantom Blade Zero holds 25 Phantom Edges in total, and players carry two at a time with free swapping between them. Every use costs Spark Charges, so no edge works as a spammable attack. The collection splits into five types: Destructive, Martial, Artifice, Ranged, and Summon, and each type uses different upgrade materials.
Several edges double as keys to the map. Phantom Blade Zero marks every obstacle that needs a specific edge, and those markers turn green once the matching tool joins the collection. Chain barriers, burning passages, breakable floors, and mist barriers each call for a different edge, and using an edge for traversal costs no combat charges.
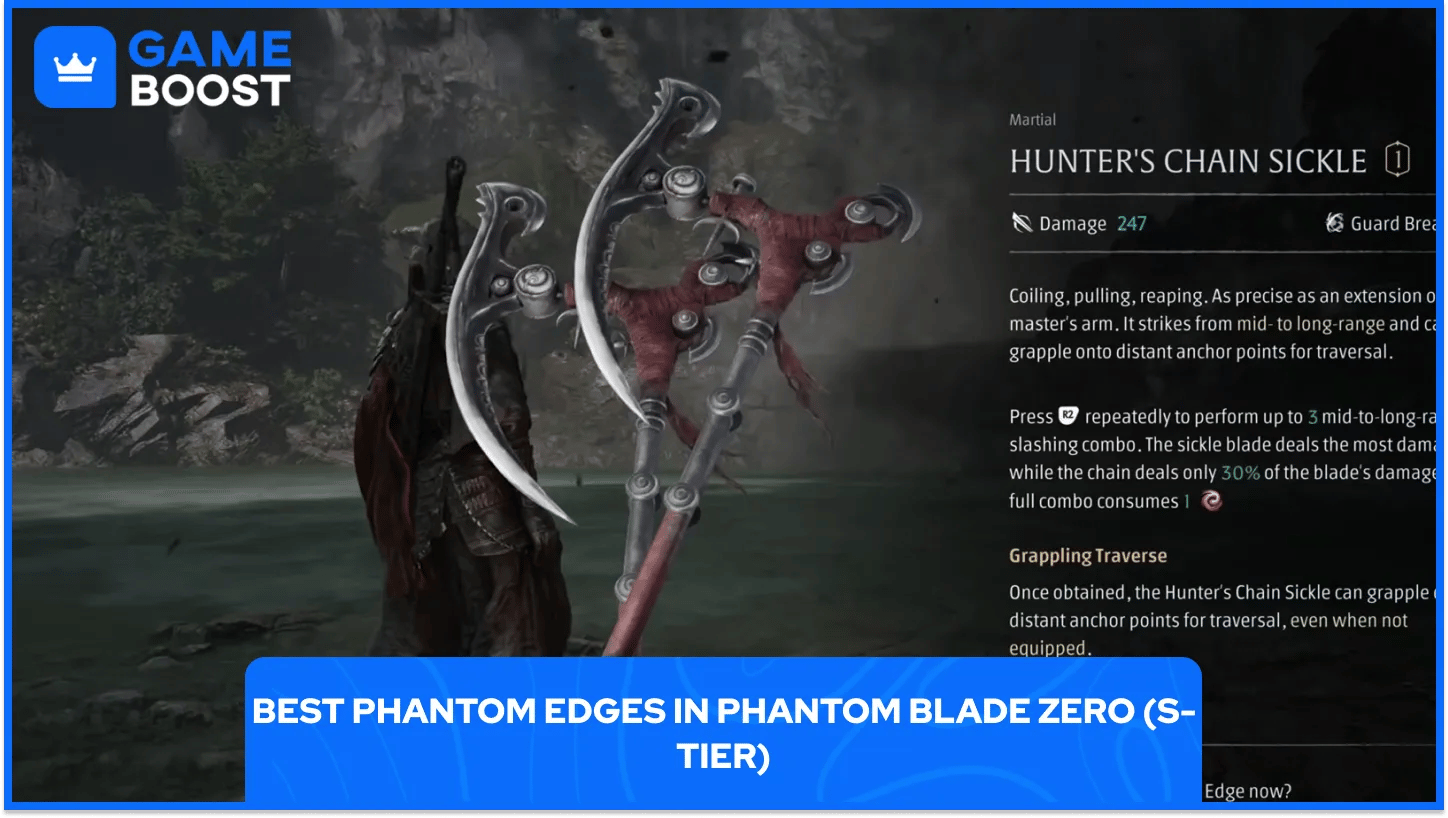
The S-tier edges earn the top rank through a mix of damage, defense, and versatility. Rankings weigh combat effectiveness, special abilities, and practical usefulness, so lower-tier edges can still matter against particular enemies or routes. Each S-tier edge appears below with its region, the steps for claiming it, and the exact reason it ranks at the top.
Image | Phantom Edge | Region | How to Get It | Why It Ranks at the Top |
|---|---|---|---|---|
 | Hunter's Chain Sickle | Weeping Creek Valley | Defeat The Hunt, the chapter boss, near the Great Waterfall Bell. | Best overall pick, since multi-hit attacks and rapid movement close gaps on retreating enemies and the grapple reaches anchor points on ledges and across gaps. |
 | Bashpole | Mandate Encampment | Break the chained gate near the center with Dread Axe, then defeat the optional ogre boss Wan Jun, the Coppermaul. | Best Guard Break pick, since the spinning attack hits every enemy around the player and weakens a whole crowd of shield bearers at once. Bashpole also smashes wooden floorboards to reveal hidden passages below. |
 | Iron Gauntlets | Crimson Forest | Defeat the hidden boss Stone Hand Iron Fever, south of the Mirrowood Entrance Bell. | Best for fast combos, since rapid punches break shields and stoneskin armor and fill the Fist Focus gauge, which adds eight seconds of extra main weapon damage once full. |
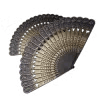 | Inanis' Radiant Fan | Mountain of Imprisonment | Defeat Huangxing, then speak to Inanis in the depths of the Lady's Shrine during Whence the Weeping. | Best defensive pick, since the area it creates slowly restores HP and Sha-Chi for 20 seconds during long boss fights. |
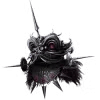 | Flaming Mane | Pangzhen | Defeat Flame, the Mask-Bound Grandmaster, then bring the Dormant Flaming Mane to Lei Dang at Jingyang Hall for repair. | Best crowd control pick, since the lion mask sprays a torrent of fire across groups and burns thick vines and branches that block secret routes. |
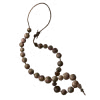 | Kuye Temple Prayer Beads | Village of Lu | Talk to the injured NPC beside the locked door near the Smuggler's Tunnel Entrance Bell, then head to the nearby water to trigger the optional boss Master Bi Hai. | Best offensive summon, since three Bronze Men monks join the fight and keep attacking as the main weapons stay active. |
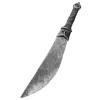 | Flying Dagger | Crimson Forest | Rescue Quick Hand Zhang, whose hideout sits near Thieves' Camp, then return the region's three treasures from beneath Outlaw Trap, inside Thieves' Camp Dungeon, and in the dog-filled cave on the path toward his hideout. | Best ranged pick, since up to three knives per throw apply Poison buildup and stagger that interrupts dangerous enemies from a distance. |
Every S-tier pick carries a trade-off that players can plan around. Hunter's Chain Sickle gives up some direct damage for reach and movement, and Bashpole commits to heavy swings that struggle against fast enemies. Iron Gauntlets lose value when a safe approach is impossible, and Flying Dagger drains resources whenever players throw it repeatedly. The Radiant Fan deals no conventional damage and costs two Spark Charges, Flaming Mane loses value against fire-resistant enemies, and the monks from the Prayer Beads last only 15 seconds.
Lasting value offsets most of those costs over a full playthrough. Several S-tier edges remain useful across large stretches of the campaign, even after more secondary weapons join the collection. Players who claim the optional ones, such as Iron Gauntlets and Kuye Temple Prayer Beads, gain that value early.
A-tier edges lean into focused strengths such as elemental damage, summoned allies, and damage absorption, and most of them shine in specific fights.
Each A-tier edge appears below with its region, the steps for claiming it, and the strength behind its rank.
Image | Phantom Edge | Region | How to Get It | Why It Earns A-Tier |
|---|---|---|---|---|
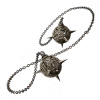 | Fire Meteor | Pangzhen | Defeat Blaze, Shadow Warden Captain, on the main route between South Gate Bridge and Jingyang Hall. | The flail sets enemies ablaze with green flames that deal damage over time and reduce the damage enemies deal, which suits aggressive bosses. |
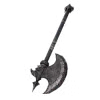 | Dread Axe | Weeping Creek Valley | Defeat Peng Meng, the Axemaster, north of the Outpost Bell. | Heavy hits break shields, and the axe cuts through iron chains across the map. |
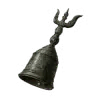 | Puppeteer's Bell | Village of Lu | Collect all six Firefly Memory Flowers, drop to the bottom of the hidden pit, and defeat Dusk, the Puppeteer. | Summons two durable puppets, one with sword and shield and one with spear and shield, that distract enemies. |
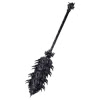 | Wolfjaw | Pangzhen | Defeat Wu Xuan, the Fallen General, west of the Backstreet Archway Bell. | Strong Guard Break pairs with HP that Wolfjaw steals from susceptible enemies on each hit, which keeps the player healthy in long fights. |
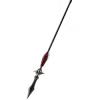 | Thunder Spear | Pangzhen | Defeat Chang Hong near Ancestral Shrine Square during the main story. | Combos call down lightning strikes that can paralyze enemies and create openings for the main weapon. |
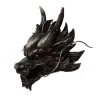 | You Loong's Deluge | Pangzhen | Defeat the optional boss You Loong, Leader of the Blackwater Crew, at the western pond near the Banyan Tree. | The dragon-shaped sprayer applies Wet, which raises Lightning and Ice damage taken, and it puts out fire barriers such as the one by the Marketplace. |
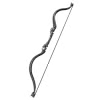 | Feather Bow | Weeping Creek Valley | Complete Purge the Sect by clearing the Ruthless Archer Camp for the Broken-String Bow, then return it to the Brooding Old Archer on the Outpost rooftop. | Deals bonus damage to full-health enemies and shoots down hanging objects for materials. |
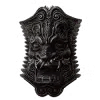 | Bastion | Village of Lu | Defeat Zhuo Bi, the Gatekeeper, near the region entrance during the main story. | Holding block absorbs attacks, tapping pushes enemies away, and releasing slams the shield into a shockwave. The shield also stops crossbow bolts from arrow traps. |
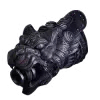 | Tiger Cannon | Mirage Estate | Defeat Lei Dang, the mandatory boss near Perfect Vessel Pond at the end of the region. | Three charge levels scale the shot damage, and blasts destroy walls hiding secret areas, detonate explosive objects, and break frozen enemies. |
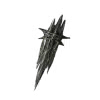 | Swordsman's Summon | Mandate Encampment | Find the hidden boss, the Chief Disciple of the Seven-Stars Formation, near the burning towers between Three Towers and Tower Rear Exit. | Calls a Swordsman Captain and two Swordsman Disciples to attack enemies. |
A few costs come with those strengths. Dread Axe swings slowly, and Bastion drains Sha-Chi whenever it guards. Swordsman's Summon lasts for up to 15 seconds per use, so the allies disappear quickly.
A-tier splits into two camps that make picking easy. Fire Meteor, Dread Axe, Wolfjaw, Thunder Spear, and You Loong's Deluge focus on damage and Guard Break. Puppeteer's Bell, Feather Bow, Bastion, Tiger Cannon, and Swordsman's Summon lean on defense, support, or ranged openers.
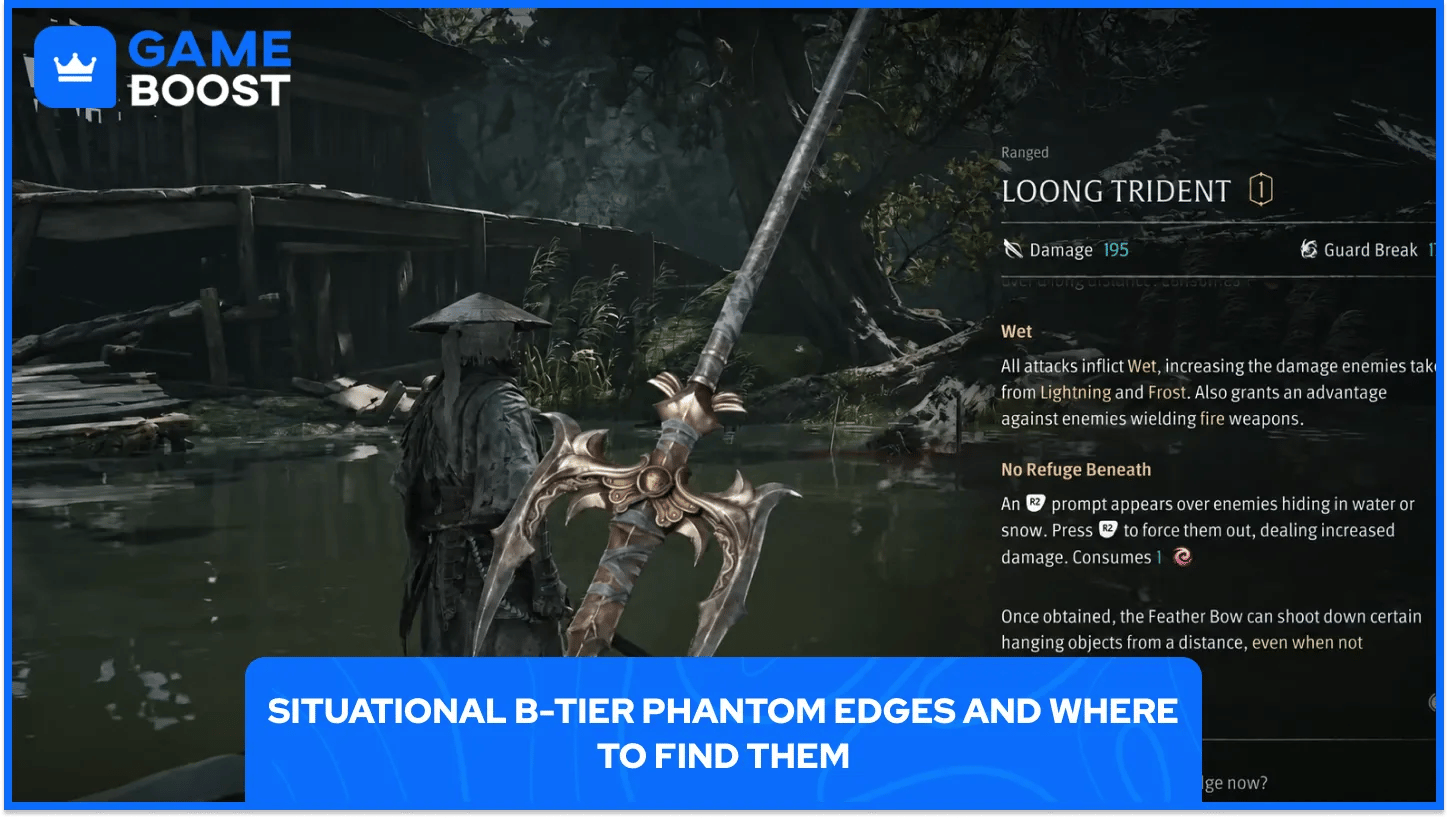
B-tier edges cover narrower jobs, and several of them act as keys to hidden areas or answers to specific bosses. Each B-tier edge appears below with its region, the steps for claiming it, and the situation where it earns a slot.
Image | Phantom Edge | Region | How to Get It | Why It Earns a Slot |
|---|---|---|---|---|
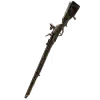 | Goldblaze | Pangzhen | Return the region's four treasures to Quick Hand Zhang at his hideout, using You Loong's Deluge on the Marketplace fire barrier along the way. | The flintlock musket fires from range and deals extra damage to full-health enemies. |
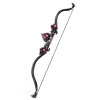 | One-Eyed Bow | Meigu Lake | Sail to the eastern island from One-Eyed Isle Dock and defeat the One-Eyed Archer near its center. | Fires strong death rays and deals extra damage to full-health enemies at medium to long range. |
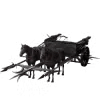 | War Wagon | Meigu Lake | Start Old Man Gen's quest near his carriage in Village of Lu, investigate his house in Pangzhen, return the comb, then sail to Frozen Lake Dock in northwestern Meigu Lake. | Lets the player charge straight through groups of enemies. |
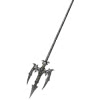 | Loong Trident | Meigu Lake | Defeat You Loong, the Frenzied Blackwater Crew Leader, at Blackwater Crew Dock on the center island. | The throwable trident charges up, travels far, applies Wet, and deals extra damage to full-health enemies. |
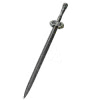 | Ink Cut | Mountain of Imprisonment | Start Hero's Lament near the broken lift, lower the hanging cage with the cage lever from the ruined building near Commander's Platform, then return Moji's Bloodstained Sword to Liu Yi. | After the second combo hit, a spinning ghost blade appears and explodes five seconds later for extra damage. |
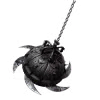 | Flying Guillotine | Mountain of Imprisonment | Defeat Huangxing, the Kunlun Renegade, inside the Lady's Shrine in the far north. | The chained blades break shields and grab mechanical dials that open hidden walls and rooms. |
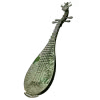 | Illusory Pipa | Pangzhen, with parts from Village of Lu, Mandate Encampment, and Meigu Lake | Take the Heartrend Pipa to Myst at her tavern, then bring back the Head from Dusk, the Backplate from the building after the Yubi fight, and the Strings from Yan Qiansui. Collect Yan'er's Memory Flowers to reach the songhouse fight. | Playing it in front of the mist clears mist and wind barriers, including the northeastern passage on Meigu Lake that leads to the Mountain of Imprisonment. |
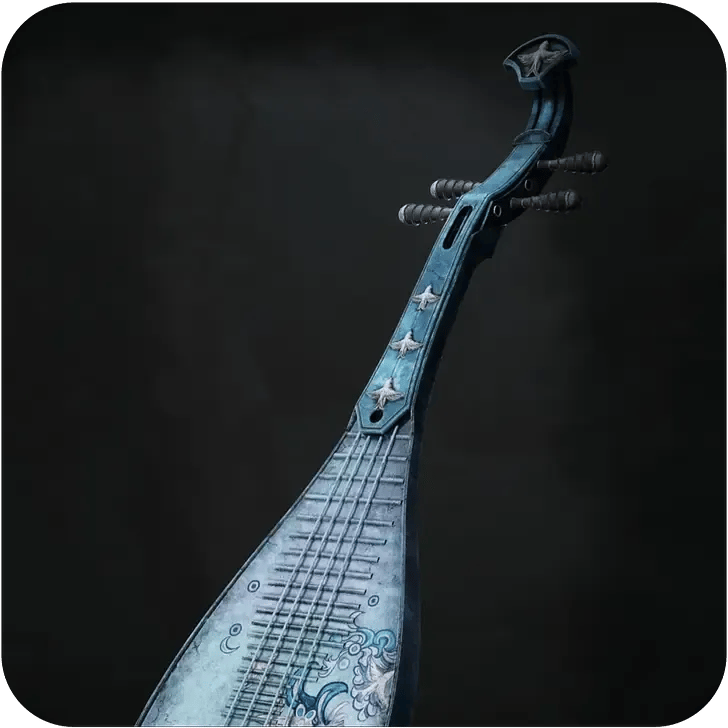 | Heartrend Pipa | Village of Lu | Descend through the Well of the Three Puppets in Puppet Testing Grounds once its thread barrier opens, then defeat Yuzan, No. 3 Musician Puppet. | Each combo fires two blue sonic blades that drain Sha-Chi and one red blade that cannot be blocked and ignores damage reduction. |
Low rank in combat does not mean low importance, and the Illusory Pipa proves it. The Mountain of Imprisonment stays closed without the instrument, and that region holds Ink Cut, Flying Guillotine, and Inanis' Radiant Fan.
Goldblaze lacks the Poison buildup of Flying Dagger, and Ink Cut shines mainly against Huangxing. Even so, each of these edges fills a gap that no S-tier pick covers, from charging through crowds to opening sealed rooms.
Two slots mean every pairing should cover two different problems, such as breaking defenses and attacking from range. The best pairs follow the most common playstyles.
Each pairing below matches a playstyle with the reason the two edges work together.
Playstyle | Pairing | Why It Works |
|---|---|---|
Early progression | Dread Axe + Hunter's Chain Sickle | Both come from Weeping Creek Valley, the sickle closes distance on mobile enemies, and the axe breaks shields and iron chains. |
Aggressive melee | Hunter's Chain Sickle + Iron Gauntlets | Gap closing and rapid punches keep fast combos running, and the pair suits Fiend Saws and White Serpent & Crimson Viper. |
Guard Break | Bashpole + Dread Axe | Bashpole's wide spin weakens crowds, and the axe's single heavy hit finishes stubborn guards. |
Boss fights | Inanis' Radiant Fan + Bashpole | Heavy Guard Break pressure comes with HP and Sha-Chi recovery during longer battles. |
Maximum offense | Kuye Temple Prayer Beads + Fire Meteor | Summoned monks add extra attacks, and the flail adds high fire damage that weakens enemy attacks. |
Ranged combat | Flying Dagger + Feather Bow | Poison buildup, stagger, and opening damage soften enemies before melee begins. |
Elemental damage | You Loong's Deluge + Thunder Spear | Wet status raises lightning damage, and the spear's strikes and paralysis exploit that weakness. |
Crowd control | Flaming Mane + Bashpole | Fire attacks and a wide-area Guard Break pressure groups from two angles. |
Defensive counters | Bastion + Inanis' Radiant Fan | Damage absorption and counterattacks pair with steady HP and Sha-Chi recovery. |
Timing turns a good boss pairing into a great one. Bashpole works best right after a boss finishes an attack sequence and leaves an opening. When resources run low, the Radiant Fan belongs in a safe position, where the restorative area refills HP and Sha-Chi before melee resumes.
Players who want extra offense can swap the fan for Kuye Temple Prayer Beads, and the summoned monks add pressure as the player works on the boss's guard. A damage dealer plus an edge with traversal uses also lets players grapple to ledges and cross gaps without opening the menu to swap.

Upgrades open after the player meets Forge at the Mandate Outpost in Weeping Creek Valley, and resources stretch thin across 25 edges. Tempering opens after the player meets Myst in Pangzhen and adds a bonus passive effect unique to each edge. Reversing an upgrade costs nothing up to level 10 and takes a Phantom Reforge Talisman after that, so early experiments carry little risk.
The list below ranks the Phantom Edges that repay upgrade materials fastest.
Hunter's Chain Sickle deserves the first upgrade for fast melee builds: reach, mobility, and traversal use make it a dependable investment.
Iron Gauntlets come next for builds that rely on repeated hits: armored enemies stop being a problem once the gauntlets break their defenses.
Flaming Mane suits players who favor elemental attacks: regular group clearing makes every upgrade pay off quickly.
Bashpole fits players whose biggest problem is shield-bearing enemies: stronger Guard Break shortens every crowded fight.
Inanis' Radiant Fan matters most once survivability and Sha-Chi recovery decide harder encounters: the restorative area scales with each upgrade.
Flying Dagger rewards ranged players who apply Poison and stagger often: frequent throws turn upgrades into steady value.
Spreading resources evenly across every edge slows progress. Upgrading the two edges that complement the main weapons first leaves materials free for specialized picks once a boss demands them.
Edge-specific materials come from boss encounters, side quests, and map searches. The Reinforced Bowstring for Feather Bow sits inside Black Serpent House in Village of Lu, and Flaming Mane must burn the vines that block its entrance.
The full collection rewards players who revisit earlier regions, since tools such as Bashpole and Flaming Mane open routes that stayed closed on the first pass. Optional edges often fill the gaps that story edges leave, so skipping side quests and hidden bosses costs more than a few extra weapons.
Main advice for any loadout comes down to one habit. Players should pick one edge for the problem in front of them and one for their favorite playstyle, then rebuild the pair whenever a boss or region demands something different. Treating the two slots this way keeps the build flexible across every region.
Buy Phantom Blade Zero on GameBoost
View all GameBoost Game Keys
View all GameBoost Accounts
View all GameBoost Boosting Services
View all GameBoost Currencies
View all GameBoost Gift Cards
View all GameBoost Top Ups
View all GameBoost Items
“ Hamza is your average video game enthusiast who’s always looking for his next game to play. Whether he’s diving into a competitive multiplayer match, exploring a massive open world, or getting completely hooked on a new release, gaming has always been one of his favorite ways to spend his time. Over the years, his love for games has grown into a passion for understanding and sharing everything about them. Through his articles, Hamza aims to help gamers discover new games, improve their skills, stay up to date with the latest gaming news, and get the most out of their favorite titles.”


