

•Patrik Mršnik• 6 min read
Games
The hardest Hollow Knight Silksong bosses turn a confident run into a pile of broken shells inside thirty seconds. Hornet moves faster than anything Hallownest has ever seen, and Team Cherry answered that speed with fights that read your habits and punish the lazy ones. This ranking covers the 10 hardest bosses in Silksong, from the Act 1 gatekeeper that stalls most first playthroughs to the endgame duel that asks for everything at once.
Difficulty climbs in steps here. Act 1 throws two or three encounters that stop newcomers cold. Act 2 raises the floor for every fight after it, and Act 3 opens with bosses that assume you already parry on reflex. If you want to start right away, you might catch our game review first.
We'll break down where each boss waits, what makes it brutal, and the one adjustment that turns the wall into a win.
Lost Lace in the Abyss is the hardest boss in Silksong, the void-possessed final fight of Act 3 and the last thing standing between you and the credits.
Skarrsinger Karmelita sits second, a backer-designed Act 3 duel with 1,500 HP and three enemy waves before she even appears.
The Last Judge closes Act 1 at the Grand Gate, and its second phase sets the thurible alight for the rest of the fight.
Optional fights carry the sharpest spikes: Phantom, First Sinner and Widow all hit harder than the mandatory bosses around them.
Act 2 stacks its two toughest fights in the same place, with the Lace rematch and Grand Mother Silk both waiting in the Cradle.
Silksong holds 43 bosses, or 47 counting repeat encounters, split across 13 in Act 1, 19 in Act 2 and 15 in Act 3.
Crest choice, tool loadout and Silk discipline decide more attempts than raw reflexes do.
Three measures set the order: how many attempts the fight costs an average player, how cruel the walk back from the bench is, and how much it demands of skills the game never teaches outright. A boss that kills you twice and sits ten seconds from a bench scores lower than one that kills you twice after a two-minute platforming gauntlet.
Optional bosses rank high on purpose. Team Cherry tuned the mandatory path so a patient player can finish the story, then hid the real tests behind side routes, wish chains and Act 3 detours. Several of those hidden fights outclass anything on the critical road.
Patch history counts too, and it has moved less than the forums suggest. The first post-launch patch eased Moorwing and Sister Splinter, leaving the Last Judge alone, and Patch 5 only trimmed the Last Judge's death explosion from 3 damage to 2. None of the fights below have been softened in any meaningful way.
Buy Hollow Knight: Silksong on GameBoost
Rank | Boss | Where It Waits | Why It Hurts |
|---|---|---|---|
1 | Lost Lace | The Abyss, Act 3 | Void dash strings with almost no read time |
2 | Skarrsinger Karmelita | Far Fields, Act 3 | Three enemy waves, then 1,500 HP across three phases |
3 | First Sinner | The Slab, Act 2 | Teleports, rune blasts and a 130 HP self-heal |
4 | Lace rematch | The Cradle, Act 2 | Parry and Riposte punishes every greedy swing |
5 | Grand Mother Silk | The Cradle, Act 2 | Six phases, falling debris, rising spikes |
6 | Widow | Above Bellhart, Act 1 | Bells from the ceiling, charges on the ground |
7 | Last Judge | Blasted Steps, Act 1 | A flaming second phase plus a long runback |
8 | Phantom | Exhaust Organ, Act 1 | The purest parry test in the game |
9 | Second Sentinel | High Halls, Act 2 | Tight spacing and the Scissor Strike |
10 | Savage Beastfly rematch | Far Fields, Act 1 | Lava platforms stacked with tar-spitting Tarmites |
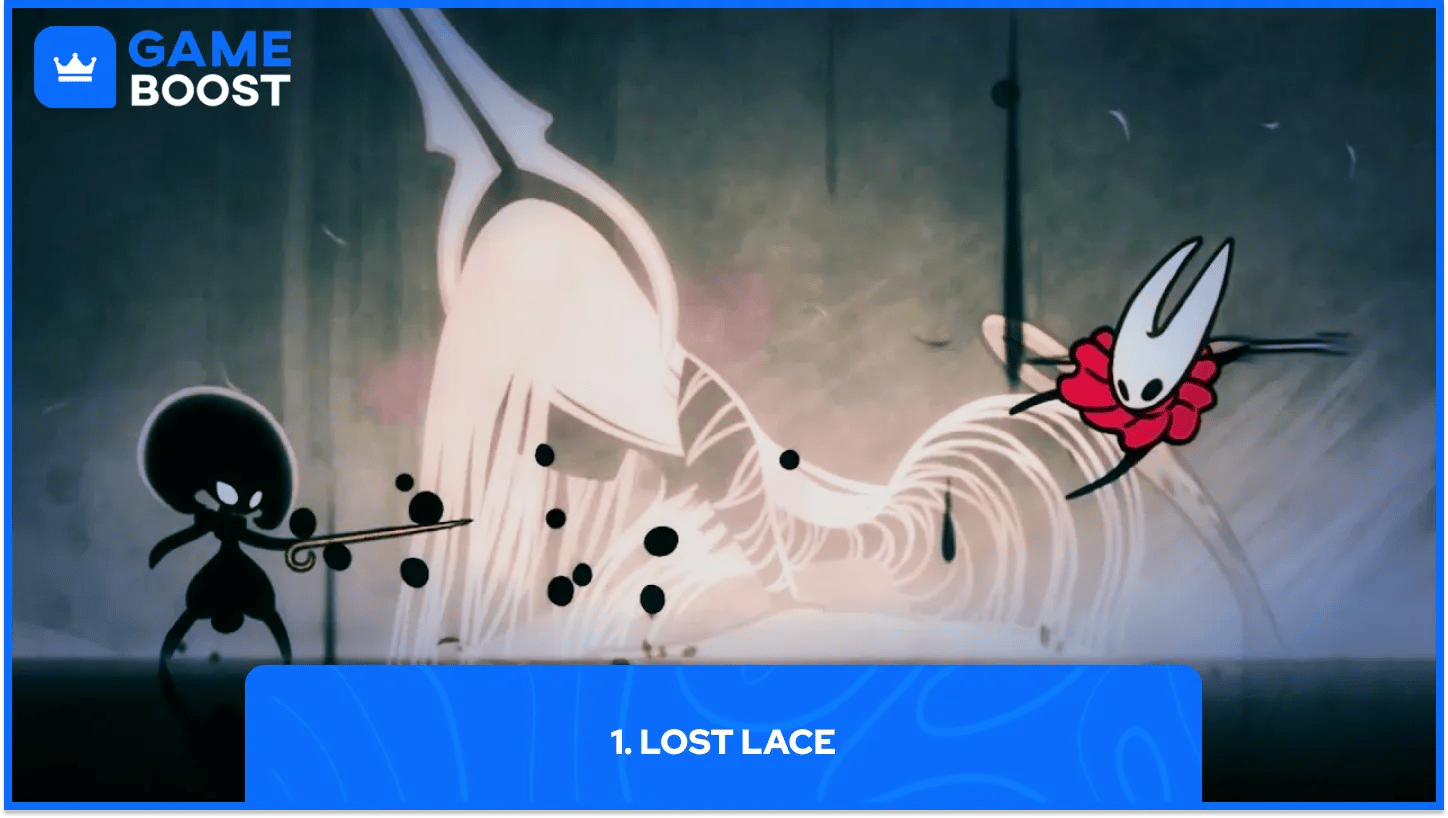
The Abyss holds Silksong's final boss, a silk-spun rival possessed by the void, fought in a cocoon beneath the void sea itself. Long dash strings cross the arena, tendrils rise through the floor, summoned blades cover your escape lanes, and the five-point slam returns in multiples.
What breaks players is the pacing. Earlier Lace fights reward memorised patterns, and this one chains them fast enough that memory stops helping. You react or you die. Attacks that trail a white line can still be parried with a plain Needle swing. That buys a quarter second of invulnerability and resets your attack cooldown, so keep the option live instead of dashing on instinct.
How to beat: Stay mobile through the dash strings, parry only the white-lined attacks, and take your heals in the short beat after a five-point slam lands.
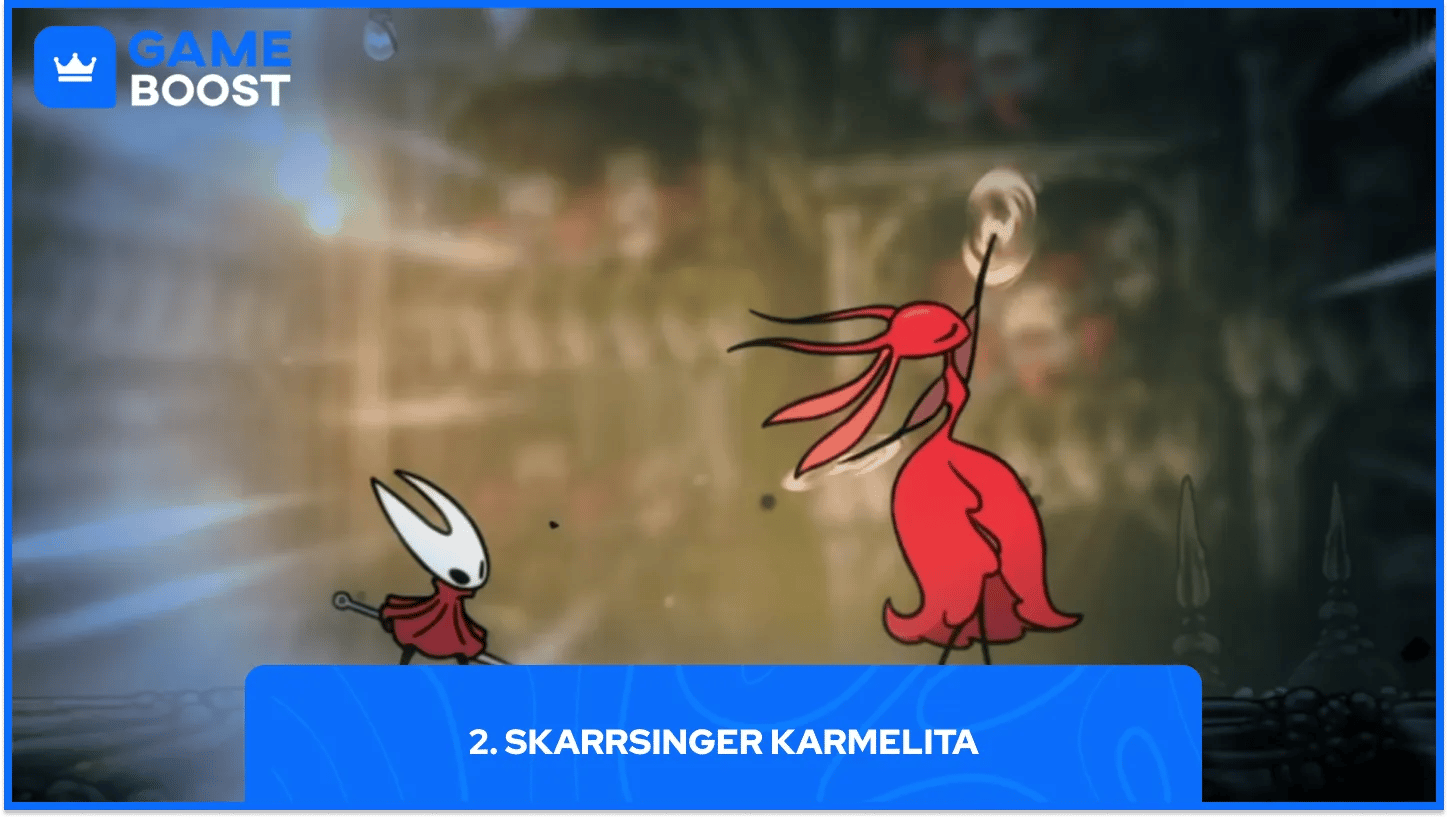
Karmelita is one of the Kickstarter backer bosses, and she fights like someone designed her to end runs. You reach her by returning to Hunter's March from the Marrow, taking the hidden passage at her statue with Silk Soar, and playing the Elegy of the Deep. The duel happens inside her memory, and three waves of enemies arrive before she does.
Her kit leaves almost no breathing room. Discs fly low or in high-low pairs, a spin hits twice if you crowd her, a leap drops a giant saw blade, and later phases chain disc throws back to back. She carries 1,500 HP with phase changes at 1,000 and 500, so plan your Silk around a long fight rather than a burst.
How to beat: Clear the three waves without spending masks, keep mid-range so the double spin never starts, and punish her right after the saw blade dive.
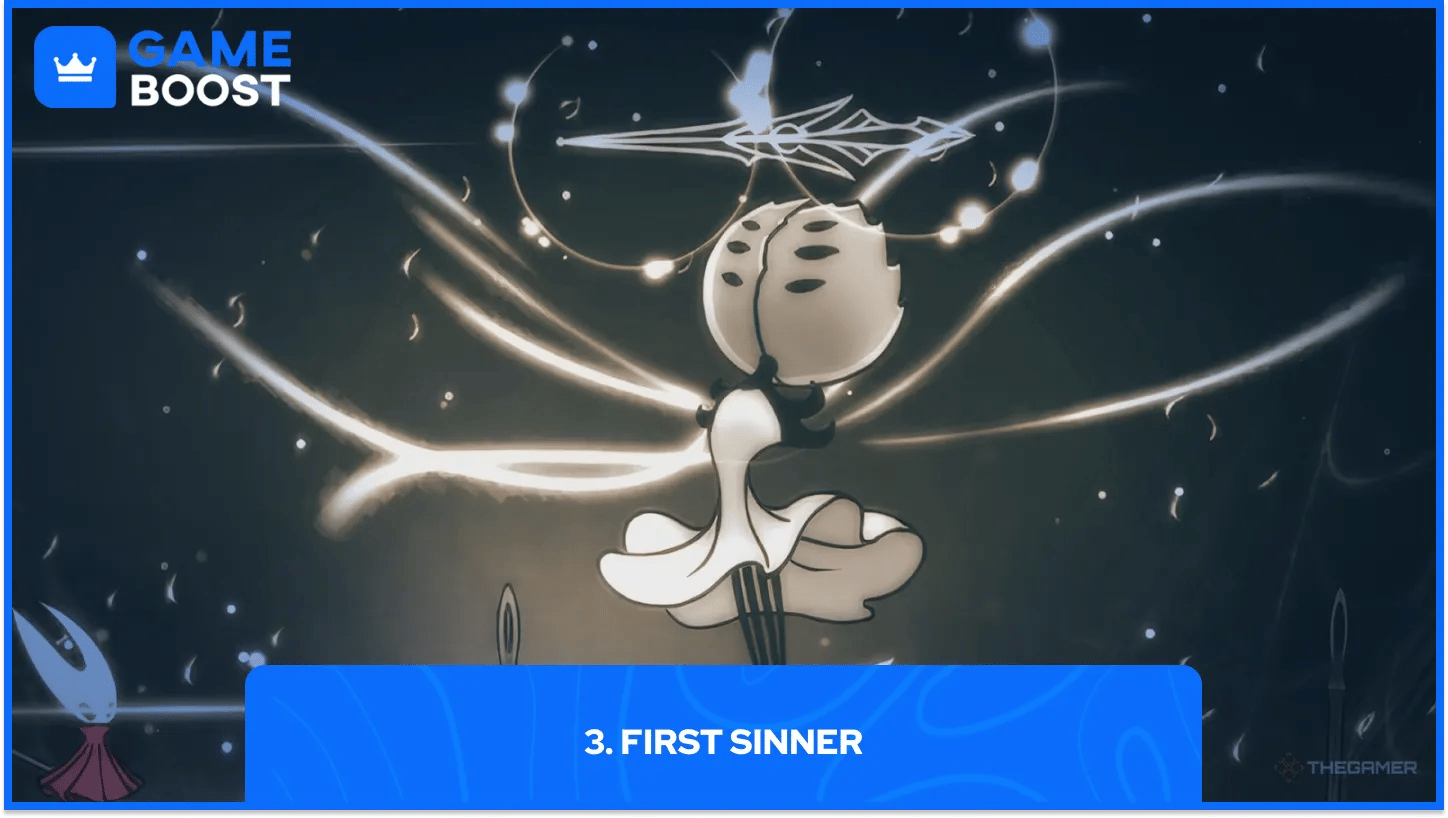
Locked doors deep in the Slab guard this optional Act 2 boss, and beating her hands over the Rune Rage Silk Skill. She teleports around the arena, scatters runes that detonate on a delay, and presses melee between blinks.
Her Bind is the whole fight. She channels Silk for roughly two seconds and heals 130 HP, and damage interrupts it. Passive play loses here. Bring a high-damage crest and keep a ranged tool loaded for the moment she starts channelling across the room. Learn the rune spacing early too, since the explosions decide where you can stand.
How to beat: Race her health bar and break every Bind the moment she starts channelling, then reposition around the runes between teleports.

Our review flagged Lace as the boss that punishes greed and patience in equal measure, and the Cradle rematch, which players call Lace II, doubles down on that. You meet her at the top of the lift after the Threefold Melody, and her Parry and Riposte stance blocks everything you throw at it.
Swing into that stance and she dashes into a flurry that erases three masks. This version can also teleport behind you before the counter, which turns a memorised punish window into a trap. Match her rhythm, hit only after a completed string, and one of the best duels in the game opens up.
How to beat: Never swing into the Parry and Riposte stance, wait out her flurry, and land two or three hits on the recovery before backing off.
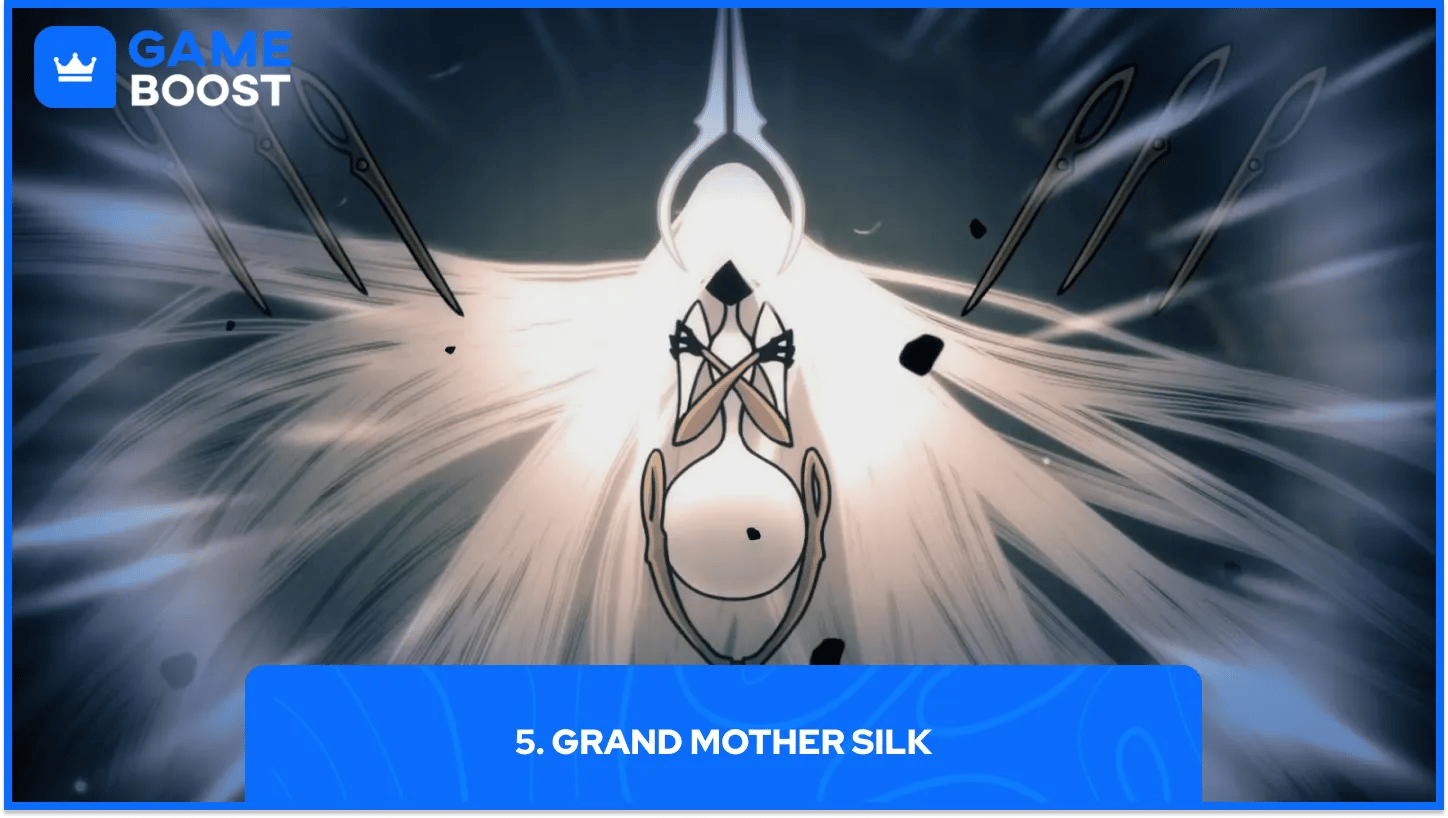
Act 2's final boss waits at the top of the Cradle, and she runs through six phases before she is done. Strafing needle volleys and grabs come first, then silk lines start dragging rocks and debris down into the arena.
Her last act is the mean one. She fakes her death off-screen, comes back, and the closing phases add a Spike Pull that raises spiked platforms out of the ground beneath you. Keep your pogo chains short so a rising spike does not catch you mid-combo, and treat every apparent ending as a phase change rather than a win.
How to beat: Fight on one half of the arena, watch the ground for Spike Pull tells, and keep enough Silk banked for the phases after her fake death.
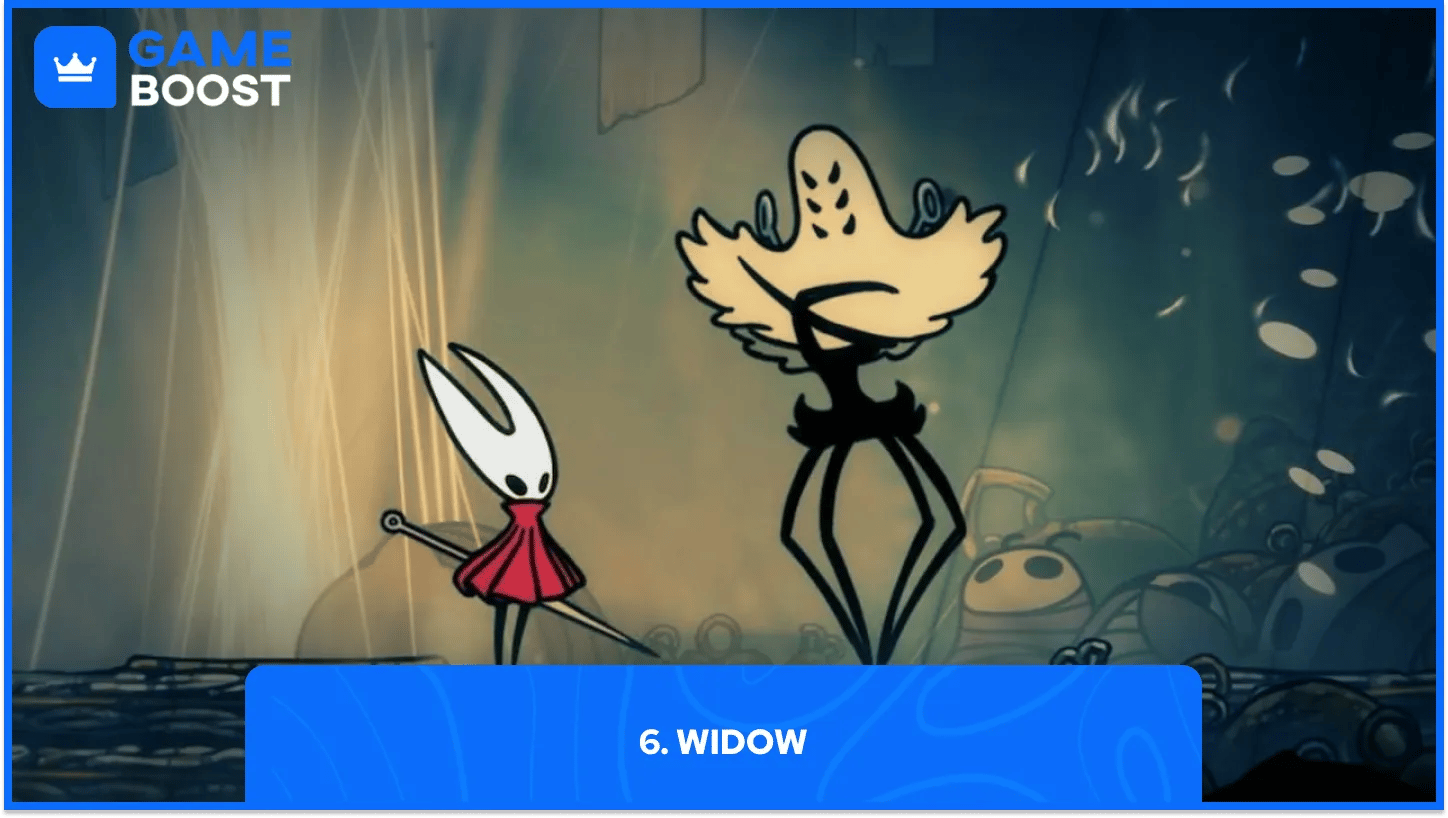
Widow waits in a room above Bellhart, reached through the bellveins in Shellwood, and the fight is optional. It hangs off the wish to save the threadspun town, which is the sort of side quest Silksong buries its hardest content in.
The arena attacks on two levels. Bells drop from the ceiling in ones, twos and threes, Widow charges along the ground between them, and the third phase rains bells diagonally and vertically at once. Track the ceiling first, since bells telegraph earlier than her charges. Healing windows sit right after a charge ends, and almost nowhere else.
How to beat: Read the ceiling before the floor, dodge the bell rain along the ground, and heal only in the gap after a charge finishes.
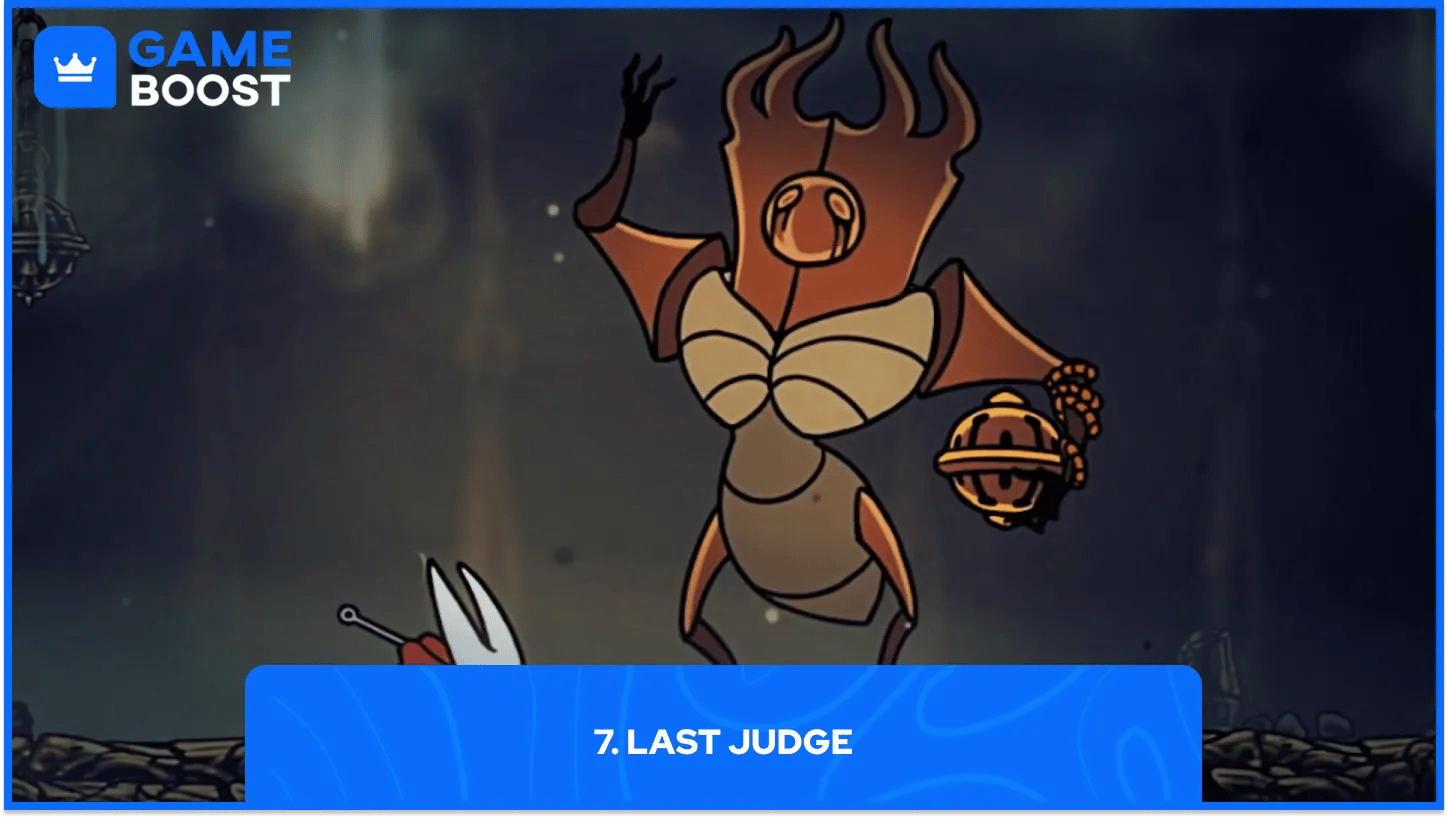
Act 1 ends at the Grand Gate in the north-east of the Blasted Steps, and this is where a lot of first playthroughs quietly stop. Phase one reads cleanly enough, with slams that open a damage window, whirlwind spins and a thurible throw.
Then the ball ignites at 540 HP and the floor stops being yours. Strikes detonate, spins throw fire rings, slams send shockwaves, and pillars of flame chase you across the arena. Two phases sounds merciful until you count the runback, which drains patience faster than the boss drains masks. Come in with full tools and treat the bench route as part of the fight.
How to beat: Bank damage on the slam windows in phase one, then keep moving through the fire patterns and heal only after a pillar sequence ends.

Bilewater hides this optional Act 1 boss in the Exhaust Organ, at the end of an alternate route into the Citadel, and beating it grants Cross Stitch. Fast melee strings mix with long-range needles, arena-filling slams and shockwaves that cut off the corners you retreat to.
Fitting, then, that it is the purest parry test in the game. Its cues repeat, so a few attempts spent learning them pay off more than any crest swap. Later phases strip away the safe spots you were using to heal, which turns sloppy early damage into a death sentence twenty seconds later. Come in with full masks and no plan to stall.
How to beat: Learn its interrupt cues over a few attempts, punish the recovery after its slams, and heal early, before the later phases take the safe corners away.
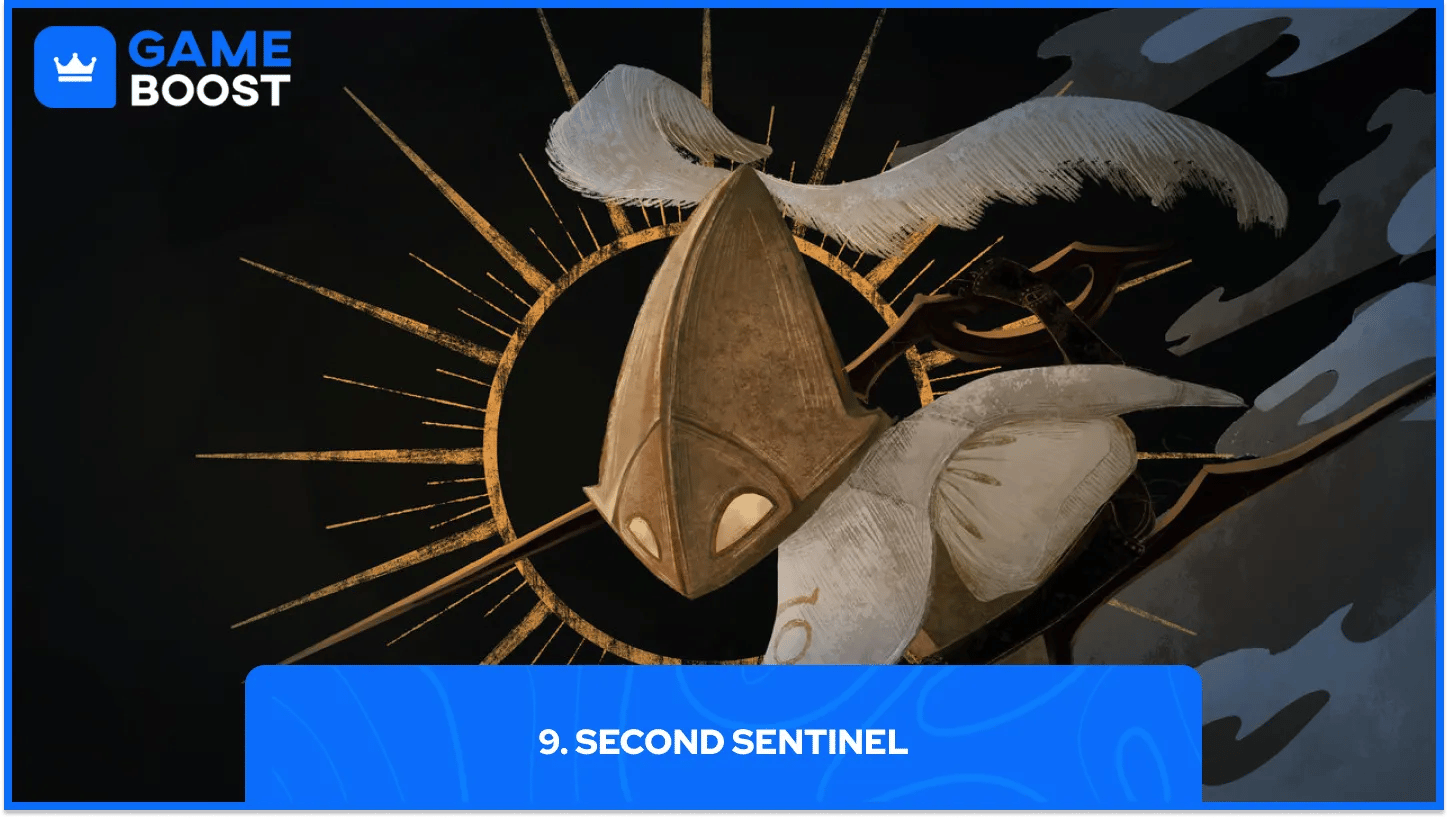
A wish called Final Audience sends you to the southeast of the High Halls for a spacing exam. Lunges, dive strikes, quick multi-hit combos and wave attacks all arrive with short tells, and standing where the last attack ended gets you clipped.
Scissor Strike is the move that teaches the lesson, a huge X slash with both blades that covers the ground most players retreat into. Hold mid-range, let combos finish, and take your hits on the counter rather than committing to a full string. Greedy players lose here far more often than slow ones.
How to beat: Hold mid-range, leave the space where the last attack landed, and answer the Scissor Strike with a single counter hit rather than a combo.
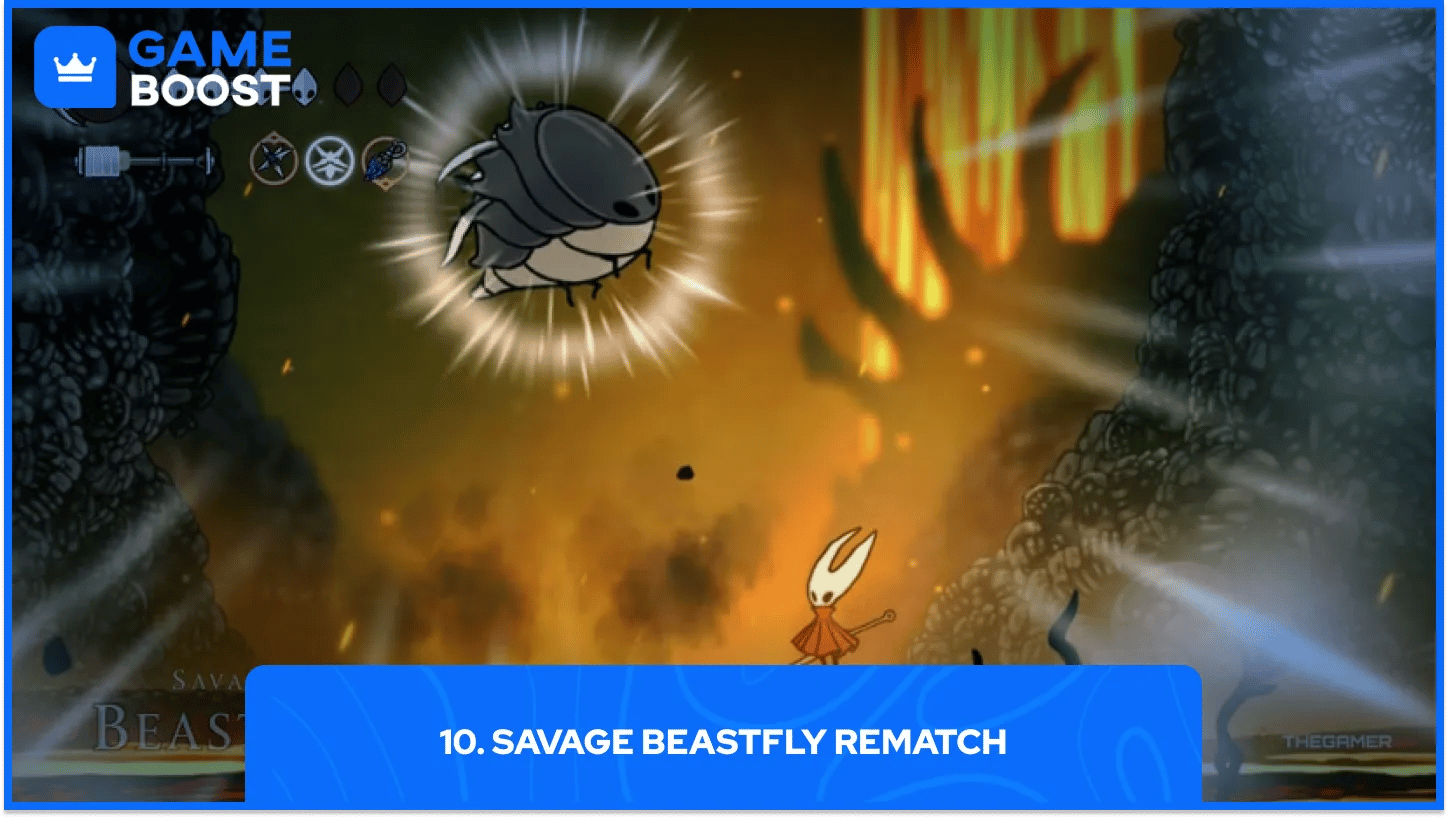
A wish from Bellhart sends you back to the Far Fields arena where you fought the Fourth Chorus, and the Savage Beastfly gets a much nastier room this time. Platforms hang over lava, the Beastfly smashes them, and it dives through the gaps to charge back up through the floor.
Summoned Tarmites make the mess complete, spitting globs of burning tar that stick to surfaces for a couple of seconds. Clear them first, since chasing the Beastfly through a crowded screen is how most attempts end. The boulder at the top of the arena does 100 damage and stuns it, which is the single fastest way to close the fight.
How to beat: Kill the Tarmites first, stay on intact platforms, and drop the boulder for 100 damage and a free stun window.
Crest choice changes more than your damage number. Nine crests exist, Hornet starts with Hunter, and Reaper, Wanderer, Beast, Witch, Architect, Shaman, Cursed and Cloakless each rewrite her needle attack and tool slots. A wall that feels impossible on one build often falls in three attempts on another.
Silk economy comes second. Bind costs 9 strands and restores three masks, and you gain one strand per needle or clawline hit, so healing is something you earn by staying on the attack. Retreating to recover is how these fights kill cautious players. Aggression funds your health bar.
Tools want a loadout of their own. A Straight Pin covers pressure at range, throwables handle the summon-heavy rooms, and a damage-focused setup wins races like First Sinner. Rebuild between attempts rather than running one kit all game.

The pattern running through this list is arena design more than raw damage. Grand Mother Silk raises spikes under your feet, Widow attacks two heights at once, the Savage Beastfly drops the platforms you stand on, Lost Lace covers your escape lanes with blades. Silksong's hardest bosses win by deleting the space you planned to dodge into.
That changes how you should practise. Spend the first two or three attempts learning where the room stays safe, and only then worry about the moveset. Players who flip that order burn twenty runs on muscle memory that the next phase invalidates.
Build inertia costs more attempts than any single attack does. A crest that carried you through Act 1 rarely holds up in the Abyss, and the tools you have run since Bone Bottom age just as badly. Rebuild for the fight in front of you.
Team Cherry has kept patching since launch, mostly with fixes rather than difficulty cuts, so a boss that feels different from what you remember is worth checking against the notes. Treat any ranking, ours included, as a snapshot of how the game plays today.
View all GameBoost Accounts
View all GameBoost Boosting Services
View all GameBoost Currencies
View all GameBoost Game Keys
View all GameBoost Gift Cards
View all GameBoost Top Ups
View all GameBoost Items
“ A former sports journalist and editor, Patrik joined Gameboost SEO team in 2026. He has spent most of his life playing Football Manager, but his sphere of interests spreads through whole gaming universe.”