

•Filip Premuš• 23 min read
Games
Sypha left her daughter Rose a tarot deck, and in Castlevania: Belmont's Curse, almost every boss Rose beats ends up inside it. Belmont's Curse Arcana are those captured bosses turned into spells, and the Belmont's Curse tarot cards that hold them also run your upgrades, your hints, and a good chunk of the story.
Our Castlevania: Belmont's Curse review found that most of the game's systems lean on that deck. Below, you'll find how Arcana work, what Works of Mercy and Blessings do, and which boss sits behind each card.
Beat a boss, absorb its card: defeated bosses are sealed into Rose's deck as Arcana, and each one is a spell.
One Arcana at a time: swap from Equipment > Arcanas. Fixed costs run from 30 to 100 mana.
Works of Mercy: every card has three side goals. Each one you finish lets you pick one of three upgrades for that spell, and clearing all three adds extra dialogue.
Traversal comes with cards: Holy Light, the Arcane Whip, and the double jump all arrive through Arcana bosses.
Cards affect the ending: Soul Harvest keeps you off the bad ending, and Absolution is required for the true ending.
Beat a boss, and it gets sealed into one of Rose's tarot cards as an Arcana. The official PlayStation page confirms this and names Death, Medusa, Carmilla, and Joan of Arc among the bosses. After the fight, a golden orb drops, and you hold the on-screen prompt to absorb the card.
Every Arcana is a spell paid for with mana. Fixed costs run from 30 for Cursed Flame to 100 for the Stained-Glass Shield. Life Drain is the exception, eating 5 mana per second for as long as you hold it, and mana upgrades hidden around the map grow the bar.
Only one Arcana can be equipped at a time, swapped from Equipment > Arcanas. That's the slot subweapons held in older Castlevania games: one ranged or utility tool on top of your main weapon, changed to suit the room.
The Fallen also hands over the Arcane Whip for grappling, Joan of Arc gives Holy Light, Talos adds a smash, and Death brings the double jump. Beating a boss often opens up the map as much as it fills your spell list.
All Castlevania Games Collection
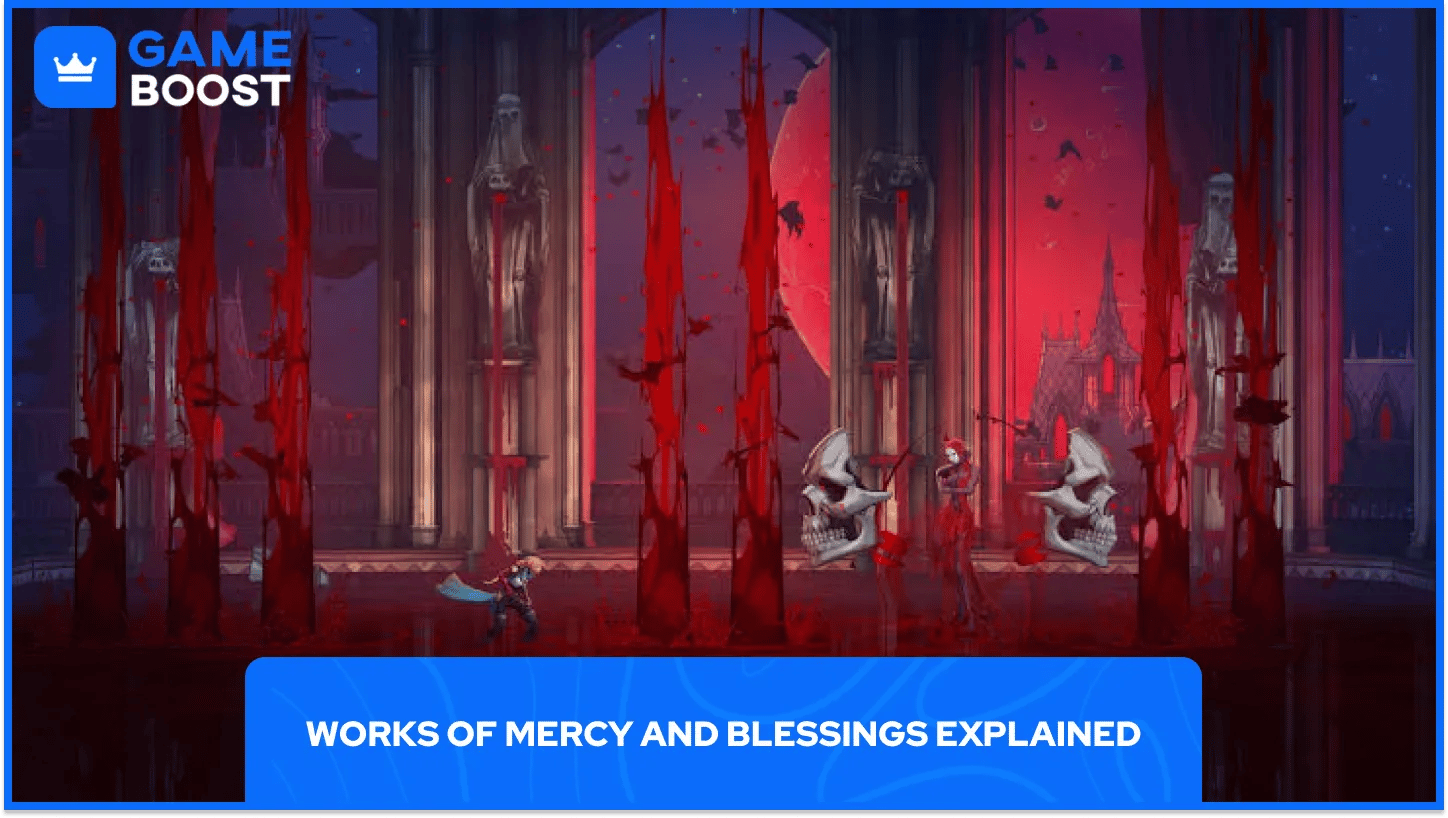
Every card carries three Belmont's Curse Works of Mercy, optional tasks tied to that Arcana. Finish one, and you earn a Blessing, a pick from three upgrades for that spell. Clear all three and the captured boss gets extra dialogue.
Tasks range from plain kill counts to odd requests, like petrifying an enemy that carries a shield. Holy Cross asks you to find three different whip-type weapons and land five kills with a single cross. Its Belmont's Curse Blessings offer a second cross, extra damage at range, or a mana refund of 10% per enemy hit when Rose catches the cross, capped at 60%.
Card | Source | Spell | What it does |
|---|---|---|---|
The Fallen | The Fallen | Holy Cross | Boomerang cross, hits going out and back |
The Warrior | Joan of Arc | Infernal Pyre | Fire pillars launch enemies |
The Prophetess | Medusa | Petrifying Gaze | Turns non-boss enemies to stone |
The Shadow | Death | Soul Harvest | Scythe swing, kills spawn sickles |
The Occultist | Carmilla | Blood Spikes | Spikes that cause bleed |
The Builder | Talos | Fist of Talos | Giant fist and ground quake |
The Zealot | Isaac | Chronomantic Dive | Leaping strike that slows enemies |
The Artist | Brauner (quest) | Masterpiece | Summons a fireball gargoyle |
The Miser | Mammon | Wheel of Chaos | Homing wheel, cheaper recasts |
The Whisperer | The Ferryman (quest) | Freezing Path | Intangible dash that freezes foes |
The Sage | Eleanor of Aquitaine (quest) | Mirror Walk | Teleport back, regain half the health lost |
The Brittle King | King Arthur | Stained-Glass Shield | Blocks hits, fires glass shards |
The Temptress | Succubus | Life Drain | Drains an enemy to heal Rose |
The Judge | Saint Louis (quest) | Chains of Justice | Roots enemies for 4 seconds |
The Self | Starting card, hidden Notre-Dame boss | Cursed Flame, then Absolution | Fire shot, later a curse-draining attack that heals |
Rose opens with Cursed Flame, the one spell that doesn't come from a boss, and later trades it for Absolution after a hidden fight in Notre-Dame.
The deck is the game's only guide. Each card's clue appears in the Tarot menu before you can claim the card, and Browse Clues lists every hint next to the spot where you found it.
Clues come from spirits, rhyming statues, and notes left on desks, plus the odd sketch. Some point straight at a boss room. Others lead to cards you never fight for: Brauner hands his over after you break his sculpture, and the Ferryman wants his Obol back.
Equipped cards also work on the world. Use Soul Harvest on the Clock Tower Bridge clock, and you avoid the bad ending. Fist of Talos on the chapel sword starts the Arthur fight, and Absolution on the Castle Rooftops is required for the true ending.
The map won't flag doors locked by levers you haven't reached, and our reviewer lost a full session to one. When you're stuck, open the Tarot menu before you start backtracking.
Sealed in the deck, captured bosses become voices in Rose's mind. She can talk to them, and they comment on her progress and bicker with each other. Joan of Arc settles into a supportive role, and Medusa mostly taunts Rose and quietly hopes she fails.
Joan's Works of Mercy include reaching a sacred place so she can pray, which sends you to Notre-Dame. Finish all three goals on any card, and that character gets extra lines.
A few bosses barely speak once captured, which stings given the quality of the voice acting. Why seal a boss in Rose's head and then leave it silent?
The Works of Mercy quietly steer how you build Rose. Holy Cross wants whips and Blood Spikes wants dual blades, so chasing Blessings pulls you away from a single favorite weapon. Chains of Justice asks for five health and five mana upgrades on top.
Ending conditions are where cards stop being optional. Equip Soul Harvest before you reach the Clock Tower Bridge clock, or the bad ending is waiting. Absolution has to be equipped on the Castle Rooftops if you want the true ending.
Mana costs and upgrade values here reflect the launch build, and the first patches could move them. If a number on your screen differs from the table, trust the game.
All Castlevania Games Collection
Castlevania: Belmont’s Curse Game Key
View all GameBoost Game Keys
View all GameBoost Accounts
View all GameBoost Boosting Services
View all GameBoost Currencies
View all GameBoost Gift Cards
View all GameBoost Top Ups
View all GameBoost Items
“ A former sports journalist and editor, Patrik joined Gameboost SEO team in 2026. He has spent most of his life playing Football Manager, but his sphere of interests spreads through whole gaming universe.”