

•Filip Premuš• 23 min read
Games
The Castlevania: Belmont's Curse bosses are where Evil Empire's Metroidvania hits hardest, and the Belmont's Curse boss order you pick decides how hard each one feels. Once Dracula's Castle rises, Rose can roam fairly freely, and it's easy to walk into a fight meant for hours later.
We covered the whole package in our Castlevania: Belmont's Curse review. This guide sticks to the fights: who you face, where each boss waits, the route that keeps scaling sane, and how the Belmont's Curse map, mirrors, and Belmont's Curse Custom Mode soften the runbacks.
The main route runs through eight bosses before Dracula, with Death and Isaac fought twice.
The Fallen, Medusa, and Joan of Arc each drop a key, and all three open the Catacomb Gate.
Custom Mode adds a checkpoint before boss doors, more damage, and less trap damage.
There are three endings, and the true one needs Absolution equipped when Dracula's second form falls.
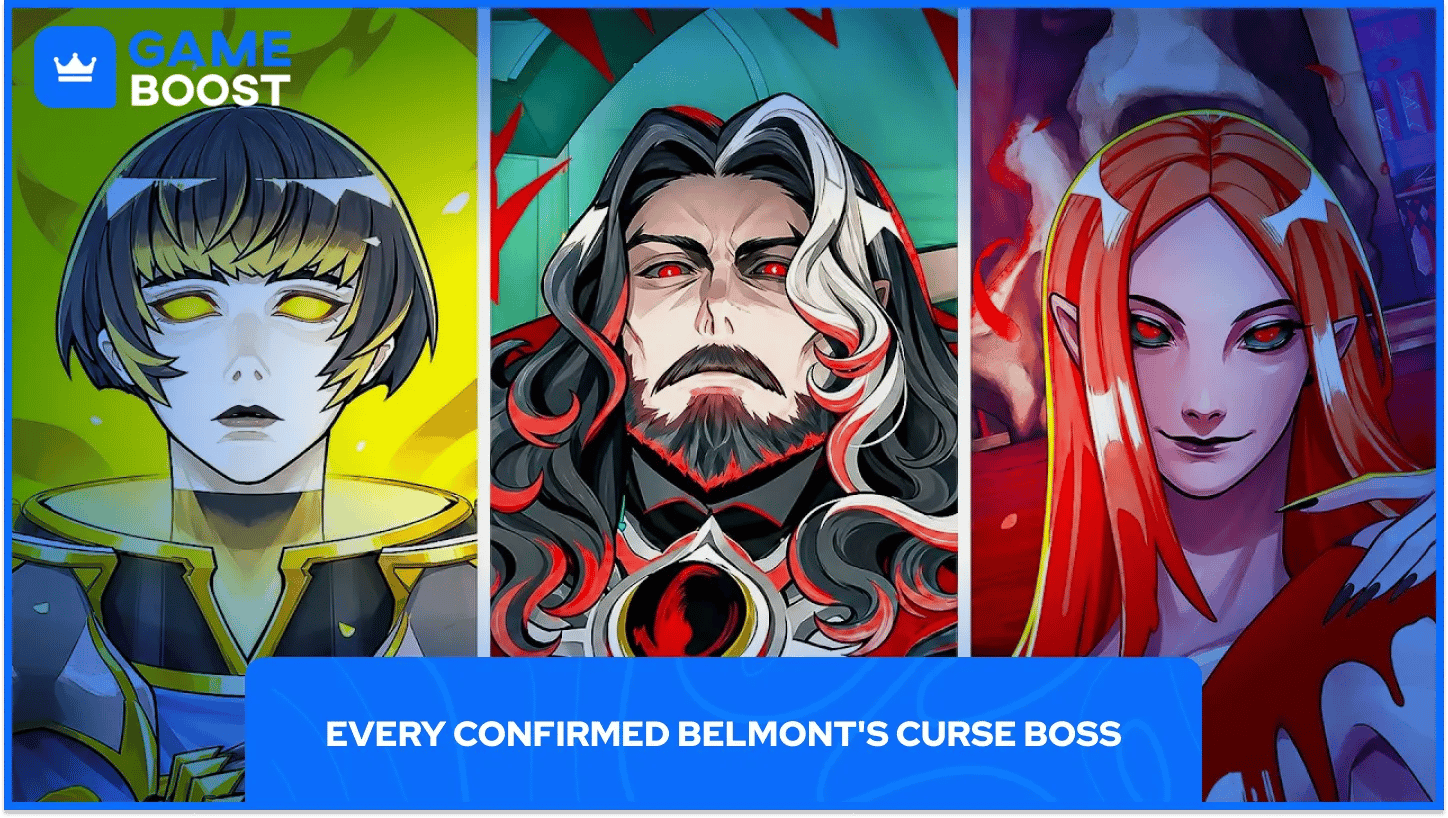
Konami's official Belmont's Curse character page names six bosses: The Fallen, Joan of Arc, Medusa, Isaac, Carmilla, and Death. Talos, Mammon and Dracula complete the main route.
Boss | Area | What to know |
|---|---|---|
The Fallen | Sewer arena below the Path of the Rat | Two or three hits per opening. Drops The Fallen's Key |
Medusa | Serpents' Lair, Holy Innocents' Cemetery | Floating platforms over water. Drops The Prophetess's Key |
Joan of Arc | Roof of the Prison Tower | Drops The Warrior's Key |
Death (first) | Catacombs ritual chamber | Scripted loss that raises Dracula's Castle |
Carmilla | Observation Tower | Grants The Occultist |
Talos | Clock Tower | Spans several areas, ends on a 1:30 timer |
Mammon | Circle of Greed | Door needs three eye relics equipped |
Death (rematch) | Notre-Dame Transept | Grants The Shadow and its Soul Harvest spell |
Isaac | Heart of the Clock | His first appearance is an illusion |
Dracula | Throne Room, Castle Rooftops | Two forms, the second decides your ending |
Every boss you defeat gets sealed into a tarot card that works as an Arcana spell, and its lore hints at where to head next. Along with sketches, poems, and ghosts, they're the only directions the game gives you.
Death's rematch was our favorite fight, with Rose swinging around the cathedral to dodge his scythe. Talos drags things across several rooms before a timed finish.
One vampire encounter also shows a counter of hits you can take before Rose falls, which forces careful play. What else happens when it hits zero isn't confirmed.
Rose gains experience as she goes, and the intended route keeps her level roughly in line with each boss. When we took bosses off that path, some fights spiked sharply.
The big early gate is the Catacomb Gate in the Abandoned Sewers. It needs The Fallen's Key, The Prophetess's Key, and The Warrior's Key, so the opening hours funnel you through those three fights.
Once the castle opens, you get more freedom and more ways to get it wrong. Do the Death rematch before touching the glowing clock on Clock Tower Bridge. Activating it without Soul Harvest equipped leads to a false throne room and the bad ending credits. Play resumes at a Mirror of Life afterward.
Rose's holy shield parry opens up after the second boss and sits on its own button, so you can attack and parry together.
All Castlevania Games Collection
The Belmont's Curse map covers the Paris Streets and sewers, Holy Innocents' Cemetery, the Prison Tower, the Catacombs, the Justice District, and Notre-Dame. Dracula's Castle adds its own Library, Clock Tower, and Hall of Mirrors.
Your map fills itself in, uses custom icons, and tracks your exploration percentage. It doesn't flag doors locked by levers you haven't reached, and we lost time to a corridor we'd passed several times.
Breakable walls hide meat, which matters with healing this scarce. HP and MP expansions sit behind platforming challenges, and trap gauntlets hand out Relics, with up to three equipped at once. Mammon's door alone eats all three slots.
Mirrors of Life are your save points and fast travel hubs, and each one restores health and refills potions. Some sit a long walk from the boss door.
Enemies respawn when you save, so every failed attempt means fighting your way back. The XP from that walk stays, so runbacks still level Rose.
Belmont's Curse Custom Mode adds a checkpoint before boss doors, raises Rose's damage, and cuts trap damage. It toggles anytime, so you can switch it on for one stubborn boss and back off afterward.
The Arcana cards are the closest thing this game has to a strategy guide. Following their hints keeps you on the route the scaling expects.
Early on, the three keys pick your path for you. Later, Soul Harvest from the Death rematch keeps the Clock Tower Bridge from ending your run with the wrong credits.
Konami still hasn't confirmed a full boss count, and wikis are filling in fight details week by week.
All Castlevania Games Collection
Castlevania: Belmont’s Curse Game Key
View all GameBoost Game Keys
View all GameBoost Accounts
View all GameBoost Boosting Services
View all GameBoost Currencies
View all GameBoost Gift Cards
View all GameBoost Top Ups
View all GameBoost Items
“ A former sports journalist and editor, Patrik joined Gameboost SEO team in 2026. He has spent most of his life playing Football Manager, but his sphere of interests spreads through whole gaming universe.”