

•Filip Premuš• 22 min read
Games
Control Resonant bosses are where Remedy's new combat system stops being forgiving. The Resonants are warped figures scattered across Manhattan, and every one of them hands Dylan Faden a new combat ability once it goes down. This Control Resonant boss guide covers all seven major fights, from the Artist to the Hedron.
In our Control Resonant review, the build system earned its own section for rewarding players who keep tinkering with abilities and Talents. The Resonant bosses sit right at the center of that system. Beat one, pick one reward, and live with the pick for the rest of the playthrough.
The launch fights also changed within days of release. Remedy's Hotfix 1.3.3 cut base health and the required Falter level for most enemies, plus the Dancer and the Deserter. Below, you'll find the boss order, the ability each Resonant drops, and how to beat every one of them.
Beat the Artist first. It's the mandatory opener, and since Hotfix 1.3.3 it drops two Reset Items instead of one.
Keep moving in every fight. Standing still is the fastest way to die, and a perfect dodge flows straight back into your combo.
Fill the Falter bar. A broken bar lets you execute, executions grant a short melee damage buff, and melee hits refill Power for abilities.
Try to clear the Deserter before the Collective. Its fire rewards, Ignite and Inferno, pay off against the Mold-heavy Park fight.
Destroy the four magma sacs in the Deserter's final phase right away, or it keeps healing.
Stay aggressive against the Co-Director. Its Command meter fills over time, jumps when you take hits, and ends the attempt once it's full.
Learn the Hedron's beam rhythm in phase two, and arrive with your full movement kit.
Use Assist Mode freely. It adjusts damage, the dodge window and more, and no trophies or achievements are locked behind it.
Control Resonant runs as a semi-open map, and the order after the Artist bends a little depending on where you push the story. Most Resonants also sit behind a movement ability or a small key hunt. The table follows the order guides recommend for a first playthrough.
Boss | Region | How to reach it | Ability reward |
|---|---|---|---|
The Artist | Downtown | Story progress during Orientation | Barrage, Shield or Volatile Anomaly |
The Dancer | West Incursion Zone (Theater) | Finish Incursion Fault, have Shift | Push or Ground Slam |
The Deserter | Central (Patterned Factory) | Clear the factory cooling route | Ignite or Inferno |
The Collective | The Park (Mold Gate) | Consume four pieces of Mold, have Shift | Spore Burst or Growth |
The Physicist | Underpass (The Spire, Astral Plane) | Collect three Astral Keys, have Shift | Spike or Astral Rebuke |
The Co-Director | The Unknown | Follow the Unknown Resonant route | Command (no choice) |
The Hedron | The Unknown (final fight) | Sever the Hedron Links, finish the story | None |
The Collective hangs off a side route in the Park, and some guides list it as optional. Skipping it means giving up a projectile option (Spore Burst) or a Mold ally (Growth). At the other end, the Co-Director hands over Command with no choice at all.
Outside the six Resonants, the Hedron serves as the final story boss, and its last phase leans on movement more than on your build.
Every Resonant ends with a pick. Dylan takes one combat ability from the list that boss offers, and you can't collect every option in a single playthrough. Each Resonant fight doubles as a build decision.
The Artist offers three options. Barrage launches projectiles, Shield wraps Dylan in a debris barrier, and Volatile Anomaly summons a turret-like ally you can throw and detonate. We picked Volatile Anomaly in our review playthrough and ran it for most of the story, next to a Glaive and Crush melee setup.
Talents and Artifacts sit on top of that. Talent trees have exclusive picks, so no single run fills them all, and Artifacts add passive modifiers plus status effects like fire and Mold damage over time. Respeccing costs Reset Items, and the hotfix cut respec costs and put more Reset Items in vendor stock. A Talent build that isn't working is cheap to redo.
By the midgame, aim for at least one summon in the kit. Volatile Anomaly or Growth keeps chip damage going as Dylan dodges, and that matters a lot once the late fights stretch out.
The first three Resonants teach the rules. Each one leans on a different skill: spacing for the Artist, patience for the Dancer, and arena control for the Deserter. Dylan's kit is thin here. In our playthrough, combat only clicked once a second ability and a proper combo ender came in.
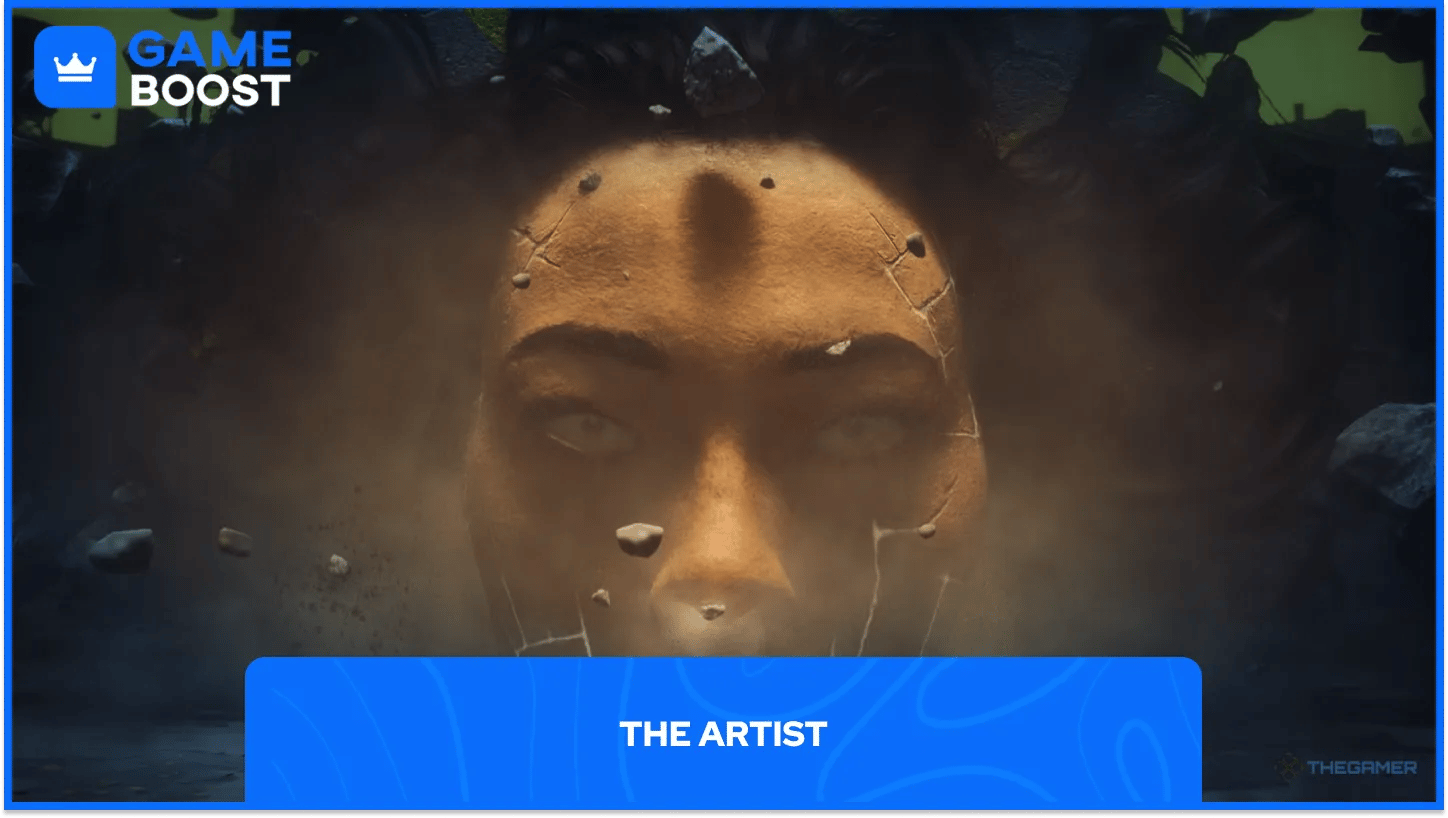
A huge stone head fused with twisted artwork, the Artist opens by charging a spread of rocks and hurling them across the arena. Jump over the spread and close the gap. Up close it summons two giant stone pillars that swing and slam the ground. Dodge through the swing instead of backing away.
From range, it throws street signs that spin like blades, whole cars and more rock scatter. The last phase starts once its health drops far enough: the Artist floats up and raises chunks of stone terrain around it. Jump onto a rising platform, launch upward and dash at the head. A single hit cancels its charge attack.
How to beat: Close in between its sweeping attacks and punish after each pillar slam. When it rises, climb the stone platforms and hit it mid-charge, then fill the Falter bar for the finishing grapple.
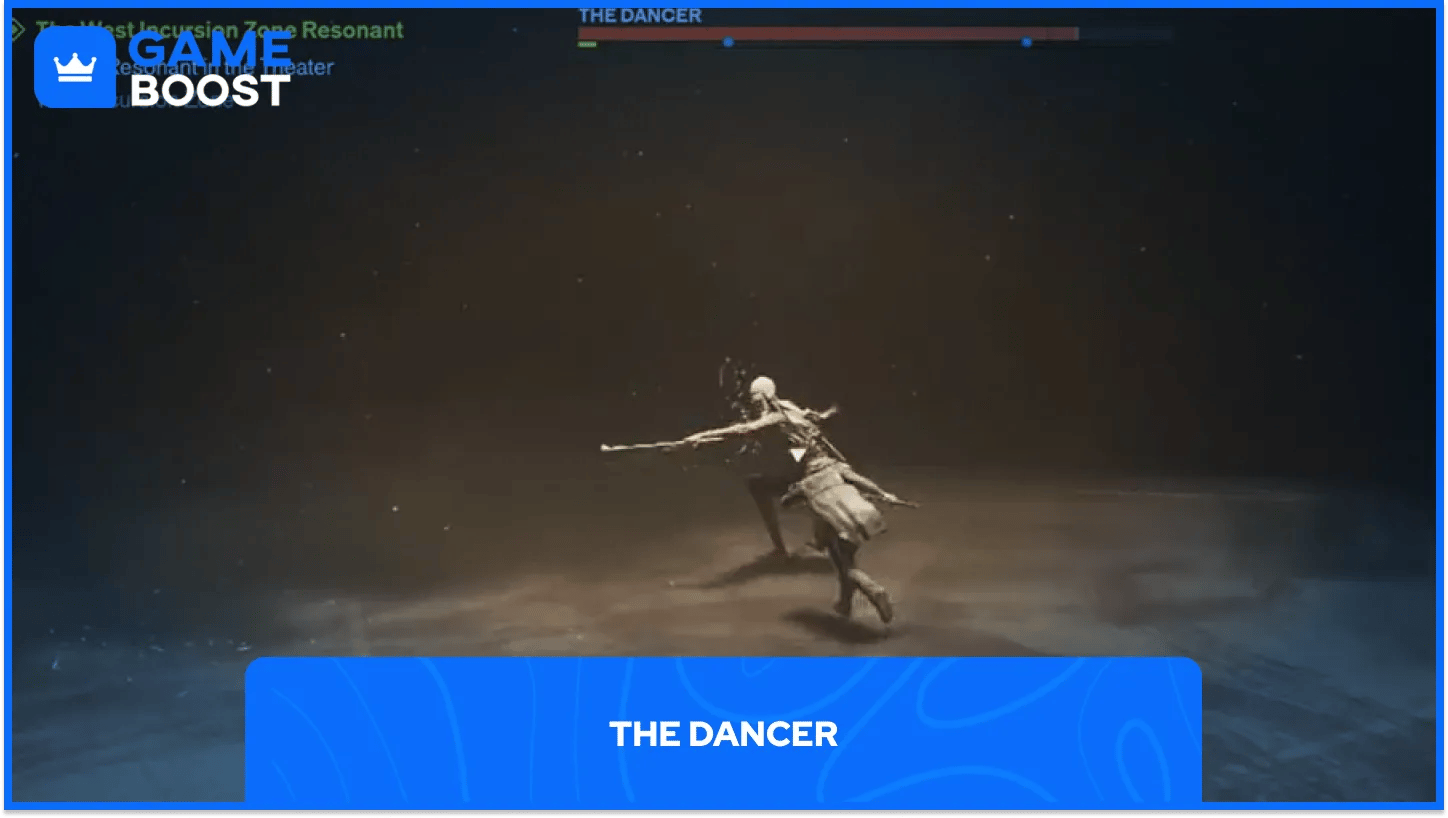
Behind a rip in the curtain of the West Incursion Zone theater, the Dancer waits. It's a masked humanoid with two batons, and it strings jabs, gliding spins and pounces into rhythmic chains. The first phase is slow and hits softly. The attack that hurts is the final committed strike of each chain.
Phase two starts after your first Falter finisher, and the Dancer gets erratic. It leaps around the arena with shockwave landings, then grabs two floating bodies and throws them at Dylan. A sprint gets you clear of the throws. Ranged and summon abilities help against its airborne attacks, and a second Falter break ends the fight.
How to beat: Don't dodge every flourish. Wait for the last strike of each sequence, perfect dodge it, then counter during the long recovery. In phase two, sprint out of the body throws and punish its landings.
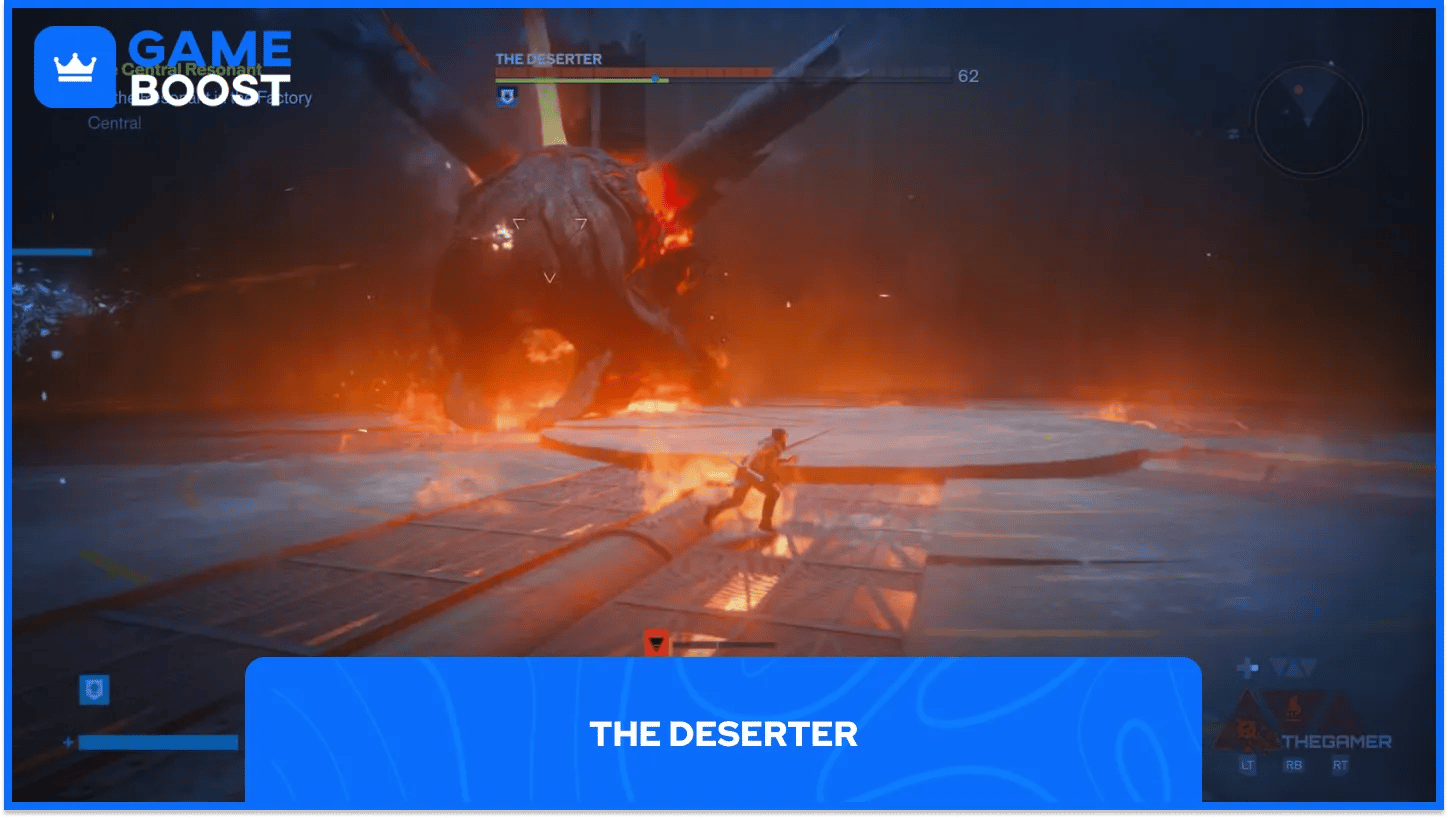
Expect a war of attrition in the Patterned Factory. The Deserter is a bulky, fire-covered brute with a big health pool, and it opens with a lava spew that tracks Dylan. Run wide circles with Rush until it stops. Standing in lava stacks Burn fast, and Float or an air dash gets you over a burning floor.
Its melee is readable. A kneeling dive telegraphs well and leaves it open, and the hot-poker stabs miss often if you stay behind it. Later it fires three fireballs in a row: dodge the first two and perfect dodge the third for a counter. In its final phase, it spawns four magma sacs around the arena, and the longer they burn, the more health it regains.
How to beat: Circle behind it and attack after each dive. When the magma sacs appear, drop everything and destroy all four before going back to the boss.
Late-game Resonants turn into long endurance tests, and enemy health bars keep growing. These arenas lean on movement abilities like Shift, and the room itself becomes part of the puzzle. A complete build with a summon matters much more from here on.
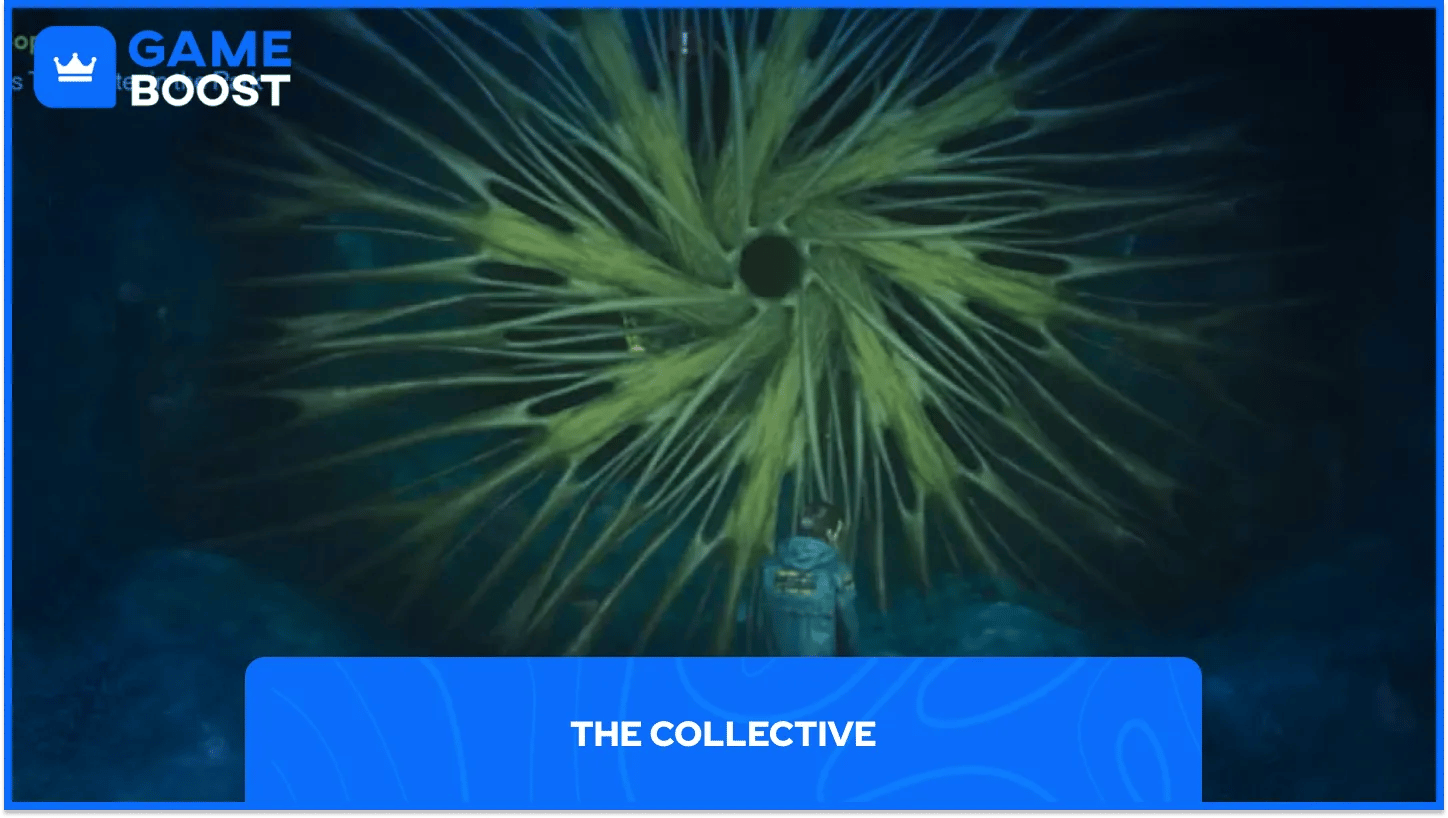
Beneath the Park sits the Collective, a mass of bodies, Mold and Patterning guarded by giant tentacles. The arena spans three planes, and Shift lets Dylan walk the walls between them. Tentacles and Mold enemies spawn on the side planes, and their acidic projectiles can hit you from one plane to another.
Ignore the central body at first. Shift to each tentacle, destroy it and clear the Mold wave around it. Once the tentacles are gone, bulging eye-mouth weak points open on the body, and that's your damage window before the cycle repeats. Fire from Ignite or Inferno speeds up the Mold clearing.
How to beat: Tentacles and adds first, body second. Keep moving between planes to dodge the acid, then burst the weak points the moment they open.
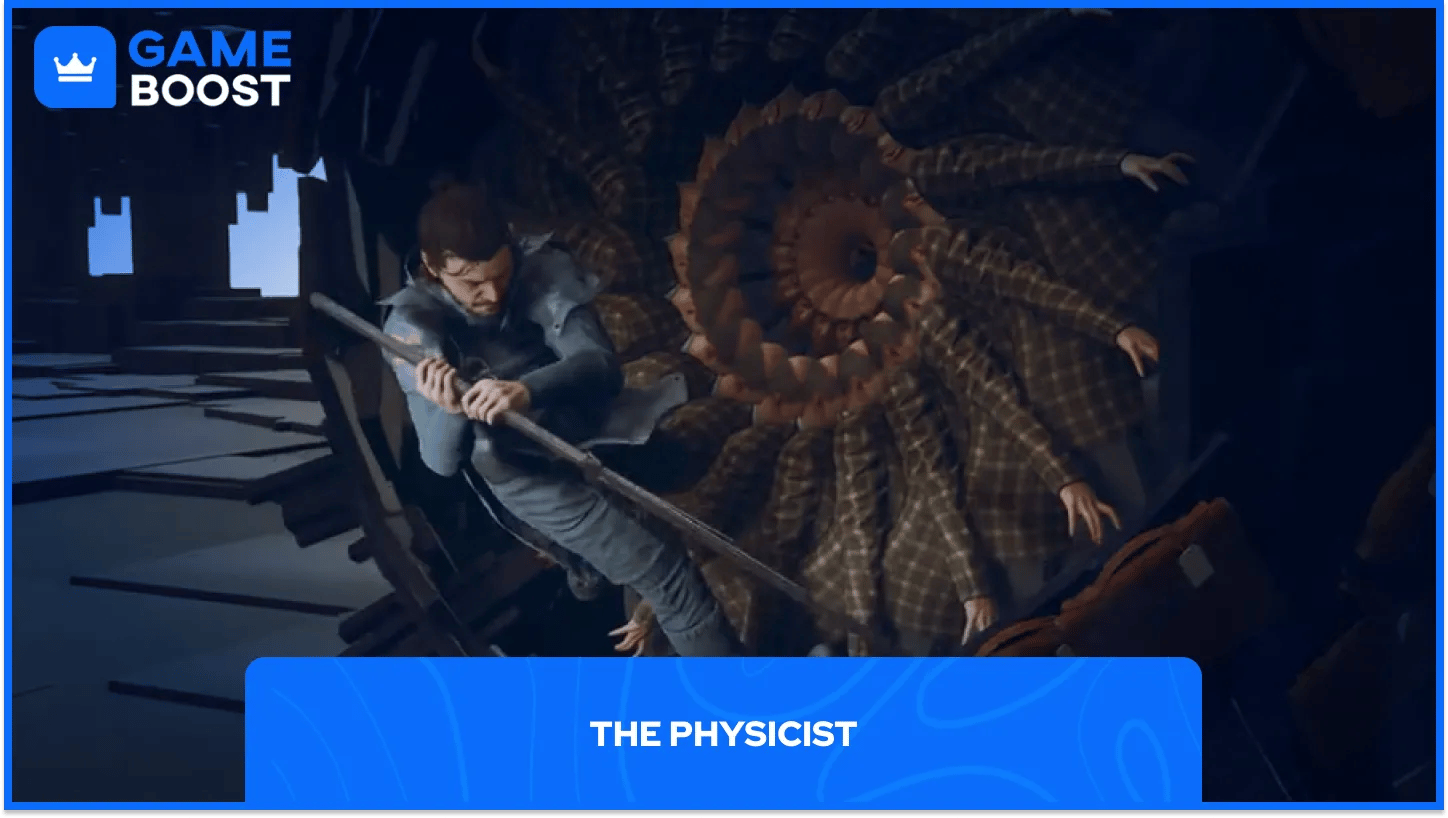
Up in the Astral Plane, the Physicist waits above the Spire, behind a door that takes three Astral Keys. The fight moves across three arenas. Expect log-like arm sweeps and knockback pulses up close, plus projectiles from range. At times it rises and throws three waves of debris, and you need to outrun each one.
In the second arena it breaks apart into smaller enemies, and killing all of them forces it to rebuild. A wide weapon like Glaive clears that phase quickly. Both threats return together in the final arena. Pick targets and keep repositioning, as the safe ground keeps shifting under Dylan.
How to beat: Attack hard whenever it comes down to ground level, jump over the arm sweeps and combo from above. Drop Growth or Volatile Anomaly to keep chip damage going as you reposition.
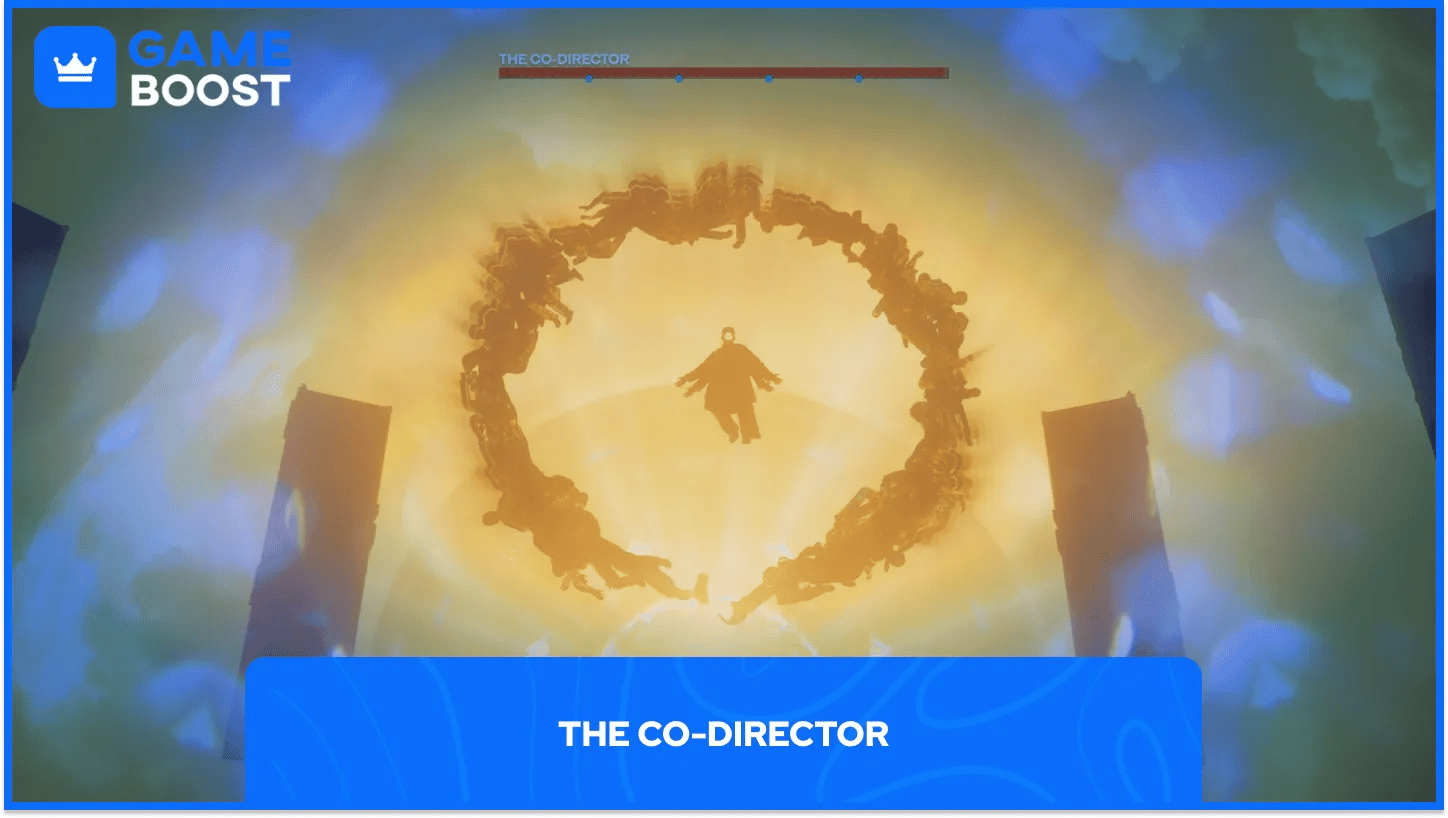
Patience gets punished here. A Command meter rises through the whole encounter and spikes whenever the boss hits Dylan. If it fills, the attempt fails, and nothing lowers it. The fight comes down to damage output and clean dodging.
It flies almost constantly, and the arena pillars get you up to it. Dodge its long beam sideways and backdash when the outer ring contracts. It also beams allied Rangers and turns them against you, so kill converted Rangers fast. Once you've taken about a third of its health, it adds bombs and a telegraphed ground slam. A long chasing spin comes with them, and you outrun it in laps. At half health, soldiers on the outer ring start firing three-shot rocket volleys.
How to beat: Play aggressive from the first second. Avoid the beam and bombs above everything else, since they fill the meter fastest, and clear soldiers before it can convert them.
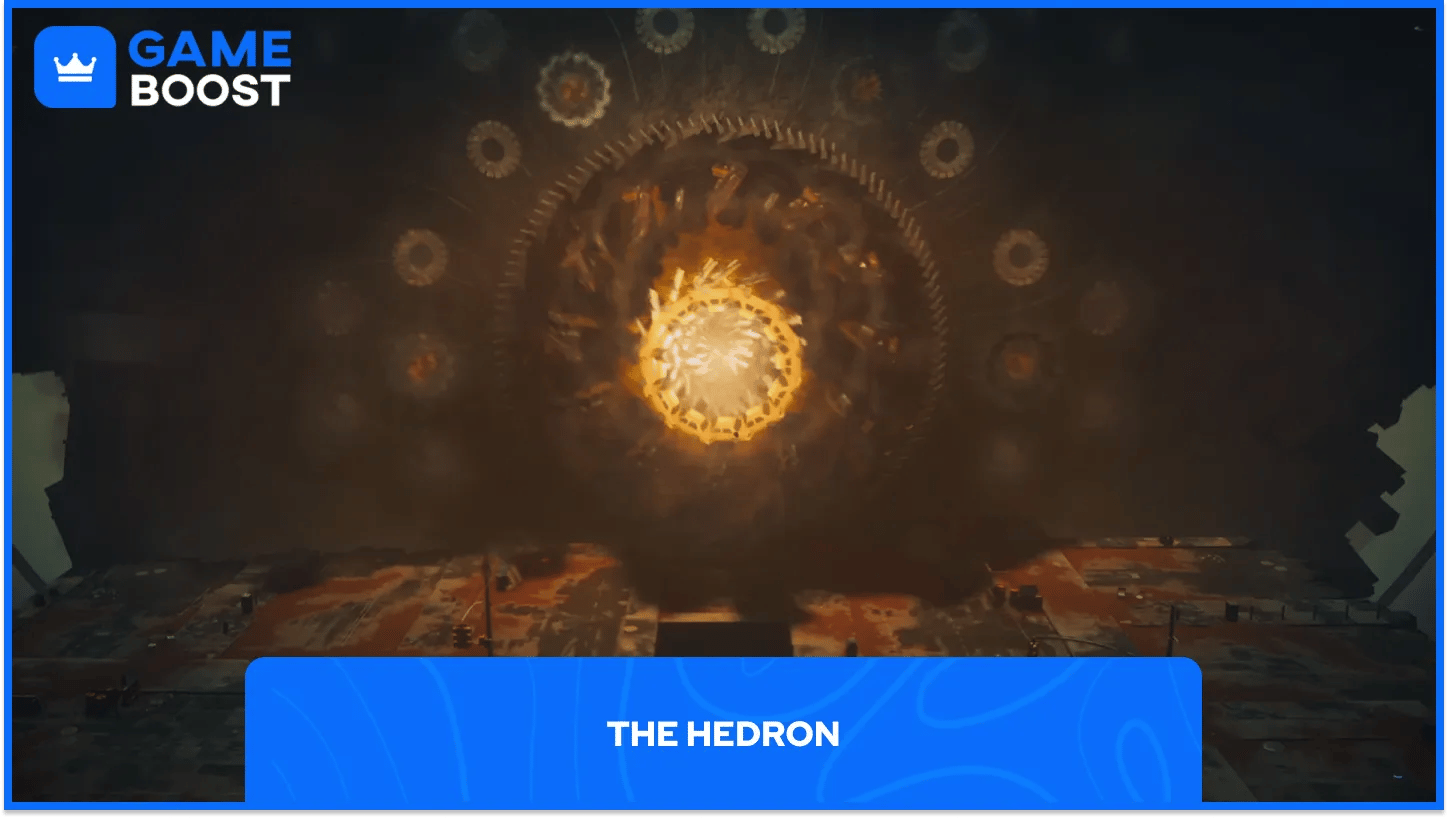
Walkthroughs list Rush, Shift, Reach and Command as the abilities this last fight calls on, and the main path hands you all four before you get here. Phase one plays out on a rusted platform with taxis spiraling around the core. Stay near the center, keep up the damage and sidestep its basic attacks until Dylan can grapple the core for a strike.
Phase two brings flying spiked enemies and a ring of vehicles that closes in. White energy beams fire alone or in combinations on top of that. The flying enemies resist Raw damage, so fire or Mold effects from your build speed them up. In phase three the arena breaks apart, the Hedron rises, and Dylan jumps between floating platforms to dodge sweeping triple lasers. Guides disagree on how much damage lands on the Hedron itself, so treat the enemies around it as part of its health.
How to beat: Watch the beam pattern for one or two cycles before dodging to its rhythm. Clear the flying enemies to reach the core, and plan each jump in phase three. Rushing the gaps gets you killed.
They can be early on, and Assist Mode is the fix Remedy built in. It lets you tune enemy aggression, the perfect dodge window, projectile speed, damage in both directions, Falter and Power recovery, and even immortality or one-hit kills. No trophies or achievements are locked behind any of it.
The sliders go both ways, so anyone who finds the game too easy can push aggression and damage up. In one Steam Community thread, players split on exactly that: some called the bosses brutal, others called the game too gentle.
Before touching the sliders, check your build. Spend Talent points, slot Artifacts that fit the boss (fire damage against the Mold-heavy Collective, for example) and upgrade Aberrant Strength. Hotfix 1.3.3 raised the maximum Aberrant and Ability Strength, so upgrades now pay off more.
Healing comes from pickups and enemy drops, and in a hard fight the damage coming in can outpace it. Treat every Falter break as your best damage window. Executions add a melee damage buff, and melee hits refill Power for Shield or a summon.

The Resonants reward the same habit the whole game does: experimenting. Ability picks are permanent for the run, but Talents aren't, and cheaper respecs after the hotfix make it painless to rebuild around whatever the last boss gave you.
In practice, the Co-Director is the boss to plan for. Everything before it lets you play safe and chip away, and its Command meter takes that option away. Walk in with your strongest damage setup and a summon you trust.
Nobody outside Remedy knows how far the tuning will go. The first hotfix named only the Dancer and the Deserter among the bosses, and the late fights are still the longest in the game. Would anyone complain if the Co-Director got the same treatment?
For now, learn each boss's tell, keep moving and don't feel guilty about Assist Mode. Beating a Resonant your way still counts.
Control Resonant Game Key
View all GameBoost Game Keys
View all GameBoost Accounts
View all GameBoost Boosting Services
View all GameBoost Currencies
View all GameBoost Gift Cards
View all GameBoost Top Ups
View all GameBoost Items
“ A former sports journalist and editor, Patrik joined Gameboost SEO team in 2026. He has spent most of his life playing Football Manager, but his sphere of interests spreads through whole gaming universe.”