


•Patrik Mršnik• 6 min read
Games
Hellraiser: Revival combat runs on scarcity. Clive Barker's Hellraiser: Revival gives you four firearms, breakable melee weapons, and very little ammo. On the hardest Hellraiser: Revival difficulty, every manual save costs a token you have to find first.
In our Hellraiser: Revival review, the gunplay was the part that held the game back. Enemies rarely stagger, so a body shot is hard to read, and every guess costs rounds you can't spare. Melee and careful saving cover most of that gap.
Below, you'll find how the Hellraiser: Revival weapons work, what to craft, how stealth stretches your supplies, and what each difficulty does to your saves.
Save bullets for bosses like Marlowe and the Sister of Mercy, and let melee handle regular cultists.
Blunt beats armor, blades beat flesh. Match the weapon to the enemy and repair it before big fights.
Crafting covers the basics: repair kits, bandages, lockpicks, and ammo, from 12 blueprints by our count.
Stealth takedowns need you unseen by every other enemy, and a thrown bottle or stone pulls guards away.
Normal autosaves, Hard drops autosave, and limits save spots, and Hellraiser charges one save token per save.
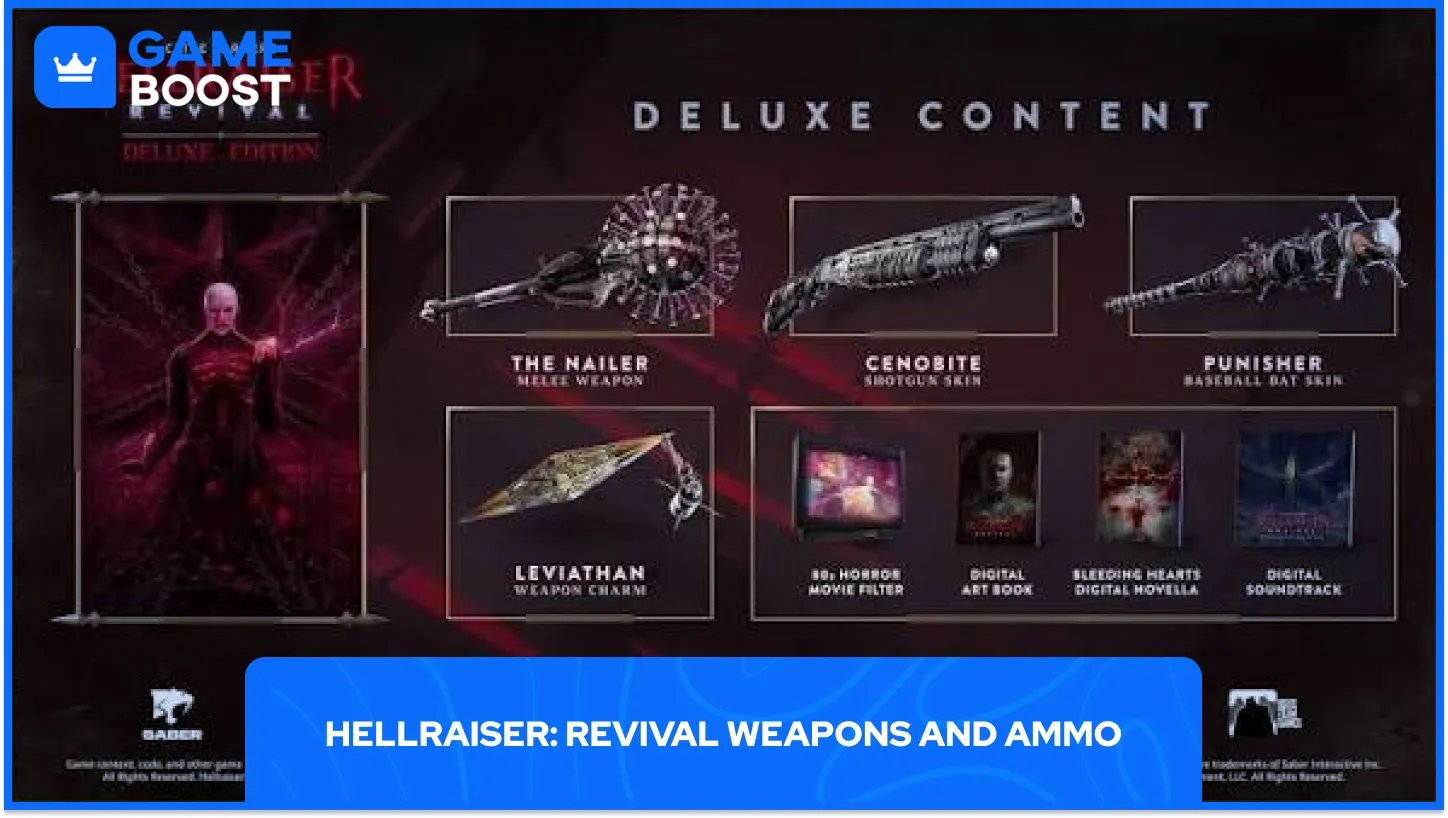
The firearm lineup is a pistol, revolver, shotgun, and SMG. Enemies rarely stagger when hit, so you often can't tell how much a body shot did. Expect to burn extra rounds as you learn each gun.
Treat bullets as a boss resource. Melee won't get you far against Marlowe, the cult leader, or the Sister of Mercy. Reload to full after every fight too, since the Unworthy swarm you in large numbers late in the game.
Threat | Best answer |
|---|---|
Armored cultist | Blunt melee weapon |
Enemy with exposed flesh | Bladed melee weapon |
Lone, unaware guard | Stealth takedown from behind |
Marlowe or the Sister of Mercy | Firearms, saved up for it |
Late-game Unworthy swarm | A full magazine |
Aidan can dual-wield, and the PlayStation Blog gameplay post puts dual-wield attacks on R2 and Genesis Configuration abilities on L1 on PS5. Stun an enemy, and you can banish him into the box to win back health.
Melee carries most of the Hellraiser: Revival combat loop. Blunt weapons crack armor, blades cut exposed flesh, and the right pick saves hits and durability.
Every swing wears a weapon down, and the bigger, harder-hitting ones break after enough hits. Repair kits restore them through the inventory's Repair action, so fix your blade before you walk into a room full of exposed enemies.
Crafting uses scavenged parts and, by our review's count, twelve blueprints. Repair kits, bandages, lockpicks, and ammo all come from it, so search drawers, shelves, and containers as you move through each area.
The vendor buys loot and sells weapon upgrades, and her stock changes between visits. Sell treasure you'll never use and check her shelves each time you pass, since a useful upgrade may show up later.
A visibility indicator shows whether you're hidden. Darkness works in your favor, and on PS5 the flashlight switches off with R3. Takedowns only work when no other enemy can see you. Wait for a patrol to split up, then take the straggler from behind.
Throwing a bottle or stone pulls a guard off his route. Use it to separate a pair, so one of them walks into takedown range alone.
Detection can misfire in tight rooms. Our reviewer got spotted through a solid wall once or twice and switched to the box for cleanup there.
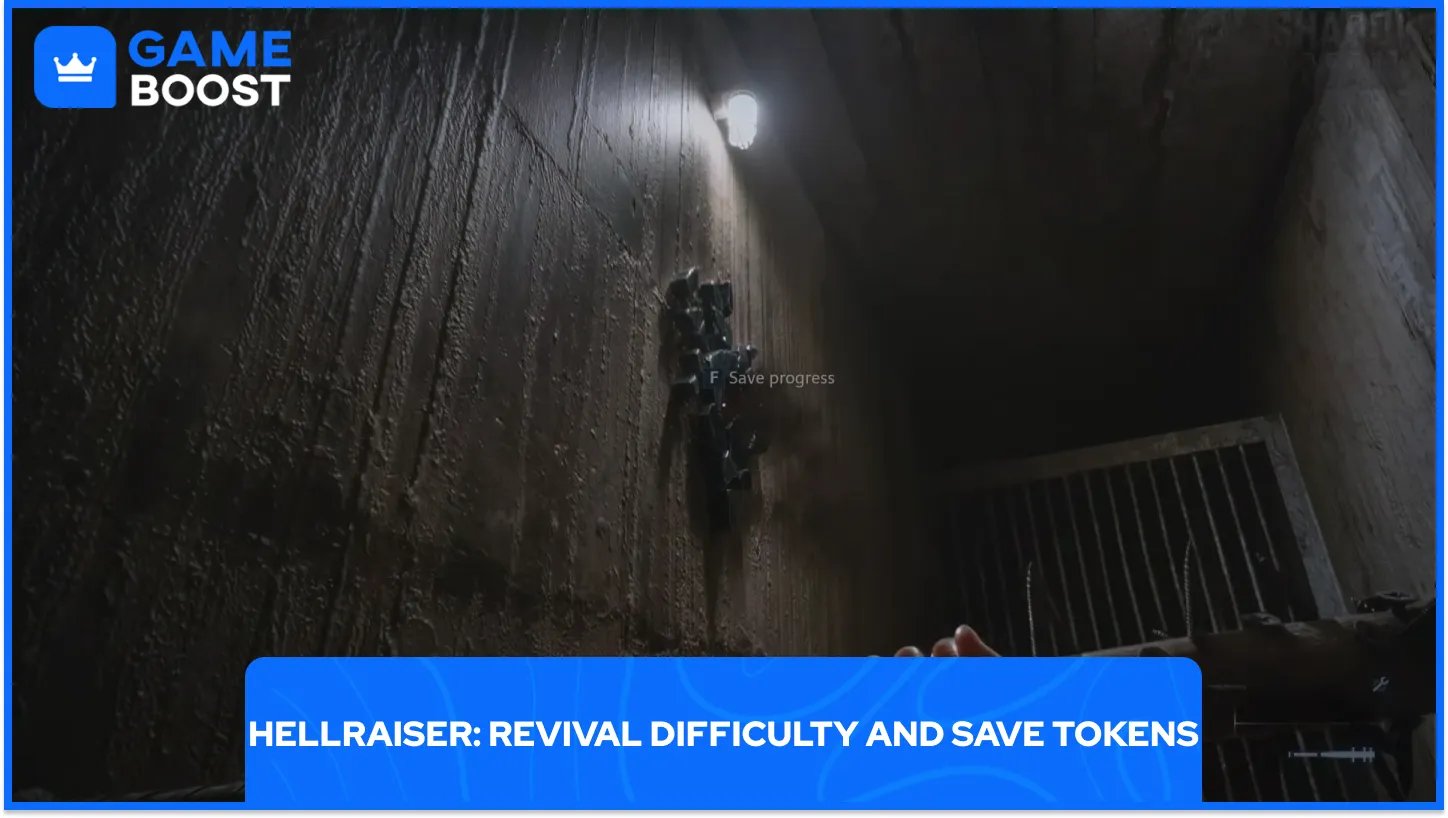
Saving happens at fixed openings in the walls, which also hold the item stash. How often you can use them comes down to the Hellraiser: Revival difficulty you pick.
Difficulty | Autosave | Manual saves |
|---|---|---|
Easy | Not stated | Most forgiving, built for story-first players |
Normal | Yes | At wall save points |
Hard | No | Fewer save points |
Hellraiser | No | One save token per save |
You can only pick Hellraiser when you start a new game. Each manual save there spends one of your Hellraiser: Revival save tokens, and without one the game won't write a save. The first token sits on a gurney in an examination room, and it's the only one reported between the compound entrance and the chapel.
Death sends you back to your last save and wipes every item collected since. On Hard and Hellraiser, save before anything that looks like a chase or a sealed arena, and spend a token after a big haul of supplies.
The guns are the weakest tool in your kit, and the game gets easier once you plan around that. Let melee do the daily work and keep bullets for bosses like Marlowe.
On Hard and above, every save point is a decision. One bad fight can wipe out a long stretch of looting, so a save you skipped hurts more than the token you'd have spent.
Which difficulty should you start on? A first run on Normal teaches enemy types without the token pressure, and the free Steam demo lets you try the controls before you commit.
Hellraiser: Revival Game Key
View all GameBoost Game Keys
View all GameBoost Accounts
View all GameBoost Boosting Services
View all GameBoost Currencies
View all GameBoost Gift Cards
View all GameBoost Top Ups
View all GameBoost Items
“ A former sports journalist and editor, Patrik joined Gameboost SEO team in 2026. He has spent most of his life playing Football Manager, but his sphere of interests spreads through whole gaming universe.”