


•Filip Premuš• 13 min read
Genshin Impact
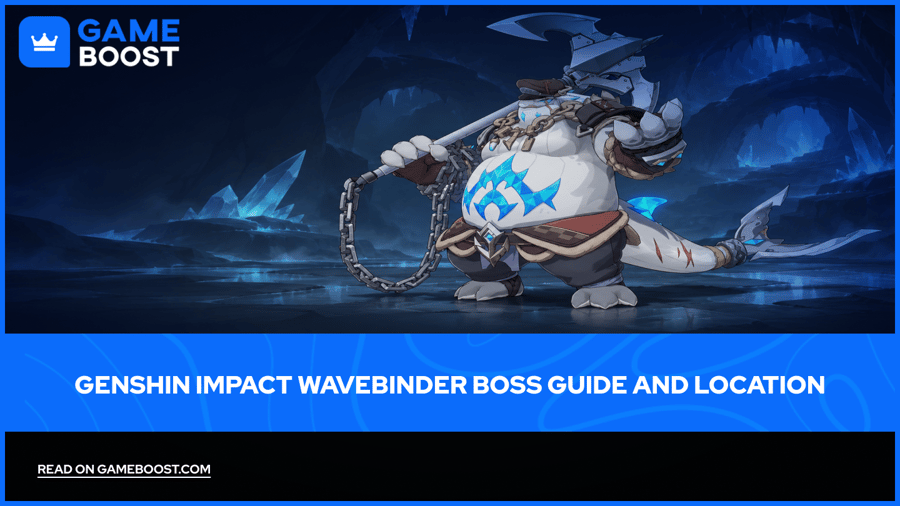
Wavebinder is a Genshin Impact world boss in Novokitezhgrad, added in Version 7.2. It drops Shattered Stability Anchors for Mitya's ascension and has a habit of stopping for a hot drink during combat. Let that drink fill its Courage, and your next damage window gets much less comfortable.
Players buying Genesis Crystals for Mitya's banner can prepare the boss route and an Electro character ahead of their pulls. You can start farming his materials with an existing party; Mitya himself isn't required to beat the encounter. Check the available redeem codes for extra Primogems and resources before spending your saved pulls.
This guide covers where to find Wavebinder, how its two main mechanics work, which characters fit the fight, and how to plan your reward claims.
Wavebinder is a permanent world boss in Novokitezhgrad, near Port Belovodye in Snezhnaya.
The approach takes you below the surface through an opening near the frozen water.
Its drinks build Courage. A full gauge triggers the Valiant state and raises its damage resistance.
Electro damage reduces Courage. Stellar Glimmer reactions can also interfere with drinking.
Shattered Stability Anchors are used for Mitya's ascension; his full ascension requirement is 46.
A regular world-boss reward claim costs 40 Original Resin.
Bring a reliable Electro damage source and enough healing or shielding to finish repeated runs comfortably.
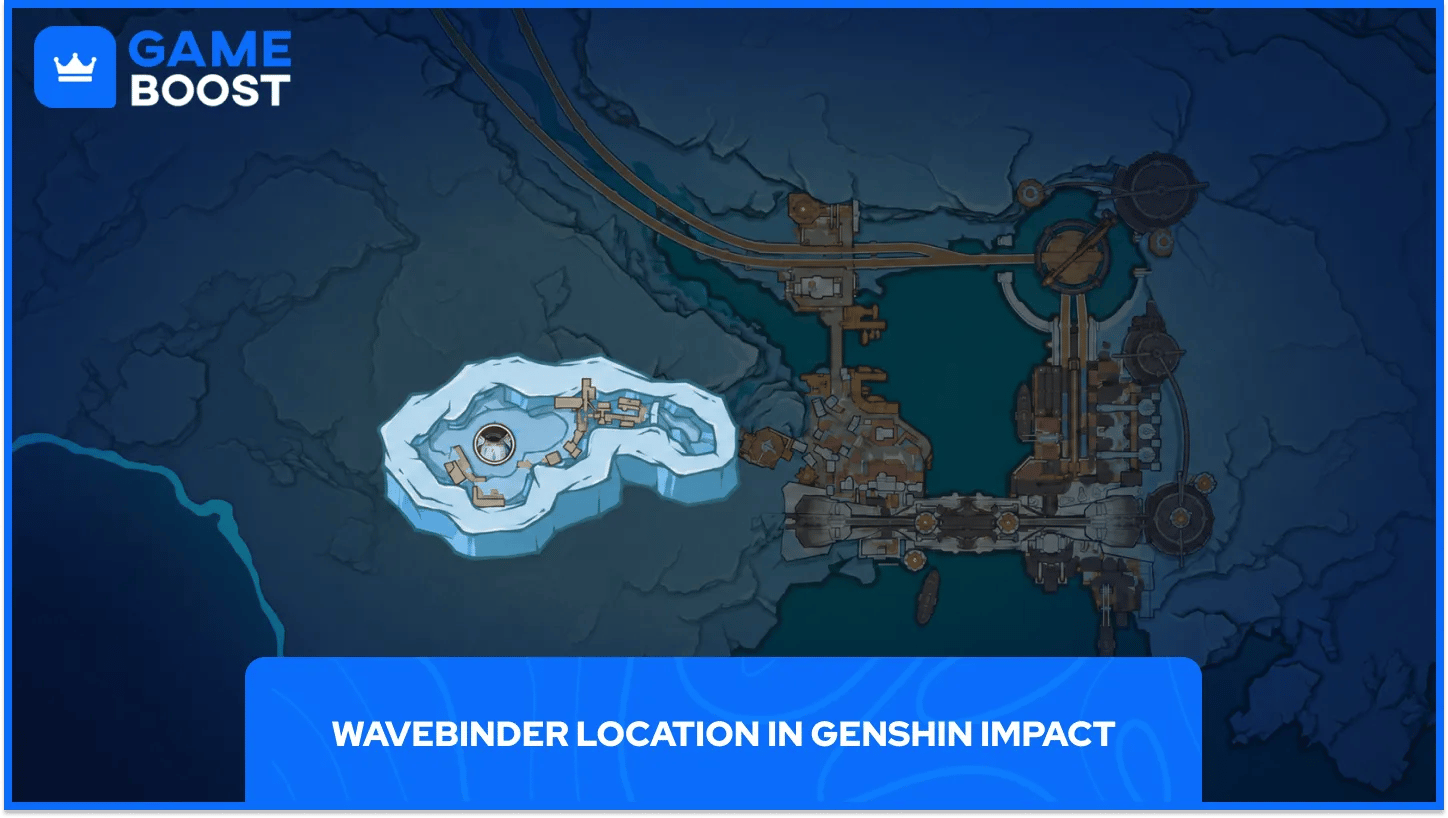
Wavebinder's arena is near Port Belovodye in the Novokitezhgrad region. The route goes underground, so walking toward the map marker on the surface can leave you above the encounter.
For the first visit, reach Port Belovodye and look for the frozen body of water near the station. Follow it to the opening that leads down toward the boss.
Travel to Port Belovodye in Novokitezhgrad.
Leave the station and head toward the frozen water.
Follow the ice until you find the opening leading below ground.
Drop down and follow the passage into Wavebinder's arena.
Activate the nearby Teleport Waypoint for return visits.
Use the boss marker and the map's underground layers together if the entrance is hard to spot. Once you've reached the arena, use the nearby waypoint for later farming sessions.
Visit the location before committing to a long material run. Getting the route sorted first saves you from spending your planned farming session searching around the surface.
Wavebinder's main mechanic revolves around Courage, which builds when it drinks a hot beverage. Filling that gauge triggers the Valiant state. Its attacks become more aggressive, and its resistance to elemental and physical damage rises.
Electro damage reduces the accumulated Courage. It also helps end the Valiant state sooner. Stellar Glimmer reactions add another response by interfering with the drinking action.
Fight Situation | What Happens | Recommended Response |
|---|---|---|
Wavebinder starts drinking | Its Courage builds | Apply a suitable Stellar Glimmer reaction if your party supports one |
Courage is building | The boss approaches its enhanced state | Keep an Electro damage source available |
Valiant state begins | Attacks intensify and damage resistance rises | Apply Electro damage, watch the attacks, and avoid wasting your whole setup |
Valiant state ends | The increased resistance ends | Use the next safe opening for your main damage sequence |
Choose an Electro character whose attacks you can apply reliably. A character already equipped for regular combat gives you a better starting point than a new addition with an unleveled weapon and no working rotation.
If your Electro damage depends on a Burst, check that you can recharge it for the next attempt. A Skill-based source can make repeated farming easier to manage.
Keep an eye on Wavebinder when it pauses for its beverage. Parties capable of Stellar Glimmer reactions should prepare their reaction setup in time to interact with that action.
Stellar-Conduct teams need Cryo alongside Electro. Reserve both parts of the reaction when choosing your party, then check how consistently you can apply them during the fight.
If your attacks suddenly produce smaller numbers, check the boss's state before changing your equipment. The Valiant resistance increase can explain a sharp drop in damage.
Use that period to handle the mechanic and stay alive. Spend your main damage sequence when you can land it into a better opening. Chasing the boss through an aggressive attack with every support buff ticking away makes the next rotation harder to recover.
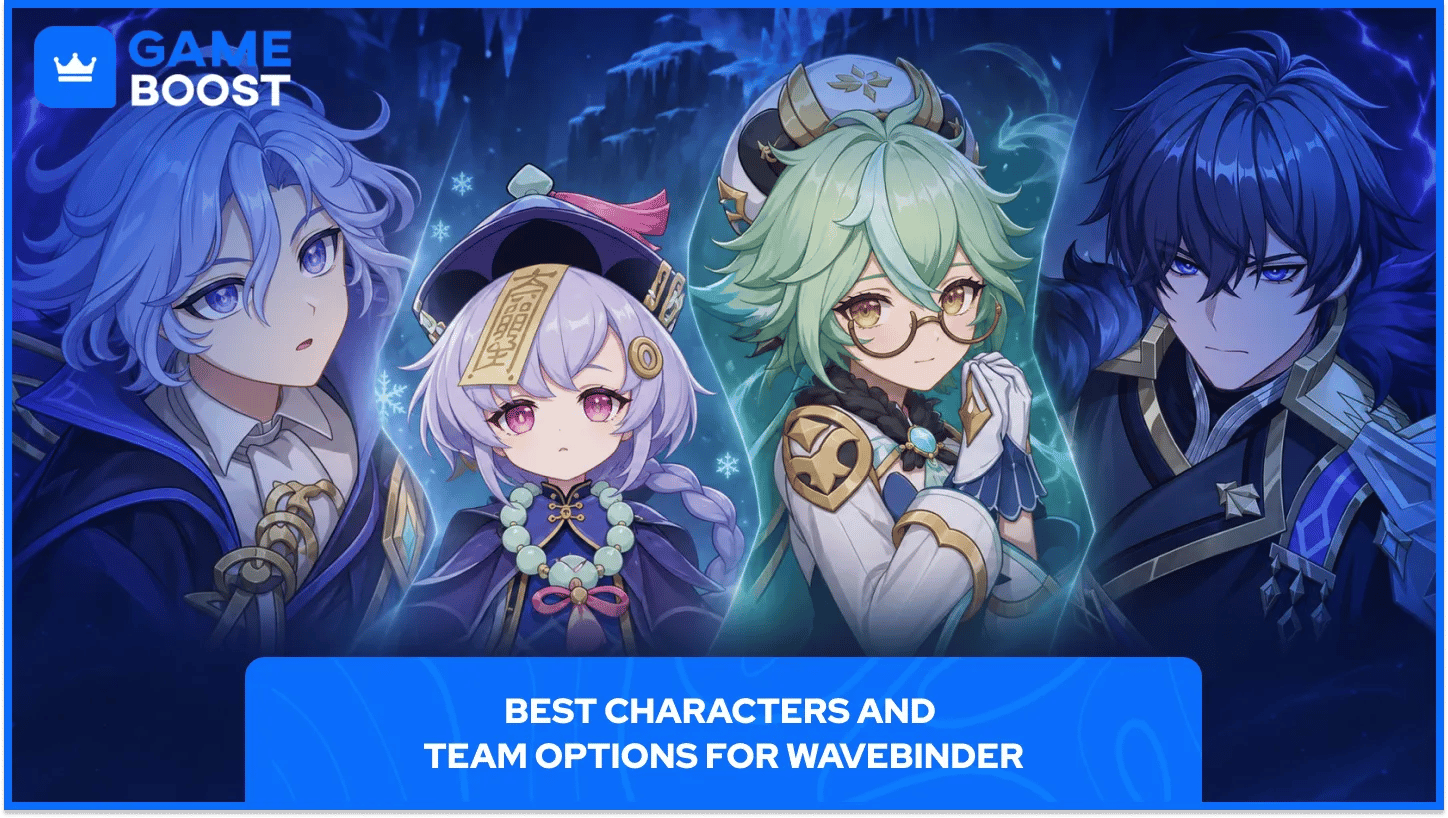
A practical Wavebinder party needs damage, a dependable Electro source, and enough protection for the player using it. Stellar-Conduct gives newer rosters another route, with Cryo application forming part of the setup.
Mitya fits that reaction approach through his Electro damage and Stellar-Conduct kit. If you're farming his first ascensions, start with another Electro character you've already built.
Team Option | Example Lineup | Main Reason to Consider It |
|---|---|---|
Mitya with multiple Electro characters | Mitya, Odette, Yae Miko, Valeriy | Cryo and Electro access for Stellar-Conduct, with Valeriy supplying shielding |
Mitya with healing | Mitya, Qiqi, Sucrose, Valeriy | Cryo application, healing, shielding, and support for a more forgiving run |
Existing-roster party | Your built damage dealer, a reliable Electro source, compatible support, healer or shielder | Lets you address Courage without waiting for a new limited character |
These are starting options, rather than a ranking of guaranteed clear times. Equipment, constellations, reaction uptime, and your ability to keep attacking all affect the result.
Characters such as Fischl, Yae Miko, Kuki Shinobu, or Raiden Shogun can supply Electro through different playstyles. Pick around the rest of your party. Check the ability's range, duration, and how often you can use it again.
A healing slot can cover two jobs if Kuki already fits your team. Another party may prefer a separate healer and an Electro damage dealer. Avoid rebuilding your entire roster for a world boss if one suitable substitution solves the mechanic.
Bring healing or shielding if interrupted attacks and failed dodges are extending your runs. Surviving with a repeatable rotation makes a material session much easier to finish.
For the first attempt, favor a party you know how to play. Once you can handle the encounter, replace a defensive slot only if the change improves your actual clear.
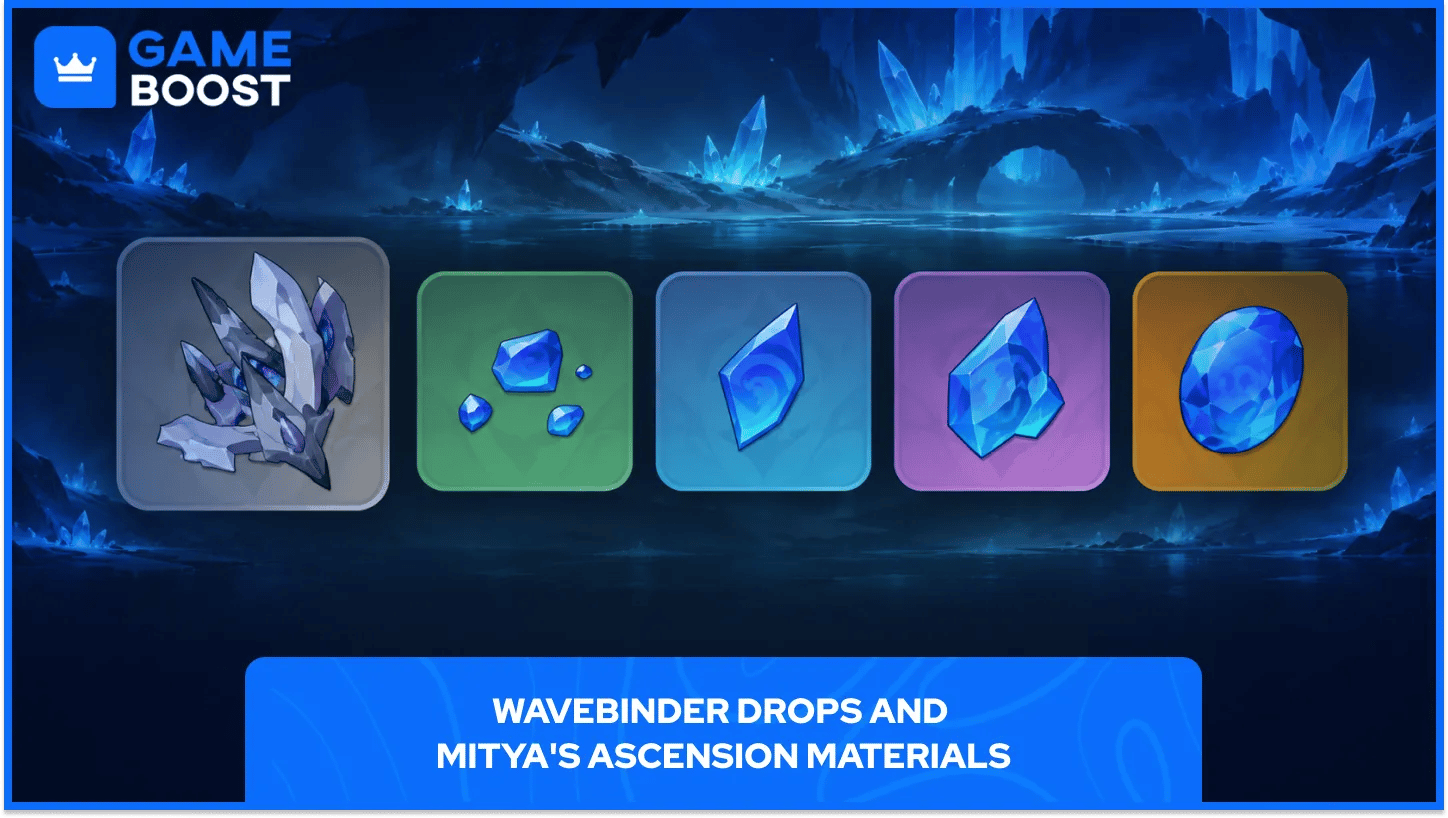
Wavebinder drops Shattered Stability Anchors, the boss material required for Mitya's ascension. His complete ascension requirement is 46 Anchors. Subtract any copies already in your inventory before planning the remaining farm.
The encounter also awards standard world-boss rewards. Check the in-game reward preview for the available materials and Artifact rarities at your current World Level.
Reward or Cost | What to Know |
|---|---|
Shattered Stability Anchor | Mitya's boss ascension material |
Full Mitya ascension requirement | 46 Anchors across his ascensions |
Original Resin cost | 40 per regular reward claim |
Other rewards | Ascension gems, Artifacts, Mora, and EXP rewards |
Drops per claim | Check the reward result at your World Level; don't assume every clear gives the same quantity |
The 46-Anchor total is the material requirement, rather than a fixed number of boss kills. Existing supplies and the quantities received from your claims determine how many runs remain.
Keep boss materials separate from the rest of Mitya's build. His local specialty, Kristallfold, needs a separate gathering route. Enemy drops, elemental gems, talent materials, and leveling resources need their own preparation too.
Check your current Anchor count, available Original Resin, and next ascension requirement before starting. You may only need enough materials for the next stage rather than the full 46 immediately.
A simple session plan keeps the farm manageable:
Equip the party and activate the nearby waypoint.
Defeat Wavebinder and claim its rewards.
Check the new Anchor total.
Repeat until you've reached your target or used the Resin allocated to the boss.
Normal bosses now return at their arena after reward claims, so the old routine of teleporting away and waiting several minutes is unnecessary for regular solo farming. Recover your party between attempts if needed.
A 160-Resin budget covers four regular 40-Resin claims. That calculation tells you how many claims you can make; it doesn't guarantee the exact number of Anchors you'll receive.
Leave room for other materials if Mitya also needs talent books or weapon ascension items. Getting all 46 boss drops first can still leave him waiting on another upgrade requirement.
Wavebinder's regular arena serves character ascension farming. Rotating combat modes have their own opponent rules, objectives, and reward conditions. A roster prepared for Imaginarium Theater also needs enough eligible characters for its seasonal restrictions.
If you're also preparing parties for Stygian Onslaught, check that period's announced enemies separately. World-boss practice can teach the basic encounter, but a challenge variant can add its own mechanics.
Reach Wavebinder's arena and activate the nearby waypoint before settling into the material farm. The first trip takes you below the surface near Port Belovodye; later visits become much simpler once you have the direct return point.
Build the party around a reliable Electro source, compatible teammates, and enough protection to finish consistently. Watch the boss's drink, respond to Courage, and use your main damage sequence when the encounter gives you a useful opening.
For Mitya's ascensions, work toward the 46-Anchor total at a pace that fits your remaining materials. Check each claim, stop when your current target is met, and leave enough Resin for the other upgrades your build still needs. The wider collection of Genshin Impact guides covers other character builds, regional routes, and combat modes for your next upgrade.
“ Filip Premuš is a seasoned gaming content writer specializing in titles like Steal a Brainrot, Old School RuneScape, and other popular online games. With a sharp focus on accuracy, updates, and in-game strategy, he creates comprehensive guides that help players stay ahead of the meta and make informed decisions.”