


•Hamza Rashid• 7 min read
Genshin Impact
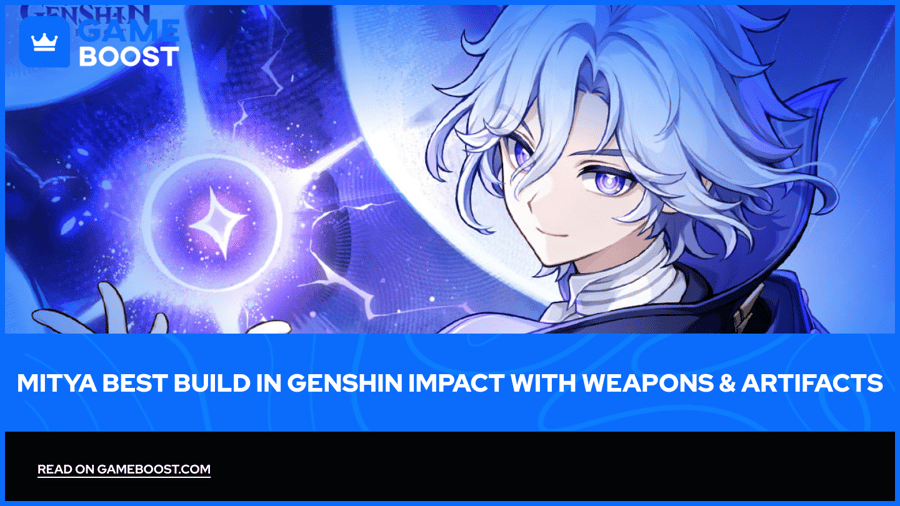
Genshin Impact is an open-world action RPG where elemental reactions decide how much damage a team deals, and Mitya turns one of those reactions into his entire kit. The Mitya best build in Genshin Impact stacks Elemental Mastery and CRIT stats onto a five-star Electro Catalyst who converts Superconduct into Stellar-Conduct.
Mitya fills two roles depending on how players use his Elemental Skill. Holding the Skill creates an on-field Charged Attack damage dealer, and tapping it creates an off-field Stellar-Conduct sub-DPS that buffs the party. Gear priorities shift between the two roles, so one set of artifacts does not suit every build. Weapon picks, artifact sets, stat targets, and constellation priority follow for both roles.
Mitya scales with Elemental Mastery and CRIT stats, so ATK% stat sticks add little to his damage.
Starsealed Edict is his signature Catalyst and the strongest weapon for personal damage.
Disenchantment in Deep Shadow and Gilded Dreams lead the 4-piece artifact options for on-field builds.
Two 2-piece Elemental Mastery sets work as a flexible fallback for any role.
Main stats stay the same across roles at EM Sands, EM Goblet, and a CRIT Circlet.
Stat targets differ by role, with on-field Mitya needing more Elemental Mastery than off-field Mitya.
On-field talent priority starts with Normal Attack, and off-field priority starts with the Elemental Skill.
C2 is the strongest constellation, and C1 follows as the best early stopping point.
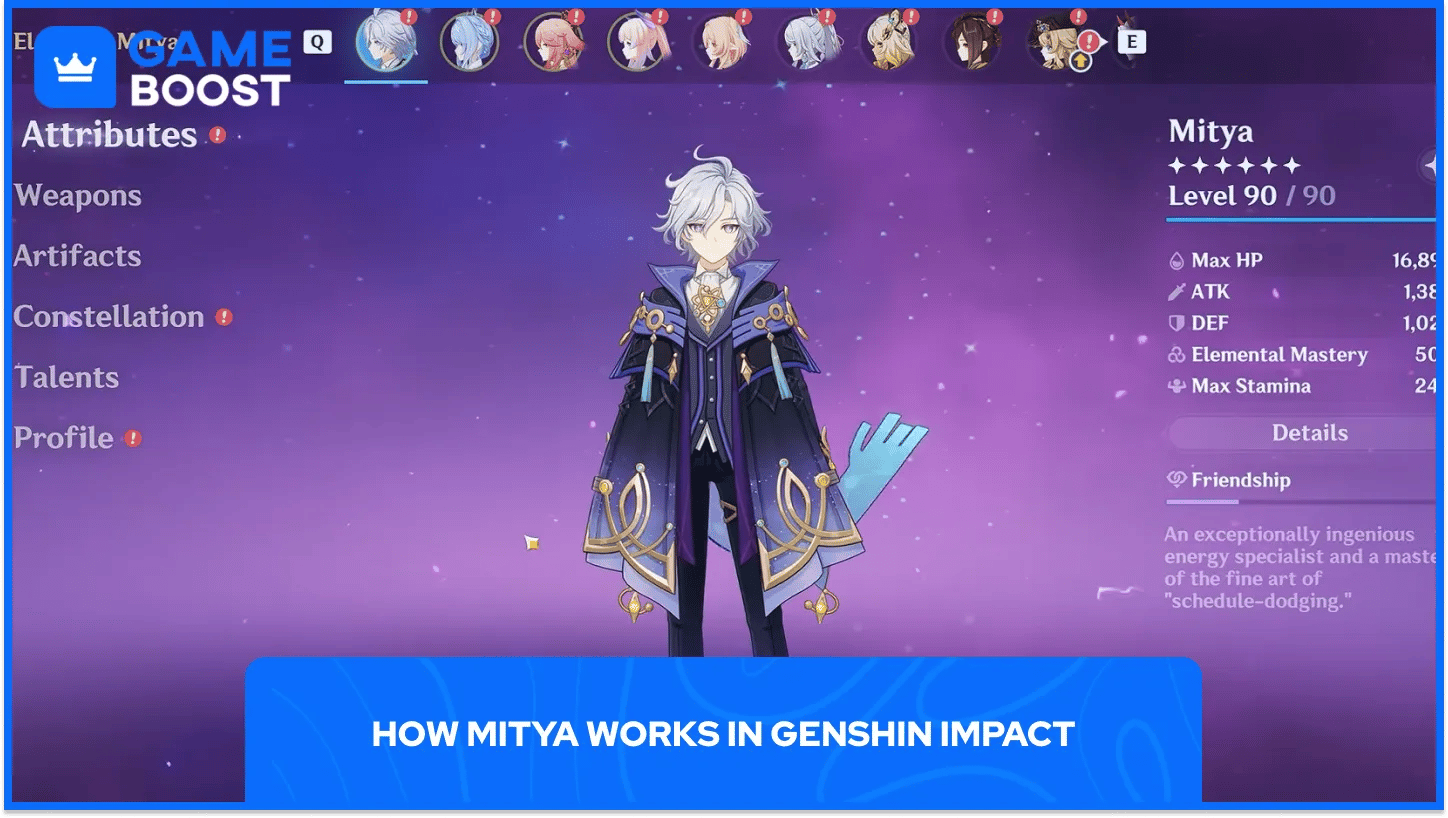
Mitya rewrites what Superconduct does for the whole party. Every Superconduct reaction a teammate triggers turns into Stellar-Conduct, and the reaction stops dropping Starlight Prisms. Instead, it creates Gradient Beacons that Mitya spends on extra Electro damage, counted as Stellar-Conduct reaction damage. Superconduct needs Cryo and Electro together, and Cryo characters already on the roster, including Escoffier and Skirk, supply the Cryo side.
His Elemental Skill decides the role through the Detection Core that each version leaves behind. Each Core follows its own rules for creating and spending Beacons.
Holding the Skill creates an Overloaded Detection Core: after a teammate triggers Stellar-Conduct, Beacons appear every 1.5 seconds, and Mitya spends them through enhanced Charged Attacks.
Tapping the Skill creates a Steady State Core: each carried Beacon gives nearby party members 30 Elemental Mastery, and once Mitya reaches his Beacon cap, the Core spends newly created Beacons on Stellar-Conduct damage.
Mitya's Elemental Burst adds an instant supply of Beacons on top of its area Electro damage, and those Beacons feed both the on-field Charged Attacks and the off-field Core.
Every damage source in the kit scales mainly with Elemental Mastery (EM). Mitya also raises the party's base Stellar-Conduct damage by up to 14% through his own EM. Every build below starts with EM for exactly that reason.
Mitya's build starts with the role and then fills in the weapon, artifacts, and stats around it. The on-field setup gives the highest personal damage and serves as the baseline for everything else.
Each category below lists the top recommendation for on-field Mitya.
Category | Recommendation |
|---|---|
Best Weapon | Starsealed Edict |
Best Artifact Set | 4-piece Disenchantment in Deep Shadow or 4-piece Gilded Dreams |
Fallback Artifacts | Two 2-piece Elemental Mastery sets |
Main Stats | Sands: EM, Goblet: EM, Circlet: CRIT Rate or CRIT DMG |
Substats | CRIT Rate, CRIT DMG, Elemental Mastery, Energy Recharge |
Constellation Priority | C2, C1, C6, C4 |
On-field Mitya levels Normal Attack first, then Burst and Skill, since his special Charged Attack ties to the Normal Attack talent. Off-field Mitya levels the Elemental Skill first, and his other talents can wait.
Off-field Mitya keeps the same main stats and leans toward Elemental Mastery and Energy Recharge in the substats, with party-buffing sets taking the place of personal-damage sets.
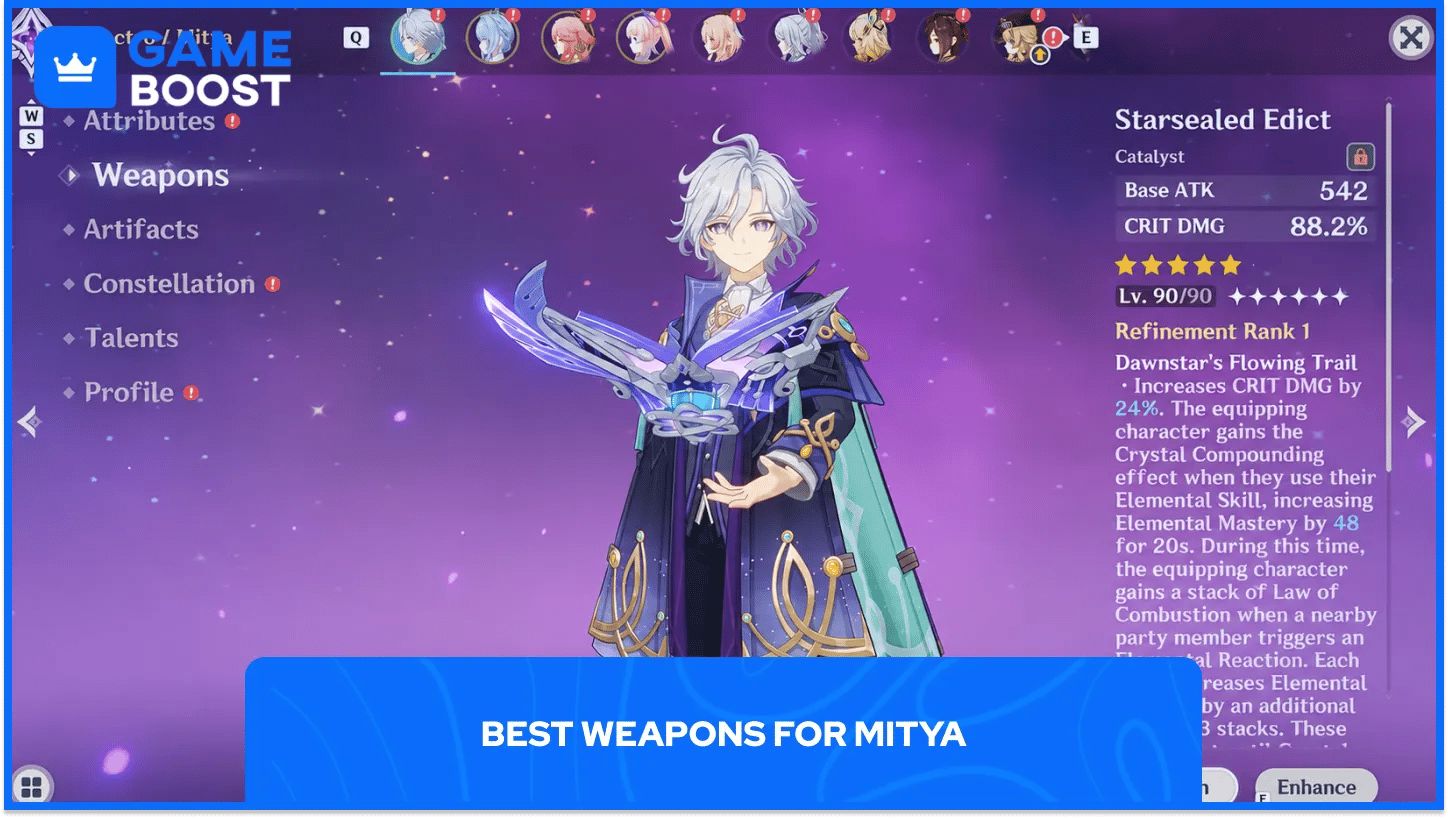
Starsealed Edict is Mitya's signature 5-star Catalyst and the best weapon for his personal damage. Its CRIT DMG secondary stat matches his Charged Attack damage. At R1 the Skill grants 48 Elemental Mastery, and nearby reactions add up to three stacks of 24 Elemental Mastery each. Every stack also adds 12% Stellar-Conduct CRIT DMG, reaching 36% at three stacks.
Mitya also performs well with several other Catalysts across both roles.
Weapon | Best Use | Main Benefit |
|---|---|---|
Reliquary of Truth | On-field | CRIT DMG that lifts personal damage directly |
Sunny Morning Sleep-In | On-field | Large Elemental Mastery, with extra EM after Skill and Burst hits |
A Thousand Floating Dreams | Flexible | Elemental Mastery with reaction-focused party buffs |
Starcaller's Watch | On-field | Large Elemental Mastery that rises after a shield forms |
Winter's Heavy Heart | On-field (4-star) | CRIT DMG main stat and EM based on Cryo party members |
Dawning Frost | On-field (4-star) | CRIT DMG and EM after Charged Attacks and Skill hits |
Wandering Evenstar | Off-field | EM secondary stat and a team ATK buff that stays active when Mitya sits off-field |
Reliquary of Truth ranks as the top substitute for on-field builds, with Sunny Morning Sleep-In and A Thousand Floating Dreams next in line.
Winter's Heavy Heart and Dawning Frost gain the most from extra refinements, and at higher refinement levels both can overtake other 5-star Catalysts. Starsealed Edict and the other limited Catalysts come from banners, so players planning pulls can read how to get Wishes and Genesis Crystals first.
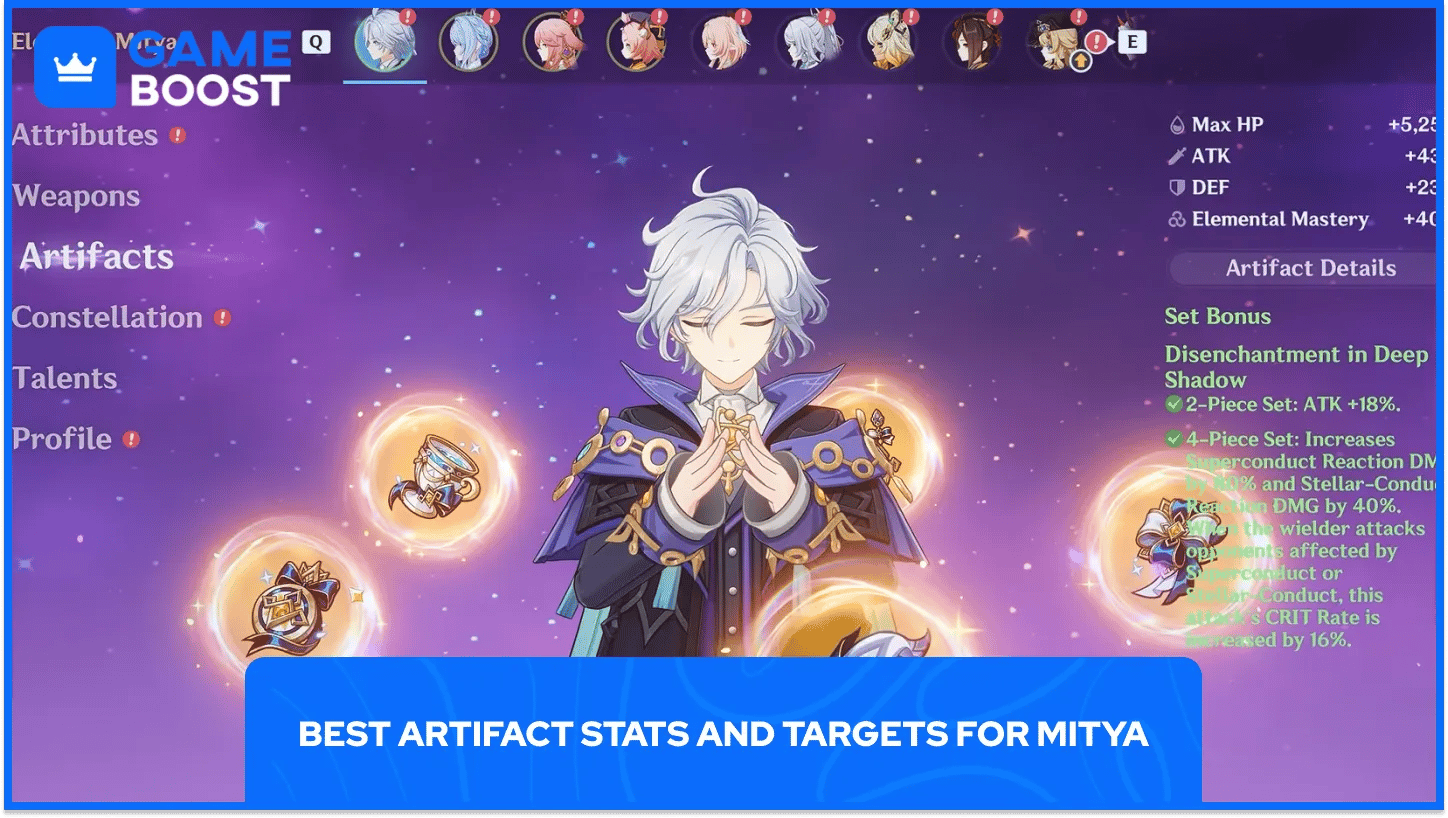
Artifact choice depends on the chosen role. On-field sets raise Mitya's personal damage, and off-field sets add party buffs.
Each set below fits a specific role and build style.
Set | Best For | Key Effect |
|---|---|---|
Disenchantment in Deep Shadow (4-piece) | On-field | Superconduct reaction DMG +80% and CRIT Rate +16% against affected enemies |
Gilded Dreams (4-piece) | On-field, flexible off-field | 2-piece EM, and a 4-piece EM bonus based on party Elemental Types after a reaction |
Two 2-piece EM sets | Any role | 160 Elemental Mastery with no reaction condition |
Heart of the Furnace (4-piece) | Off-field | Team-wide reaction DMG bonus that stays active off-field, plus ATK |
Tenacity of the Millelith (4-piece) | Off-field ATK buffer | Team ATK buff for ATK-scaling carries |
Opinions split on the best on-field pick, and Disenchantment in Deep Shadow and Gilded Dreams land almost level. Disenchantment carries a 2-piece ATK bonus that Mitya barely uses. Gilded Dreams adds Elemental Mastery that improves every damage source, and its 4-piece effect requires a reaction trigger that can lapse in some setups.
Heart of the Furnace and Tenacity of the Millelith pay off when no teammate already wears the same set. Mitya's personal damage takes priority whenever another character holds the team buff, which makes Gilded Dreams the safer off-field fallback.
Elemental Mastery owns the Sands and Goblet slots, and the Circlet carries the CRIT stat that Mitya needs for personal damage.
Each slot has a clear main stat.
Slot | Main Stat |
|---|---|
Flower | HP |
Feather | ATK |
Sands | Elemental Mastery |
Goblet | Elemental Mastery |
Circlet | CRIT Rate or CRIT DMG |
On-field substats rank CRIT Rate and CRIT DMG first, then Elemental Mastery, then Energy Recharge. Off-field substats move Elemental Mastery to the top spot, with CRIT next and Energy Recharge last.
Stat targets sit at roughly 600 to 800 Elemental Mastery, 60% to 70% CRIT Rate, and 155% to 180% CRIT DMG for on-field Mitya. Off-field Mitya needs about 450 to 550 Elemental Mastery with the same CRIT ranges.
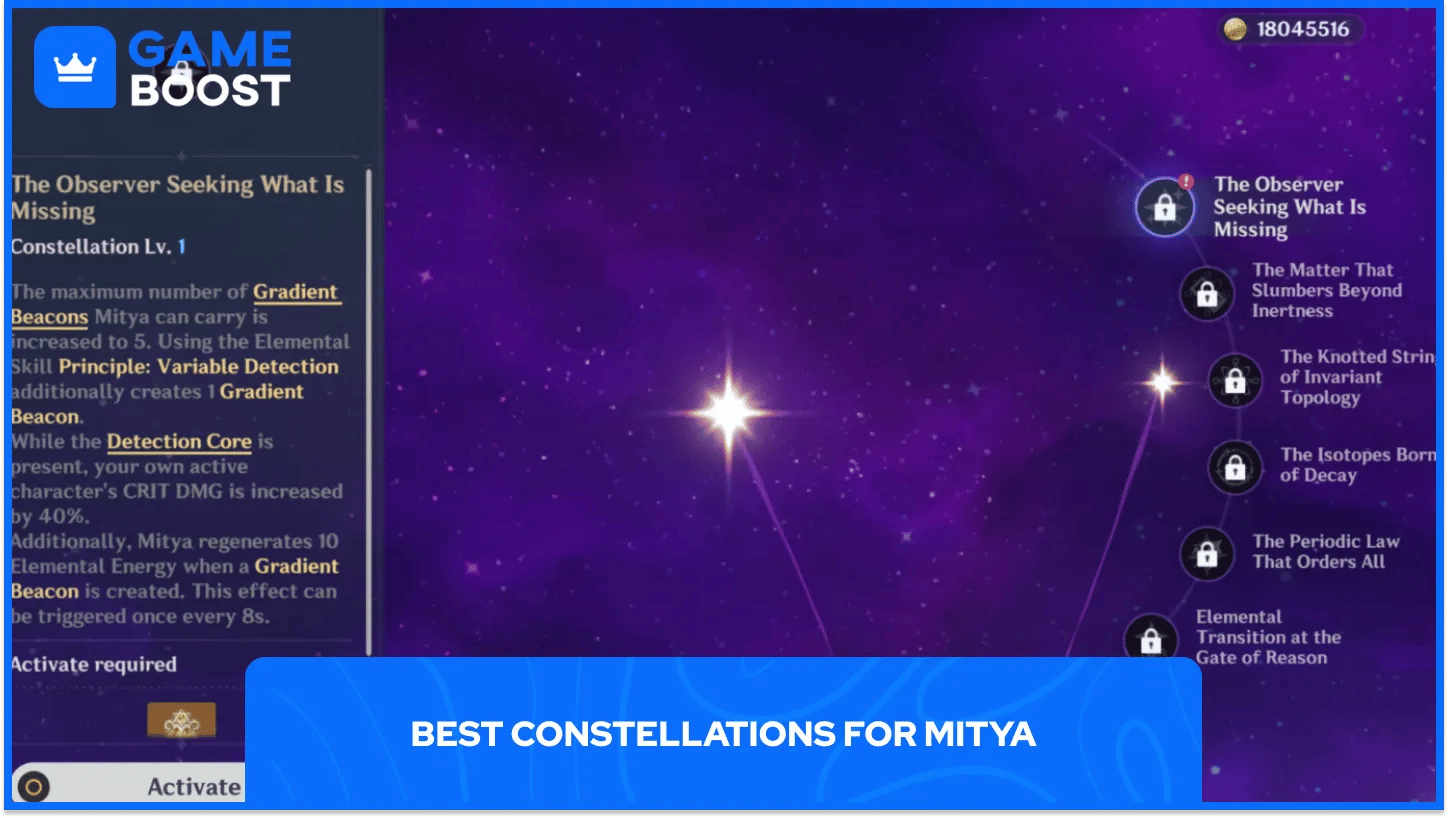
Mitya works well at base constellation, and the early constellations add clear gains to both roles. C1 and C2 deliver the largest early jumps in damage and support value.
Each constellation carries a different value for the build.
Constellation | Effect | Value |
|---|---|---|
C1 - The Observer Seeking What Is Missing | Beacon cap rises to 5, the Skill creates 1 extra Beacon, and Beacon creation restores Energy | High |
C2 - The Matter That Slumbers Beyond Inertness | Enemies in the Core's field lose Cryo and Electro RES, and the party gains extra Elemental Mastery | Priority |
C4 - The Isotopes Born of Decay | Every 5 Beacons consumed by his own Core adds an AoE Electro hit counted as Stellar-Conduct damage | Medium |
C6 - Elemental Transition at the Gate of Reason | Consumed Beacons can replace themselves, and party Stellar-Conduct damage rises by 20% | High |
C2 stands out as the best personal investment since the RES shred and Elemental Mastery buff lift both on-field and off-field play. C1 follows by smoothing the Beacon and Energy loop, which makes it the most attractive early stopping point.
C4 and C6 act as damage escalators for players who keep investing. C6 adds the most party-wide value, and early sources disagree on exact multipliers, so the priority order matters more than any single percentage.
Mitya rewards steady investment. Gear makes him functional at base constellation, and each constellation step then adds a clear, measurable gain, so players can stop at a comfortable point without leaving the build unfinished.
Stat targets act as starting points, and testing them against clear times with the characters a player actually owns gives the most reliable read on what to upgrade next. A weapon swap or a single artifact piece often moves damage more than a full rebuild, so small changes deserve a test before any major investment.
Genshin Impact Accounts
Genshin Impact Top Up
View all GameBoost Accounts
View all GameBoost Boosting Services
View all GameBoost Currencies
View all GameBoost Game Keys
View all GameBoost Gift Cards
View all GameBoost Top Ups
View all GameBoost Items
“ Hamza is your average video game enthusiast who’s always looking for his next game to play. Whether he’s diving into a competitive multiplayer match, exploring a massive open world, or getting completely hooked on a new release, gaming has always been one of his favorite ways to spend his time. Over the years, his love for games has grown into a passion for understanding and sharing everything about them. Through his articles, Hamza aims to help gamers discover new games, improve their skills, stay up to date with the latest gaming news, and get the most out of their favorite titles.”