


•Filip Premuš• 9 min read
Call of Duty: Modern Warfare 4

Call of Duty: Modern Warfare 4 hides 64 collectible notes across its 16-mission campaign, and only three missions actually have any. Following Orders holds 4, Stranded holds a frankly ridiculous 58, and Escape holds 2. Nothing else in the campaign has a single scrap of paper worth picking up, so you can play the other 13 missions without checking every desk.
The notes do two things. They flesh out the story of the North Korean work camps, the smugglers and the people caught in between, and they feed three trophies: No Stone Unturned, Noteworthy and, indirectly, the Stranded completionist run that most players pair with Time to Crate. There is no in-game checklist. Below is every MW4 collectible note location, mission by mission, in the order you will naturally reach them.
You only need 50 of the 58 Stranded notes for Noteworthy, so you have eight to spare. Following Orders gives you no slack at all, and one of its notes can be locked out by a dialogue choice.
64 notes total across the 16-mission campaign, and only three missions have any.
Following Orders (Mission 3): 4 notes, all inside the houses you search, plus 4 contraband items for No Stone Unturned.
Stranded (Mission 10): 58 notes, tracked in your backpack as X/58; Noteworthy unlocks at 50, so you can miss up to eight.
Escape (Mission 13): 2 notes, no trophy of their own, but the Updated Code note opens the safe for Never Forgotten.
Three notes are missable within a run: Note From Mom (wrong dialogue choice) and Mutiny and Discipline (leaving the bunker early).
Seven notes are gated: five appear at the Base Camp workbench after one objective, two appear after opening yellow crates.
No in-game checklist. The on-screen counter is the only tracker, so follow the mission order below.
Mission Select works for replays, but each trophy needs its condition met in a single visit.
Note counts the moment you interact with it, so you have to physically pick it up and read it, not just walk past. A counter ticks up on screen each time, and in Stranded you can press D-pad Down (or your backpack key on PC) to see your running total as X/58. That counter is the only tracker the game gives you. There is no menu that tells you which notes you missed, so if you lose count you are back to walking the map.
Missions can be replayed from Mission Select, and notes you missed can be picked up on a later run. Just note that the trophies trigger on the condition, not on a cumulative tally across saves. No Stone Unturned wants all eight Following Orders items held in one playthrough, and Noteworthy wants 50 Stranded notes in a single visit to that map.
A few notes are conditional, which is where most people get stuck:
Note From Mom (Following Orders) disappears for good if you let the hidden woman stay in the kitchen cellar. The dialogue choice matters.
Mutiny and Discipline (Stranded) are inside the bunker and only reachable while the Bunker objective is active.
The five Base Camp gear notes (Stranded) only appear after you finish at least one objective and repair or upgrade equipment at the workbench.
The two Supply Crate inventory notes (Stranded) show up after you have opened a few yellow crates, so they overlap with the yellow crate hunt.
Several Stranded notes sit next to keypads and double as code clues. We list the codes where a note is behind a locked container or bunker, and the full breakdown of every keypad in the campaign lives in our MW4 key code solutions guide.
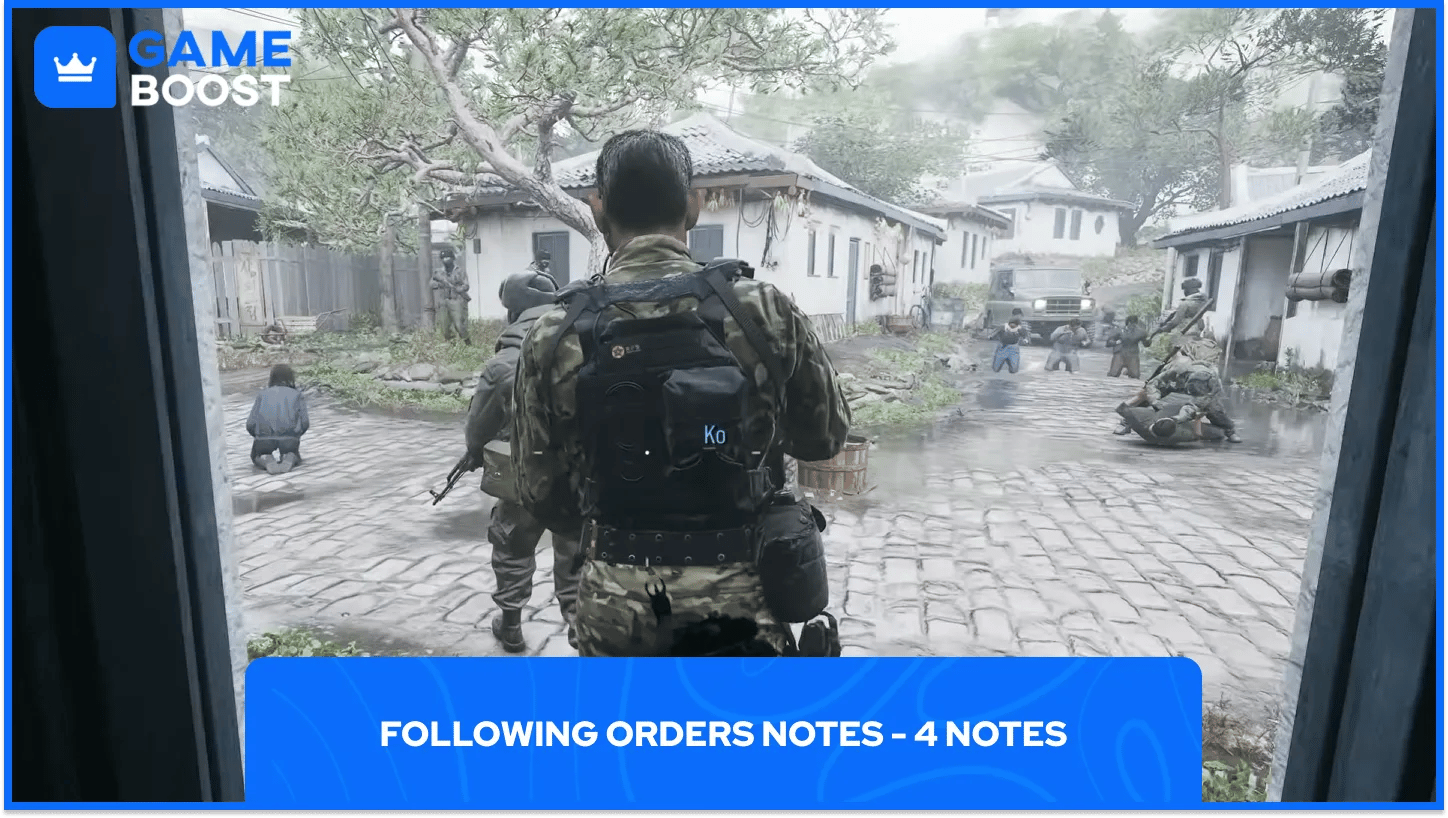
Following Orders is the house-to-house interrogation mission, and all four notes sit inside the homes you search. Grab the four contraband items too (MP3 player in the first bathroom cabinet, western novel on the living room shelves, rations in the upper kitchen cabinets, medicine in the toolbox) and No Stone Unturned pops at the end.
# | Note | Where to find it |
|---|---|---|
1 | Baekseolgi-Tteok Recipe | First house. Go through the door on the left into the kitchen and open the left cupboard. The recipe also hides the toolbox code. |
2 | Note From Your Friend | Same house. Open the red toolbox with code 214 (from the recipe). Talk to the people in the room twice to push the conversation along. |
3 | A Note From Your Neighbor | Third house. Head into the bedroom on the right and check the closet. |
4 | Note From Mom | Back in the kitchen, open the floor hatch in front of the steaming kettle. When the woman inside speaks, pick “Please, come outside with me,” then “No. We’re going outside.” Once she climbs out, drop into the cellar, turn around, and the note is on the shelf. |
If you let her stay hidden, the cellar closes and the note is gone for that playthrough. Replay the mission if that happens; there is no other way back in.
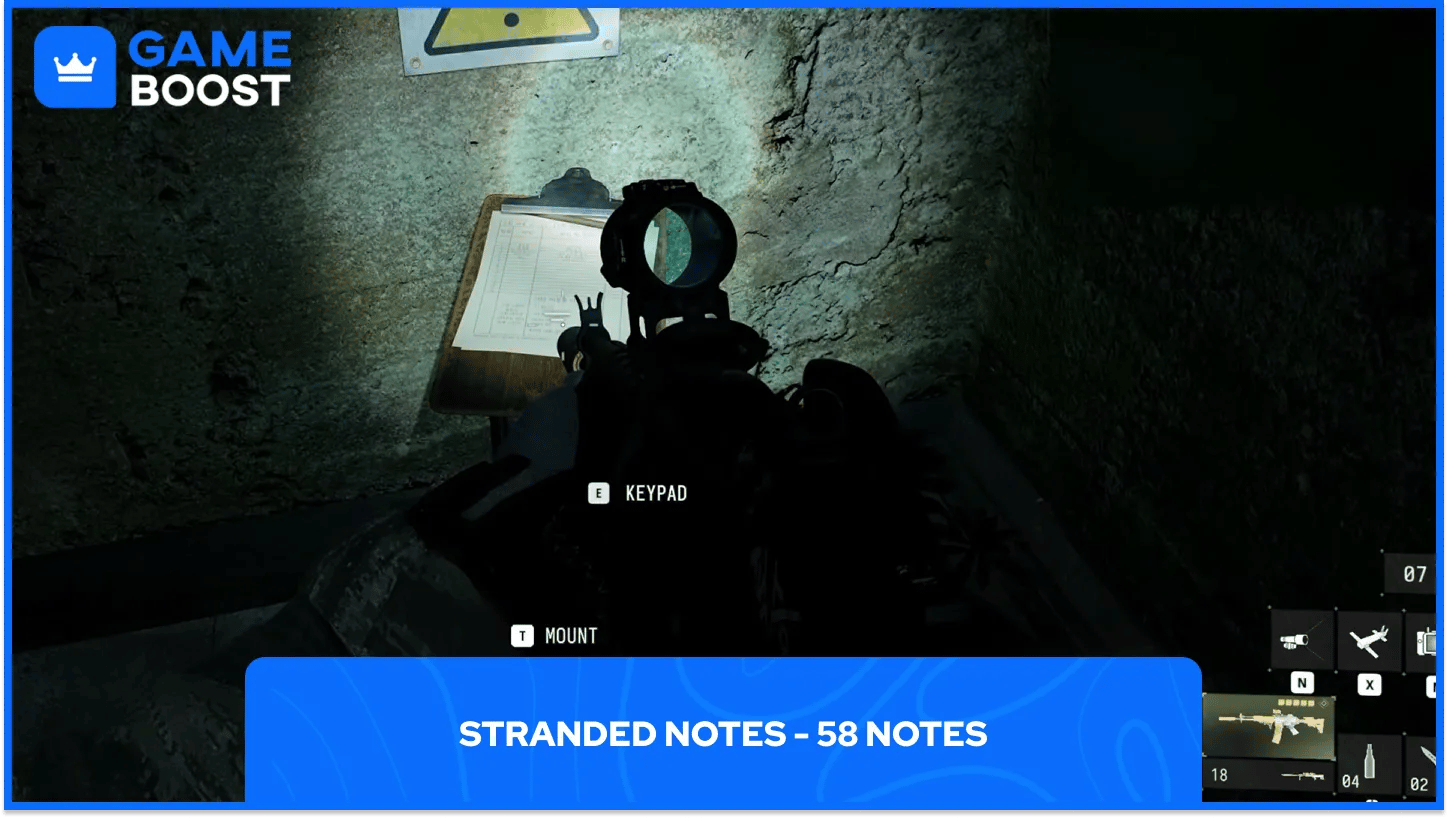
Stranded is the open-map mission with outposts, bunkers and a frozen river splitting the valley, and it is where the collectible hunt really lives. The notes below follow a loop that starts at Base Camp, swings south and east, comes back north through the Jamming Station, and finishes at the SAM Site in the northwest. Keypad codes are included where a note is behind a lock.
Base Camp is where you spawn in Stranded, so these five are the easiest on the map. Clear the radio tower first while nothing is shooting at you, then sweep the cliff and the shed before heading south.
# | Note | Where to find it |
|---|---|---|
1 | Base Camp Keypad Note | Notepad on the cargo container to the right of the radio tower. Code 0024. |
2 | Radio Tower Note | Second landing on the radio tower stairs. |
3 | Top of Radio Tower Note | Keep climbing; it is at the very top. |
4 | Cliff Near Base Camp Keypad Note | Locked container on the cliff north of Base Camp. Code 0600. |
5 | Shed Near Hub Note | Small shed northwest of Base Camp, on the left as you walk in. |
The smuggler buildings sit just southeast of Base Camp and lead naturally into the Water Treatment plant. The sewer below it is the one spot on the map with an actual maze, so read the arrow board before you drop down.
# | Note | Where to find it |
|---|---|---|
6 | Smuggler House Note | Building southeast of Base Camp with double white doors. |
7 | Cargo Container Note | Small building with an orange door next to the blue building. |
8 | Water Treatment Note | Inside the Water Treatment building, turn left; it is in the corner among the supplies. |
9 | Sewers Note | Same facility, drop down the floor grate ladder; the note is on the sewer floor across from the ladder. |
10 | Sewer Smuggler Remains Note | Follow the arrow board at the tunnel entrance (right, left, straight, left, straight, left), climb the ladder along the way, and the note sits just before the drop to the second cache. |
The frozen river splits Stranded in two, and the islands in the middle hold a hidden bunker and a locked container. Two of the notes here are tied to yellow crates, so open the crate at each checkpoint before you look for the desk.
# | Note | Where to find it |
11 | Supply Crates Weapon Inventory | Desk beside the yellow crate at Infantry Checkpoint 1. Appears after you have opened roughly three crates. |
12 | Island Hidden Bunker Keypad Note | Wall by the bunker entrance across the river from Checkpoint 1. Code 0008. |
13 | Northwest Island Bunker Note | Desk inside that bunker. |
14 | Small Island Keypad Note | Container on the small island. Code 6789. |
15 | River Shed Note | Small shed across the river, on the desk. |
16 | Supply Crates Equipment Inventory | Logistics Station 200, after opening its crate. Appears after around five crates. |
The southern end of the map is the quietest stretch, with a monument, a bridge and two small villages. Most of these notes are on desks inside white-and-blue buildings, so check every open door.
# | Note | Where to find it |
|---|---|---|
17 | Top of Southern Monument Note | Climb the monument north of Logistics Station 200. |
18 | Under the Bridge Note | Under the bridge northeast of the monument. |
19 | Southwest Village Note | White building with a blue door, on the desk. |
20 | Social Police (Imninban) Report | White-and-blue building beside the playground, first door on the left, on the desk. |
21 | Southeast Village Keypad Note | Notepad on the cargo container by the road. Code 0078. |
The bunker is a story objective, which means Kal leads you in and the layout only opens up while the objective is active. Mutiny and Discipline are only reachable during that window, so do not leave until you have all four, and sweep the train cars outside before you move on.
# | Note | Where to find it |
|---|---|---|
22 | Provisions | Follow Kal through the crowbar door; the note is on the first bunker desk. |
23 | Mutiny | Room with the yellow cart, bottom shelf on the raised platform. |
24 | Discipline | Upstairs hallway, left room, corner of the desk. |
25 | Traitors | Supply room past the tunnel and the stairs. |
26 | Work Camp Escapee Journal | First train car, toward the back. |
27 | Train Boxcar Note | Second train car. |
The Jamming Station is the densest cluster in Stranded, with five notes inside one blue building and seven more scattered across the eastern ridge. Clear the police around the statue and the small house first, since two notes only become safe to grab once the area is empty.
# | Note | Where to find it |
|---|---|---|
28 | Cliffside Dead Soldier Note | End of the cliffside path, next to the soldier Kal takes down. |
29 | Jamming Station Quarters Note | First large blue building, upstairs, back-left; drop down and go to the back of the room. |
30 | Jamming Station Helipad Note | On a barrel on the helipad south of the objective. |
31 | Jamming Station Main Room Note | Right after entering the blue building, near the bench. |
32 | Jamming Station Entry Room Note | Past the main room, turn left, on the desk. |
33 | Jamming Station Locker Room Note | Upstairs hallway, on the floor along the left side. |
34 | Northeast Outpost Note | Logistics Station 20 guardhouse, corner of the desk. |
35 | South of Jamming Station Keypad Note | Beside the keypad on the cargo container to the southeast. Code 0869. |
36 | Exiled in Snow | The other container beside the tower. |
37 | Northeast Statue Note | On the body at the base of the statue. |
38 | Cultural Traitor | Small house southwest of the statue, right side of the room, after clearing the police. |
39 | Bombed House Note | Orange house with the aeroplane on the roof. Enter through the hole in the roof and check the ground. |
The large propaganda sign marks the northeastern river section, and three notes sit on or around the same locked container beneath it. The Farm Field bunker a short walk away adds two more behind a keypad.
# | Note | Where to find it |
|---|---|---|
40 | Big Sign Keypad Note | On the locked container near the large sign. |
41 | Big Sign Patrol Note | Right side of the same container. Code 1234, which is somehow the least secure lock in North Korea. |
42 | Big Sign Smuggling Note | Top of the brass poles on the right side of the sign. |
43 | Farm Field Hidden Bunker Keypad Note | Beside the bunker entrance in the northeastern river section. Code 0330. |
44 | Farm Field Hidden Bunker Note | Desk inside that bunker. |
The northwest corner wraps up the loop with the helipad at Logistics Station 100, a row of abandoned houses and the SAM Site itself. The store is booby-trapped, so disarm the tripwires before you step into the bedroom.
# | Note | Where to find it |
|---|---|---|
45 | Elevator Controls Note | Keypad at the base of the broken elevator at Logistics Station 100. |
46 | Helipad Outpost Note | Green guardhouse near the elevator, corner of the room on the left. |
47 | Northwest Abandoned House Note | White-and-blue house southwest of Logistics Station 100, turn left on entry. |
48 | Family Affair | Same house, down the hallway on the right. |
49 | Farmer’s Note | White-and-blue house on the right, on the ground near the entrance. |
50 | Booby-Trapped Store Note | Store next to the Farmer’s house, right-side bedroom desk. Clear the tripwires first. |
51 | Change of Plans | White building past the bridge toward the SAM Site, turn right, behind the door. |
52 | SAM Site Note About Bunkers | On a block near the SAM Site monument. |
53 | SAM Site Note About Helipad | Directly behind the final yellow crate at the SAM Site. |
These five unlock at the Base Camp workbench once you have finished at least one objective. Each repair or upgrade hands you one note, and buying all five costs 195 Supplies total.
# | Note | Where to find it |
54 | Grenade Launcher Info | Repair the grenade launcher. |
55 | Tactical Gloves Info | Upgrade the gloves. |
56 | Tactical Boots Info | Upgrade the boots. |
57 | Snow Ghillie Suit Repair | Repair the ghillie suit. |
58 | Silenced Sniper Repair | Repair the silenced thermal sniper. |
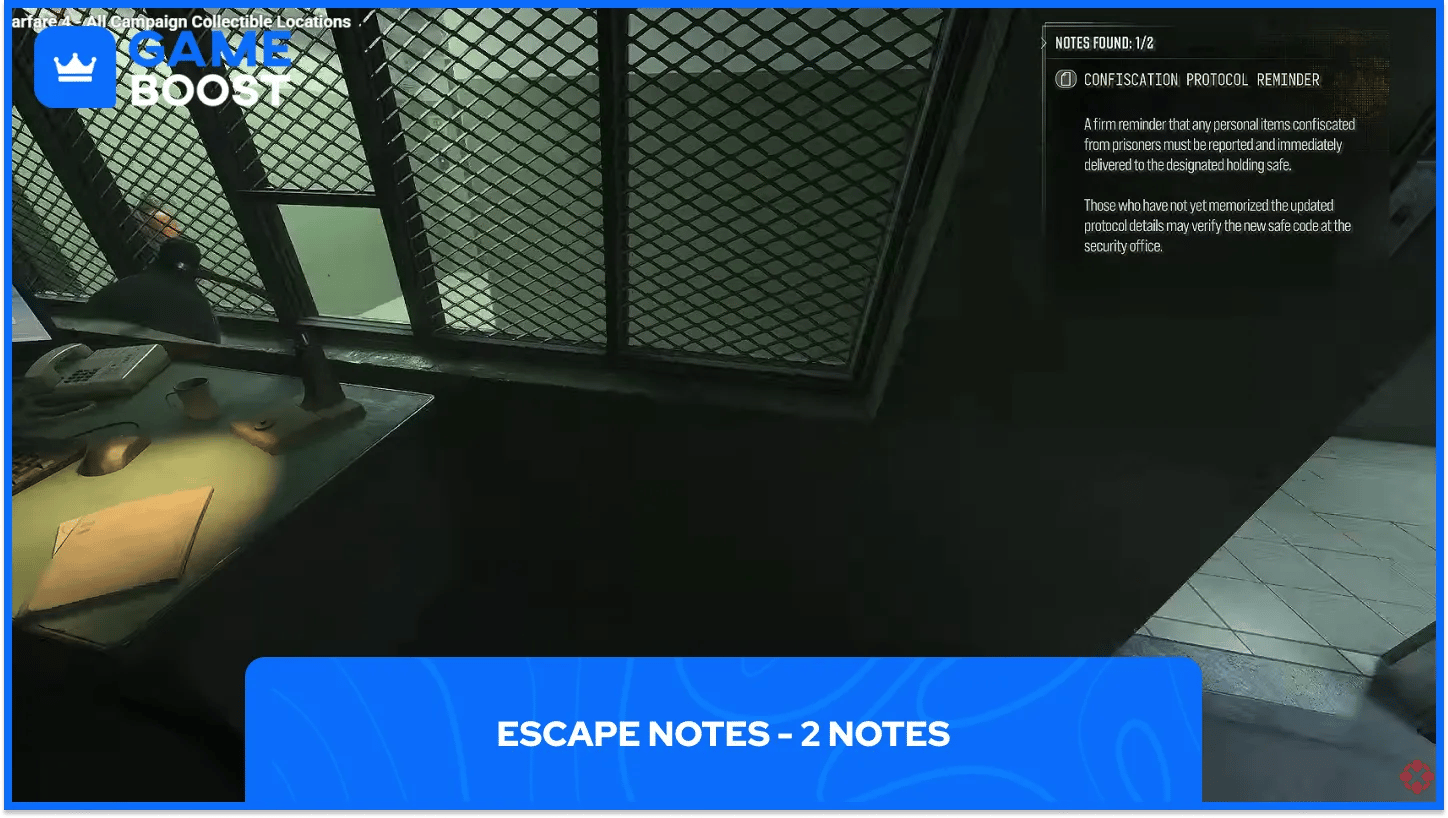
Escape is the detention center rescue, and both notes are on desks in offices along the main hallway. They unlock nothing by themselves, but the second one gives you the safe code for Gaz’s dog tags and the Never Forgotten trophy.
# | Note | Where to find it |
|---|---|---|
1 | Confiscation Protocol Reminder | Past the first guard and Cell 40, turn left into the first office; the note is on the desk. |
2 | Updated Code | Further down, a guard stands at an office window on a phone call. Go prone, wait for him to leave, then grab the note from the desk at the back of the room. Use the code (8410) on the hallway safe for the dog tags. |
Notes give you no gear, no XP and no cosmetics. The payoff is story context and trophies, which for a lot of players is the whole point of a campaign completion run.
Trophy / achievement | Mission | What it needs | Notes involved |
No Stone Unturned | Following Orders | All 4 notes and all 4 contraband items in one playthrough | 4 |
Noteworthy | Stranded | Read 50 of the 58 notes in one visit | 50 |
Time to Crate | Stranded | Open all 26 yellow supply crates | 0 directly, but 2 notes unlock from crates |
Never Forgotten | Escape | Collect Gaz’s dog tags from the safe | Updated Code note gives the combination |
None of these are tied to difficulty, so there is no reason to grind Stranded on Veteran if you are only there for paper.
Following Orders first, and get the dialogue right. Grab the recipe, open the toolbox, check the neighbor’s closet, then handle the cellar conversation before you leave the kitchen. Pick up the four contraband items as you go.
In Stranded, finish one objective before you start hunting. That unlocks the workbench, which is five notes for the price of 195 Supplies. Then run the loop in this guide: Base Camp, sewers, river islands, south villages, bunker and train, Jamming Station, Big Sign, Farm Field, SAM Site.
Never leave the bunker without Mutiny and Discipline. They vanish once the objective ends. The train cars next to it are easy to forget as well.
Pair notes with crates. The Weapon and Equipment Inventory notes only appear once you have opened enough yellow crates, so an all-in-one sweep saves you a second trip across the river.
Escape last, and be patient at the office window. The guard will leave after his call. Rushing him means a firefight and, on higher difficulties, a restart.
If you are doing all of this for the trophies and want the rest of the campaign out of the way first, a Modern Warfare 4 account with the story already cleared lets you jump straight into Mission Select and sweep the three collectible missions in one evening.
Sixty-four notes sounds like a chore until you realise 58 of them live on one map and the other six take ten minutes combined. Treat Stranded as a loop rather than a scavenger hunt, finish an objective before you start reading, and do not walk out of that bunker early. Everything else is just checking desks.
Call of Duty Game Keys For Sale
Buy Call of Duty MW4 Accounts
CoD Modern Warfare 4 Items for Sale
Buy Cheap Call of Duty Accounts
CoD Items for Sale
Buy Call of Duty Points
View all GameBoost Game Keys
View all GameBoost Accounts
View all GameBoost Boosting Services
View all GameBoost Currencies
View all GameBoost Gift Cards
View all GameBoost Top Ups
View all GameBoost Items
“ Nikolina is a writer first and a gamer second, which is exactly why she asks the questions most guides skip. Years of writing for readers who want answers fast shaped how she works at GameBoost: clear structure, no filler, and a soft spot for the detail that saves you a restart. When she isn’t writing, she’s usually reading or replaying a campaign for the collectibles she missed. Through her articles, Nikolina aims to help players find every hidden item, understand how games really work, and get more out of the titles they already love.”


