


•Filip Premuš• 6 min read
Call of Duty: Modern Warfare 4
You can play MW4 DMZ solo by turning Squad Fill off before deployment. That puts you into Hajin without matchmaking teammates, leaving you to handle looting, objectives, and the trip home yourself.
A solo run starts with a little preparation at the MW4 DMZ FOB: choose an available Operator, pack supplies, and decide what you're trying to bring back. An expensive loadout deserves a better plan than wandering toward the nearest gunfire.
Here's how solo deployment works, what to expect from matchmaking, and how to give yourself a better chance of extracting.
Turn Squad Fill off at Ready Up to deploy without random teammates.
Matchmaking aims to group similar squad sizes; you can still encounter larger teams.
Bring medical supplies. A Tourniquet gets you back up wounded, and a Medkit fully repairs the wound and restores its use.
React to the Stealth Meter early and move away when a fight becomes too costly.
Choose one main goal, leave room for the loot you need, and plan an extraction before supplies run low.
To enter Hajin alone:
Start without other players in your party. Turning off fill won't remove friends already with you.
Open Deploy at the FOB.
Choose your deployment option and complete its preparation screens.
At Ready Up, check your Operator and loadout.
Set Squad Fill to Off, then begin matchmaking.
Use the on-screen prompt for your platform and current controls. Check the setting before each run, especially after playing with other people.
If you'd rather have company, turn Squad Fill back on before searching. You can switch between solo runs and matchmaking teammates as your plans change.
Infinity Ward says DMZ matchmaking aims to place solos with solos, duos with duos, and trios with trios. That grouping isn't guaranteed. Prepare for the possibility of meeting a larger team.
Setting or Feature | What It Means for Solo Players |
|---|---|
Squad Fill off | Empty spaces in your party stay empty |
Squad-size matchmaking | The system aims to group teams of similar sizes |
Other Operators | Rival players can still appear in your deployment |
In-match teaming | Players can join forces during a run |
The “Single Squad Mission” option seen in preview footage was an internal developer playlist. It wasn't a public private-match option.
For planning purposes, assume an enemy could have backup. Seeing one Operator cross a road doesn't tell you who might be covering the next doorway.
My starting recommendation is a manageable weapon, armor, medical supplies, and enough backpack space for the reason you're deploying. Save the costly setup for a run with a clear use for it.
Priority | Preparation |
|---|---|
Weapon | Choose something you can handle comfortably and afford to replace |
Armor | Equip your available Plate Carrier and check spare plates |
Medical supplies | Pack a Medkit and check your other healing items |
Ammunition | Carry enough for the planned objective and a possible retreat |
Backpack space | Leave room for mission loot or the materials you're collecting |
Replacement budget | Keep funds available for recovery and the next deployment |
Don't spend the entire Bank trying to make one weapon perfect. A familiar gun with a workable supply of healing and armor is a sensible starting point for learning a route.
The Free Loadout also gives you a way back into a deployment when equipment is scarce. Use a recovery run to rebuild supplies, keeping the objective small enough for the kit you've brought.
Every Operator deploys with the Tourniquet ability. After going down, you can use it to get back up in a wounded state with 100 health, below the usual 150.
A Medkit fully repairs the wound and makes the Tourniquet available again. Other healing items can provide temporary health without restoring that recovery ability. Self-Revive items also exist as separate equipment.
Getting back on your feet is the moment to reassess. Move into cover, check your medical supplies, and decide whether the objective is still worth attempting. Immediately returning to the doorway that got you downed gives the same enemies another chance.
Pack for the aftermath of a bad fight. You'll need somewhere to recover and a route away from the enemies who caused it.
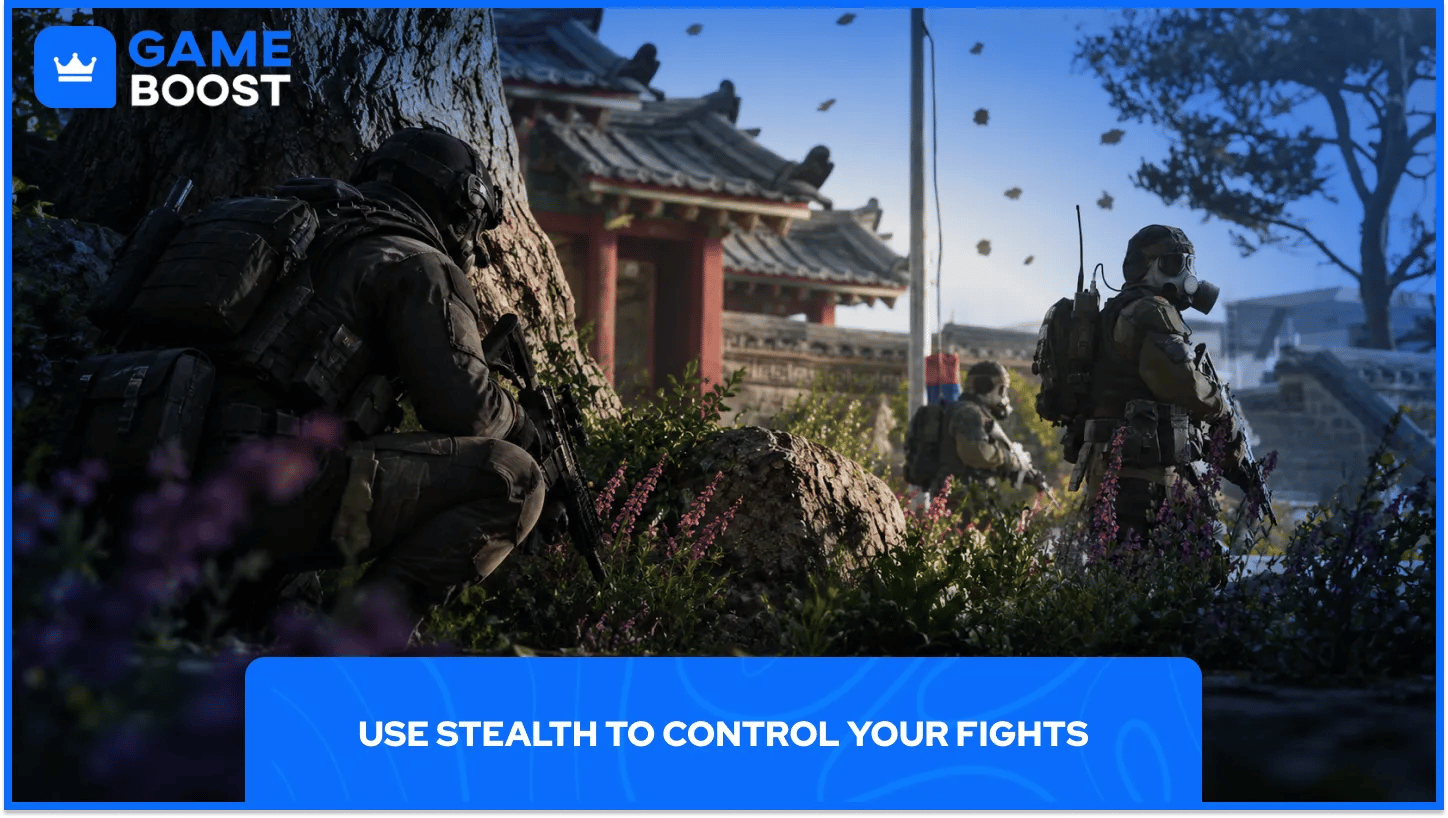
The Stealth Meter warns you when AI enemies begin spotting you. It includes an audio cue and a visual indicator that changes from white through yellow to orange.
React before detection becomes a firefight. Break line of sight, move behind solid cover, or drop prone where the terrain allows it. The warning gives you a chance to change your approach.
Before crossing an exposed stretch, pick the cover you'll move toward. If an enemy begins noticing you halfway across, you'll already have a destination.
Suppressed shots, throwing knives, and melee attacks can help with quiet eliminations. Choose the method around the situation: closing the distance for a melee kill may take you straight past another patrol.
You can also let enemies pass. A patrol walking away from the building you need may solve the problem without costing ammunition or plates.
For early solo runs, I'd choose one main task: finish an Order objective, recover a needed material, or bring home replacement equipment. Add a second task only if it fits the route and supplies you have left.
The area's Threat indicator reflects AI danger and excludes human Operators. Even a lower-threat location needs a careful approach.
If enemy pressure keeps growing, consider leaving the area. Continued combat can draw a stronger response. Moving away and breaking enemy contact can help calm the situation.
Ask a practical question after each fight: do you still have enough supplies to finish the objective and reach extraction? A bag full of useful materials gives you a reason to head home.
If the Gunsmith or another service is still out of reach, MW4 DMZ leveling can help you reach the required level before you put together your next solo loadout.
Pause long enough to work out what you're seeing. Count visible Operators, look for nearby cover, and check which direction offers a way out.
If they haven't spotted you, you may be able to let them pass. Following a squad for a possible kill adds another objective to a run that may already have everything you came for.
If you choose to fight, pick a position you can leave. Avoid committing to a small room with one exit unless the objective forces the issue. Reposition after revealing yourself rather than giving every opponent the same angle to aim at.
Communication can open the possibility of cooperation. Keep cover and an exit available during the conversation; an agreement still depends on the players involved.
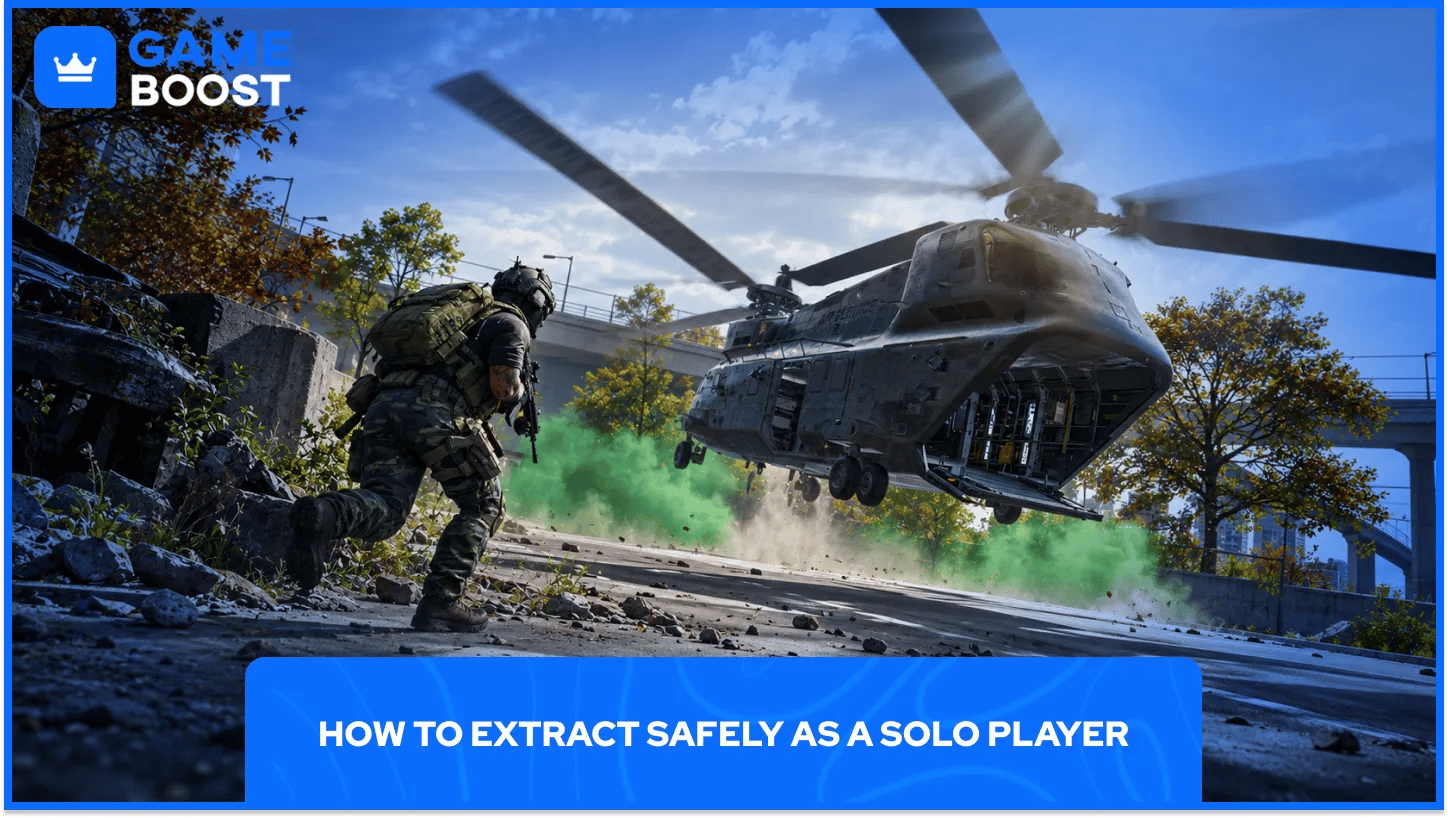
Start thinking about extraction before your backpack is full. Check the current Tac-Map, the route to an available exit, and the supplies you have left.
Standard exfil sites use green smoke. Calling the helicopter draws attention, and enemy squads can use extraction areas for ambushes.
Before committing:
Observe the approach. Check rooftops, windows, and nearby cover for activity.
Choose a waiting position. Find cover with a view of likely approaches and a route away.
Prepare your equipment. Reload and deal with missing health or armor before starting the extraction sequence where possible.
Keep checking the area. Calling for extraction doesn't make the surrounding buildings safe.
Leave once you can. Another container can wait for the next run.
Leave time to change your plan if the first site looks dangerous. A longer route may be worth taking when the direct approach is already under fire.
An eliminated Operator becomes MIA. Paying the recovery cost at the FOB returns that Operator with their Traits, and you'll need to replace their equipment.
Treat the next deployment as a fresh decision. Check what remains in storage and pick an objective the replacement loadout can handle. Rebuilding armor and medical reserves is a reasonable goal on its own.
Look for one decision to change: the fight you stayed in, the healing item you didn't pack, or the detour you took after finishing the task. That gives the next attempt a practical adjustment.
When comparing MW4 accounts, check the listed DMZ progress and Operator details against the solo setup you want to use. Overall player rank alone gives you an incomplete picture.
Solo DMZ gives you control over the route, the loot stops, and the decision to leave. Plan a run your equipment can support, respond early to detection, and keep checking whether the next fight helps your objective.
Once you've secured what you came for, getting it home is a useful goal all by itself.
Call of Duty Game Keys For Sale
Buy Call of Duty MW4 Accounts
CoD Modern Warfare 4 Items for Sale
Buy Cheap Call of Duty Accounts
CoD Items for Sale
Buy Call of Duty Points
View all GameBoost Game Keys
View all GameBoost Accounts
View all GameBoost Boosting Services
View all GameBoost Currencies
View all GameBoost Gift Cards
View all GameBoost Top Ups
View all GameBoost Items
“ Filip Premuš is a seasoned gaming content writer specializing in titles like Steal a Brainrot, Old School RuneScape, and other popular online games. With a sharp focus on accuracy, updates, and in-game strategy, he creates comprehensive guides that help players stay ahead of the meta and make informed decisions.”