


•Filip Premuš• 12 min read
Call of Duty: Modern Warfare 4

MW4 has 18 Multiplayer perks across three slots, with six choices in each. You select one perk per slot in Create-a-Class, so every custom class carries three.
That choice can change how a class feels before you've touched an attachment. Want Tactical Sprint? You'll need Blood Rush. Want two Primary Weapons? Overkill takes care of that. For complete gun setups to pair with your choices, the MW4 loadouts guide covers several starting builds.
Below are the launch perk slots, effects, required Player Levels, and suggested combinations for different ways to play.
MW4 has three perk slots, each containing six options. Pick one from each.
Create-a-Class opens at Player Level 4, with two starting perks per slot.
Blood Rush provides Tactical Sprint and competes with Hardline, Bomb Squad, Fast Hands, Ninja, and Birdseye.
Quick Fix and Ghost share a slot. You can't equip both in the standard three-perk setup.
The tables use Player Levels. Leveling an individual weapon doesn't satisfy these requirements.
For an objective class, try Quick Fix, Bomb Squad, and Battle Hardened once you reach Level 16.
Once you reach Player Level 4, open Create-a-Class and choose a perk for each of its three slots. Later levels add more choices within those slots.
At the start, you can choose between Quick Fix and Overkill in Perk 1, Hardline and Blood Rush in Perk 2, and Lethal Reach and Combat Grid in Perk 3.
Check the slot before planning a combination. Three perks you like may include two that occupy the same position. The tables below follow the launch arrangement, which changed from the beta.
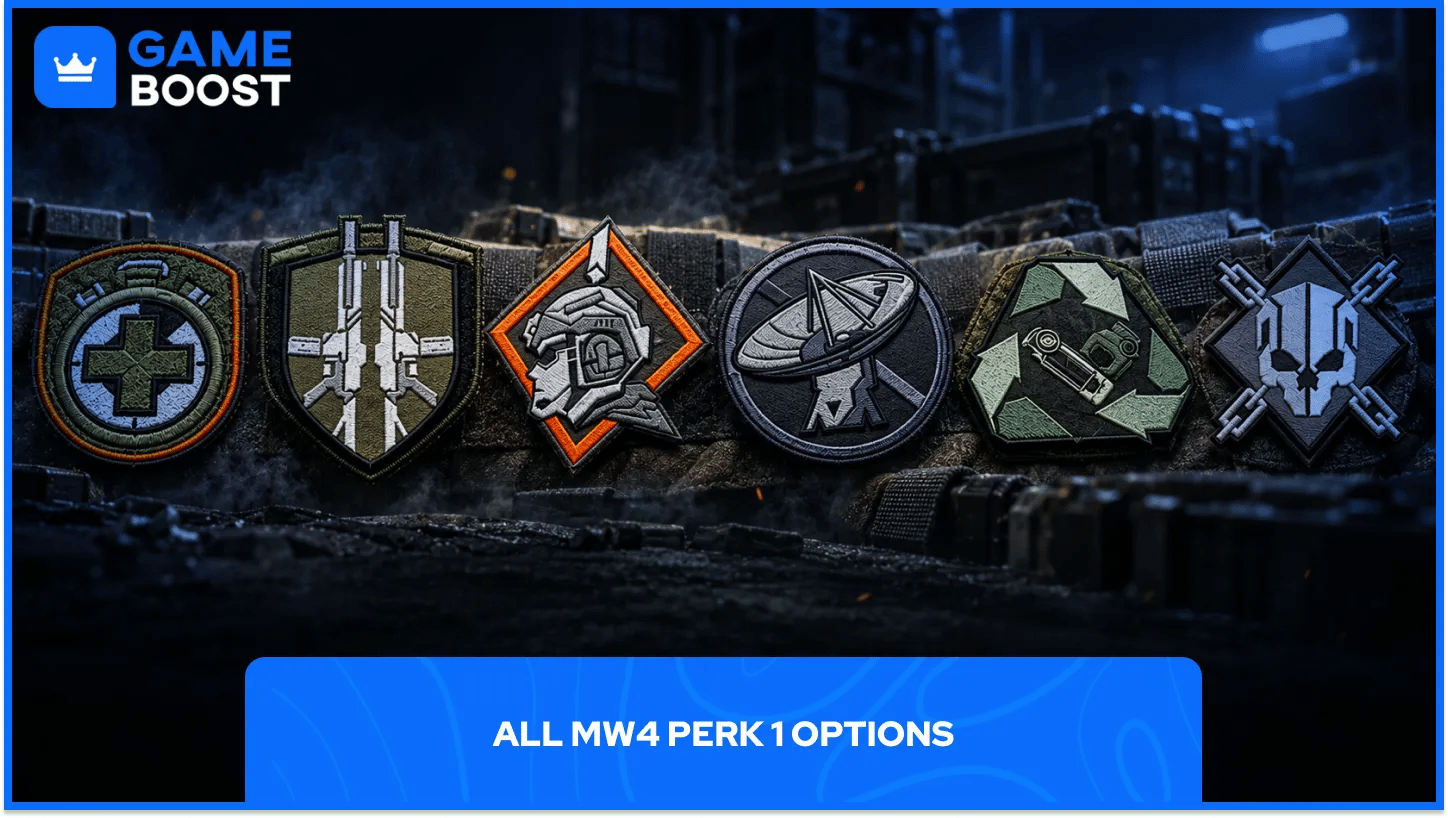
Perk 1 includes health recovery, a second Primary Weapon, detection protection, and equipment support.
Perk | Player Level | Effect |
|---|---|---|
Quick Fix | 4 | Player eliminations and capturing or holding objectives start health recovery immediately. |
Overkill | 4 | Equip a second Primary Weapon. |
High Alert | 8 | A visual pulse warns of an enemy watching from outside your view. |
Ghost | 24 | Avoid detection from enemy callouts, UAVs, Portable Radars, and Heartbeat Sensors. |
Resupply | 31 | Restores equipment over time, adds one to its capacity, and speeds up recharge for deployable support equipment. |
Kill Chain | 48 | Kills made by your Killstreaks contribute half-value streak points. |
Choose this slot around a problem you actually run into during matches. Is your second gun necessary for the routes you play? Are you getting caught during recovery? Start with that question before copying another player's choice.
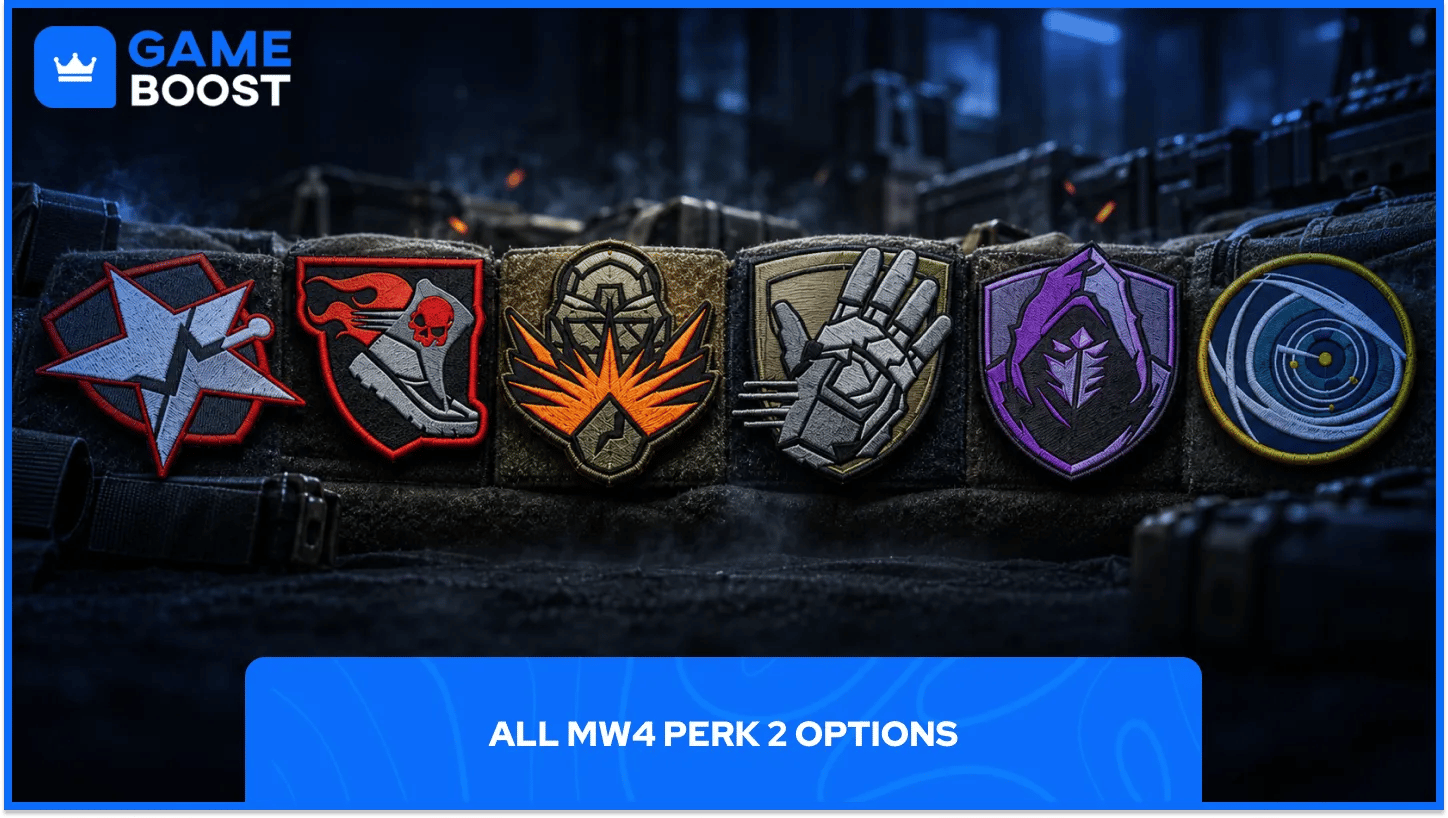
This slot puts several tempting choices together: movement, quieter footsteps, faster handling, explosive protection, and streak support.
Perk | Player Level | Effect |
|---|---|---|
Hardline | 4 | Each Killstreak costs one fewer kill. |
Blood Rush | 4 | Grants Tactical Sprint; eliminations restore stamina. |
Bomb Squad | 16 | Resists non-streak explosives and knockdown; resets fuses on retrieved grenades. |
Fast Hands | 20 | Shortens reloads, equipment use, and weapon changes. |
Ninja | 30 | Lowers footstep volume and audible range. |
Birdseye | 40 | Widens the minimap view; UAV/radar pings indicate enemy facing. |
Blood Rush, Ninja, and Fast Hands all occupy Perk 2. Picking one leaves the other two out of that class.
If you're comparing MW4 accounts for a particular setup, check the listed Player Level against these requirements. A gun's attachment progress tells you something different about the class you'll be able to build.
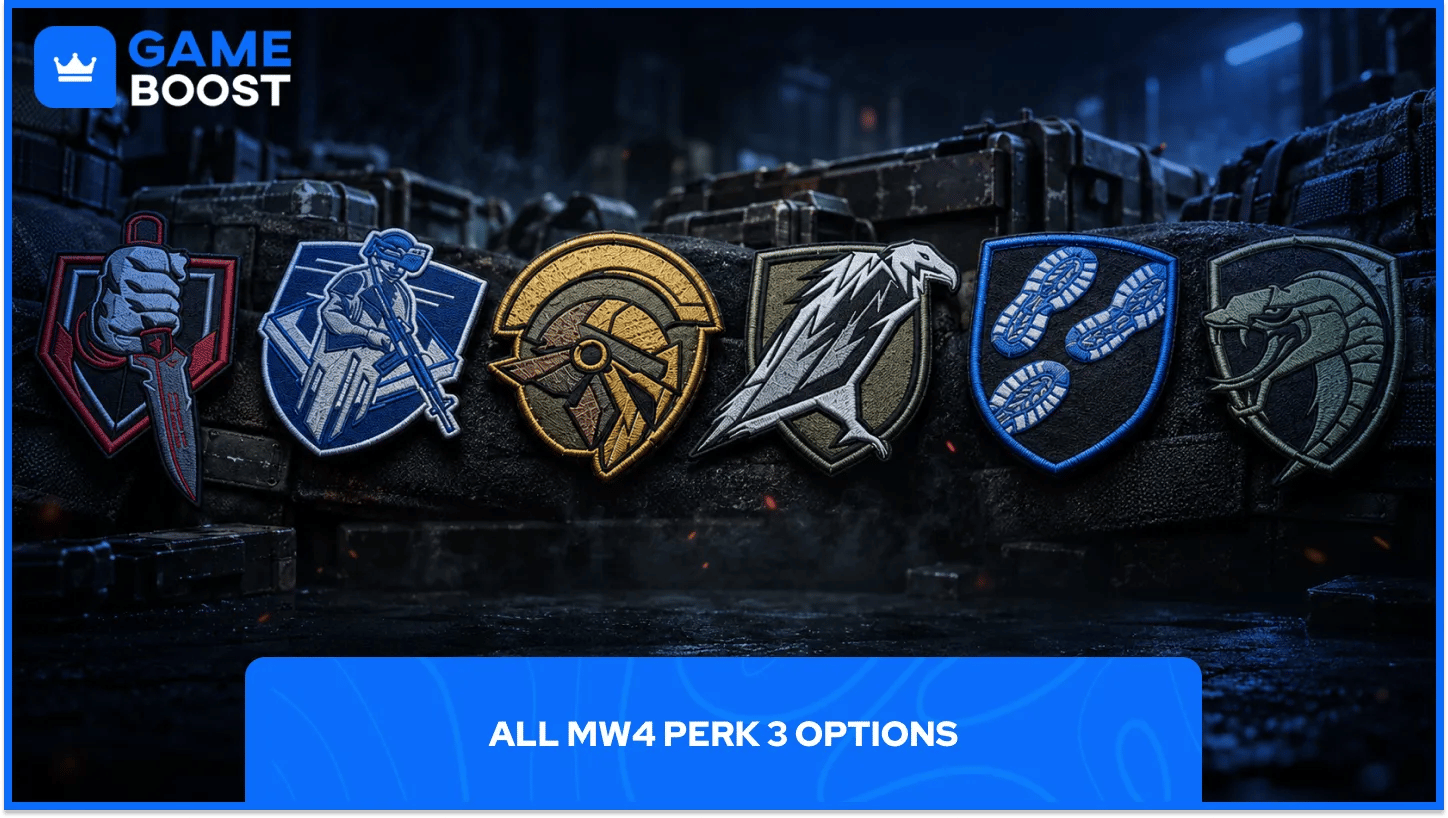
Perk 3 covers throwing and melee utility, combat information, ammo recovery, and protection from several detection tools.
Perk | Player Level | Effect |
|---|---|---|
Lethal Reach | 4 | Longer equipment throws with trajectory previews; weapon-butt inputs use dedicated melee. |
Combat Grid | 4 | Reveals hostile equipment, deployables, streaks, and vehicles through walls; highlights teammates. |
Battle Hardened | 12 | Softens enemy Tactical effects. |
Scavenger | 28 | Collect ammo from defeated enemies; excludes launcher rounds. |
Tracker | 32 | Shows enemy footprints and death markers; conceals kill markers. |
Cold-Blooded | 36 | Counters AI targeting, thermals, Recon Drones, Spotter Scopes, Snapshot Grenades, and High Alert. |
When testing a new selection, give it a few matches in the modes you regularly play. Change one perk at a time so you can tell which choice helped.
Yes. Multiplayer Tactical Sprint requires Blood Rush in Perk 2.
With it equipped, the default sprint input starts Tactical Sprint for as long as stamina permits. The launch version also removes Tactical Sprint's extra sprint-out penalty. Movement Advanced Settings lets you change how you trigger it.
Spend a match checking your movement before deciding this slot. If your routes regularly leave you wishing you could cross an opening faster, test Blood Rush. Then judge the result in the same mode and on similar routes.
These are suggested starting points based on the launch perk effects and slot rules. Each setup uses one perk per slot. The level shown is the highest requirement among its three selections, assuming a fresh progression track.
Setup | Perk 1 | Perk 2 | Perk 3 | Full Setup Available |
|---|---|---|---|---|
First custom class | Quick Fix | Blood Rush | Combat Grid | Level 4 |
Objective defense | Quick Fix | Bomb Squad | Battle Hardened | Level 16 |
Aggressive movement | Quick Fix | Blood Rush | Scavenger | Level 28 |
Stealth and flanking | Ghost | Ninja | Cold-Blooded | Level 36 |
Two Primary Weapons | Overkill | Fast Hands | Battle Hardened | Level 20 |
Killstreak support | Kill Chain | Hardline | Scavenger | Level 48 |
All three are ready when Create-a-Class opens. Quick Fix supports recovery between fights, Blood Rush gives you Tactical Sprint, and Combat Grid helps you spot equipment on your approach. Try this combination to learn the maps before committing to a more specialized class.
Use those opening matches to notice where your route falls apart. Do you arrive late, take a blind corner, or push again before you're ready? Keep the same gun for a few rounds so attachment changes don't muddy the comparison.
At Level 12, test Battle Hardened in the third slot if enemy Tacticals regularly interrupt your fights. That gives you an early alternative without rebuilding the entire class.
Our starting recommendation for contesting busy capture points is this Level 16 combination. It groups recovery with protection against explosives and Tacticals, making it a sensible choice to try in Domination or Hardpoint.
You give up Blood Rush in the second slot. Plan the trip to the next objective early, especially when the fight moves across the map. Getting there late and sprinting straight through the busiest entrance can undo the benefit of a defensive setup.
Try this combination if you move between fights frequently and want to keep using your chosen weapon during longer lives. It becomes complete at Level 28.
Quick Fix and Blood Rush support moving on after an elimination; Scavenger helps with ammunition during the resulting longer life. Collecting ammo still requires reaching a dropped cache.
The risk is committing to a route without enough protection from enemy equipment. Approach defended rooms carefully and leave yourself an exit. If Tacticals keep stopping your pushes, swap Scavenger for Battle Hardened and compare the results.
This is our suggested setup for working around a defended position rather than repeatedly taking its main entrance. All three selections are available by Level 36.
Ghost handles the reconnaissance listed in its description, Ninja reduces your audio footprint, and Cold-Blooded covers another set of detection tools. These effects address different ways an approach can give you away.
Choose routes with cover and pause before crossing an opponent's likely sightline. A stealth setup still needs good timing; an enemy watching the doorway can see you walk through it.
Tracker is another third-slot option once you reach Level 32. Try it when your goal is following an opponent through branching routes. Keep Cold-Blooded when the detection tools it counters are the bigger problem.
This Level 20 combination is worth trying when you regularly need different weapons for different distances. A long sightline followed by a tight interior is a good reason to plan for both.
Fast Hands supports the weapon changes that make an Overkill class useful, and Battle Hardened offers protection against Tactical disruption.
Check how often you actually switch guns. If you finish match after match using only one, reconsider spending Perk 1 on the second Primary Weapon. That slot could support a different part of your play instead.
This setup becomes complete at Level 48. Try it when you're already earning streaks regularly and want the perk choices to support that goal.
Hardline helps you reach the first streak; Kill Chain gives streak eliminations a role in earning the next. Scavenger supports keeping your gun supplied between those opportunities.
Start with streaks you can reach consistently. Pick positions that let you disengage, and resist chasing an opponent into a room you haven't checked just to finish the next requirement.
If most lives end before the first streak arrives, return to a class focused on surviving your opening fights. Revisit this combination once reaching those streaks becomes more routine.
A familiar name can make a perk sound like the obvious choice. Check what you'll lose from that slot before saving the class:
Blood Rush or Ninja: Decide whether that class needs faster repositioning or a quieter approach. You can't equip both.
Quick Fix or Ghost: Consider whether recovery after an engagement or protection from reconnaissance better suits the route you're playing.
Scavenger or Battle Hardened: Check whether longer lives end through an empty magazine or a Tactical disrupting the next fight.
Save separate classes for different jobs instead of trying to make one setup cover every map and mode. For optional cosmetic purchases, check bundle contents before spending COD Points, then apply the look to a class you already enjoy using.
The best MW4 perk combination for your matches starts with the job you want that class to do. Pick a starting setup above, play it for several rounds, and look for the same problem appearing across those matches. One unlucky grenade or a single good flank doesn't tell you much on its own.
Keep a familiar class saved before changing anything. Test one slot at a time, use a weapon you already know, and give the new choice a fair run in the modes you actually play. You'll have a much easier time deciding what helped when the rest of the setup stays consistent.
As more choices become available, revisit those early classes. You might keep a movement setup for one map, an objective setup for another, and a quieter class for slower rounds. Having a reason for each selection makes future adjustments easier too.
Buy Cheap Call of Duty Game Keys
Call of Duty MW4 Accounts for Sale
Buy Cheap CoD Modern Warfare 4 Items
Cheap Call of Duty Accounts
Buy CoD Items
Call of Duty Points for Sale
View all GameBoost Game Keys
View all GameBoost Accounts
View all GameBoost Boosting Services
View all GameBoost Currencies
View all GameBoost Gift Cards
View all GameBoost Top Ups
View all GameBoost Items
“ Filip Premuš is a seasoned gaming content writer specializing in titles like Steal a Brainrot, Old School RuneScape, and other popular online games. With a sharp focus on accuracy, updates, and in-game strategy, he creates comprehensive guides that help players stay ahead of the meta and make informed decisions.”